TL;DR
- Harbinger uses reverse boss mechanics with shield phases requiring enemy clearing first
- Each phase increases in difficulty with the final wave containing all enemy types simultaneously
- Constant movement and equipment optimization are essential for survival
- Strategic use of Grappleshot and upgraded Drop Wall can dramatically improve success rates
- The battle requires 15-25 minutes depending on skill level and equipment upgrades
Prepare for what many consider Halo’s most demanding combat encounter in recent memory. The Harbinger confrontation represents the pinnacle challenge that will test every skill you’ve developed throughout your campaign journey.
Having navigated through countless battles to reach this climactic moment, your ultimate confrontation unfolds within an expansive combat arena significantly larger than any previous indoor engagement space. This vast battlefield, however, doesn’t offer sanctuary – the Harbinger continuously summons overwhelming Banished forces alongside other hostile entities determined to eliminate you. Success demands employing every available resource and tactical advantage at your disposal. This comprehensive guide provides the strategic framework needed to overcome the Harbinger in Halo Infinite.
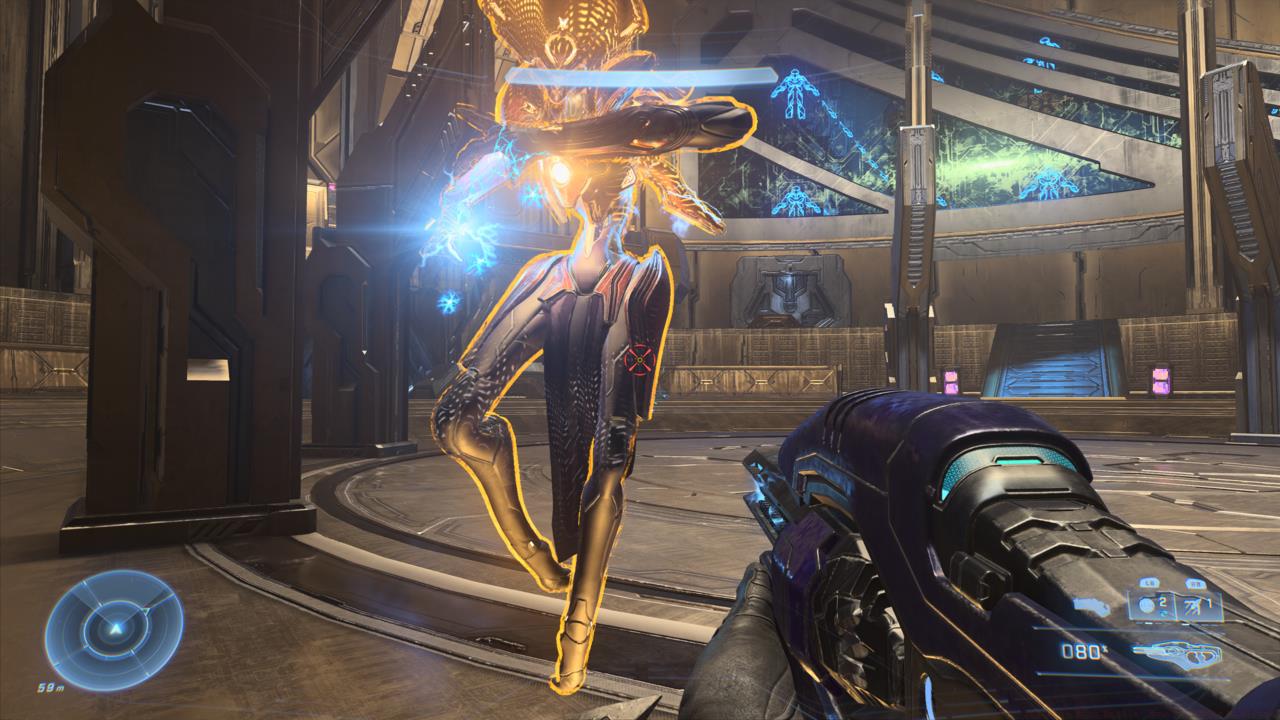
The Harbinger encounter deliberately subverts conventional boss battle expectations through its inverted mechanics. She initiates combat protected by an energy shield that renders her completely invulnerable, forcing you to systematically eliminate successive waves of Banished combatants across multiple unit types before gaining any opportunity to damage her directly. Continue clearing hostile forces until she temporarily suspends her shield-protected activities—we’re avoiding specific narrative details here to preserve story surprises for those still progressing through the campaign.

Maintain composure and continuous mobility throughout the engagement.
Once her protective barrier deactivates, she becomes susceptible to damage—capitalize on this vulnerability window by unleashing your most powerful available arsenal. This coliseum-style combat environment contains abundant weapon caches and explosive ordnance scattered throughout. Similar to traditional boss encounter patterns, you can progressively reduce her health pool until reaching specific damage thresholds, at which point she reactivates her shield and summons additional Banished reinforcements.
Maintain tactical awareness and perpetual motion throughout the engagement.
This cyclical pattern repeats across multiple combat phases, following a relatively familiar boss engagement structure that experienced gamers will recognize. However, we must emphasize a critical progression element: each successive phase introduces significantly heightened chaos compared to preceding stages. This escalation means when Harbinger approaches defeat and retreats behind her shield for the final time, prepare for an assault of unprecedented intensity within Halo Infinite. Every enemy classification encountered during your 15+ hour campaign will simultaneously target you with coordinated aggression.
Maintain strategic distancing from charging Brute warriors, efficiently eliminate aerial Sentinel drones, and remain vigilant against cloaked Elite assassins, Grunt infantry formations, and additional hostile units. You’ll face overwhelming projectile saturation, necessitating constant repositioning—optimally utilizing the Grappleshot for mobility, though in specific scenarios, a strategically deployed Drop Wall could prove lifesaving, particularly if enhanced through upgrades for increased size and durability.
Success in the Harbinger encounter hinges on mastering equipment utilization and movement mechanics. The Grappleshot isn’t merely for traversal—it becomes your primary survival tool for creating distance, accessing high ground, and evading deadly melee attacks. Advanced players should practice grapple-canceling to maintain momentum while conserving equipment charges.
Weapon selection follows specific priority rules: energy weapons for shield stripping, precision tools for distant targets, and power weapons for damage phases. The arena contains hidden weapon spawns including the Heatwave, Cindershot, and Shock Rifle—learn their locations between phases.
The upgraded Drop Wall provides crucial breathing room during overwhelming assaults. Position it to block sightlines from multiple angles rather than just frontal protection. Advanced tactic: deploy Drop Walls near weapon racks to safely rearm during intense combat sequences.
Movement rhythm proves more critical than raw speed. Develop patterns that incorporate sprinting, sliding, and grappling in fluid combinations. Never remain in one position for more than 3-4 seconds—Harbinger’s forces will quickly flank and overwhelm static positions.
Many players falter by misjudging the battle’s endurance requirements. This isn’t a quick encounter—successful completions typically require 15-25 minutes of sustained concentration and resource management. Avoid burning all your power weapon ammunition during early phases when common weapons suffice.
The most frequent fatal error involves positioning near arena boundaries. Enemies spawn from multiple locations simultaneously, and cornering yourself guarantees swift elimination. Instead, maintain central positioning with clear escape routes to multiple elevated platforms.
Resource conservation separates successful runs from failures. Collect grenades and equipment between phases rather than during active combat. Utilize the Weapons Unlock principles of ammo efficiency—each shot should serve a specific tactical purpose.
For players struggling with the final phase, consider reviewing fundamental combat mechanics in our Complete Guide to refresh core skills. The chaotic culmination requires applying every Class Guide combat principle: adapt your approach based on the most immediate threat.
There exists no singular solution to this combat scenario beyond one fundamental combat doctrine: Maintain constant motion. Stationary positioning equates to certain death during the Harbinger confrontation. However, emerging victorious rewards you with narrative revelations in the concluding cinematic—and ensure you remain through the credits for additional story content.
Action Checklist
- Clear initial Banished waves while conserving power weapons and equipment charges
- During shield downtime, prioritize precision damage to Harbinger using energy weapons
- Maintain central arena positioning with multiple escape routes to elevated platforms
- Utilize Grappleshot for emergency repositioning and Drop Wall for creating tactical breathing space
- During final phase, focus on threat prioritization and constant movement patterns
No reproduction without permission:SeeYouSoon Game Club » Halo Infinite Boss Battle: How To Defeat Harbinger Master the Halo Infinite Harbinger boss fight with advanced strategies, equipment optimization, and survival tactics
