![]() 1
1TL;DR Icerind Hatchet excels at rapid frost buildup with 11 STR/16 DEX requirements Hoarfrost Stomp creates freezing mist trails for area denial and status application Located in T...
![]() 1
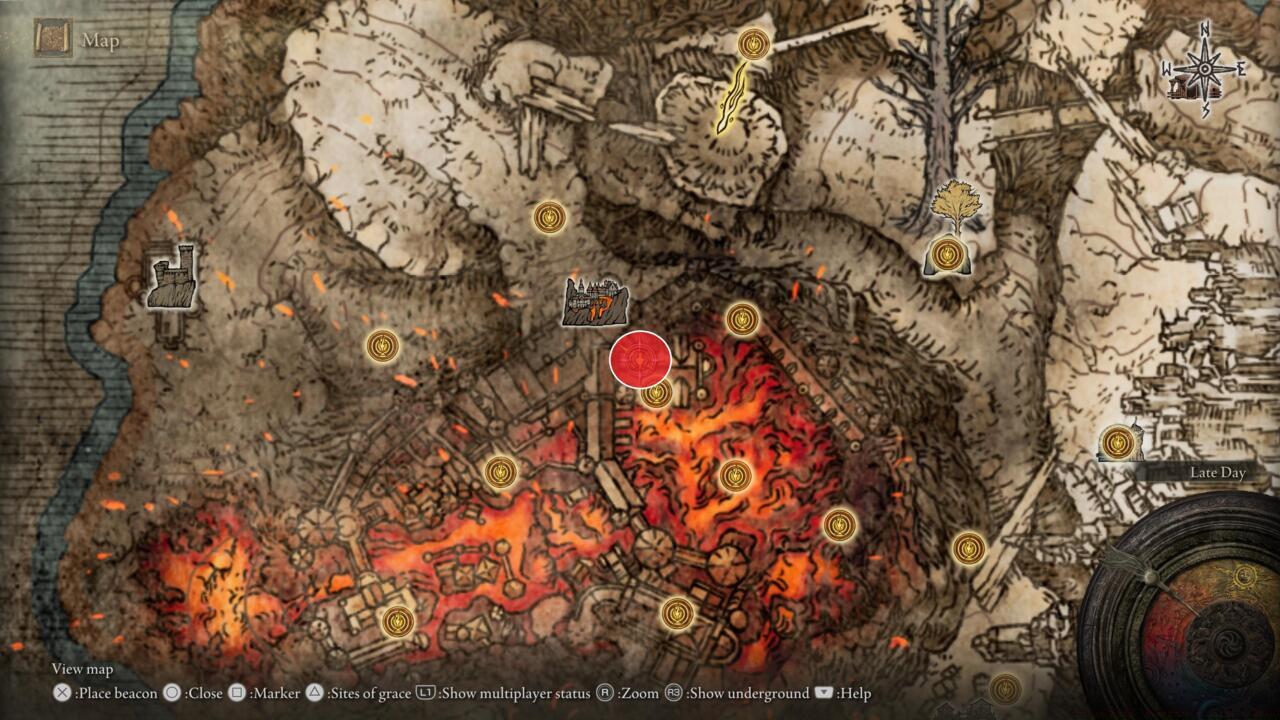
1TL;DR Ghiza’s Wheel requires 28 Strength and 18 Dexterity, excelling at blood loss buildup Located in Volcano Manor’s upstairs dining hall, accessible via Mt. Gelmir or...
![]() 2
2TL;DR Requires balanced 12 STR/DEX and high 24 INT/FTH investment for optimal performance Night-and-Flame Stance offers devastating magic beam and fire AOE attacks for versatile co...
![]() 1
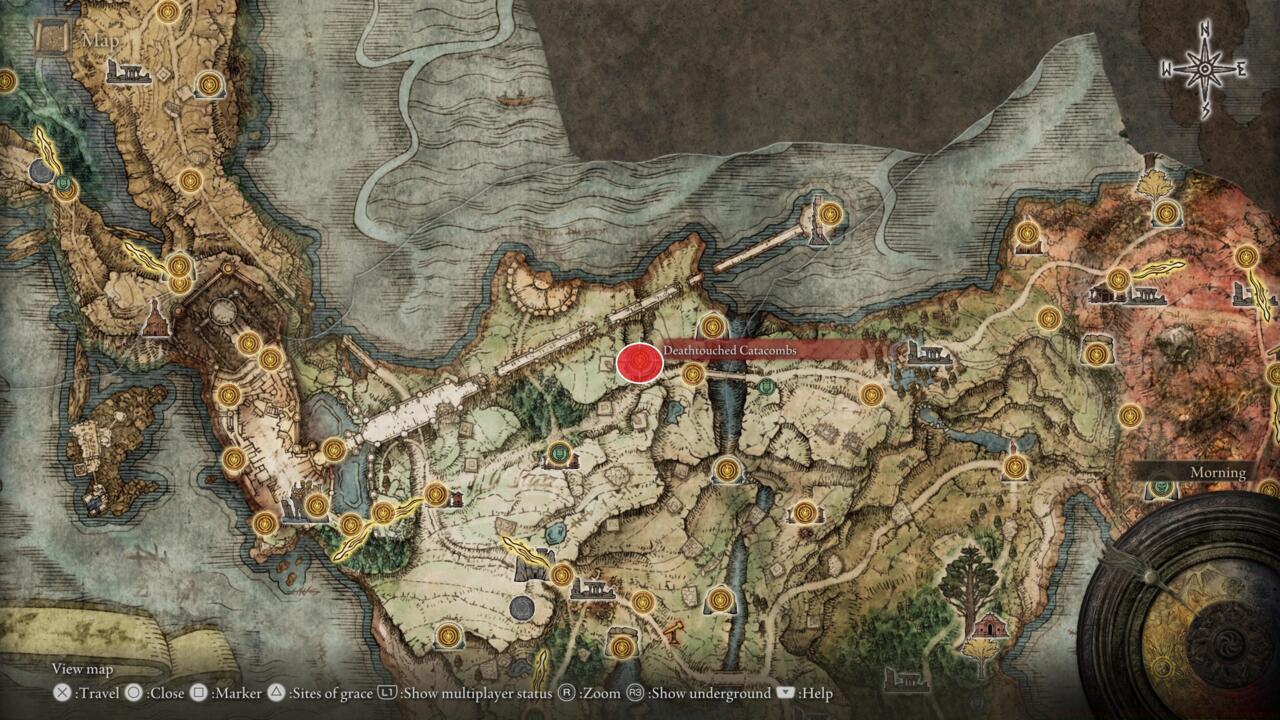
1TL;DR The Uchigatana requires 11 Strength and 15 Dexterity, excelling in blood loss builds Non-Samurai players can find it early in Deathtouched Catacombs in northern Limgrave Unsh...
![]() 1
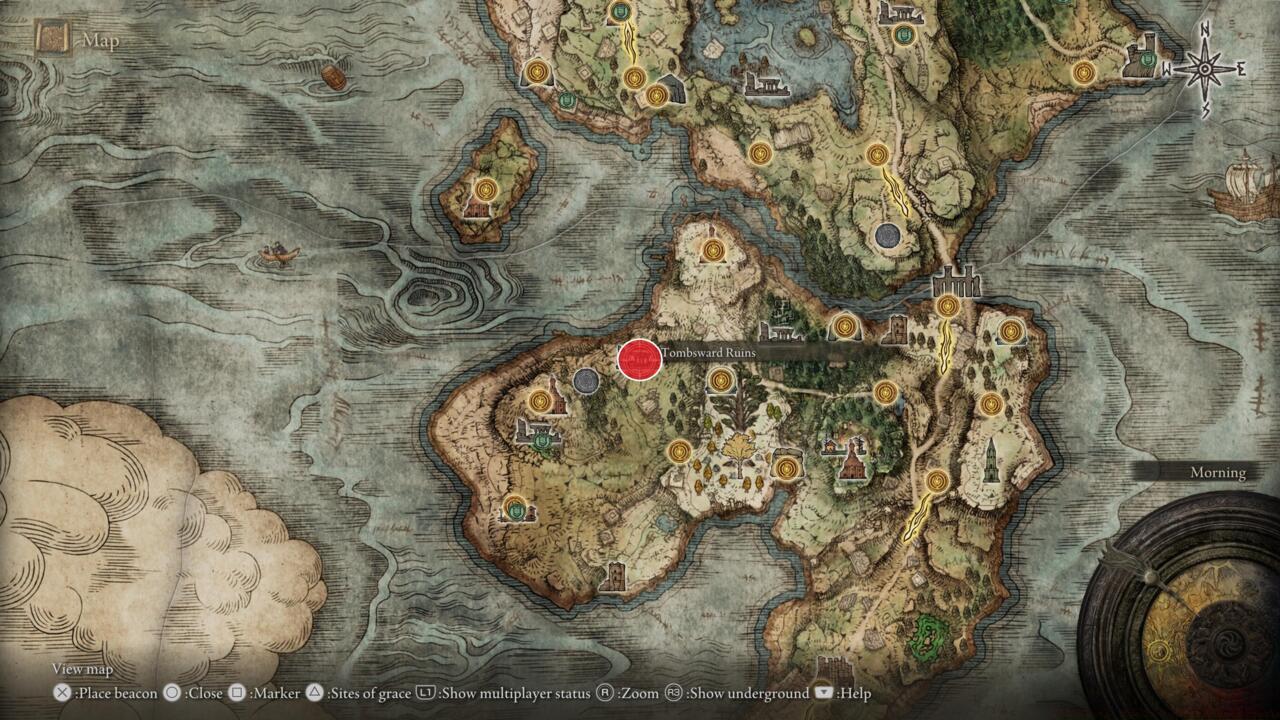
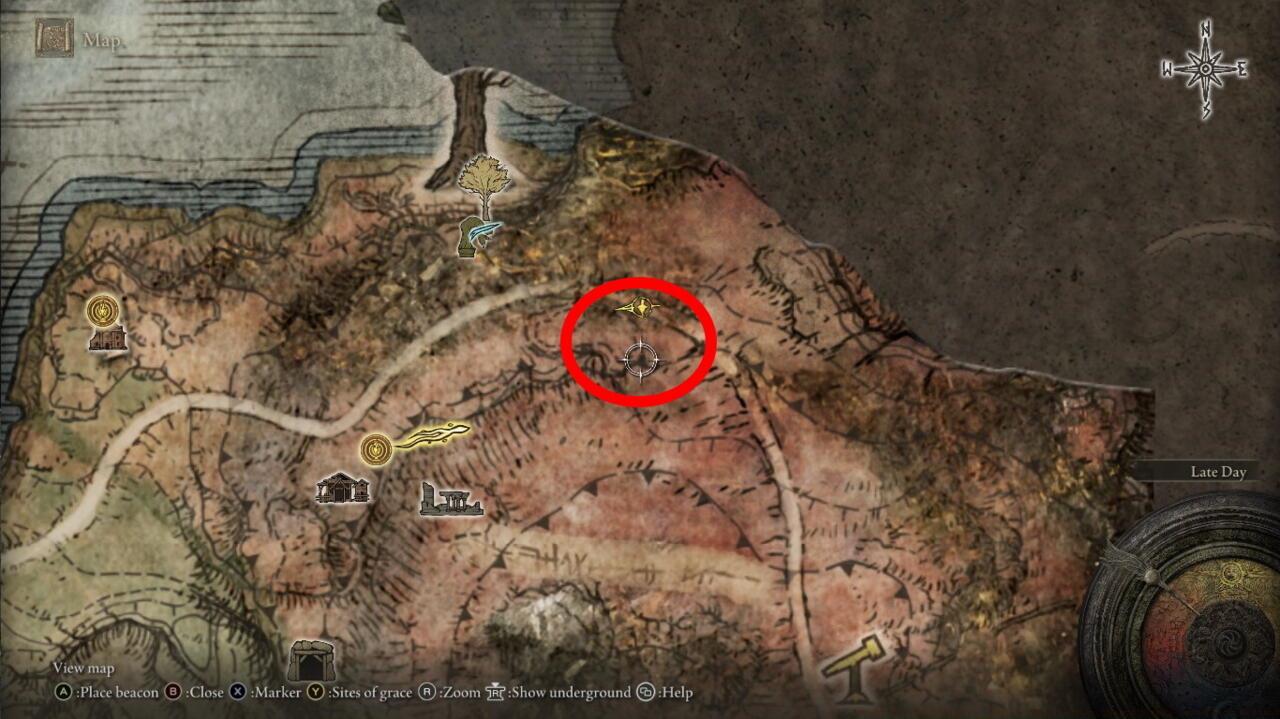
1TL;DR Winged Scythe requires 16 Strength, 16 Dexterity, and 24 Faith to wield effectively Located at Tombsward Ruins in Weeping Peninsula, accessible immediately after tutorial Ang...
![]() 2
2TL;DR The Greatsword offers 162 base physical damage with 31 Strength requirement Located in northwestern Caelid near Cathedral of Dragon Communion Requires strategic approach agai...
![]() 2
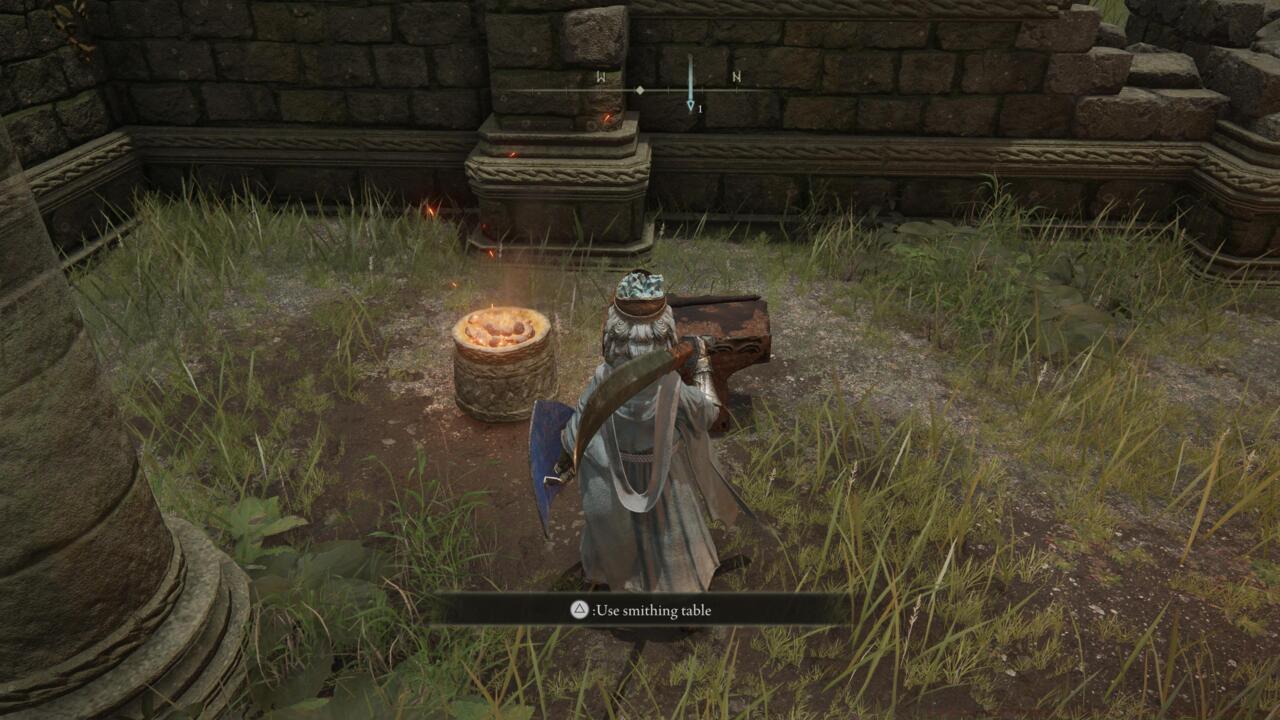
2TL;DR Weapon upgrades are essential for survival, increasing both base damage and stat scaling effectiveness Two upgrade paths exist: Normal weapons (+25 max) and Special weapons (...
![]() 2
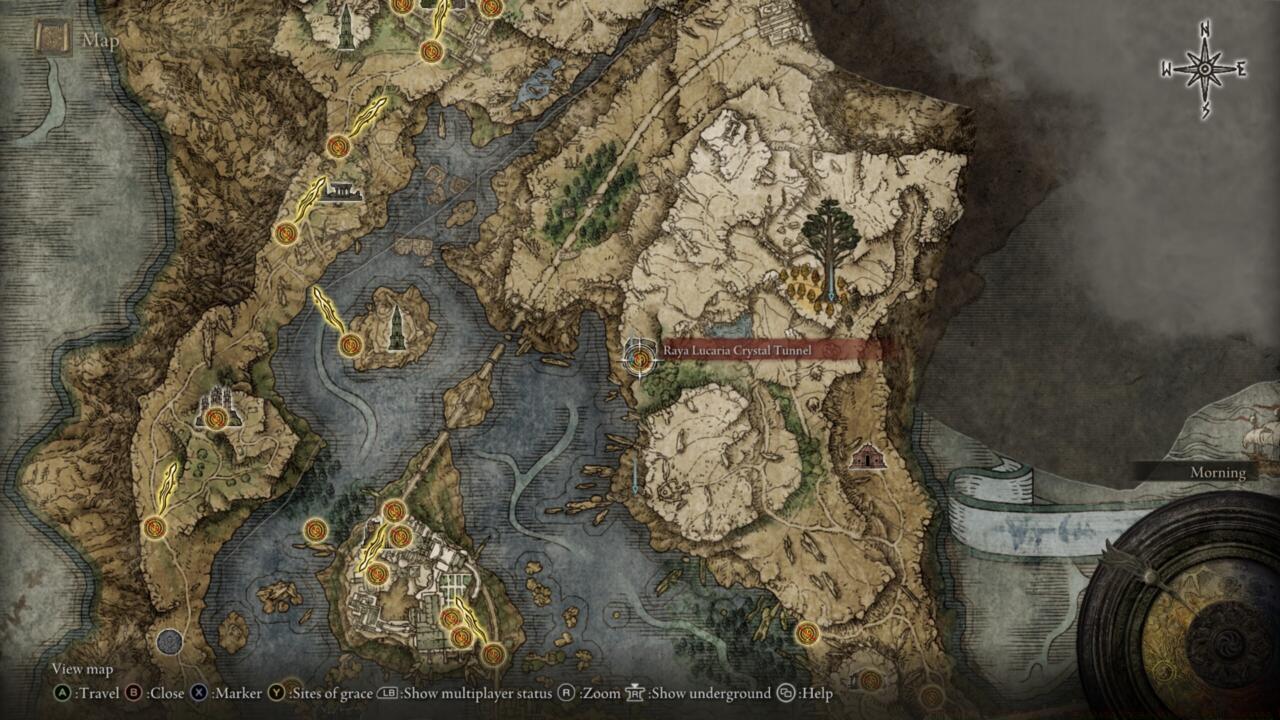
2TL;DR The Smithing Stone Miner’s Bell Bearing unlocks unlimited purchase of tier 1-2 Smithing Stones Located in Raya Lucaria Crystal Tunnel, requiring Crystalian boss defeat ...
![]() 1
1TL;DR Spirit Calling Bell enables summoning spectral allies to assist in combat Requires meeting Melina first, then returning to Church of Elleh at night Must answer ‘yesR...
![]() 2
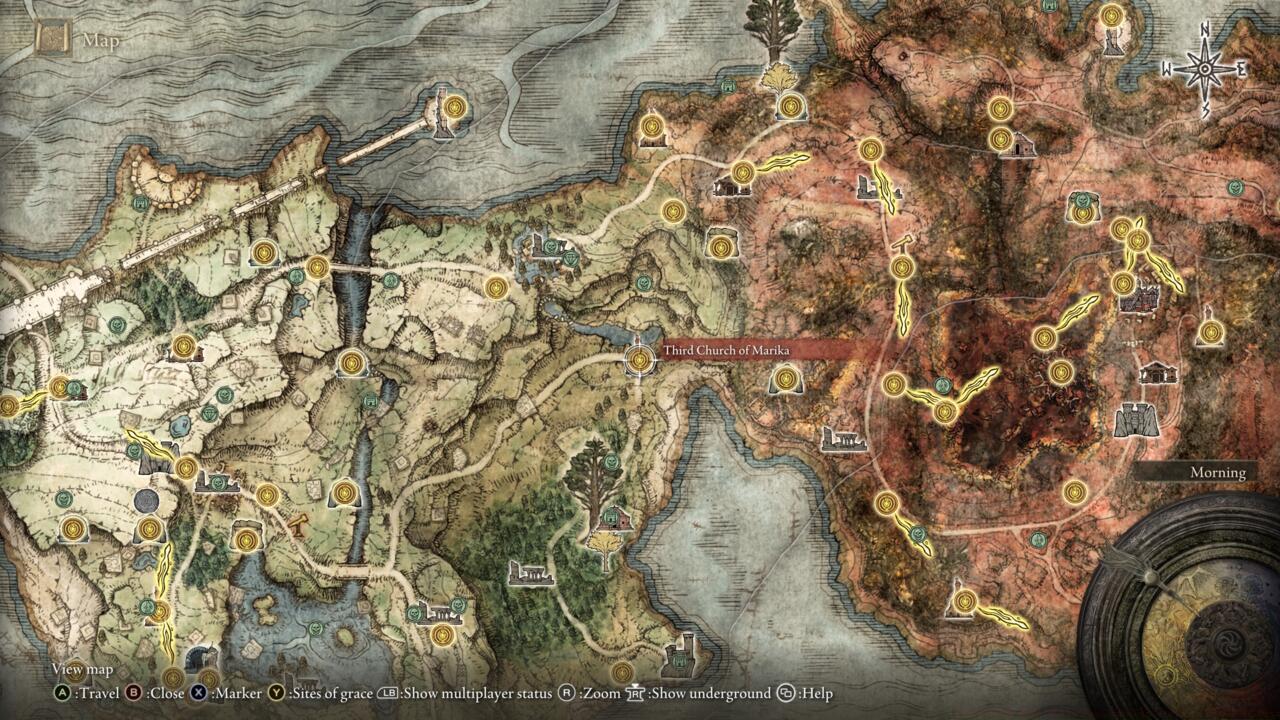
2TL;DR Bestial Sanctum offers 1,000-1,300 runes per enemy but requires careful navigation Fort Faroth provides massive 80,000 rune one-time reward or 3,500 per dragon kill Agheel La...
 1
1