TL;DR
- Optimize graphics settings using FSR/DLSS and cap frame rates for stable performance
- Choose factions carefully for squad play and select appropriate game modes for your playstyle
- Complete vendor tasks systematically to build map knowledge and economic progression
- Master ammunition management and understand wound mechanics for tactical advantages
- Develop efficient gear recovery strategies and learn advanced medical treatment protocols
GameSpot may receive revenue from affiliate and advertising partnerships for sharing this content and from purchases through links.
Gray Zone Warfare represents the cutting edge of extraction shooter realism, currently available through Steam Early Access. The game’s commitment to authentic health mechanics and combat systems creates an incredibly immersive experience, though this dedication to realism presents significant challenges for newcomers. While the learning curve appears steep initially, mastering Gray Zone Warfare’s intricate systems unlocks deeply rewarding tactical gameplay centered around high-stakes extraction scenarios. This comprehensive guide provides essential strategies to accelerate your learning process and enhance survival rates.
Gray Zone Warfare demands substantial hardware resources, making performance optimization crucial for players without top-tier gaming rigs. Several strategic adjustments can dramatically improve stability and frame rates. The most impactful change involves activating either FSR or DLSS anti-aliasing technologies, which significantly reduce GPU load while maintaining visual fidelity. Additionally, the default uncapped frame rate setting often causes performance inconsistencies during intense firefights; implementing a frame rate cap at 60 or 120 FPS (based on your system capabilities) creates much smoother combat encounters. For optimal results, consider reducing shadow quality and draw distances, as these settings heavily impact performance with minimal visual sacrifice.
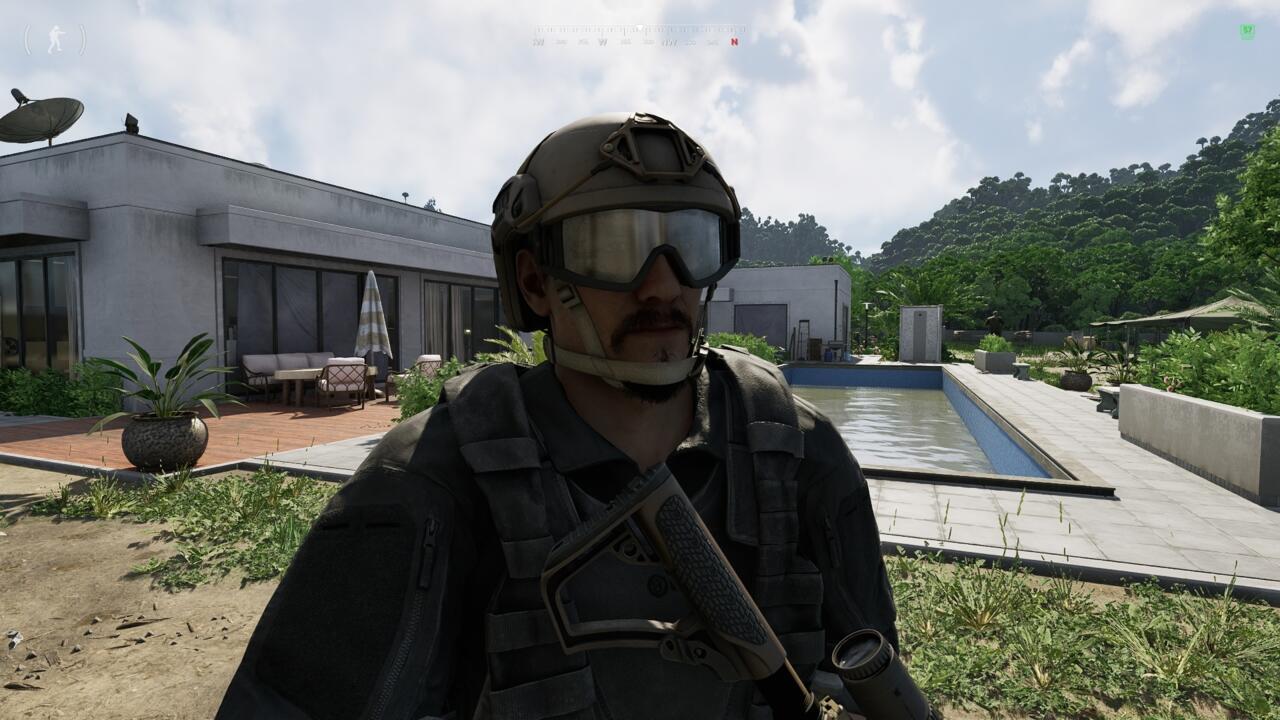
Gray Zone Warfare presents three distinct factions during character creation, each offering unique starting positions and vendor relationships. While gameplay mechanics remain consistent across factions, your selection carries permanent consequences for cooperative play. The critical consideration involves faction alignment with your regular squadmates, as players can only team up with members of the same faction. If you accidentally choose incorrectly, character reset functionality exists within the main menu, though this action permanently erases all progress associated with that character. The menu also provides access to two primary game modes: Warfare and Joint Operations. The fundamental distinction lies in threat dynamics: Warfare mode enables full PvPvE engagement where rival faction players represent lethal threats, while Joint Operations restricts player-versus-player combat entirely for pure PvE experiences. New players should consider starting with Joint Operations to learn game mechanics safely before transitioning to the more dangerous Warfare environment.
While free exploration and looting provide immediate rewards, systematic progression through vendor tasks delivers superior economic benefits and reputation gains. Access your active and completed missions through the Tasks tab, while new assignments must be acquired directly from vendor interfaces. These objectives range from location discovery to item retrieval, with intelligence provided varying from precise coordinates to vague geographical descriptions. Early missions often establish foundational map knowledge; for instance, an initial task might direct you to a gas station using specific coordinates, while subsequent assignments reference these known locations without coordinate assistance. This progressive intelligence withholding intentionally develops your navigational skills and environmental awareness. Successful task completion not only provides immediate monetary rewards but also unlocks higher-tier equipment and specialized missions from vendors. For maximum efficiency, organize your task completion geographically rather than sequentially, minimizing travel time between objectives.
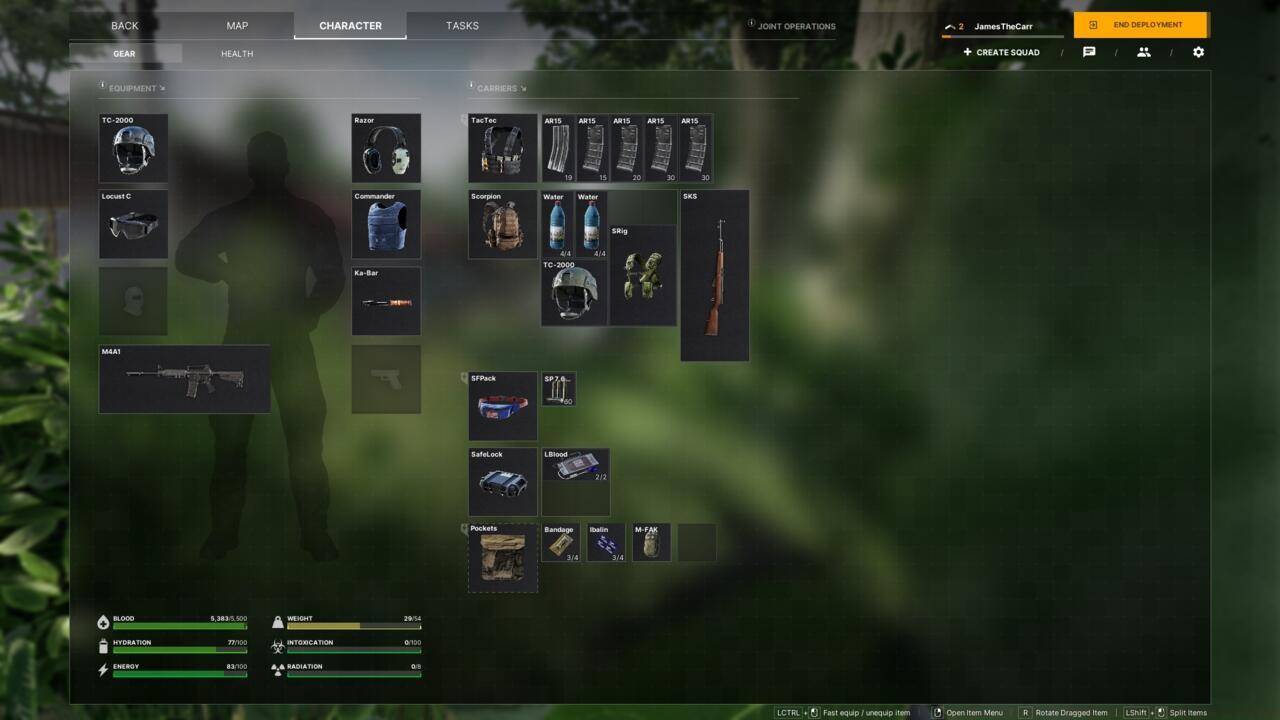
Inventory organization represents a continuous challenge in Gray Zone Warfare, with ammunition management requiring particular attention. You’ll juggle loaded magazines, loose rounds, and specialized ammunition types, each serving distinct tactical purposes. Before deploying, ensure you carry at least one spare magazine plus additional loose ammunition. The inventory system allows direct transfer of loose rounds into partially filled or empty magazines without animation delays or time penalties, enabling rapid rearmament during combat lulls.
Weapon systems utilize various ammunition calibers, necessitating careful inspection of your firearm’s specific requirements. Scavenging ammunition from defeated enemies provides valuable resupply opportunities, provided the captured rounds match your weapon’s specifications. Most AI combatants employ 7.62mm weaponry, making AK-platform rifles strategically advantageous for ammunition compatibility. Specialized rounds include HPBT (Hollow Point Boat Tail) ammunition, which creates extensive tissue damage effective against unarmored targets, and M995 armor-piercing rounds that penetrate body armor despite causing smaller wound channels. Understanding these ballistic characteristics allows tactical ammunition selection based on anticipated enemy types.
When fatal engagements occur in Gray Zone Warfare, your equipped gear remains at the death location as a recoverable loot container. This equipment persists for a limited duration before despawning, creating retrieval urgency. Upon respawning, your inventory contains only a combat knife and lockbox-stored items, presenting strategic decisions regarding re-equipment. You can either fully re-outfit from your personal stash (limiting potential recovery capacity) or deploy minimally equipped for high-risk retrieval attempts. Strategic advantage exists if you inflicted damage on your attackers before dying; wound bleeding mechanics often eliminate these threats before your return, potentially simplifying gear recovery operations. Consider the geographical distance to your death location when deciding between re-gearing or rapid retrieval, as distant locations may not justify the risk of minimal-equipment deployment.
Sustaining injuries in Gray Zone Warfare without immediate fatality demands rapid medical intervention to prevent deterioration. Ballistic impacts to different body regions produce varying damage types and bleeding intensities, compounded by status effects like pain that impair combat effectiveness. Critical medical knowledge involves understanding that excessive blood loss triggers comatose states, requiring squadmate medical assistance for revival. Different medical items address specific injury types: tourniquets control severe hemorrhaging in extremities, hemostatic agents manage moderate bleeding, and analgesics alleviate pain symptoms. Advanced medical kits provide comprehensive treatment but require longer application times, making them unsuitable for immediate combat scenarios. Always prioritize bleeding control over pain management, as blood loss presents the most immediate lethal threat. For comprehensive medical strategies, consult our Class Guide for specialized medical class capabilities.
Medical response protocols vary by injury severity and location. Limb wounds typically allow self-treatment, while thoracic and abdominal injuries often require squad assistance. Carry a balanced medical loadout including quick-use items for combat situations and comprehensive kits for post-engagement recovery.
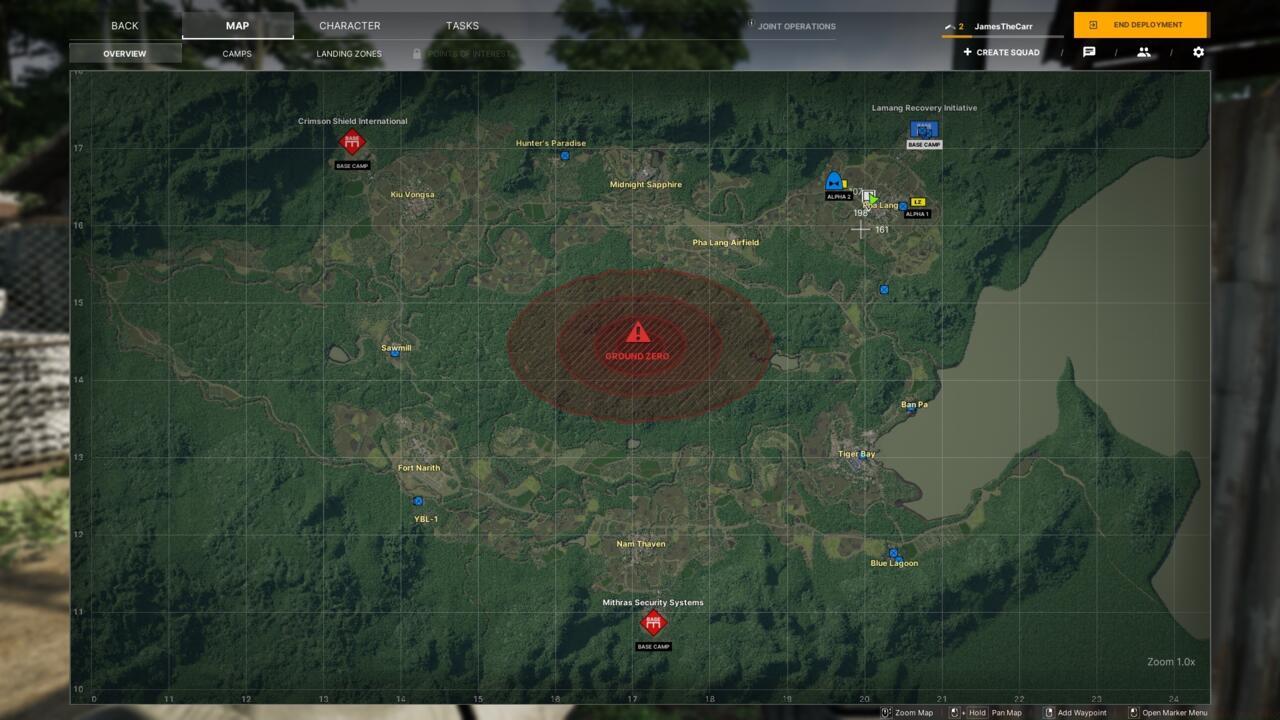
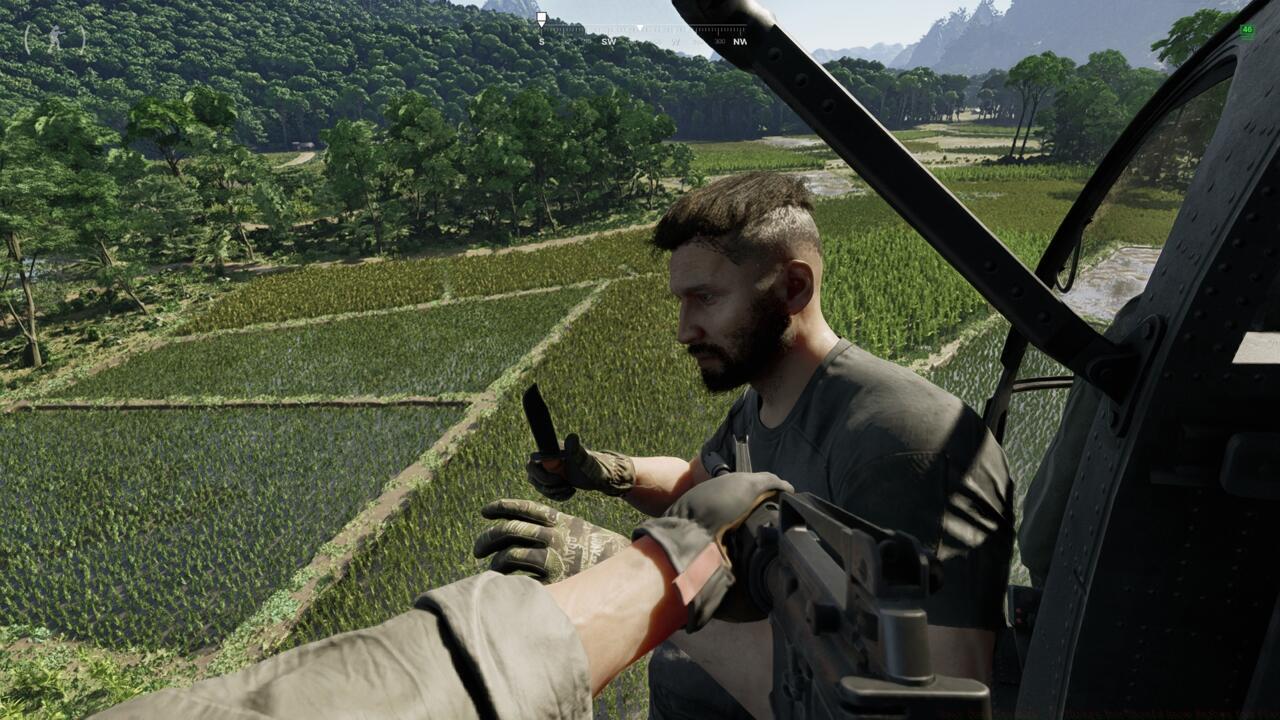
Beyond fundamental mechanics, several advanced techniques significantly enhance survival probabilities. Player identification represents a crucial skill; enemy AI typically exhibits predictable patrol patterns and engagement behaviors, while human opponents demonstrate more erratic tactical movements. The in-game map provides essential intelligence when utilized effectively—marking known enemy positions, planning extraction routes, and noting resource locations. Transportation systems, particularly helicopter extraction points, require careful navigation; selecting incorrect departure locations can strand you in hostile territory, though sometimes intentional misdirection creates tactical advantages. For weapon mastery and progression systems, our Weapons Unlock guide offers detailed weapon-specific strategies. Environmental awareness and sound discipline often determine engagement outcomes more than raw marksmanship skills.
Action Checklist
- Configure graphics settings with FSR/DLSS and implement frame rate caps
- Select faction aligned with squadmates and appropriate game mode
- Systematically complete vendor tasks to build map knowledge and economic resources
- Organize inventory with spare magazines and compatible ammunition
- Master medical response protocols and wound treatment priorities
- Develop gear recovery strategies based on death location assessment
No reproduction without permission:SeeYouSoon Game Club » Gray Zone Warfare: 10 Things You Should Know Before You Play Master Gray Zone Warfare with essential performance optimization, combat tactics, and survival strategies