Master stealth tactics, combat strategies and reward optimization for Ghost of Yotei’s Marshland Homestead side quest
Quest Overview and Strategic Preparation
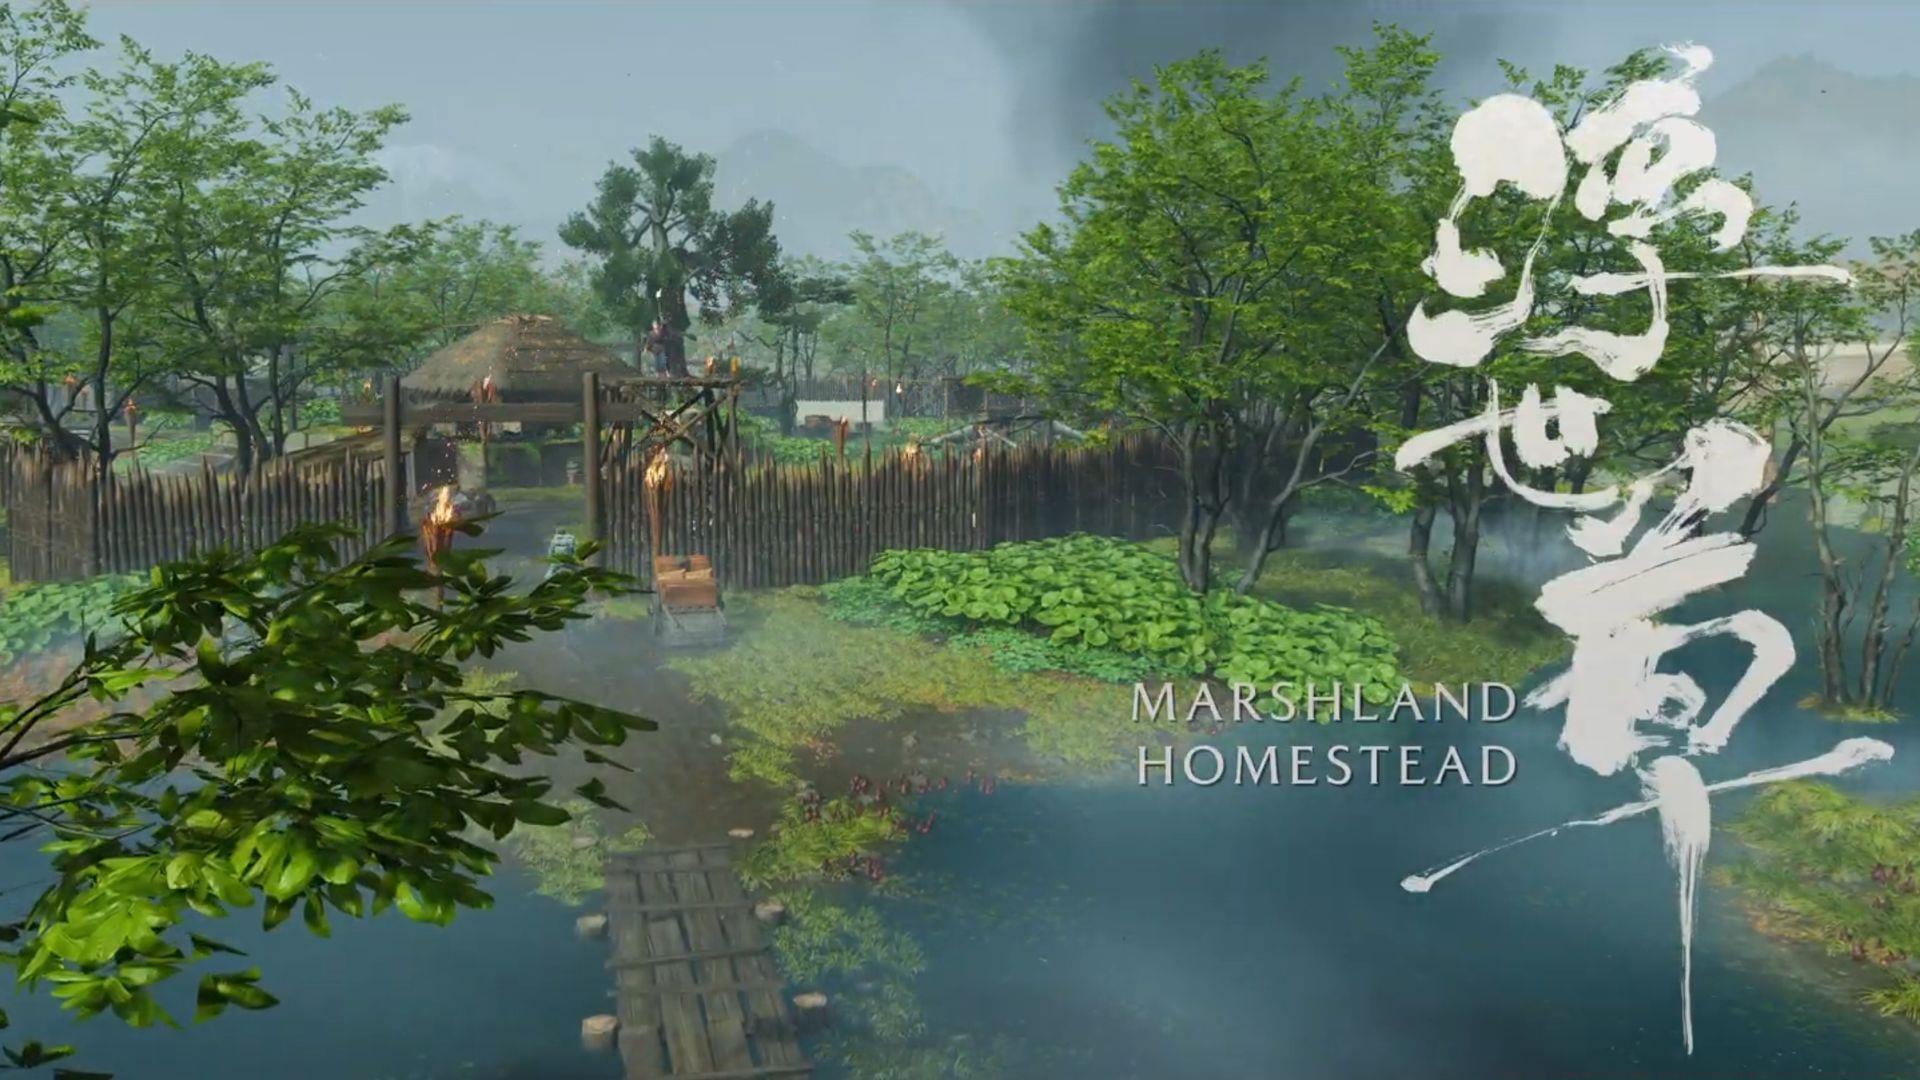
The Marshland Homestead side quest in Ghost of Yotei becomes accessible during Chapter 1: The Lone Wolf immediately following the prologue completion. This mission serves as an excellent early-game opportunity to practice core gameplay mechanics while providing substantial rewards. Many players overlook the strategic preparation phase, which can significantly impact mission success rates.
Strategic preparation begins at the inn, where you should ensure your healing items are fully stocked and combat abilities are properly assigned. The eastern ride to the camp provides valuable scouting opportunities – observe patrol patterns from a distance before engaging. Enemy lookout towers present significant threats if approached carelessly, making patience your greatest asset during initial approach.
Infiltration Approaches and Enemy Management
Approaching the homestead presents two distinct tactical options: stealth infiltration or direct combat engagement. Each method offers unique advantages and challenges that align with different playstyles. Stealth-focused players should prioritize eliminating perimeter guards silently using tall grass and environmental cover, while combat-oriented approaches benefit from initiating fights near choke points.
Common mistake: Many players trigger alarms prematurely by rushing through the main gate. Instead, locate the less guarded eastern breach point marked by broken fencing. Enemy prioritization proves crucial – eliminate archers in lookout towers first, as they possess the longest sightlines and can alert reinforcements. Heavy soldiers require careful handling; use perfect parries and special abilities to break their defenses efficiently.
Advanced tactic: Utilize the distraction mechanic by throwing stones or using ghost tools to separate enemy groups. This allows for methodical elimination without triggering mass alerts. Remember that stealth kills remain possible even after detection if you break line of sight and reposition strategically.
Combat Phases and Tactical Execution
Once you’ve cleared initial resistance, focus shifts to freeing Chika from her captivity. Unlike typical rescue targets, she demonstrates remarkable combat proficiency and insists on joining the fray immediately. This triggers an intense second combat wave that tests your crowd control abilities and situational awareness.
The secondary engagement introduces three specialized enemy types requiring distinct counter strategies:
- Archers deploy flaming arrows that inflict damage-over-time effects. Prioritize these ranged threats using quick dashes and perfect dodges to close distance rapidly.
- Guard dogs utilize unpredictable lunging attacks that bypass standard block mechanics. Listen for distinctive barking cues and employ dodge-roll timing to avoid their charges.
- Standard soldiers apply constant pressure while heavier units disrupt your positioning. Use environmental objects as temporary cover during engagements.
Atsu provides valuable support during this phase, drawing aggro from multiple enemies. However, relying too heavily on NPC assistance represents a common pitfall. Maintain aggressive positioning to prevent enemies from flanking your allies. Healing management proves critical – avoid using health items during attack animations as interruption cancels the effect entirely.
Strategic note: Mastering enemy attack patterns significantly reduces difficulty in subsequent playthroughs
Rewards and Long-term Progression Benefits
Completing the final engagement triggers a narrative cutscene where Chika expresses gratitude for her rescue. She rewards your efforts with the Charm of Thunderous Assault, a valuable equipment piece that enhances combat capabilities throughout your journey. This charm specifically improves stagger damage against enemy guards, making it particularly effective against heavy soldier types encountered later.
Monetary compensation totals 450 Mon currency, providing early-game economic flexibility for weapon upgrades and item purchases. More significantly, completing this quest permanently unlocks an Altar of Reflection within the homestead area. This shrine provides ongoing character progression opportunities through prayer mechanics and ability enhancements.
Pro tip: Return to this altar periodically as you acquire new charms and abilities throughout the campaign. The location serves as a convenient fast travel point for future region exploration and resource gathering activities.
Expand your Ghost of Yotei knowledge with these additional guides:
- How to fast travel in Ghost of Yotei?
- Should you play in English or Japanese in Ghost of Yotei?
- Ghost of Yotei walkthrough: How to complete The Way of Dual Katana quest
No reproduction without permission:SeeYouSoon Game Club » Ghost of Yotei walkthrough: How to complete Marshland Homestead side quest Master stealth tactics, combat strategies and reward optimization for Ghost of Yotei's Marshland Homestead side quest