TL;DR
- The Shockwave Hammer offers both 75 damage strikes and powerful mobility through self-launching
- Find this Epic weapon in chests, capture points, and especially Oathbound Chests
- Master charge management with 4 uses and 15-second recharge per charge
- Use for environmental kills, breaking enemy structures, and rapid repositioning
- Combine with other weapons since it’s primarily a utility tool rather than primary damage source
This devastating melee implement delivers explosive impact potential.
Each Fortnite season introduces exciting new armaments to master, but Chapter 4 Season 1 brought one of the most versatile tools yet. The Shockwave Hammer serves as both close-quarters combat weapon and mobility enhancer, dealing substantial 75 damage per swing while offering unparalleled repositioning capabilities. While its damage output is respectable, the true strategic advantage lies in its dual-purpose design that revolutionizes player movement and engagement options.
The Shockwave Hammer appears through multiple acquisition channels including standard chests, ground loot spawns, and capture points—dynamic control locations that shift position between matches. As an Epic-tier item, it maintains moderate rarity though you’ll significantly improve discovery odds by targeting major Points of Interest with concentrated loot distribution. Our testing revealed consistent appearances in consecutive Oathbound Chests—the distinctive white and gold containers found at specific landmarks—suggesting enhanced drop rates within these specialized containers.
Pro Tip: Prioritize landing at locations with multiple Oathbound Chests like Citadel or Anvil Square. These areas typically contain 3-5 of these premium containers, dramatically increasing your chances of securing this powerful utility weapon early in the match.
This colossal weapon strikes opponents for 75 damage while simultaneously propelling them away from the impact zone, though this demands close proximity engagement. When successfully executed, it becomes an exceptional tool for environmental eliminations by hurling adversaries into storm zones or from elevated positions.
Common Mistake: Many players underestimate the knockback distance, leading to missed follow-up attacks. Practice in Battle Lab to master the exact range and trajectory for consistent environmental kills.
You can utilize the Shockwave Hammer to propel yourself skyward for tactical repositioning.
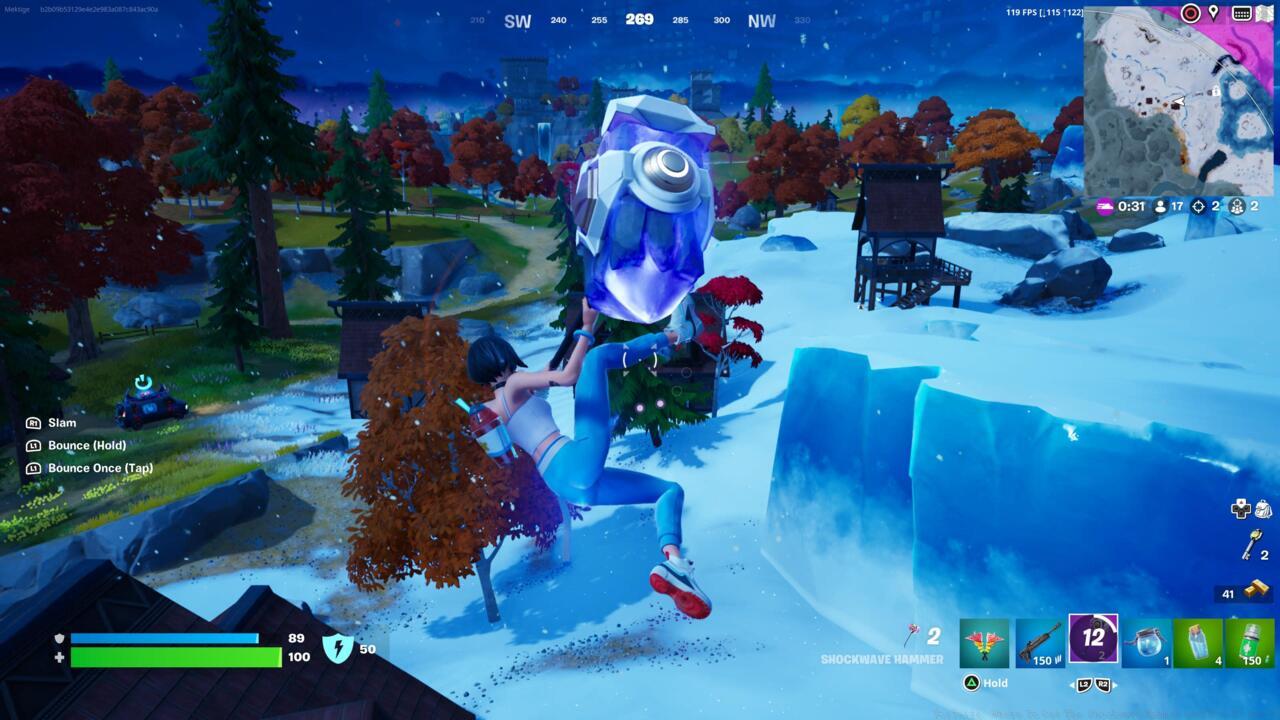
You can use the Shockwave Hammer to launch yourself into the air for repositioning.
However, the weapon’s primary utility emerges from its capacity to launch the wielder through space. By engaging the alternate fire function, you can thrust yourself forward—ideal for rapidly closing distances with hostile squads or evacuating from dangerous situations when required. You can additionally perform a slam strike upon descent to demonstrate combat intent to enemy teams. It functions similarly to Shockwave Grenades, but now incorporates offensive capabilities directly into the mobility tool.
Advanced Technique: Chain multiple launches together for extended aerial travel. Time your second launch at the peak of your first jump’s arc to maximize distance coverage—perfect for rotating across large zones or escaping storm damage.
The Shockwave Hammer contains four available charges, with each activation consuming one unit. Given the approximately 15-second regeneration period per charge, maintain awareness of your consumption patterns and ensure backup weaponry remains accessible. This powerful yet methodical melee choice excels as a utility instrument for movement enhancement and structural demolition, indicating it shouldn’t serve as your principal damage source against opposing squads.
Weapon Synergy: Pair the hammer with medium to long-range weapons like the Red-Eye Assault Rifle or Hunter Bolt-Action Sniper. This combination allows you to maintain pressure at distance while using the hammer for quick repositioning or close-quarters emergencies.
Action Checklist
- Land at major POIs with Oathbound Chests for optimal acquisition chances
- Practice launch trajectories in Battle Lab to master environmental kills
- Master charge conservation—always keep at least one charge for emergency escapes
- Learn to chain multiple launches for maximum rotation efficiency
- Combine with long-range weapons to cover the hammer’s engagement limitations
No reproduction without permission:SeeYouSoon Game Club » Fortnite: Where To Get The Shockwave Hammer And How To Use It Master the Shockwave Hammer in Fortnite: Locations, combat strategies, and advanced mobility tactics