TL;DR
- Mega City’s southern skyscraper offers superior loot density and strategic mobility options
- Mountain outposts provide guaranteed Epic weapons through NPC vendors for early-game advantage
- Coastal Kinetic Blade routes enable rapid map traversal and resource accumulation
- Understanding rotation timing between locations is crucial for mid-game survival
- Advanced players should master ambush positioning in complex urban environments
GameSpot may receive revenue from affiliate and advertising partnerships for sharing this content and from purchases through links.
Fortnite Chapter 4 Season 2 has dramatically transformed the battle royale island with an expansive new biome featuring Mega City, the largest urban environment in Fortnite history, complemented by Japanese medieval-inspired locations including the impressive Kenjutsu Crossing fortress.
The introduction of this substantial new territory has created intense competition as players flock to explore the futuristic metropolis and surrounding areas. While veteran players possess extensive knowledge of established locations, the fresh terrain presents both opportunities and challenges that require strategic adaptation.
Our analysis prioritizes newly introduced drop zones while acknowledging that traditional areas still offer tactical advantages. Seasoned competitors understand that quieter locations often conceal ambush opportunities, making comprehensive map knowledge essential for survival.
This guide provides detailed strategic analysis of optimal landing positions, incorporating advanced rotation techniques and resource management principles to maximize your competitive edge.
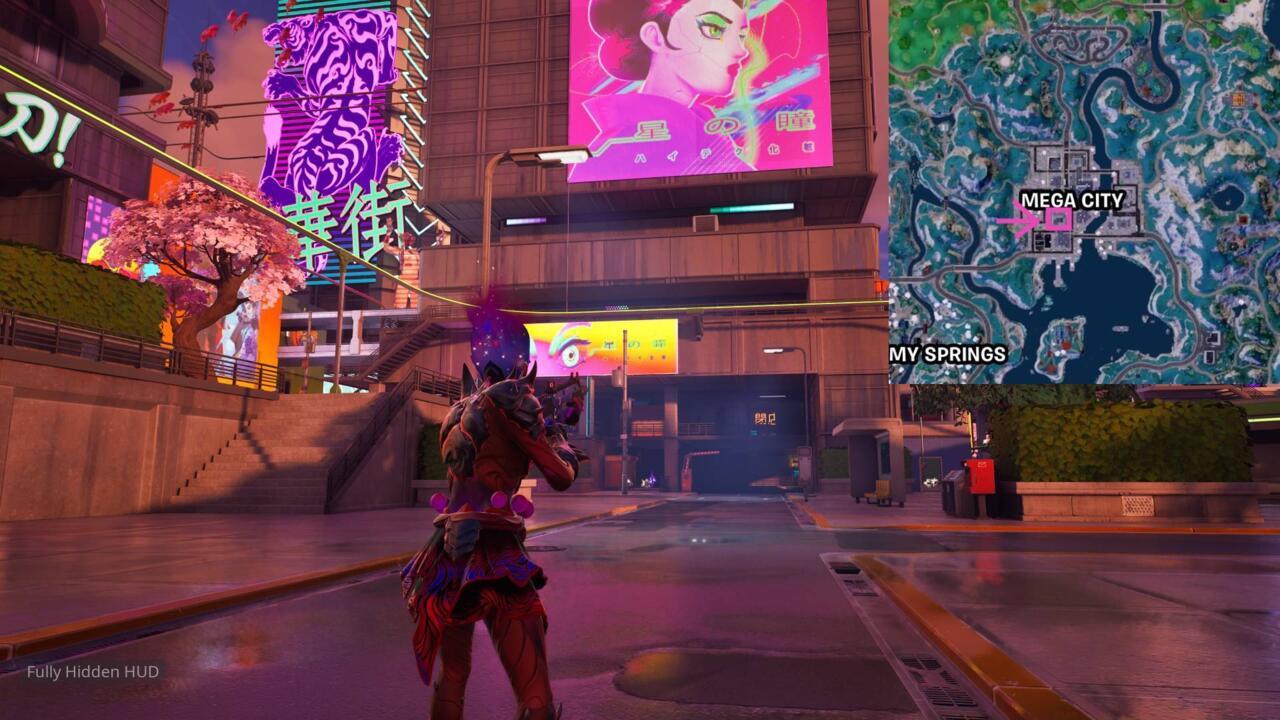
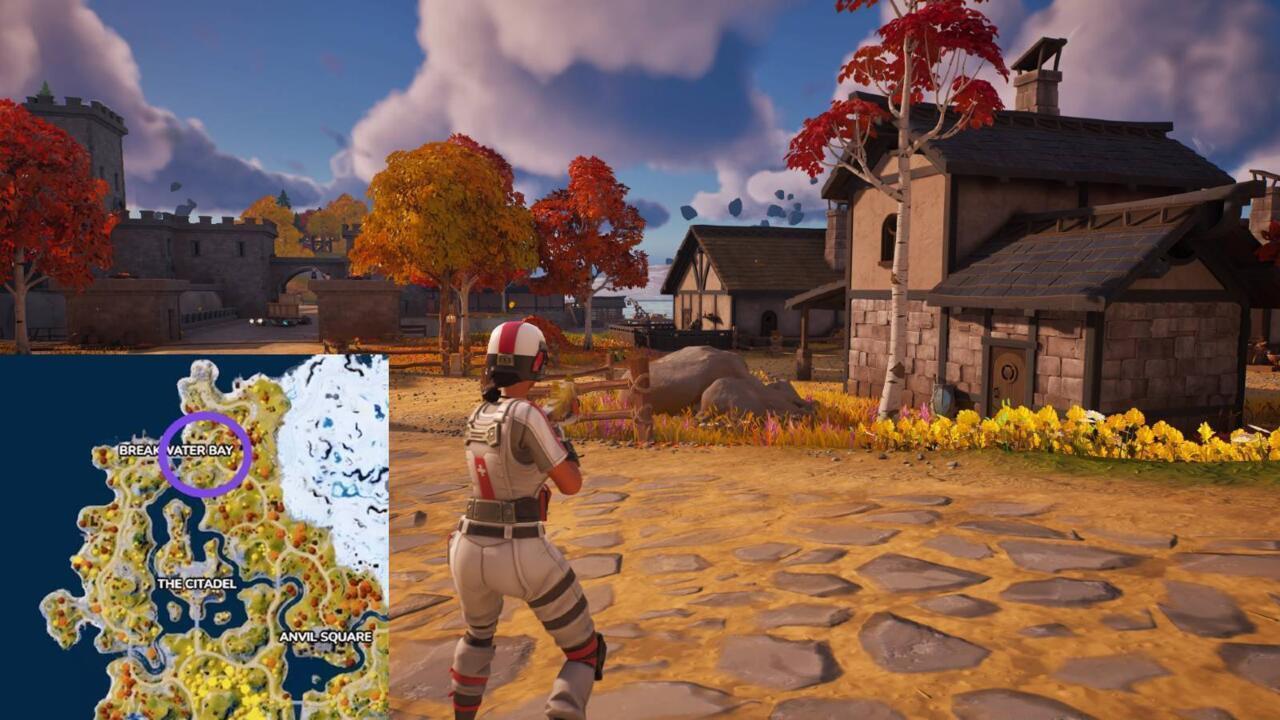
Each major structure within Mega City presents distinct tactical advantages that evolve throughout match progression. For initial deployment, the building positioned immediately south of the “Mega” designation on your tactical map offers unparalleled strategic value despite not being the tallest available.
This location provides sufficient equipment for complete squad outfitting across its lower levels, featuring a vending machine on the ground floor and southern skyway connectivity enabling seamless building transitions without exterior exposure.
The complex mall infrastructure at the foundation creates ideal conditions for evasion and counter-ambush maneuvers. Through extensive field testing, I’ve successfully maintained control of this sector throughout entire solo engagements. While Mega City deployments carry inherent risk, this structure consistently serves as reliable operational foothold.
Mastering the intricate layout requires several practice deployments, but once achieved provides significant competitive superiority over urban combatants. Advanced players should prioritize learning vertical movement patterns and identifying choke points for defensive positioning.
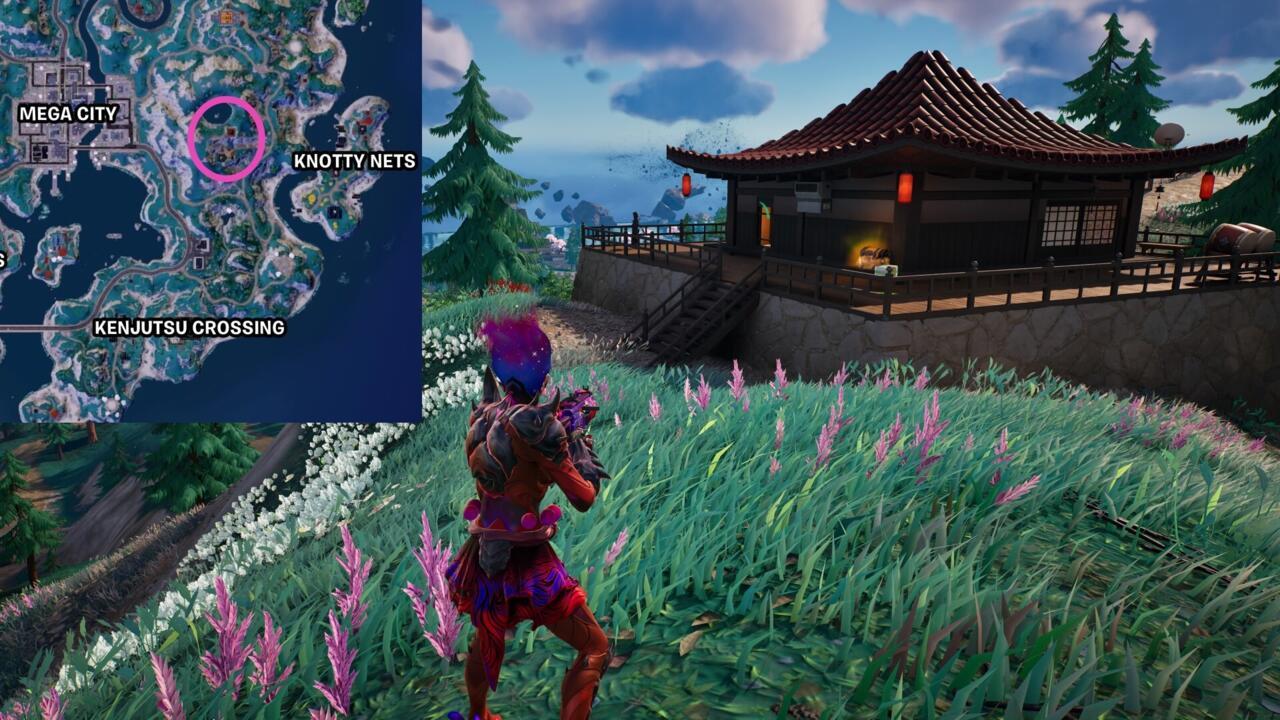
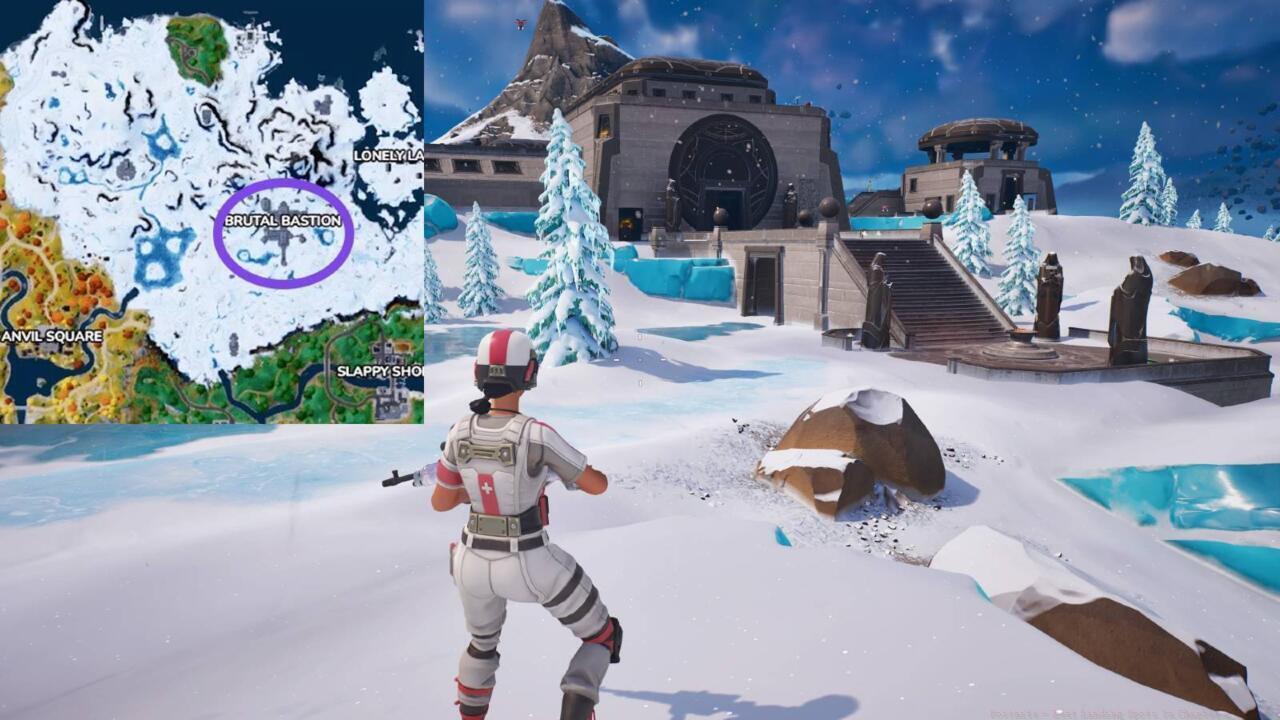
Positioned west of the metropolitan center, the mountainous region features a crater lake summit with strategic positioning advantages. The northern sector contains a reboot van adjacent to water features, while southern crater perimeter hosts two structures with substantial resource potential.
These facilities provide adequate equipment for basic squad loadouts while offering additional strategic value through Neuralynx, the resident NPC merchant. This vendor supplies Epic-tier Twin-Mag SMGs and compact shield provisions, ensuring superior firepower acquisition before engaging in combat operations.
For players prioritizing guaranteed high-quality armaments during initial deployment phases, this location represents optimal selection. The elevated positioning also provides panoramic visibility of approaching threats and multiple escape routes through natural terrain coverage.
Common mistakes include over-committing to loot collection and failing to monitor skyway traffic from Mega City. Advanced tactics involve using the reboot van as bait while positioning in the western structures for ambush opportunities.
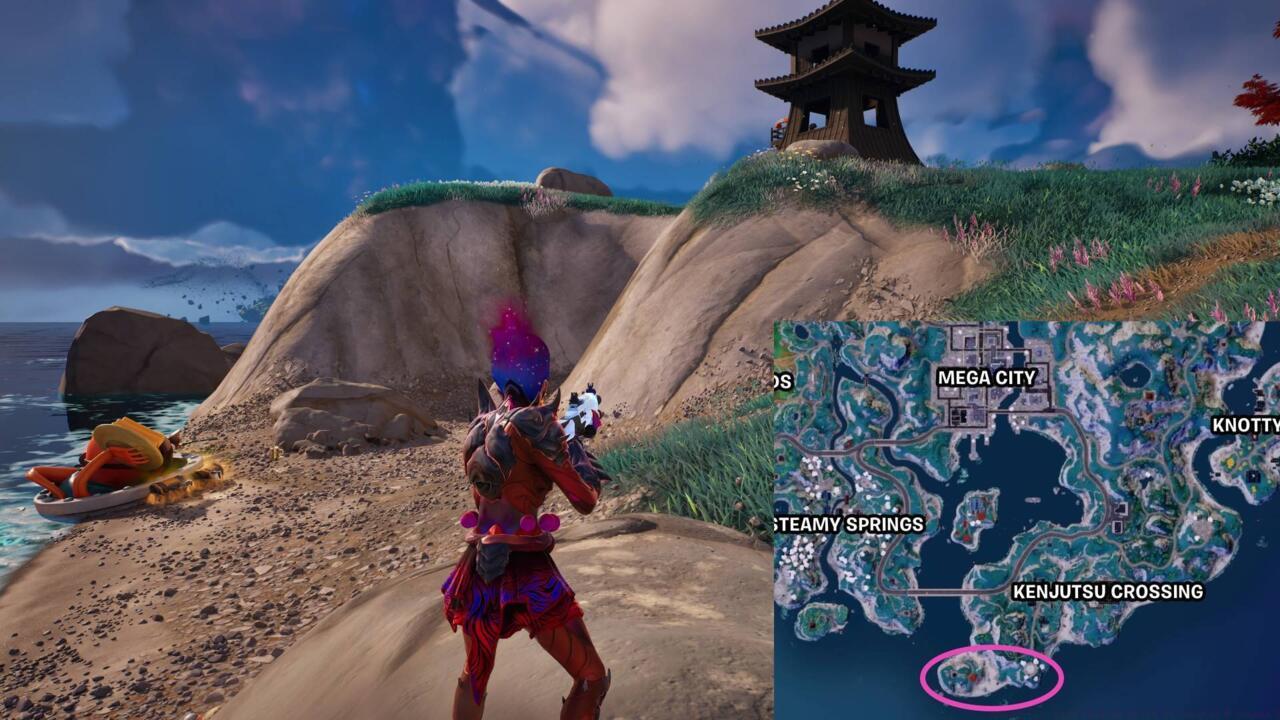
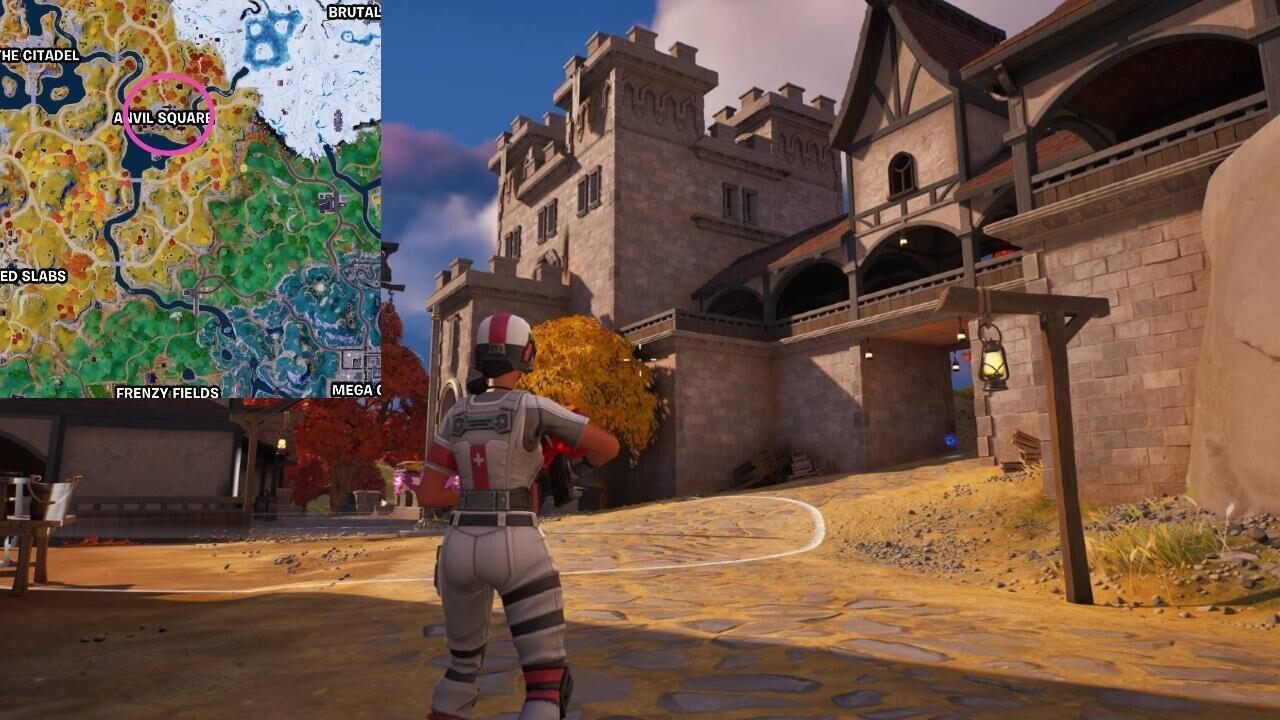
Multiple locations within the new map sector contain dueling circles with guaranteed Kinetic Blade spawns. However, the southern Kenjutsu Crossing location provides optimal tactical sequencing for rapid resource accumulation.
After securing your blade, execute rapid coastal advancement westward to discover a beach area containing minimum four treasure chests: two positioned near a beached fishing vessel and additional chests adjacent to the collapsed Sticks signage remnant from Chapter 3.
Adjacent to this area stands a compact tower structure containing two additional treasure chests, four Slap/Slurp containers, multiple key chests, and a portable sanitation unit that teleports users to an identical tower with matching resource distribution.
This route enables players to accumulate substantial resources within the first three minutes while maintaining high mobility through Kinetic Blade utilization. Optimal execution involves clearing the beach before utilizing the teleportation mechanism, then rotating toward the main combat zones with fully equipped loadouts.
Advanced players should master the blade’s dash attack for rapid engagement and disengagement, using terrain features for cover during rotation phases. Time investment for this route typically ranges 2-3 minutes depending on opponent density.
Strategic landing selection requires understanding dynamic risk assessment throughout match progression. While new locations attract concentrated player activity, established areas offer predictable resource patterns and reduced initial competition.
The critical differentiator between average and elite players lies in rotation timing between primary and secondary locations. Optimal players deploy to moderately contested zones, secure essential equipment, then rotate toward high-value areas during mid-game transitions.
Common strategic errors include over-prioritizing loot density without considering exit strategies, and failing to adapt landing choices based on battle bus trajectory analysis.
For comprehensive battlefield mastery, consult our Complete Guide for advanced tactical frameworks. Weapon selection strategies detailed in our Weapons Unlock guide provide complementary strategic insights, while advanced class mechanics in our Class Guide enhance squad composition effectiveness.
Advanced optimization involves memorizing vending machine locations, understanding NPC spawn patterns, and developing multiple contingency plans for unexpected early-game engagements.
Action Checklist
- Analyze battle bus trajectory and select landing zone 5 seconds before jump
- Prioritize Mega City southern skyscraper for squad deployments
- Secure Kinetic Blade at Kenjutsu Crossing dueling circle
- Visit mountain outpost NPC for Epic weapon acquisition
- Execute coastal treasure route for resource accumulation
- Rotate to secondary locations during storm phase transitions
No reproduction without permission:SeeYouSoon Game Club » Fortnite – Best Landing Spots In Chapter 4 Season 2 Master Fortnite Chapter 4 Season 2 with strategic landing spots and advanced combat tactics