Master Schedule 1 Dead Drop locations with expert navigation tips and time-saving strategies for efficient empire building
Understanding Dead Drops in Schedule 1
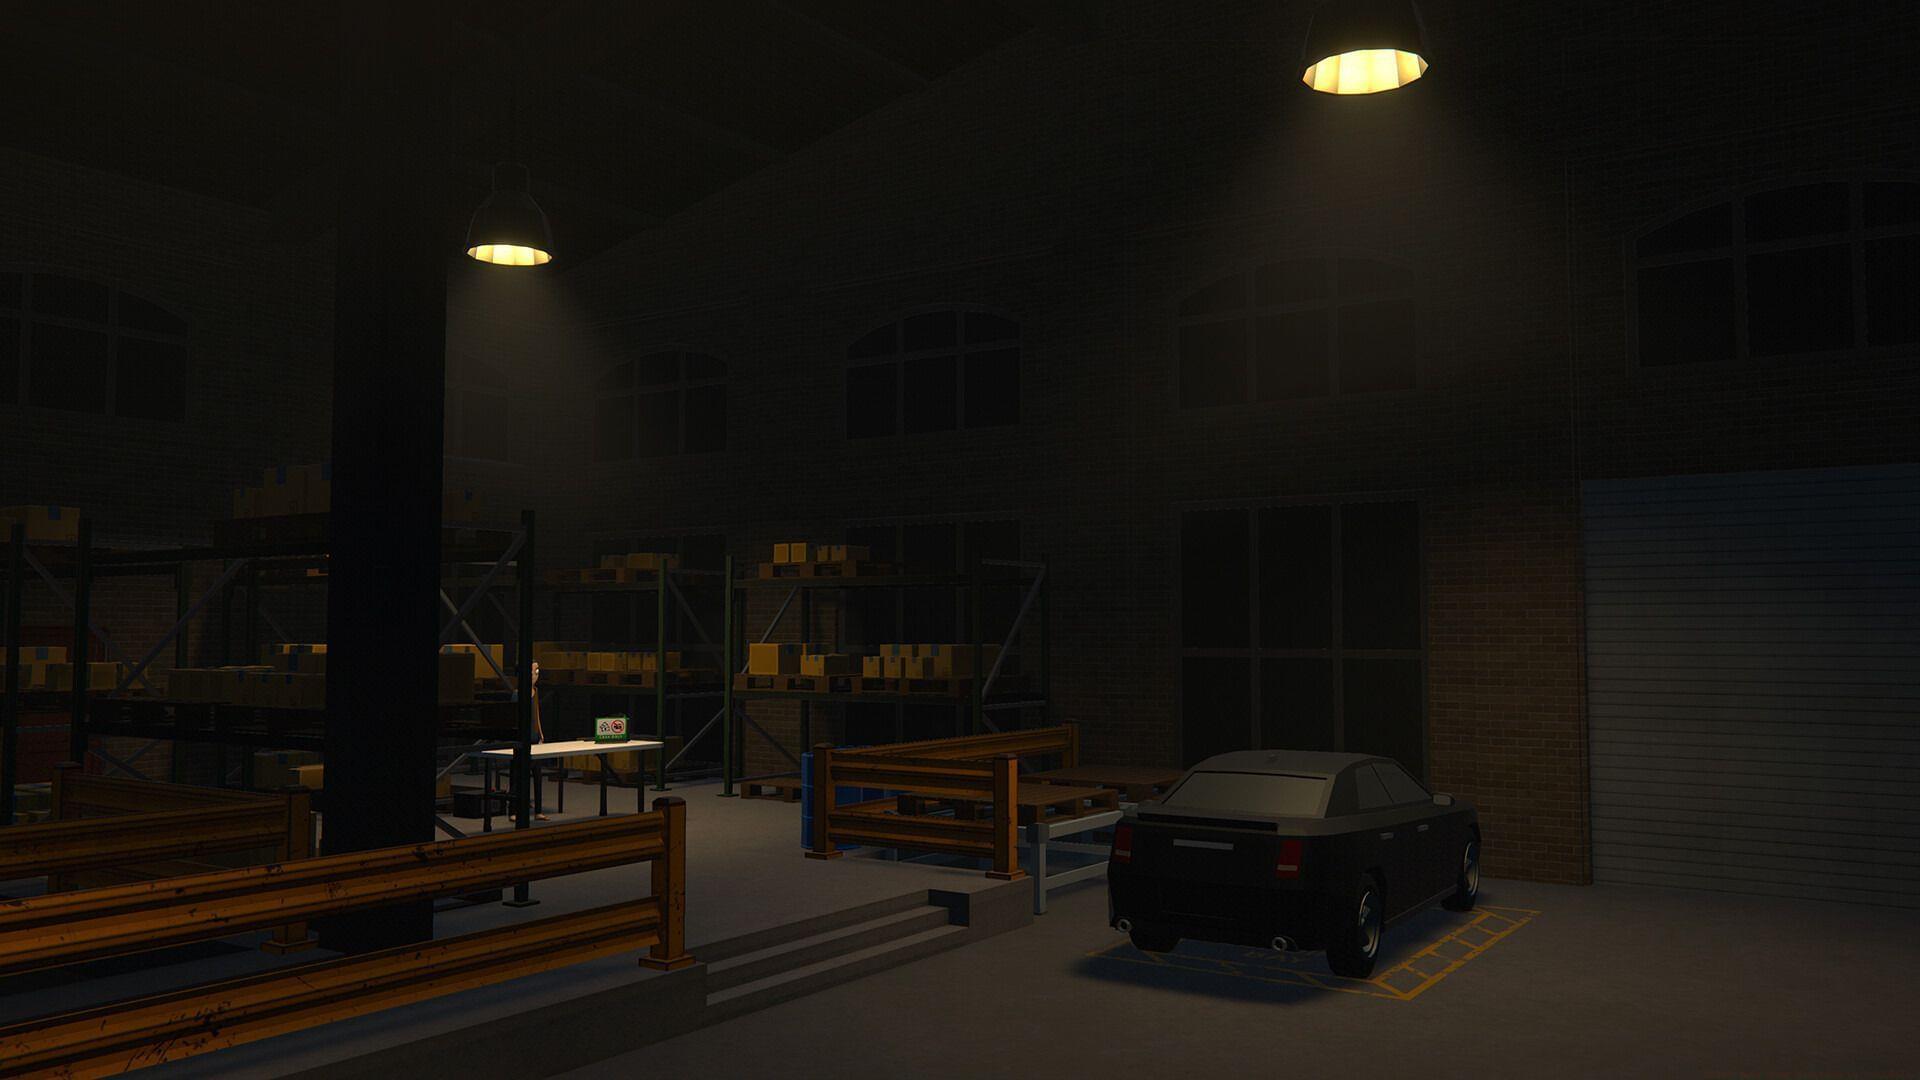
In Schedule 1, establishing your criminal enterprise requires more than production knowledge—mastering pickup logistics proves equally crucial. Once you initiate orders through your mobile device (typically contacting Albert Hoover), delivery instructions arrive specifying Dead Drop locations. These concealed collection points dot the Hyland Point landscape, typically appearing as discreet wall hatches positioned in alleyways and secondary streets.
Crossword enthusiasts seeking solutions? Explore current NYT Mini Crossword Answers, LA Times Crossword Answers, and Atlantic Crossword Answers for daily puzzles.
Complete Dead Drop Location Guide
The grocery store dead drop presents navigational challenges. Upon receiving the “Collect Dead Drop behind the Grocery Store” notification, avoid map searches since the store lacks marking. Instead, proceed beyond Koyama Chemical Company and Taco Ticklers until locating an ATM. Immediately after the ATM, turn right into a narrow passageway. Continue along this route until discovering the hatch. Since markings are minimal, carefully inspect wall surfaces.
This discreet location hides between Warehouse and Laundromat structures. A slender alley separates both buildings. Traverse this passage while monitoring walls—the hatch occupies the rear position. Rushed players often overlook this spot, but once identified, it becomes a convenient collection point.
Another consistent drop situates behind the Motel complex. Pass between the Motel and adjacent office building, then turn left. You’ll immediately notice the hatch positioned against the back wall. This represents one of the more straightforward locations after initial discovery.
This drop positions near Crimson Canary nightclub, adjacent to The Butterbox establishment. Locate the alley separating Crimson Canary from Les Ordures Puantes building. Focus observation on the right-side wall where the hatch installs. This provides a reliable central urban collection site.
Further reading: How to use the money glitch in Schedule 1
Cross the canal bridge and immediately enter the first left alley. Then turn right again, proceed past stacked drums, and identify the hatch on the arcade’s northern aspect. This route may feel convoluted initially but offers valuable acquisition opportunities.
This position shares vicinity with Taco Ticklers and Motel landmarks. Approach the Pawn Shop area where you’ll notice signage and garbage container proximity. Just beyond these markers, the hatch embeds into the building’s western wall. Its subtle placement makes this an excellent rapid stop during multi-drop circuits.
Directly opposite Thompson Construction & Demo lies the Skate Park facility. The entrance locates on a diminutive wall facing the roadway. This ranks among the most memorable drops due to prominent visibility.
This drop neighbors the familiar Taco Ticklers venue. After passing Taco Ticklers building on your left, execute the initial left turn. The hatch nestles beside a green structural column—watch for this identifier. Since this zone contains numerous points of interest, it’s an excellent drop to incorporate into standard routes.
Beneath West Bridge rests arguably the game’s most concealed drop. Descend into the canal and follow the subterranean path to access it. Though remotely positioned, it serves well when operating in western territories.
Advanced Navigation Strategies
Memorizing drop point locations conserves substantial time investment. Once route patterns become familiar, collection operations transform into instinctive processes. Whether launching your enterprise or expanding existing operations, this intelligence provides competitive advantage within Schedule 1’s ruthless environment.
Route Optimization Strategy: Group nearby drops into efficient collection circuits. The Taco Ticklers area contains multiple drops within walking distance—plan routes that minimize backtracking. Always check the canal drop when visiting western sectors since it’s isolated from other locations.
Common Navigation Errors: New players often waste time searching for marked grocery stores or businesses mentioned in drop messages. Remember these are descriptive references rather than mapped locations. Another frequent mistake involves rushing through alleys and missing subtly positioned hatches—always methodically scan walls at eye level.
Advanced Player Techniques: Experienced operators create mental maps connecting drop locations to prominent landmarks. The Skate Park drop serves as perfect orientation point since it’s highly visible. When receiving multiple drop messages, prioritize those clustered geographically rather than following message sequence. Consider time of day—some drops become harder to spot during night cycles without proper lighting awareness.
Additional reading: How to play co-op in Schedule 1
Explore additional Schedule 1 content on Sportskeeda:
No reproduction without permission:SeeYouSoon Game Club » Every dead drop location in Schedule 1 Master Schedule 1 Dead Drop locations with expert navigation tips and time-saving strategies for efficient empire building