TL;DR
- Complete both Mercy Among Thieves and Off the Pilfered Path quests in sequence
- Acquire Bakbattahl residence pass before attempting prison visit
- Bribe jailer Ekratt with 1,000 gold for Hugo’s release
- Overhear Coral Snakes gossip near Rockmouse’s Burrow tavern
- Avoid progression bugs by following specific trigger requirements
GameSpot may receive revenue from affiliate and advertising partnerships for sharing this content and from purchases through links.
Within the rich narrative tapestry of Dragon’s Dogma 2, certain characters carry burdensome histories that shape their destinies. Hugo represents one such individual—a man compelled into criminal syndicate membership through unfortunate life circumstances. This comprehensive guide details the multi-step process to secure his liberation while navigating the game’s intricate quest systems. Please note this content reveals minor narrative spoilers regarding character arcs and location triggers.
Hugo’s storyline intertwines with two distinct questlines: Mercy Among Thieves and Off the Pilfered Path. The sequencing can become confusing due to unpredictable activation conditions and potential progression blockers that may disrupt the natural flow of events.

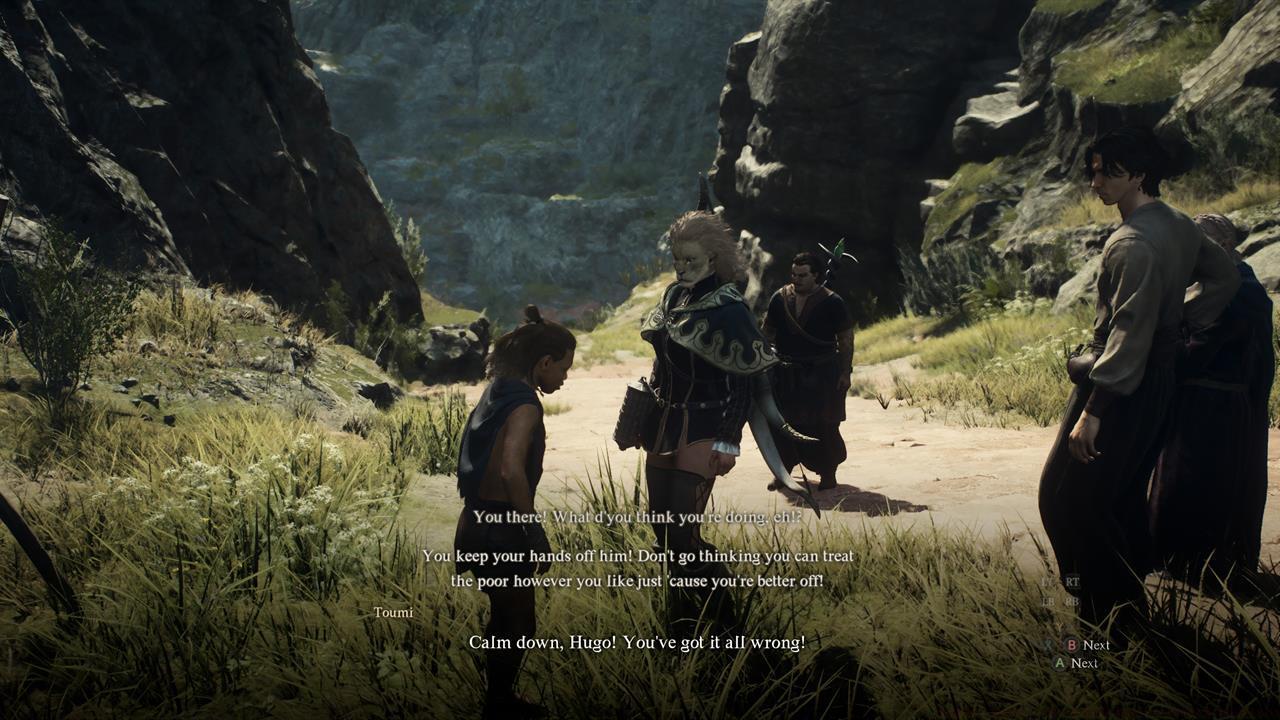
Your initial encounter with Hugo occurs shortly after departing through the main gate of Checkpoint Rest Town. A concerned citizen will approach detailing ongoing Coral Snakes operations targeting merchant oxcarts along the trade routes. Accepting this assistance opportunity initiates the rescue chain.
Progressing along the designated path brings you to young Toumi, who desperately requests nourishment. Providing any non-spoiled food item from your inventory on two separate occasions triggers Hugo’s gratitude appearance—a critical story beat that establishes future interactions.
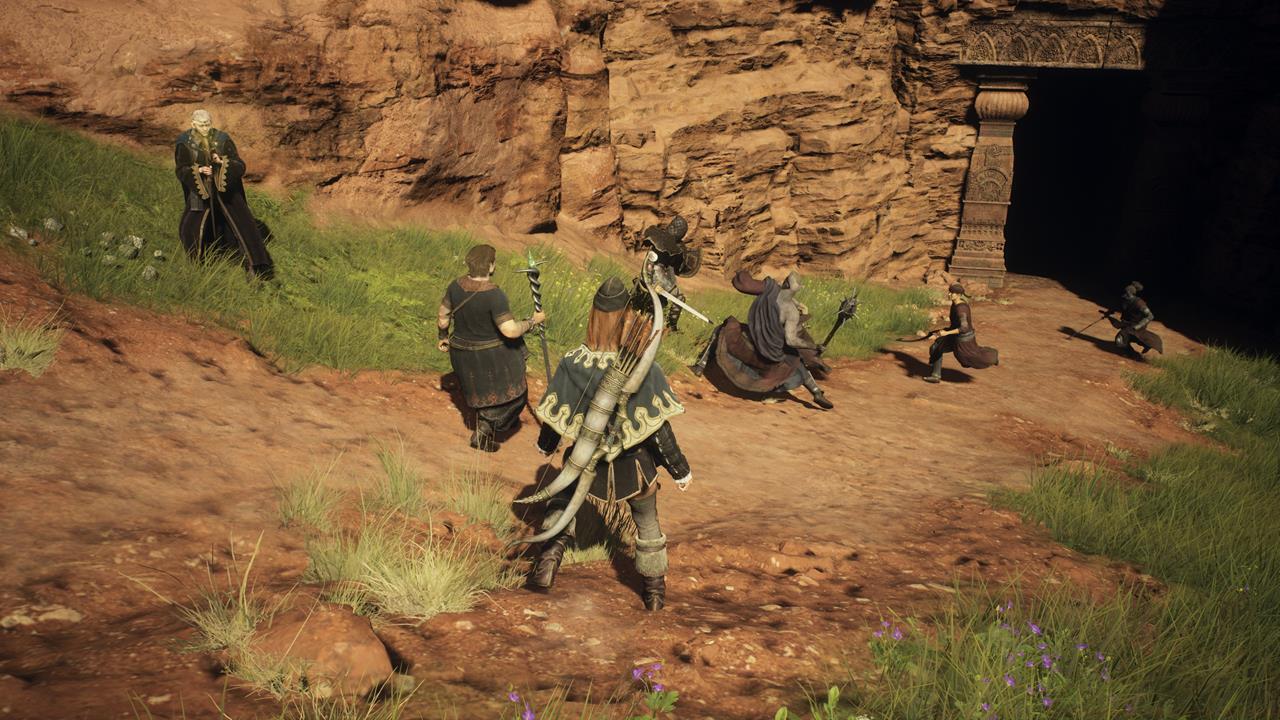
While pursuing intelligence about Coral Snakes operations, observe Hugo hastily entering a concealed tunnel entrance. Persistent pursuit through this underground passage leads to their extensive hideout cavern—a location swarming with syndicate members prepared for confrontation.
Battahl guard Benjamin unexpectedly provides combat support during the impending engagement. Prepare thoroughly as this encounter involves numerous hostile opponents requiring strategic resource management and tactical positioning.

Upon reaching the tunnel’s terminus, Coral Snakes leader Lanzo violently shoves Hugo from an elevated platform. This betrayal results in his apprehension by Benjamin and accompanying guards, transitioning the narrative to subsequent phases.
After establishing residence in Bakbattahl’s inn quarters, Benjamin may reappear informing you of Hugo’s incarceration status and potential visitation opportunities. Before pursuing this dialogue option, we strongly recommend advancing the Nation of the Lambent Flame primary quest thread.
This central narrative objective directs you to Rockmouse’s Burrow tavern for discussions with Menella. She provides the essential residence pass documentation granting unrestricted Bakbattahl exploration privileges without arousing guard suspicion.
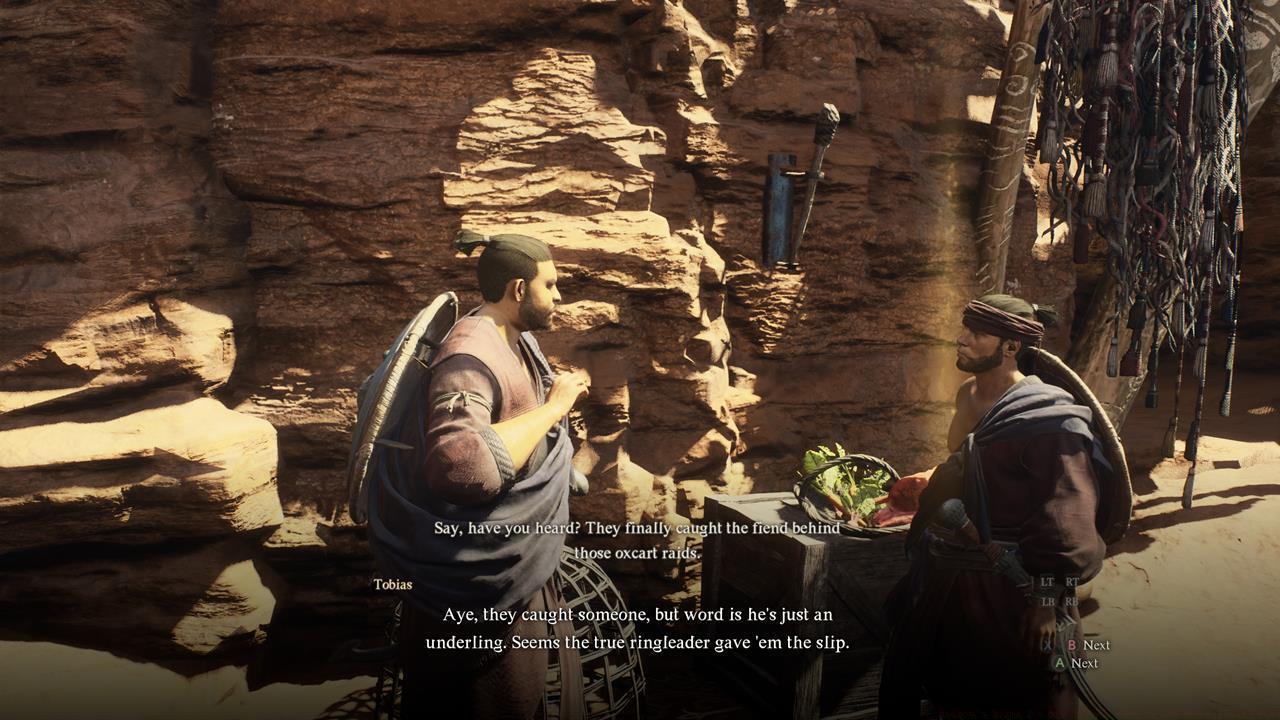
Additionally, position yourself near the tavern entrance to eavesdrop on conversations discussing recently captured Coral Snakes affiliates—this intelligence gathering proves crucial for subsequent prison interactions.
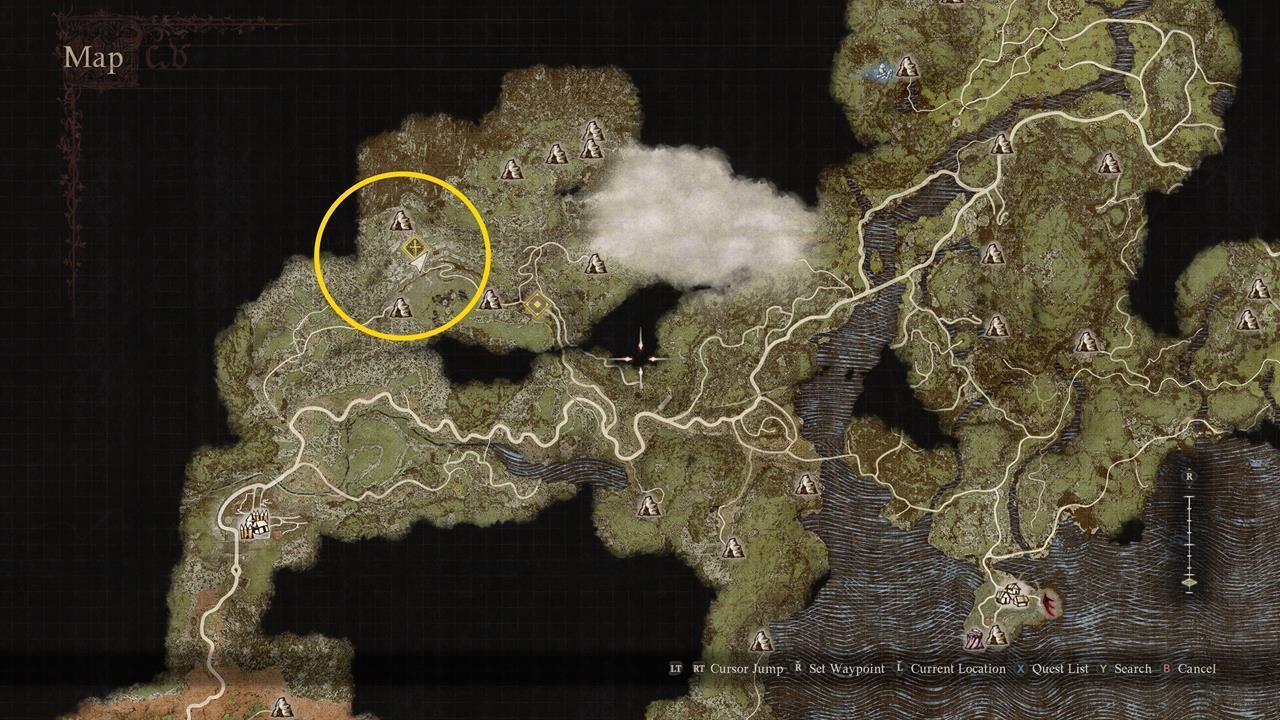
With both residence pass acquisition and overheard syndicate intelligence secured, proceed to Bakbattahl’s detention facility situated along the eastern city perimeter. Jailer Ekratt will permit entry once these prerequisites are satisfied.
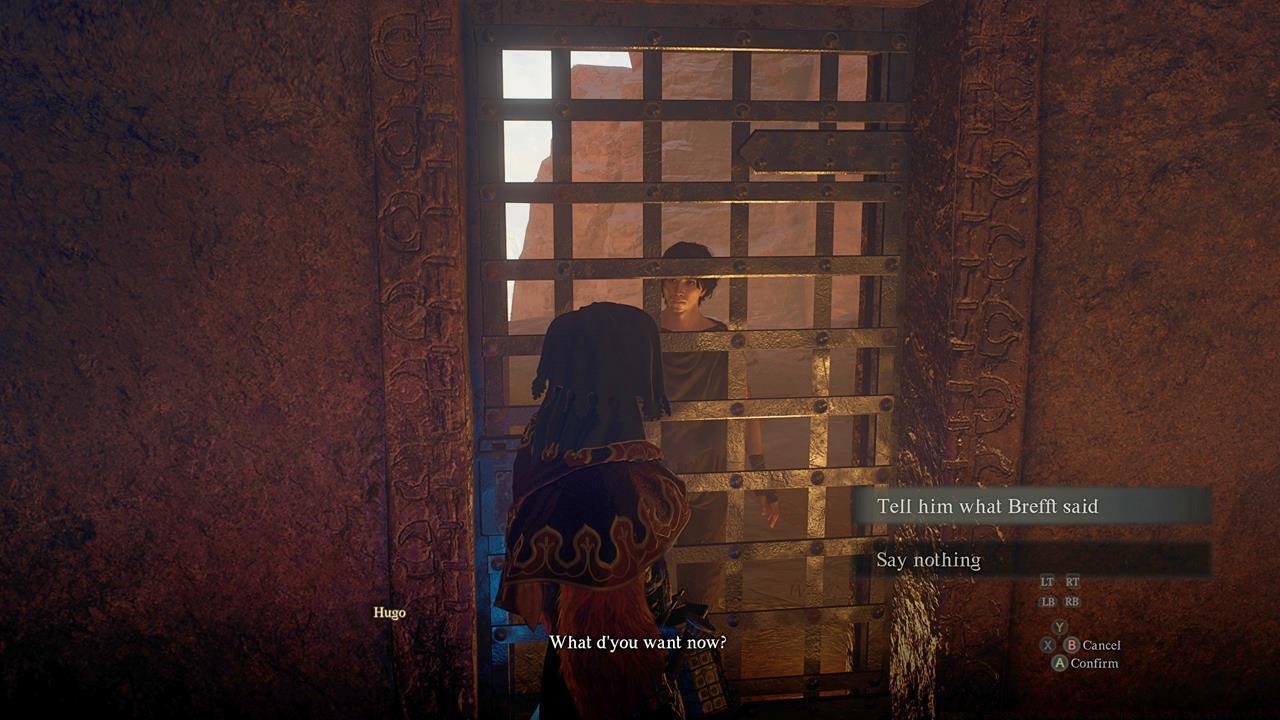
Inside the prison confines, engage Hugo in meaningful dialogue where he reveals the desperate circumstances that initially led to his Coral Snakes affiliation, providing deeper character motivation understanding.
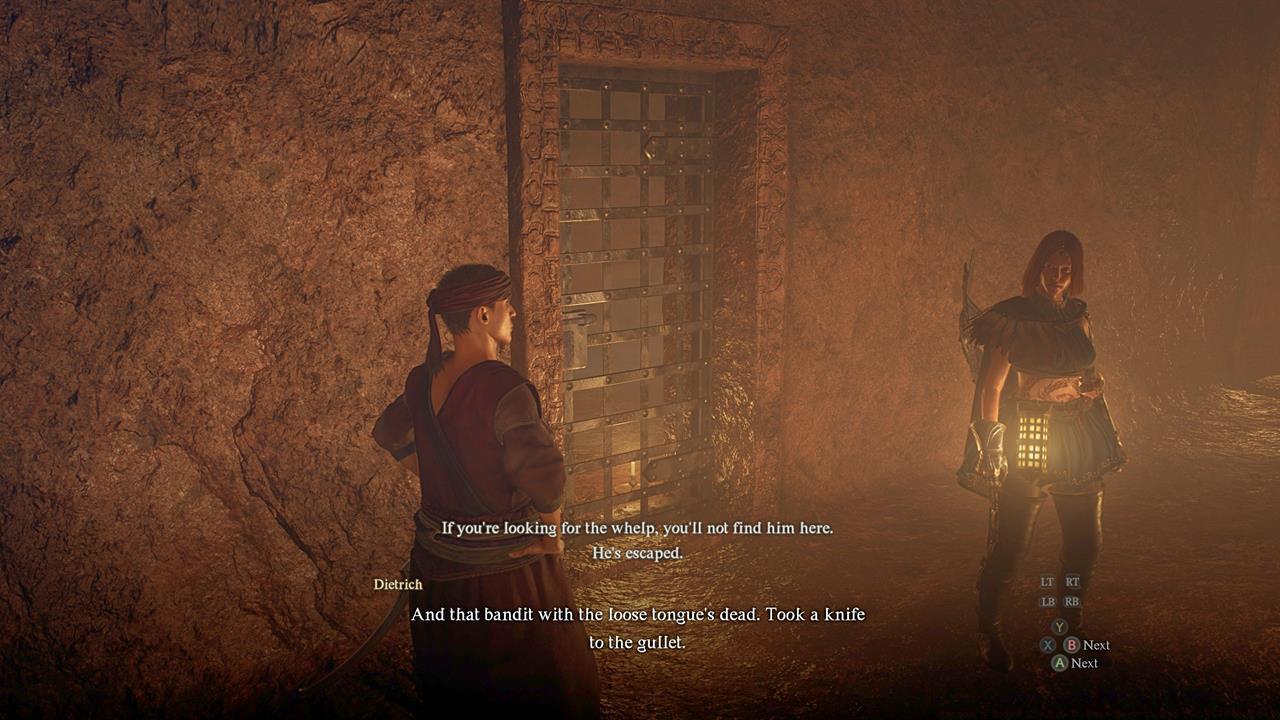
Following your cell conversation with Hugo, locate junior guard Dietrich stationed nearby. He discreetly suggests potential avenues for securing Hugo’s release through unofficial channels.

Return to head jailer Ekratt and initiate negotiation proceedings. Presenting a 1,000 gold bribe persuades him to manipulate bureaucratic processes in Hugo’s favor, effectively concluding this character’s redemption arc.
Successful completion of these orchestrated events transitions Hugo from imprisoned syndicate member to liberated citizen, potentially unlocking additional narrative opportunities in later game phases.
Several progression obstacles may impede Hugo’s rescue mission. The most prevalent involves incomplete prerequisite fulfillment before attempting prison access—ensure both residence pass acquisition and eavesdropping requirements are satisfied.
Timing represents another critical factor; advancing certain main story quests beyond specific thresholds may permanently lock Hugo’s rescue opportunity. We recommend prioritizing this side content before progressing too deeply into central narrative arcs.
For optimal efficiency, complete the Coral Snakes hideout assault during daylight hours when visibility advantages assist navigation and enemy detection.
Post-liberation, Hugo may reappear in various locations offering unique services or dialogue options, though his specific post-quest activities remain somewhat unpredictable based on player choices elsewhere in the game world.
Action Checklist
- Provide food to Toumi twice near Checkpoint Rest Town to trigger Hugo’s appearance
- Follow Hugo to Coral Snakes hideout and defeat all enemies with Benjamin’s assistance
- Acquire residence pass from Menella at Rockmouse’s Burrow tavern
- Eavesdrop on Coral Snakes conversation outside the tavern
- Visit Bakbattahl prison, speak with Hugo, then bribe Ekratt with 1,000 gold
No reproduction without permission:SeeYouSoon Game Club » Dragon’s Dogma 2 – How To Free Hugo In Off The Pilfered Path Complete guide to rescuing Hugo in Dragon's Dogma 2 with quest triggers, bribery tactics, and bug avoidance strategies