Defeating the Green Dragon in Dragon Quest 1 HD-2D Remake: Essential strategies and gear recommendations
Green Dragon Boss Overview and Significance
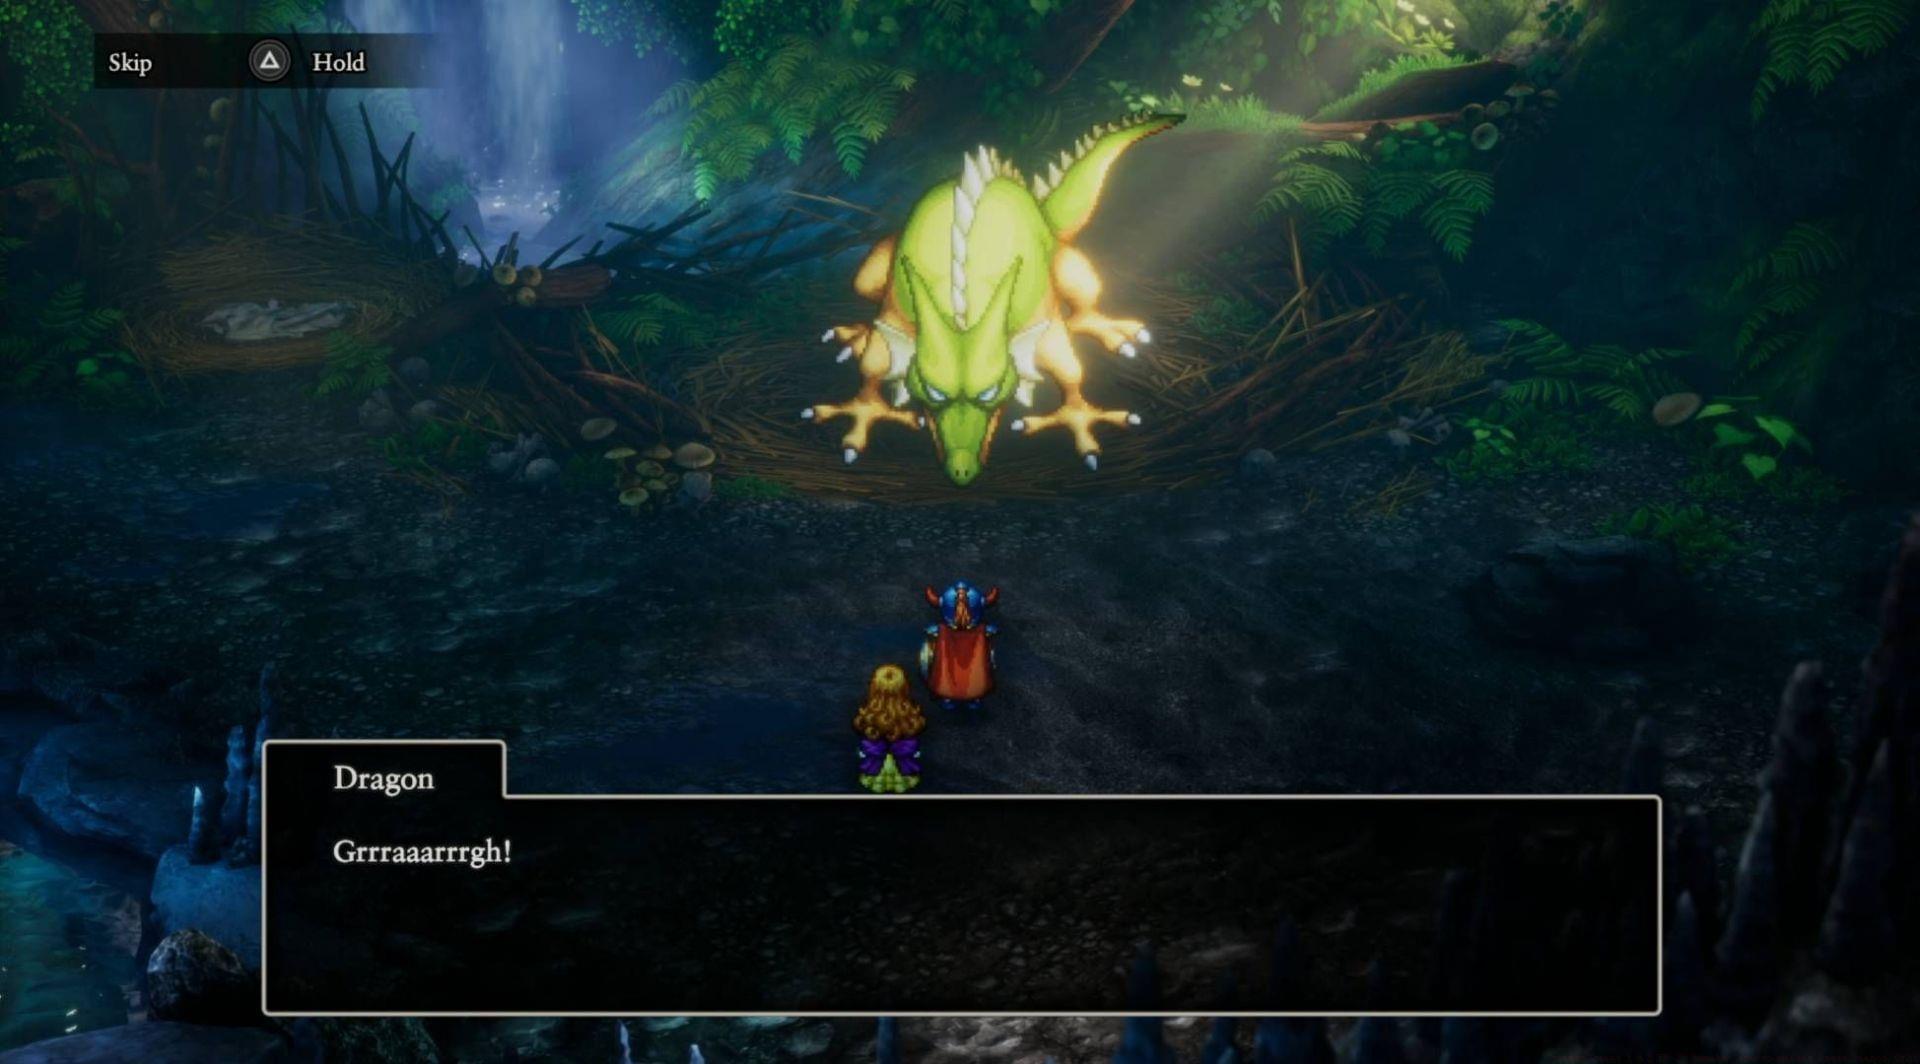
As Dragon Quest 1 & 2 HD-2D Remake revitalizes these classic RPGs, the Green Dragon encounter remains a pivotal skill check for players. This formidable creature blocks access to Princess Gwaelin within the treacherous Quagmire Cave, serving as one of only three major boss encounters alongside the Knight-Errant and Dragonlord. Understanding this fight’s mechanics proves essential for progression through the early game.
Many players underestimate the strategic depth required for this encounter, assuming standard RPG tactics will suffice. However, the Green Dragon introduces several mechanics that foreshadow later boss battles, making mastery crucial for overall game success.
Comprehensive Attack Pattern Analysis
The Green Dragon employs a diverse moveset that escalates in danger as its health diminishes. Through extensive testing, I’ve documented its complete arsenal and damage ranges to help players prepare effectively.
Interestingly, the Fire Breath attack’s damage appears heavily influenced by hidden breath resistance values from equipment. During my testing with defensive gear, this attack became nearly negligible, allowing focus on more dangerous abilities.
Optimal Equipment and Defense Strategy
Proper gear selection transforms this from a brutal encounter to a manageable challenge. The key lies in stacking defensive bonuses and breath resistance to neutralize the dragon’s most consistent damage sources.
The Fairy Foil provides a substantial defense boost when used as an item, dramatically reducing physical damage taken. Combine this with specialized armor like the Tectonic Plate body armor, Tempest Shield for additional protection, and the Phantom Mask for comprehensive stat boosts.
For weapon selection, the Orochi Sword offers excellent damage output while the Dragon Slash ability provides situational utility. However, MP conservation often makes standard attacks more practical for this extended engagement.
Breath-resistant equipment proves particularly valuable against the Green Dragon’s fire-based attacks. Many players don’t realize that certain armor pieces have hidden resistance values that significantly reduce elemental damage, making Fire Breath nearly harmless when properly geared.
Battle Execution and Resource Management
This encounter tests both combat skill and resource management over multiple rounds. The battle’s extended duration means MP conservation becomes as important as health management.
Maintain health above 120 HP at all times to survive potential Desperate Attack criticals. Use Moreheal for significant health recovery and reserve Reheal for emergency situations when health drops critically low.
Carry at least one MP-restoring item like Medicinal Herb or Chimaera Wing to extend your sustainability. The fight’s length often exhausts MP reserves if relying heavily on healing spells.
When the Green Dragon reaches approximately 50% health (indicated by yellow health bar), it activates Wild Side, gaining two actions per turn. During this phase, prioritize healing over offense and use the Fairy Foil defense boost consistently to mitigate the increased damage frequency.
A common mistake is spamming Dragon Slash early, leaving insufficient MP for crucial healing during the dangerous second phase. Instead, use standard attacks and reserve MP exclusively for healing spells.
Advanced Tactics and Common Pitfalls
Beyond basic execution, several advanced strategies can optimize your success rate while avoiding frequent player errors.
Many players fail to recognize the importance of the Fairy Foil’s active use defense bonus, attempting to rely solely on passive gear defenses. Activating this item should be your first action each battle.
Another critical mistake involves underestimating the Fear status from “Shouts Suddenly.” Always carry status-curing items or ensure you have MP available for healing spells to counter this debilitating effect.
Advanced players can manipulate turn order by counting actions between Desperate Attacks. The dragon typically uses this move every 4-6 turns when below half health, allowing strategic healing during safer intervals.
Upon victory, enjoy the rewarding cutscene and return to Tantegel Castle for narrative progression and rewards. This achievement marks significant story advancement and unlocks further quest opportunities.
Dragon Quest 1 & 2 HD-2D Remake beautifully preserves these classic challenges while introducing quality-of-life improvements from the DQ3 Remake. The visual enhancements make this iconic battle more immersive than ever while maintaining the strategic depth that defined the original experience.
No reproduction without permission:SeeYouSoon Game Club » Dragon Quest 1 & 2 HD-2D Remake: How to defeat Green Dragon (DQ1) Defeating the Green Dragon in Dragon Quest 1 HD-2D Remake: Essential strategies and gear recommendations