Master the Atlas boss fight with proven strategies, turn control tactics, and damage optimization in Dragon Quest HD-2D Remake
Understanding Atlas: The Demon Lieutenant
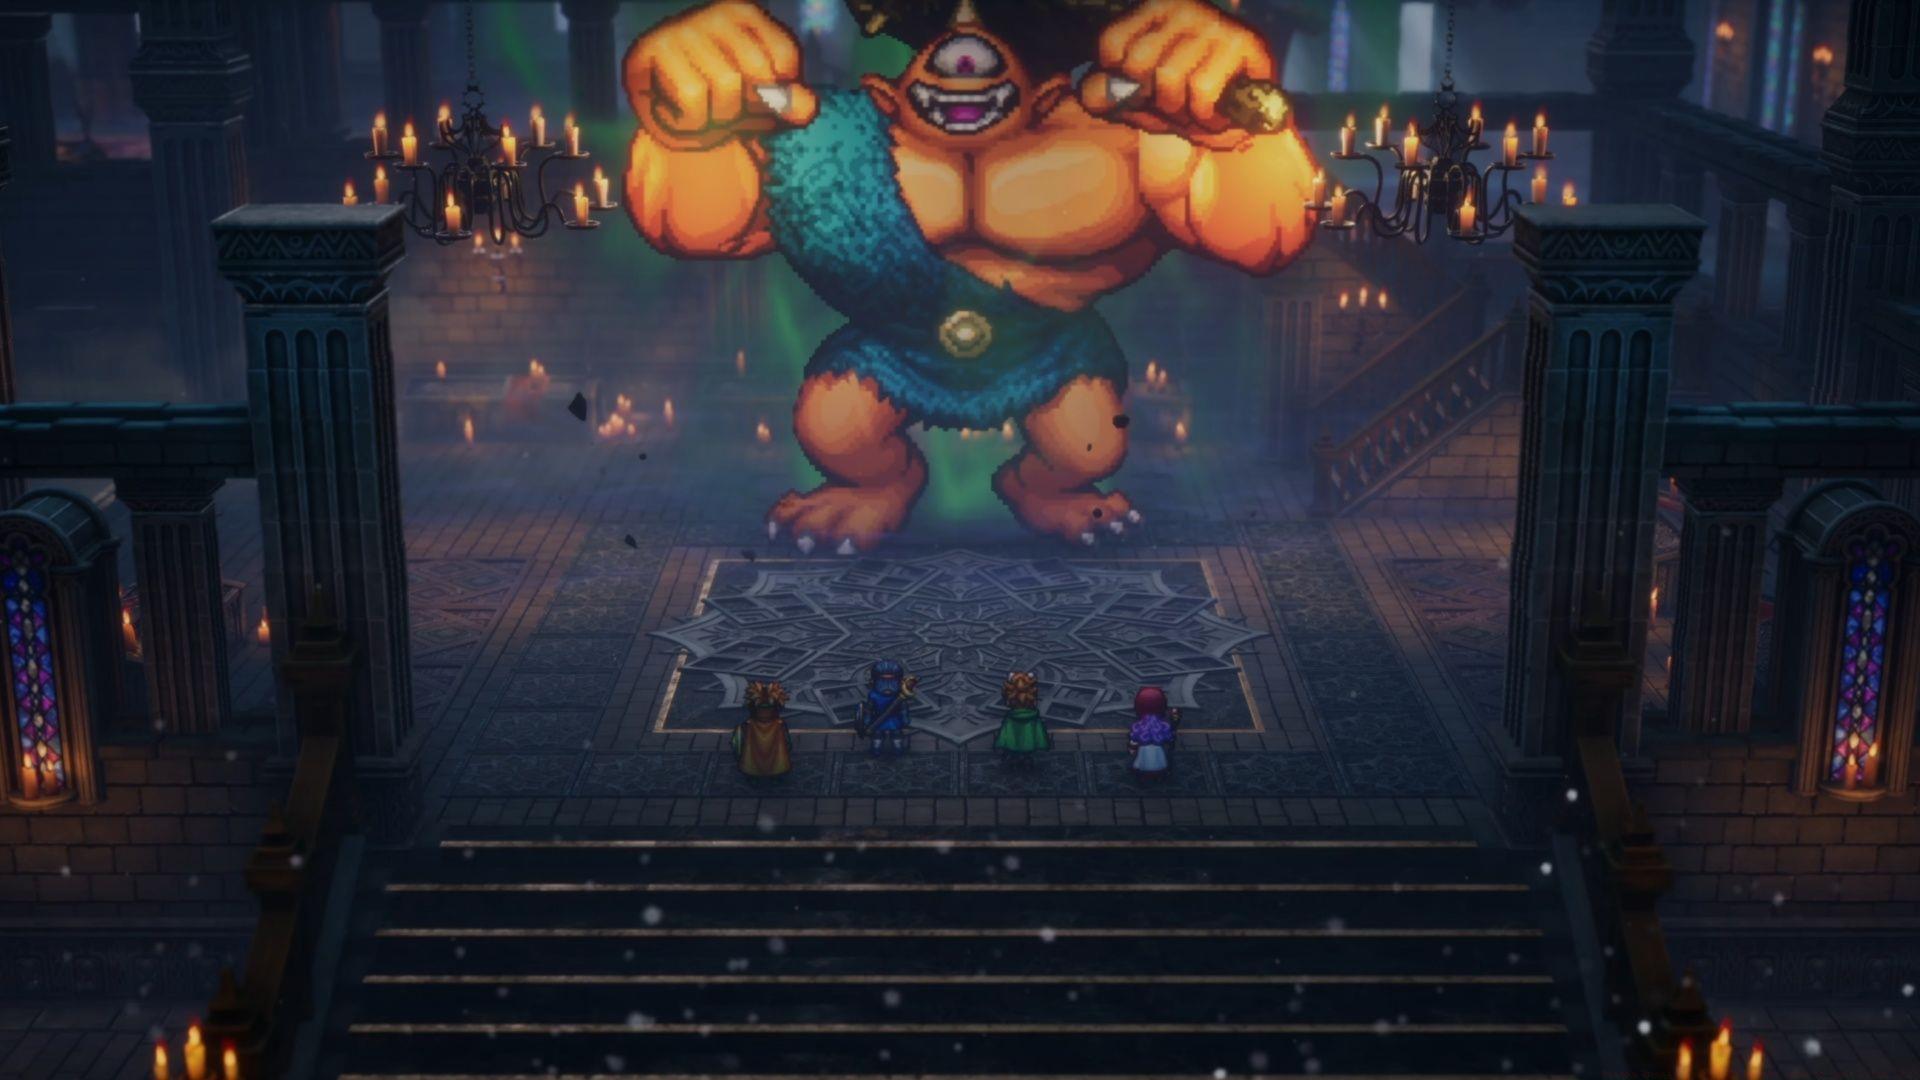
Atlas represents one of the most significant boss encounters in Dragon Quest 1 & 2 HD-2D Remake, serving as a primary enforcer for the malevolent Hargon. This terrifying demonic entity, summoned from an alternate dimension, presents players with a substantial combat challenge that tests their strategic planning and execution. The confrontation occurs multiple times throughout your journey, with each encounter maintaining similar mechanics but potentially varying in intensity based on your progression level and acquired abilities.
What makes Atlas particularly challenging is his heavy emphasis on physical assaults, requiring players to master defensive positioning and turn manipulation. Many players underestimate the importance of pre-battle preparation, which often leads to unnecessary party wipes. Proper understanding of his attack patterns and having the right countermeasures prepared can dramatically shift this difficult encounter in your favor.
Atlas’s Attack Patterns and Damage Analysis
Successfully navigating the Atlas encounter requires thorough knowledge of his offensive capabilities. His moveset, while limited in variety, compensates with devastating impact that can quickly overwhelm unprepared parties. Below we break down his complete arsenal and the corresponding defensive measures needed for each attack type.
The most catastrophic sequence occurs when Atlas chains a Desperate Attack immediately followed by Smashes Down From Above. This combination can deal nearly 500 damage to your entire party, potentially causing a full wipe if defensive measures aren’t active. Maintaining consistent debuff application and health buffers is crucial to surviving these burst sequences.
Essential Preparation and Gear Requirements
Proper preparation separates successful Atlas encounters from frustrating defeats. Before engaging this formidable foe, ensure your party meets specific equipment and ability benchmarks that will provide the necessary tools for survival and victory.
Critical to your success is ensuring Perona acquires the Duplic Hat from the Rippleport Ultimate Key Chest before the second Atlas encounter. This invaluable accessory doubles spell casts, dramatically improving your ability to maintain crucial Dazzle debuffs throughout the extended battle. Additionally, completing the Living Memories side quest to obtain Ripple of Disruption provides an essential tool for countering Atlas’s damage buffs.
Your healing capabilities should include at minimum one character with Multiheal, though ideally two if you’ve completed the Fairy questline in Living Memories. Ensure you have Kazing for reliable revival and the Staff of Resurrection as backup. Character levels should be sufficient to withstand Atlas’s heaviest attacks – typically level 25+ for main party members provides adequate survivability.
Many players fail to recognize the importance of MP management in this encounter. Atlas battles tend to be endurance tests, so bring ample medicinal herbs and other MP restoration items to maintain your spellcasting capabilities throughout the prolonged fight.
Combat Strategy: Turn Control and Damage Optimization
The core strategy for defeating Atlas revolves around controlling his action economy while systematically maximizing your damage output. This requires precise coordination between party members and understanding when to prioritize defense versus offense.
Your primary damage combination involves buffing the Hero with Oomph and Muster Strength, then targeting Atlas’s vulnerability to Demon Demeanor. While Multifists remains a viable alternative, Demon Demeanor provides more consistent high damage against this particular enemy type. An advanced technique involves charging your sigil (hold square) when activating Muster Strength while the Hero is in Yellow Health, potentially boosting damage beyond 1,200 per strike.
Turn control represents your most powerful defensive tool. When Matilda isn’t performing essential buffing or healing duties, she should consistently use Rib Tickler to incapacitate Atlas with laughter, effectively removing one or two of his turns. Similarly, Perona can utilize Puff Puff for additional turn denial. The Dazzle spell remains exceptionally valuable for its accuracy reduction, frequently causing Atlas to miss entirely.
Coordinate your buffs and debuffs systematically – maintain Kabuff on your party while keeping Atlas debuffed with either Dazzle or Rib Tickler at all times. The moment Atlas uses Musters Strength, immediately counter with Ripple of Disruption to neutralize his damage amplification before he can capitalize on it.
Advanced Tactics and Phase Management
Atlas’s behavior undergoes significant changes when he reaches Yellow Health (approximately below 30% HP), requiring adjusted tactics and emergency protocols. Understanding this phase transition is critical to securing victory without catastrophic party losses.
During the Yellow Health phase, Atlas gains increased aggression and frequently uses Smash Down consecutively. Back-to-back area attacks can inflict 200-300 total damage to each party member, quickly overwhelming standard healing routines. Prepare for this phase transition by ensuring Multiheal or Omniheal is available immediately when his health drops to yellow levels.
Resource management becomes paramount in this final phase. Conserve high-level healing spells specifically for this dangerous period, using standard healing items during the earlier phases when possible. If you’ve exhausted your Multiheal capabilities, consider having Caradoc use Defend to regenerate MP while other characters provide spot healing.
Emergency protocols should include pre-planned revival sequences. Designate one character as primary reviver (typically with Kazing) and another as backup (Staff of Resurrection). If multiple characters fall simultaneously, prioritize reviving your healer first, then your damage dealer. Never allow your entire healing capability to be incapacitated simultaneously.
The most common mistake during this phase is becoming overly aggressive with damage dealing while neglecting defensive measures. While finishing the battle quickly is desirable, sacrificing defensive consistency for extra damage often results in party wipes. Maintain your turn control and healing rhythm even as Atlas’s health dwindles.
Party Role Optimization and Final Tips
Precise role assignment and execution separates competent parties from exceptional ones. Each character should have clearly defined responsibilities that complement the overall strategy while providing flexibility for emergency situations.
Despite his limited move variety, Atlas compensates with raw damage output that punishes any coordination failures. Ensure at least one character maintains Multiheal capability, with two being ideal if you completed the Living Memories side quest. Common coordination failures include overlapping healing spells, allowing debuffs to expire simultaneously, or inefficient MP usage during early battle phases.
Upon finally defeating Atlas, prepare yourself for the subsequent confrontation with High Priest Hargon himself. The strategies mastered against Atlas will provide valuable foundation for the even more challenging encounters that await in Dragon Quest 1 & 2 HD-2D Remake’s culminating segments.
Dragon Quest 1 & 2 HD-2D Remake beautifully revitalizes the foundational entries in this legendary RPG series within a single comprehensive package. The stunning HD-2D visual presentation enhances the classic experience while incorporating numerous quality-of-life improvements similar to those featured in the Dragon Quest III remake. For detailed analysis of this exceptional release, explore our comprehensive review covering all aspects of this nostalgic yet modernized adventure.
No reproduction without permission:SeeYouSoon Game Club » Dragon Quest 1 & 2 HD-2D Remake: How to beat Atlas (DQ2) Master the Atlas boss fight with proven strategies, turn control tactics, and damage optimization in Dragon Quest HD-2D Remake