TL;DR
- Master cargo weight distribution to prevent balance loss and falls
- Utilize terrain scanning and community structures for optimal routing
- Understand how multiplayer elements dynamically alter your game environment
- Develop strategic approaches for different weather conditions and obstacles
- Learn pro-level techniques for maintaining stability on challenging terrain
GameSpot may receive revenue from affiliate and advertising partnerships for sharing this content and from purchases through links.
Venturing into Death Stranding: Director’s Cut can feel overwhelming initially, especially when managing heavy cargo loads across treacherous landscapes. This comprehensive walkthrough provides essential guidance for navigating the game’s opening prologue efficiently, helping you establish solid foundations for the challenging journeys ahead. We’ll break down critical cargo balancing mechanics and terrain navigation strategies that transform you from a stumbling novice into a capable porter.
While our guidance originates from PS4 version testing, every strategy applies seamlessly to the enhanced Director’s Cut edition of Hideo Kojima’s innovative delivery simulation masterpiece.
A fundamental aspect of Death Stranding’s design philosophy centers on environmental adaptability and player creativity in route planning. Numerous approaches exist for completing each delivery objective, and your specific map layout may differ significantly from other players’ experiences. This variation stems from the integrated multiplayer component where community members clear alternative paths and position helpful structures according to individual gameplay patterns.
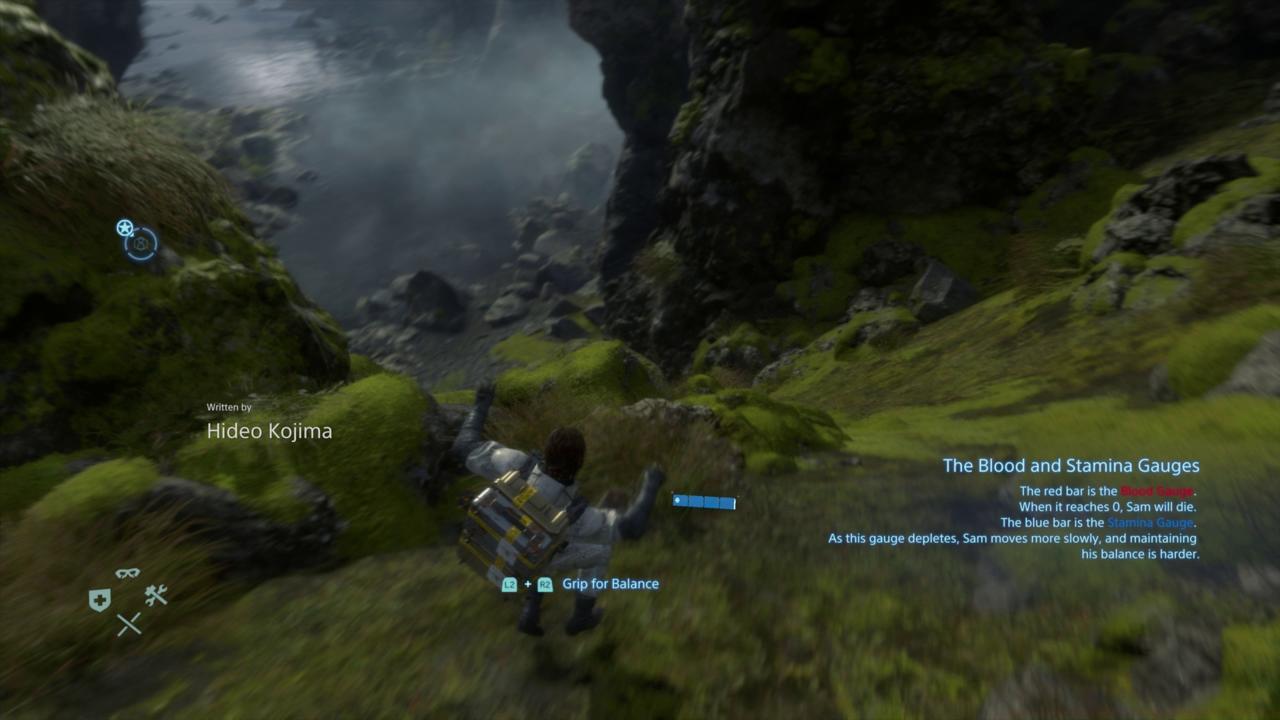
Effective cargo management represents the cornerstone of successful porter operations in Death Stranding. Understanding weight distribution principles prevents balance loss and reduces the likelihood of damaging your precious deliveries. Position heavier items lower in your inventory and balance loads symmetrically across both shoulders for optimal stability.
Terrain scanning before committing to routes saves substantial time and prevents hazardous situations. Use your Odradek scanner frequently to identify stable ground, avoid steep inclines, and detect environmental threats. Planning alternate paths around obstacles often proves faster than attempting direct traversal through difficult terrain.

Balance control requires constant attention, especially when navigating uneven surfaces or water crossings. The grip mechanic becomes crucial when stability meters indicate impending falls—holding both triggers simultaneously provides maximum balance recovery during precarious moments.
Community-built structures like bridges, ladders, and zip-lines can dramatically reduce travel time and difficulty. However, remember that these elements appear dynamically based on other players’ contributions to your specific game instance.
Route planning constitutes perhaps the most critical skill for efficient delivery completion. Before embarking, study your map carefully, noting elevation changes, river crossings, and potential choke points. Consider creating waypoints for complex routes to maintain orientation during challenging segments.
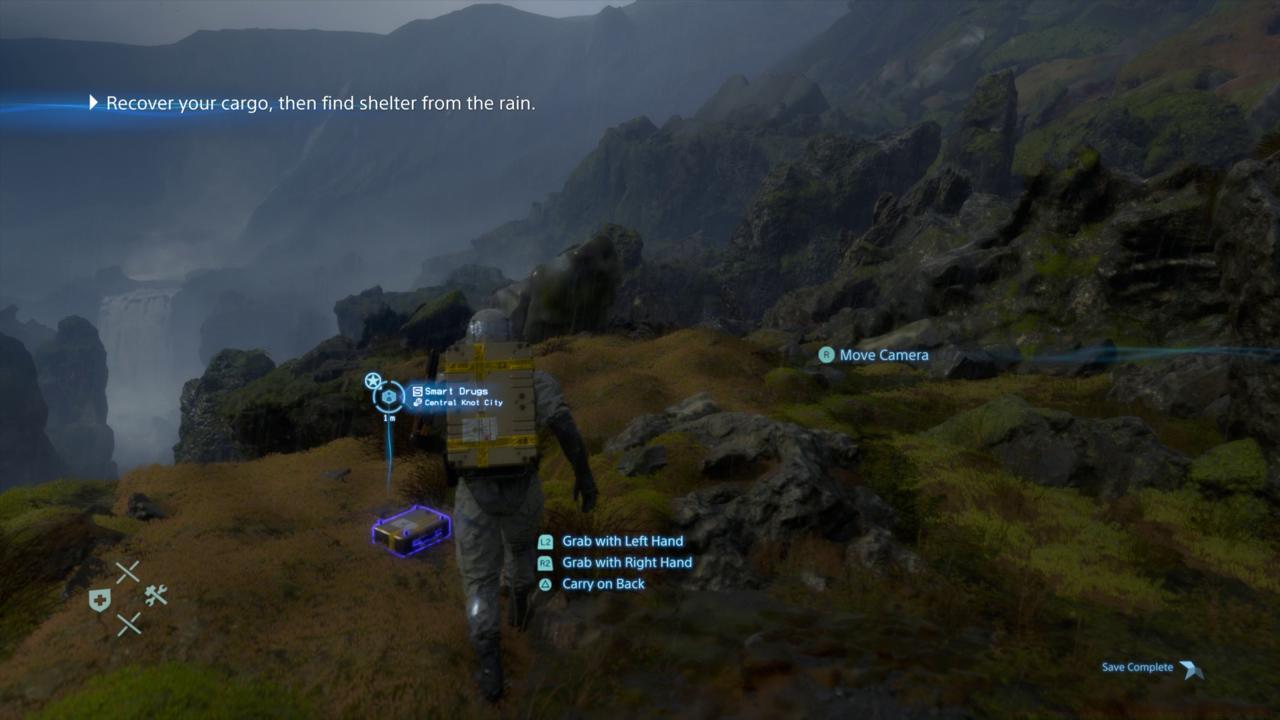
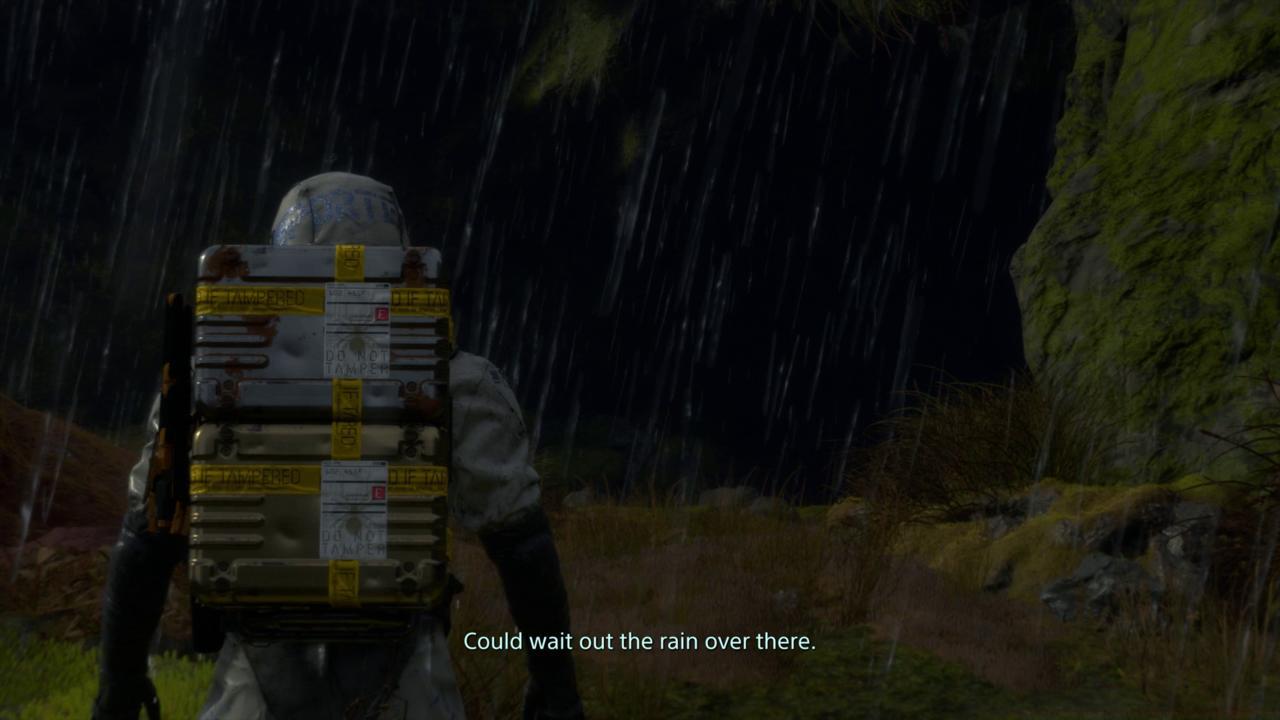
Weather conditions significantly impact traversal difficulty and cargo vulnerability. Timefall rain accelerates cargo deterioration and complicates navigation, while certain atmospheric phenomena trigger more dangerous encounters requiring evasive strategies.
Common beginner mistakes include overloading beyond manageable capacity, neglecting to plan for return journeys, and underestimating terrain challenges. Always reserve some carrying capacity for discovered items and consider that return routes may present different obstacles than outward paths.

Advanced players should master the art of “floating” cargo—using specialized equipment to reduce effective weight and improve maneuverability. These techniques become increasingly important as mission complexity escalates in later game chapters.
Death Stranding Guides
Action Checklist
- Scan terrain thoroughly before committing to routes using your Odradek device
- Balance cargo weight symmetrically and position heavy items low in inventory
- Utilize both triggers simultaneously for maximum balance recovery during unstable moments
- Plan alternate routes around obstacles rather than through them
- Monitor community structures for time-saving bridges, ladders, and zip-lines
No reproduction without permission:SeeYouSoon Game Club » Death Stranding Walkthrough Guide: Prologue Tips Master Death Stranding's prologue with expert cargo balancing and terrain navigation strategies