TL;DR
- Complete power activation and Pack-a-Punch before starting the LGM-1 quest
- Collect four distinct components while managing purple Aether crystal resources carefully
- Execute three trap trials in any order, timing them strategically at round ends
- Destroy Oscar’s protective drones before trap activation to ensure vulnerability
- Use team coordination for challenging steps and have backup crystal fragments ready
Mastering the LGM-1 Wonder Weapon acquisition process requires understanding both its capabilities and limitations within the Astra Malorum map environment.
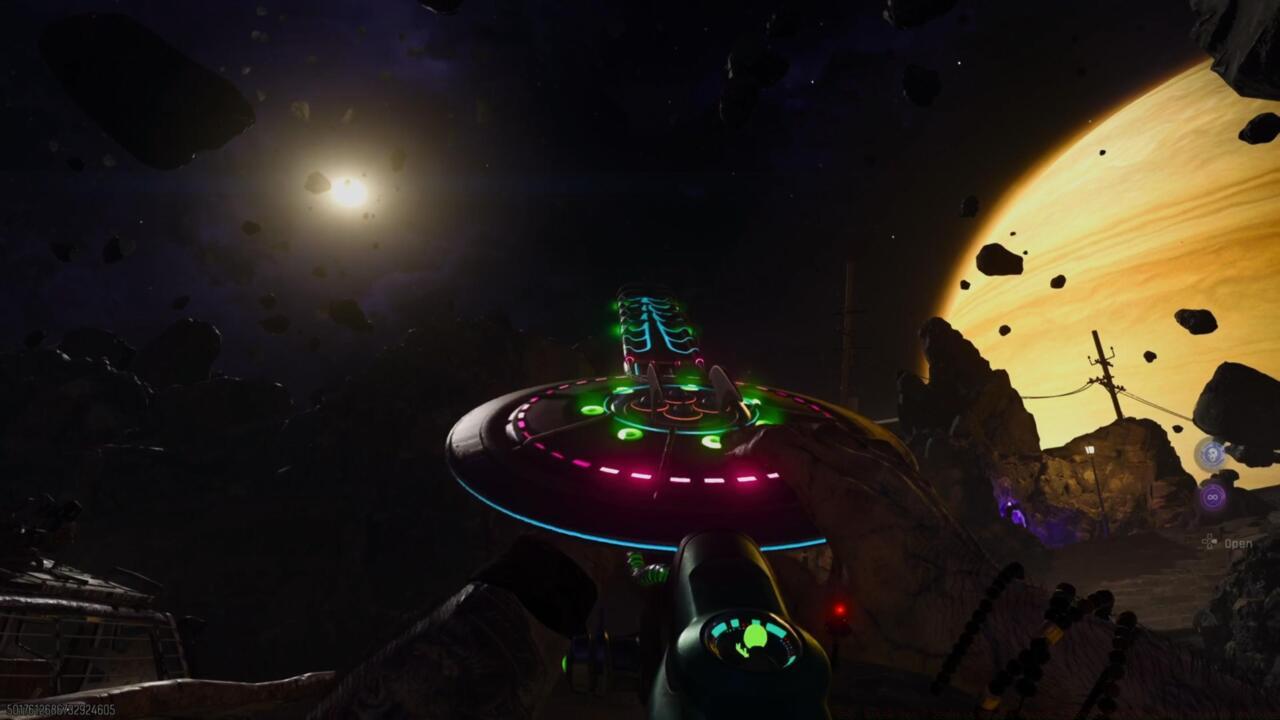
LGM-1 Wonder Weapon
While LGM-1 appears to be a simple acronym, it represents “Little Green Menace,” a weapon that unleashes UFO-style projectiles capable of swarming enemy targets with concentrated laser barrages. This exceptional firearm features unlimited ammunition capacity and maintains functionality even after undergoing Pack-a-Punch enhancement.
Successfully completing the LGM-1 quest rewards your team with only a single Wonder Weapon instance, regardless of squad size. This limitation makes strategic planning essential for maximizing its impact across your entire party.
To acquire additional LGM-1 units for teammates, you’ll need to rely on the unpredictable nature of the Mystery Box or employ Wonderbar GobbleGum. However, the Wonderbar GobbleGum merely ensures your subsequent Mystery Box spin produces a Wonder Weapon, which could potentially yield the Ray Gun alternative instead.
Proper preparation significantly increases your chances of successfully obtaining the LGM-1 Wonder Weapon through the questline.
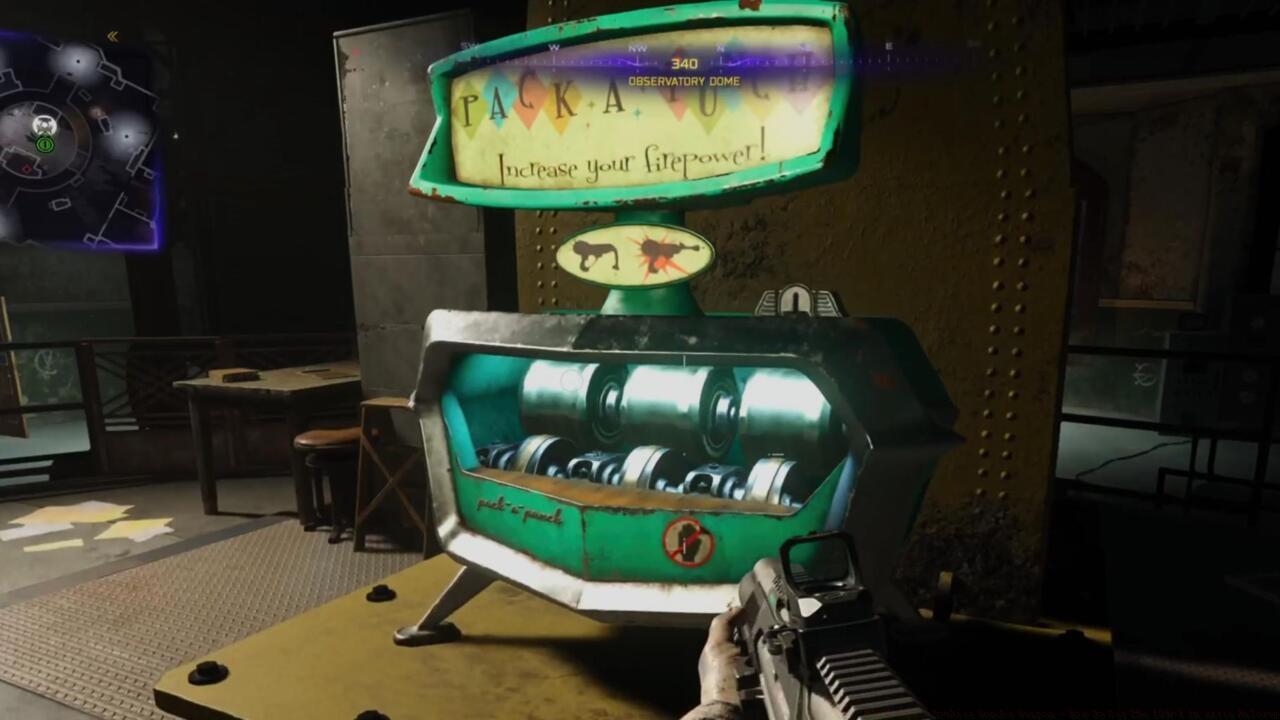
Pack-a-Punch machine
The initial phase provides substantial guidance through orange objective markers that direct you toward locating missing oculus repair components. Follow these guided procedures to activate power systems and enable the Pack-a-Punch machine functionality.
Critical Resource Management: During early progression stages, you’ll encounter purple Aether crystals distributed throughout the map environment. Resist destroying these immediately as they possess limited spawn frequency. You’ll require these crystals for subsequent steps while simultaneously accumulating sufficient salvage to acquire the Cryo Freeze ammunition modification for your primary weapon.
Absolute Zero Fragments
Purple Aether crystal
As previously emphasized, equipping the Cryo Freeze ammunition modification remains essential. Target the purple Aether crystals that appear randomly across the map landscape while utilizing your Cryo Freeze-enhanced firearm, which triggers the crystals to release Absolute Zero fragment components.
Destroy three separate crystals and secure the Absolute Zero fragment components from each. Additionally, refrain from eliminating additional crystals throughout the map, since failure during later stages may necessitate collecting replacement fragments.
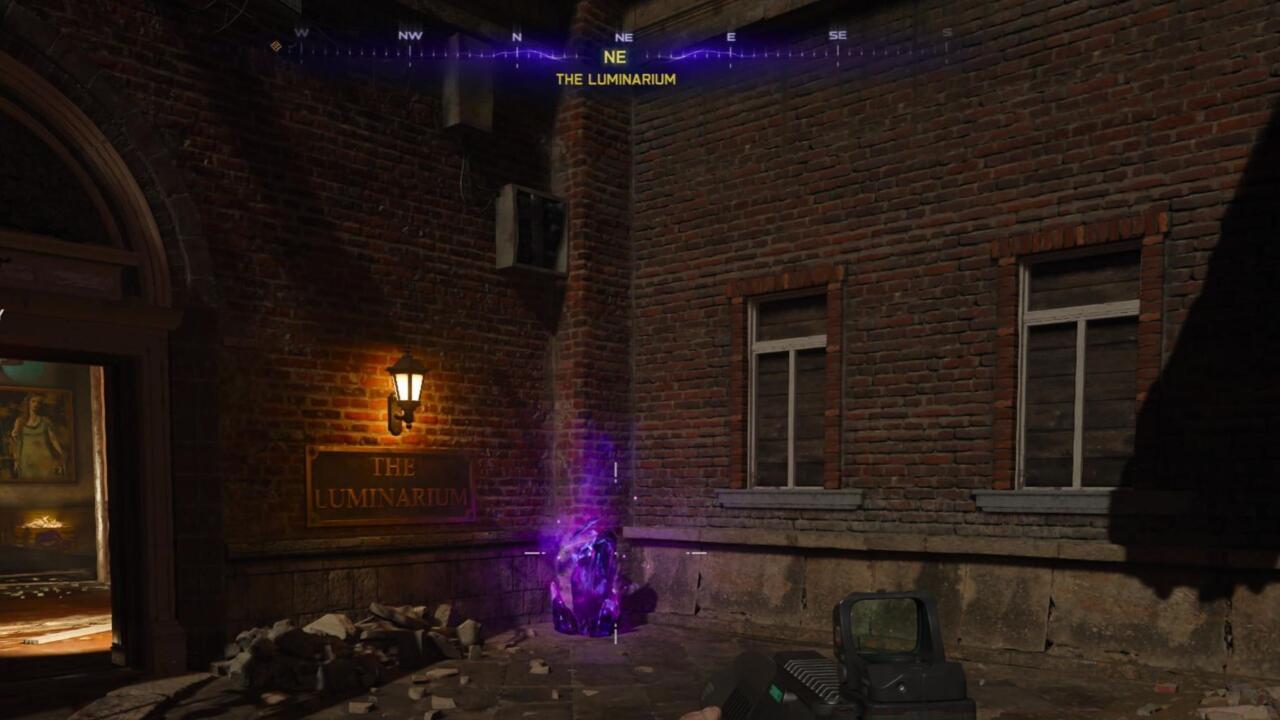
Wiring Component
Outdoor light blinking in my match
Acquiring wiring components involves targeting a specific blinking exterior light fixture, with an illustrative example displayed in the accompanying image.
Numerous outdoor lighting fixtures exist throughout the environment, but only one exhibits blinking behavior per match instance. The flashing pattern proves highly conspicuous, requiring only perimeter traversal of the map exterior until identification occurs. Eliminate the lamp apparatus and retrieve the Wiring component it releases.
Battery Acquisition
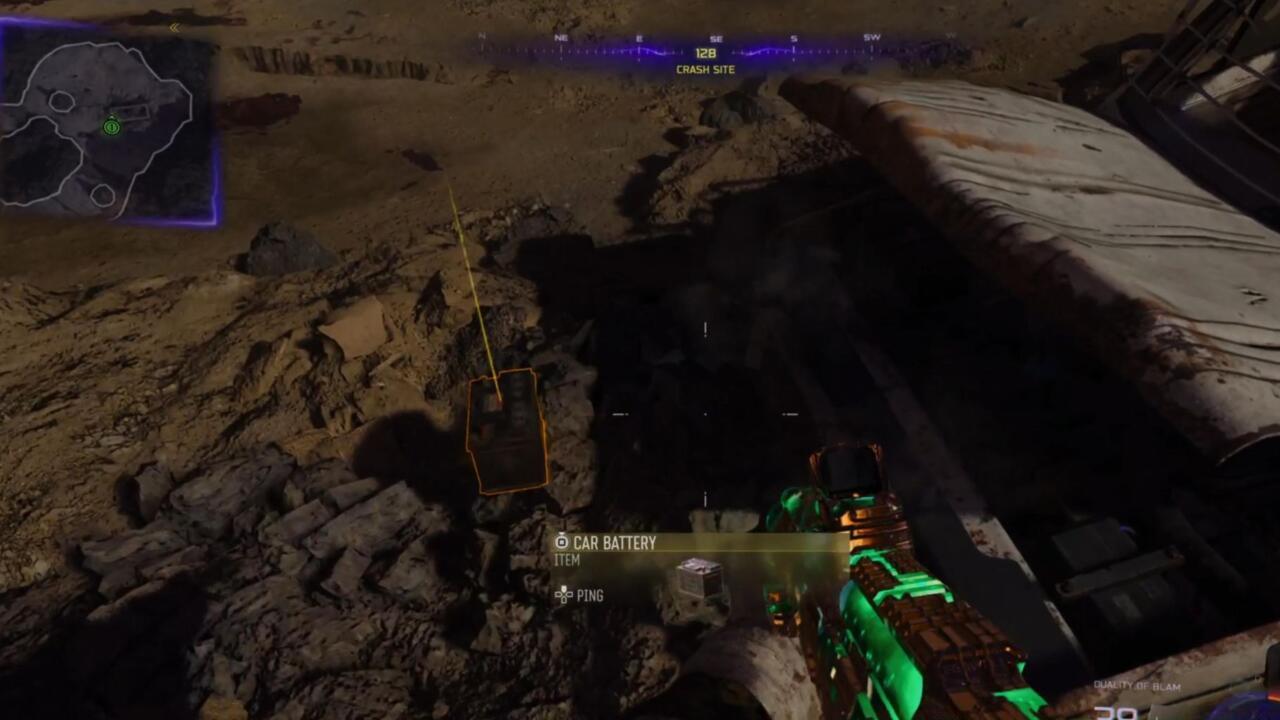
Battery from Ol’ Tessie
This stage necessitates utilizing a Pack-a-Punched weapon. Return to Ol’ Tessie located within the map’s initial spawn zone and target the truck’s hood section. Acquire the Battery component that emerges from the vehicle.
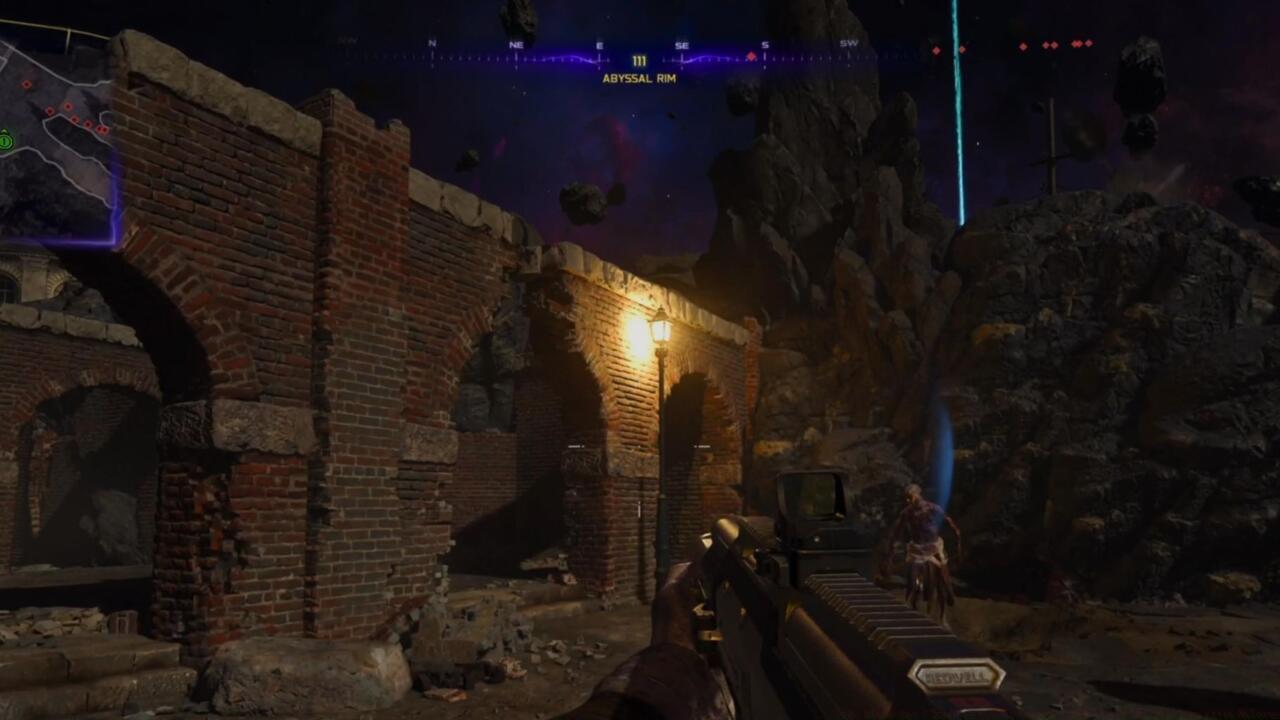
Drone Part Collection

Shoot Oscar’s drones
This component acquisition requires encountering Oscar, the map’s newly introduced robotic adversary classification. Oscar begins appearing during match rounds following Pack-a-Punch system activation. This mechanical opponent features compact aerial drones that orbit defensively around him. Eliminate one drone unit and retrieve the Damaged Drone component it discharges.
Furthermore, avoid ammunition expenditure attempting to defeat Oscar during this phase. This boss character must remain operational for utilization in subsequent procedural steps.
Three distinct trials involving trap mechanisms and Oscar must be completed successfully. Once more, conserve ammunition by avoiding direct engagement with Oscar, instead focusing on guiding him toward one of three designated trap locations to fulfill trial requirements.
These trial attempts prove most effective during round conclusion phases when minimal zombie threats remain. This approach prevents overwhelming enemy encounters. Completion order remains flexible, though possessing all previously mentioned components remains mandatory. Oscar will release the LGM-1 Wonder Weapon reward following his defeat during the final trial completion.
Luminarium Overcharge
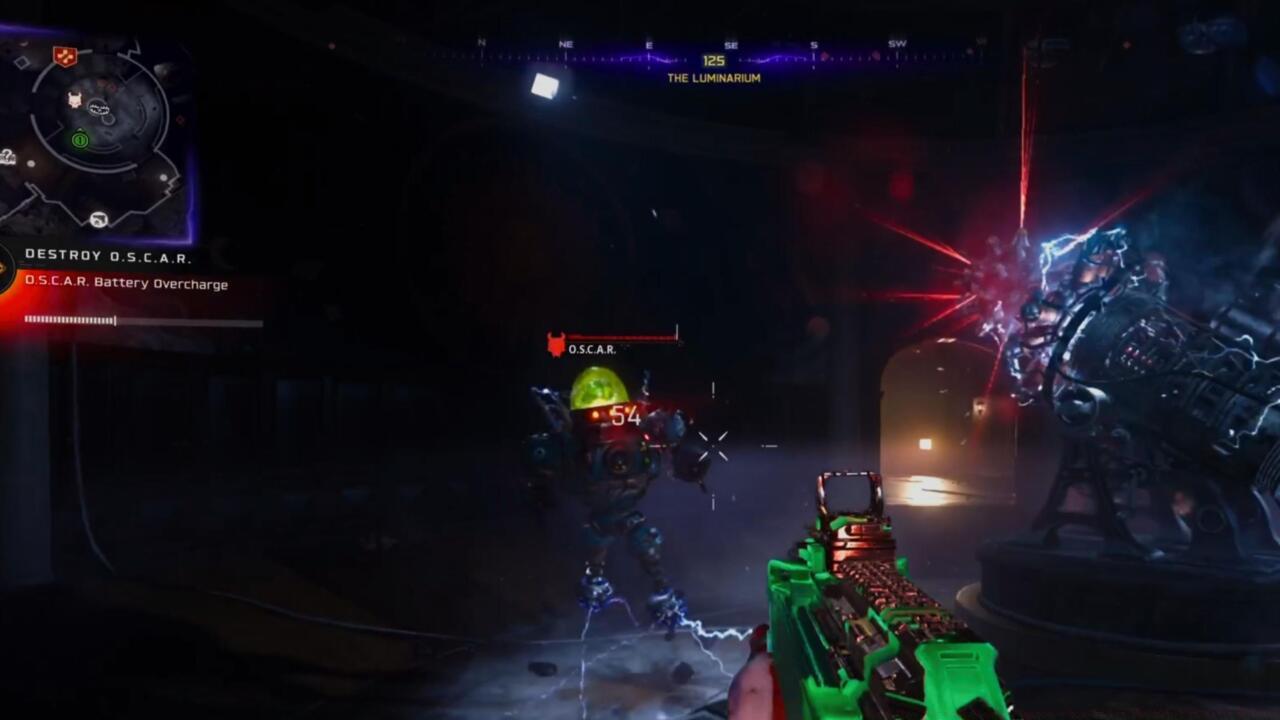
Battery Overcharge step in Luminarium
Guide Oscar toward the Observatory’s Luminarium chamber and engage with the trap mechanism inside the room to install the Battery component. Subsequently, survive within the confined space while maintaining Oscar’s proximity.
A visual meter materializes on your display indicating Battery Overcharge progression. Maintain Oscar’s position adjacent to the trap until the meter reaches maximum capacity. Additionally ensure consistent destruction of his protective drone units, as their presence grants him trap immunity.
Should Oscar maintain drone-protected invulnerability when the Overcharge meter completes, the step fails requiring repetition during subsequent rounds.
Observatory Dome Alignment
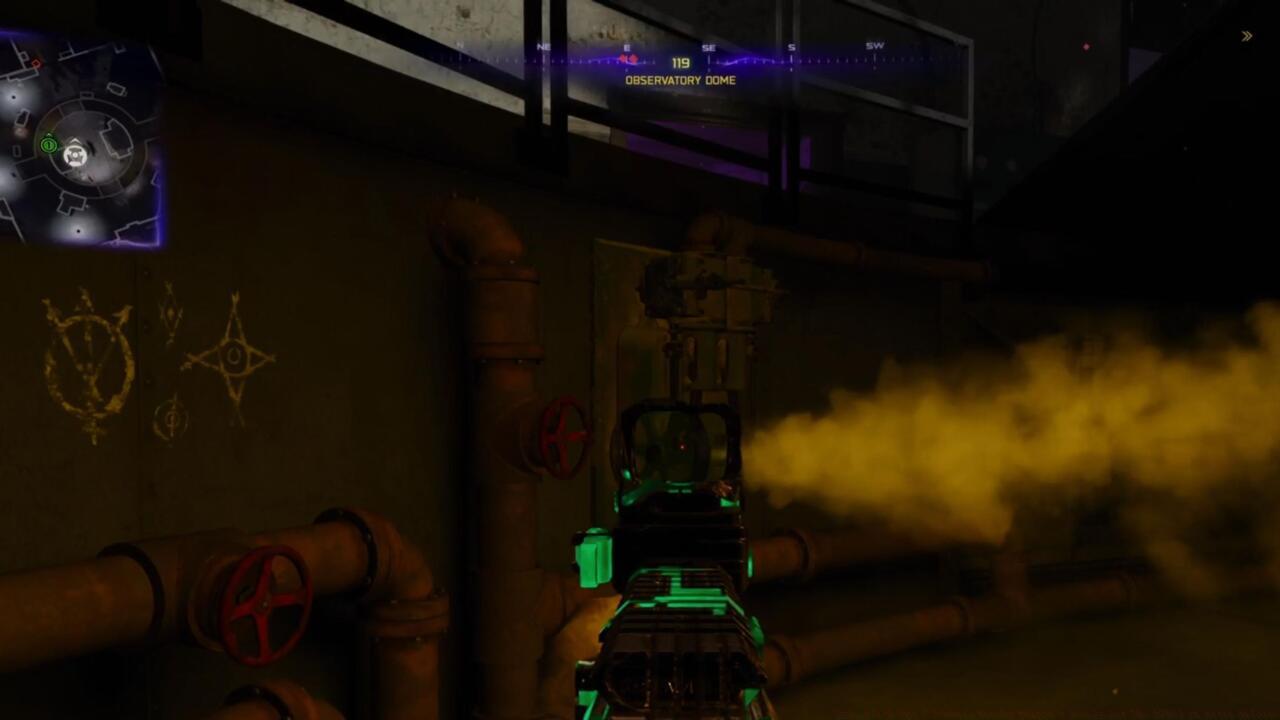
Steam valve
Proceed to the Observatory Dome (Pack-a-Punch) chamber. Oscar’s presence inside the room proves unnecessary during this step’s initial phase, enabling teammate assignment to divert Oscar and zombie attention while you locate malfunctioning steam valves.
Valve spawn locations vary throughout the Pack-a-Punch room interior, with audible hissing sounds indicating proximity. Identify valves, eliminate them, and subsequent valves will materialize. Repeat this valve destruction sequence until five valves have been successfully neutralized. Ensure comprehensive inspection of both lower and elevated platform levels. Following successful elimination of all five valves, an auditory signal confirms completion.

Align the sun with the telescope trap
Now, position Oscar near the Pack-a-Punch apparatus before engaging with the telescope trap positioned opposite it. Upon trap interaction, your perspective shifts to the telescope’s viewfinder, displaying celestial observations. Adjust the telescope alignment to synchronize with solar positioning.
Primary visual elements from the telescope perspective consist of pink and purple cosmic hues, but continue adjustment until solar visibility occurs. The sun maintains consistent positioning across all matches, requiring viewfinder movement upward and rightward. A golden luminous sphere becomes visible, representing the solar body.
Once solar alignment achieves perfection, your perspective returns from telescope view, with Oscar positioned sufficiently close for solar beam activation that discharges within the chamber interior. This area corresponds directly to the space preceding Pack-a-Punch, with the beam focusing centrally between PaP and trap mechanisms.
Museum Infinitum Rocket Trap

Rocket trap activated
Direct Oscar toward the Museum Infinitum chamber containing the rocket trap apparatus. Position Oscar immediately adjacent to the trap’s rear section, then rapidly activate trap controls to bombard Oscar with rocket projectiles. This procedure executes significantly faster than the Luminarium phase, though precise timing remains critical since rockets discharge for limited durations.
This step presents considerable difficulty during solo attempts, but cooperative team play enables one member operating controls while another lures Oscar toward the trap.
Should this step result in failure, you must collect three replacement fragments from purple Aether Crystals and reattempt the process.
Following successful completion of all three trials, Oscar discharges the LGM-1 Wonder Weapon for collection.
Action Checklist
- Activate power and Pack-a-Punch while preserving purple Aether crystals
- Acquire Cryo Freeze ammo mod and collect all four weapon components
- Complete Oscar trap trials in preferred order during round ends
- Destroy Oscar’s drones before trap activation to ensure vulnerability
No reproduction without permission:SeeYouSoon Game Club » CoD: Black Ops 7 Zombies Wonder Weapon – How To Get The LGM-1 In Astra Malorum Complete guide to unlock the LGM-1 Wonder Weapon in Astra Malorum with expert strategies and common pitfalls