TL;DR
- Pawns revive instantly via button prompt; NPCs require rare Wakestones
- Failed pawn revivals require Riftstone retrieval but preserve inventory items
- Wakestone Shards combine automatically when you collect three pieces
- Strategic Wakestone usage is crucial for main quest progression and key NPCs
- Advanced farming techniques can triple your Wakestone acquisition rate
GameSpot may receive revenue from affiliate and advertising partnerships for sharing this content and from purchases through links.
In Dragon’s Dogma 2, mortality becomes an integral gameplay element rather than mere punishment. Whether facing monstrous assaults or suffering fatal falls from treacherous cliffs, your companions will inevitably fall in battle. However, comprehensive revival systems ensure strategic recovery options remain available. This guide details sophisticated techniques for resurrecting both pawns and essential NPC characters.
The revival mechanics differentiate significantly between pawn allies and non-player characters. Understanding these distinctions early prevents catastrophic permanent losses:
- Pawns – Your primary companion and hired support pawns feature immediate revival through simple button interactions
- Arisen and NPCs – Player characters and storyline NPCs demand precious Wakestone resources for resurrection

When pawn companions become incapacitated during combat, visual indicators appear above their bodies—a distinctive skull icon accompanied by a diminishing revival meter. Approaching fallen pawns activates a contextual “Revive” prompt requiring sustained button pressure. Successful completion restores them to full combat readiness, provided hostile forces don’t interrupt the process.
Critical Timing Considerations: The revival meter depletes within approximately 15-20 seconds, creating urgency during intense encounters. Experienced players recommend creating breathing room by eliminating immediate threats or utilizing terrain advantages before attempting resurrection.
Should you fail to resurrect pawns before their meters expire, they enter a “forfeited” state and vanish from your active party:
- Main Pawn Recovery – Interact with any accessible Riftstone to instantly召回 your primary companion. Crucially, they retain all carried inventory items, preventing permanent equipment loss
- Support Pawn Management – Forfeited hired pawns require complete resummoning through Riftstone interfaces, though this presents opportunity to recruit higher-level alternatives

Advanced Prevention Tactics: Position pawns strategically during boss encounters, utilizing vocations with ranged capabilities to minimize exposure. Equip resurrection-enhancing gear that extends revival timers by 30-40%, providing crucial additional seconds during chaotic battles.
Wakestones represent the exclusive resurrection method for your Arisen character and essential NPCs. These rare artifacts typically originate as fragmentary Wakestone Shards, with three fragments automatically combining into a functional Wakestone upon collection. Understanding optimal acquisition methods dramatically improves survival capabilities.

Primary Shard Sources:
- Treasure Chests – Explore hidden caverns, forgotten ruins, and elite monster lairs for guaranteed shard placements
- Quest Rewards – Main storyline progression and substantial side quests frequently provide shards as completion bonuses
- Monster Drops – Certain legendary creatures and optional bosses have moderate shard drop rates, requiring specific combat strategies
- Merchant Inventories – Rare wandering merchants occasionally stock shards at premium prices (2000-3000 gold each)

Efficient Farming Methodology: Dedicate specific gameplay sessions to shard acquisition through targeted monster hunting and exploration. Combine with our Weapons Unlock guide tactics for optimizing combat efficiency against shard-dropping enemies.
Strategic Usage Priorities: Reserve Wakestones for critical story NPCs and your own character during pivotal quest moments. For less essential characters, consider whether their revival justifies the resource expenditure—sometimes narrative consequences create interesting alternative outcomes.
Beyond personal survival, Wakestones enable resurrection of fallen NPCs encountered throughout your journey. This capability proves particularly crucial when essential quest-givers perish before completing their narrative arcs.

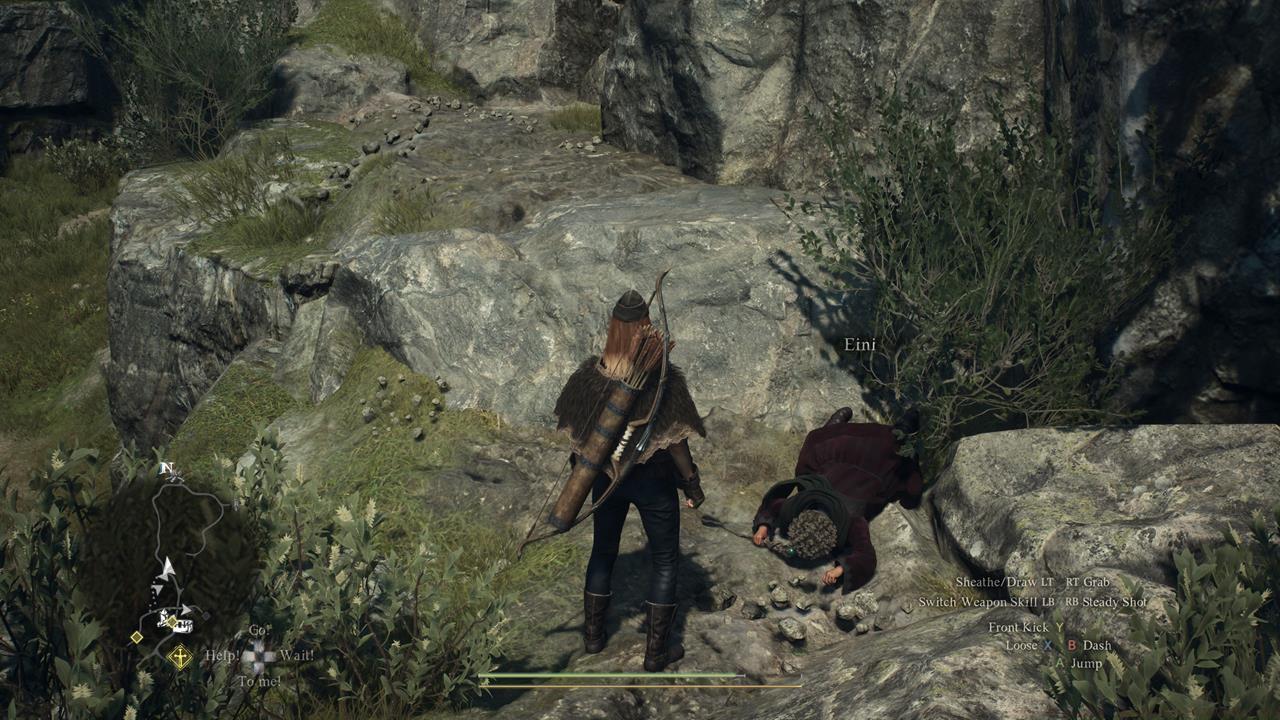
Open World Recovery Procedures: Discovering deceased NPCs in wilderness areas allows direct Wakestone application, restoring them immediately. This prevents questline blockers and maintains world continuity.
Formal Revival Locations: Major settlements contain morgues and charnel houses where citizen casualties accumulate. These facilities serve as centralized revival points, though they may contain multiple candidates requiring prioritization decisions.

Quest Impact Analysis: Certain NPC deaths trigger alternative narrative paths rather than representing failures. Consult our Complete Guide for detailed analysis of which character fatalities create meaningful branching story opportunities versus those requiring immediate resurrection.
Mastering these revival systems significantly enhances your Dragon’s Dogma 2 experience, transforming potential frustrations into strategic considerations. For comprehensive character optimization, explore our Class Guide to ensure your party composition minimizes revival necessity through superior combat performance.
Action Checklist
- Practice pawn revival timing in low-risk encounters to master the 15-20 second window
- Establish Wakestone Shard farming routes through caves and ruins
- Identify and prioritize essential NPCs for Wakestone usage
- Optimize pawn positioning during boss fights to minimize revival needs
No reproduction without permission:SeeYouSoon Game Club » Dragon’s Dogma 2 – How To Revive Pawns And NPCs Master Dragon's Dogma 2 revival mechanics with advanced strategies for pawns, NPCs, and Wakestone acquisition