TL;DR
- Weapon sets define your ESO build effectiveness more than armor due to complex mechanics and acquisition challenges
- Each top-tier weapon set requires specific ability synergy and strategic positioning for maximum performance
- Perfected versions offer significant stat boosts but demand veteran-level content completion
- Location-specific drops mean DLC ownership and arena mastery are often prerequisites
- Proper set selection can dramatically improve resource management and damage output
GameSpot may receive revenue from affiliate and advertising partnerships for sharing this content and from purchases through links.
In The Elder Scrolls Online, your weapon selection carries more strategic weight than armor choices due to the intricate mechanics and acquisition complexity involved. While armor provides foundational stats, weapons directly determine your combat effectiveness and playstyle execution.
Build compatibility should drive your weapon set decisions. Magicka-focused damage dealers naturally gravitate toward staves with potent enchantments, while healers require restoration-focused variants. Melee specialists face diverse options based on their role as tanks or stamina-based damage dealers, each requiring specific weapon traits for optimal performance.
Understanding these dynamics is crucial for maximizing your character’s potential. Below we break down the elite weapon sets that dominate ESO’s current meta, complete with acquisition strategies and optimization techniques.
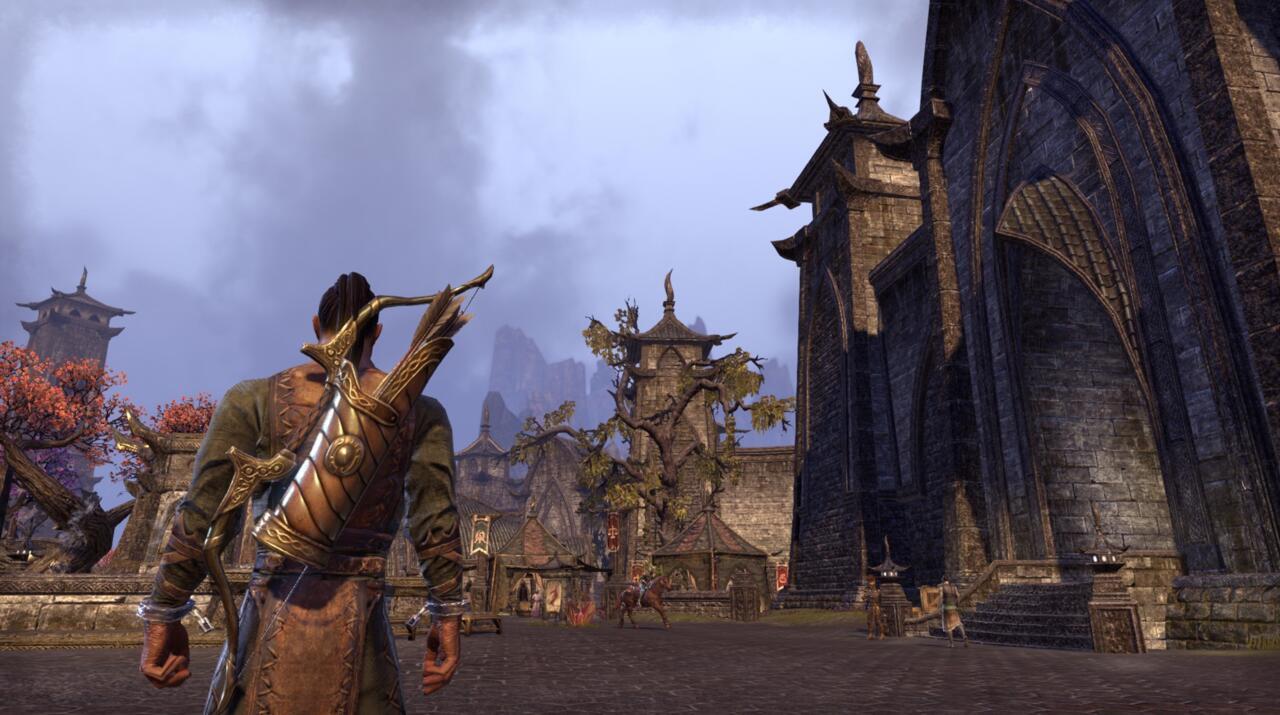
The Point Blank Snipe Set represents the pinnacle of ranged combat effectiveness in ESO, featuring a powerful two-handed bow with precision-enhancing buffs. The core mechanic revolves around proximity-based damage scaling – your Snipe ability deals progressively more damage the closer you position yourself to targets, rewarding aggressive positioning.
Strategic positioning becomes paramount: maintain optimal distance (10-15 meters) to maximize damage while avoiding melee retaliation. The Perfected variant adds 103 Weapon and Spell Damage, enabling effective hybrid builds that incorporate supplementary skills without sacrificing bow potency.
Acquisition Tip: Farm the Vateshran Hallows arena via the Markarth DLC. Focus on the final boss encounter, which has the highest drop rate for this set. Average completion time for optimized groups is 20-30 minutes per run.
Common Mistake: Many players maintain maximum distance, unaware they’re sacrificing significant damage potential. Practice closing distance safely during combat rotations.

Wrath of Elements offers unprecedented elemental flexibility through three distinct Destruction Staff options: Flame, Frost, and Shock variants. While not the absolute highest-damage staves available, their true strength lies in adaptive combat scenarios and elemental synergy.
Equipping two items from this set triggers a devastating elemental surge when casting Weakness to Elements, dealing 331 damage per second for 10 seconds. Perfected versions enhance this further with additional Penetration bonuses against resistant enemies.
Sorcerer Optimization: Pair Shock staff with Hurricane and Lightning Splash for area denial dominance. Flame staff excels in single-target burn phases, while Frost provides crowd control utility.
Elemental Rotation Strategy: Apply Weakness to Elements immediately before your highest-damage abilities to maximize the 10-second damage window. Coordinate with group members to stack elemental vulnerabilities.
This set also originates from Vateshran Hallows, making it an efficient dual-farm opportunity alongside the Point Blank Snipe Set.
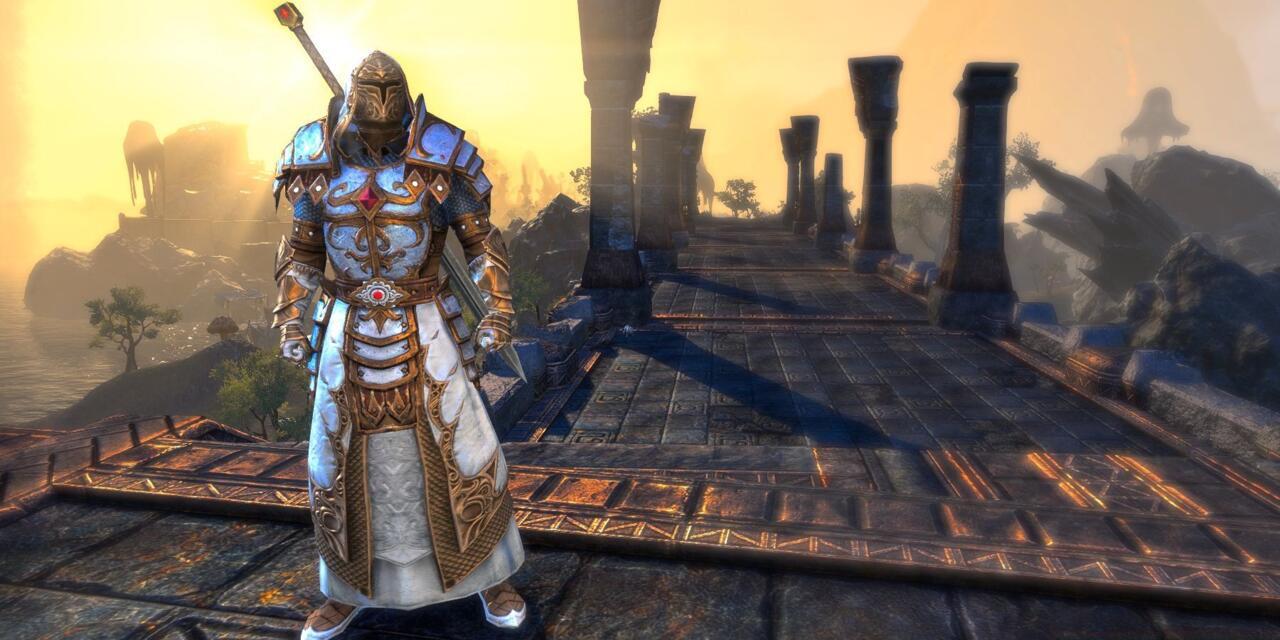
Mender’s Ward features a single but exceptionally powerful healing staff that becomes indispensable for dedicated healers. When properly enhanced, this weapon transforms Templar and restoration-focused characters into unparalleled support specialists.
The Steadfast Ward skill application grants Major Vitality to targets for four seconds, boosting Healing Received by 16%. This bonus stacks multiplicatively with other healing modifiers, creating dramatic survivability improvements.
Templar Synergy: Combine with Rite of Passage and Healing Springs for ultimate sustain. The Perfected version provides 103 additional Magicka Recovery, essential for extended combat encounters.
Acquisition Requirements: This set drops exclusively from the final boss in Blackrose Prison, requiring the Murkmire expansion. Preparation should include crowd control abilities and burst damage for the prison’s challenging mechanics.
Advanced Technique: Pre-cast Steadfast Ward before anticipated heavy damage phases. The 4-second duration perfectly aligns with most boss mechanics cycles.

Titanic Cleave delivers devastating melee power through three exceptional two-handed weapons: Master’s Greatsword, Maul, and Battle Axe. Each variant offers distinct advantages against different enemy types and armor configurations.
The namesake Cleave ability receives a massive 1,550 damage boost to all enemies within its area of effect. Perfected versions add 1,190 Physical Penetration, making them exceptionally effective against heavily armored opponents.
Weapon Selection Guide: Greatsword for balanced performance, Maul against high-physical resistance enemies, Battle Axe for bleeding effect synergy.
Arena Challenge Tips: Dragonstar Arena in Craglorn demands strategic positioning and target prioritization. Focus on eliminating ranged attackers first while using Cleave for crowd control.
Common Pitfall: Players often waste the Cleave enhancement on single targets. Always position to hit multiple enemies for maximum value.

Rampaging Slash constitutes arguably the most versatile sword and shield combination in ESO, offering Maelstrom’s Sword, Mace, Dagger, and Shield options. This set uniquely benefits both tanks and resource-conscious casters through its innovative mechanics.
Using the one-handed weapon with its matching shield enhances your Low Slash skill, enabling a follow-up heavy attack within five seconds that restores 1,904 Stamina and Magicka simultaneously.
Tank Application: Perfect for maintaining resource levels during extended engagements. Time your Low Slash usage before major ability casts to ensure resource availability.
Caster Utility: Even non-tank characters can leverage this set for the substantial Magicka restoration, particularly useful in stamina-intensive rotations.
Veteran Difficulty Preparation: Maelstrom Arena via the Orsinium expansion requires solo completion at Veteran difficulty. Master your defensive positioning and resource management before attempting this challenge.
Pro Tip: Combine with the Class Guide to optimize your build for solo arena content.
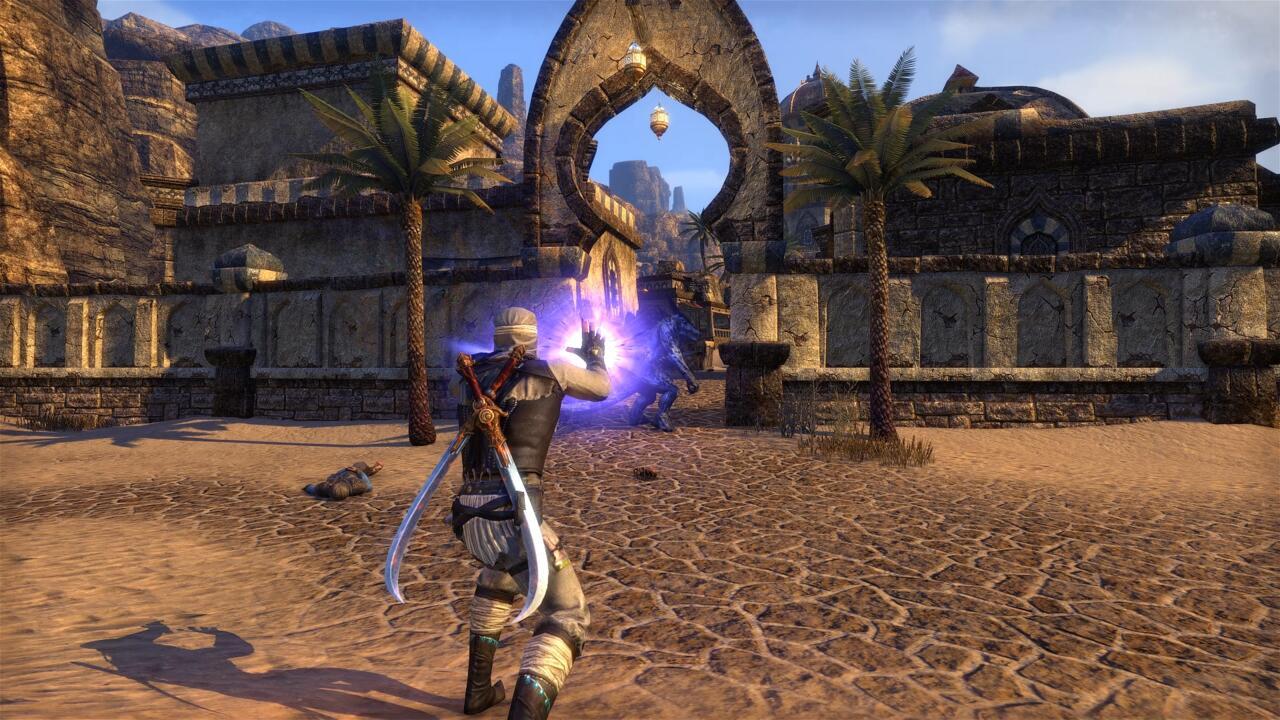
Cruel Flurry specializes in dual-wield combat excellence, offering premium one-handed options including sword, dagger, axe, and mace variants. This set excels in sustained damage scenarios through its unique mechanics.
Executing the Flurry skill then damaging your target within four seconds grants a substantial 1,690 bonus to both Weapon and Spell Damage.
Stamina DPS Optimization: This set becomes particularly potent for stamina-based damage dealers who can maintain consistent pressure. The tight timing window demands precise ability sequencing.
Rotation Strategy: Always follow Flurry with immediate light attacks or damaging abilities to trigger the bonus. Practice the timing in dummy tests before live combat.
Maelstrom Arena Veteran Strategy: Focus on mechanical mastery rather than brute force. Learn each stage’s specific challenges and adapt your approach accordingly.
Advanced Combo: Pair with the Weapons Unlock guide to ensure you’re properly equipped for this challenging content.
Like Rampaging Slash, this set requires Maelstrom Arena completion at Veteran difficulty, making efficient clearing essential for farming multiple sets.
Action Checklist
- Identify your primary build type (Magicka DPS, Healer, Tank, Stamina DPS)
- Research required DLCs and prepare for specific arena challenges
- {‘step’: ‘3’, ‘practice’: ‘Master ability rotations on training dummies to optimize timing windows’, ‘difficulty’: ‘Advanced’, ‘time_estimate’: ’30-60 minutes practice’}
- Farm targeted locations with optimized groups for efficiency
- Test perfected versions in controlled environments before difficult content
No reproduction without permission:SeeYouSoon Game Club » Best Weapons In The Elder Scrolls Online Master ESO's top weapon sets with expert strategies, acquisition guides, and optimization tips for every playstyle