TL;DR
- E.O.D. provides crucial explosive protection against common grenades and Molotovs
- Double Time enhances mobility for aggressive plays and gas circle escapes
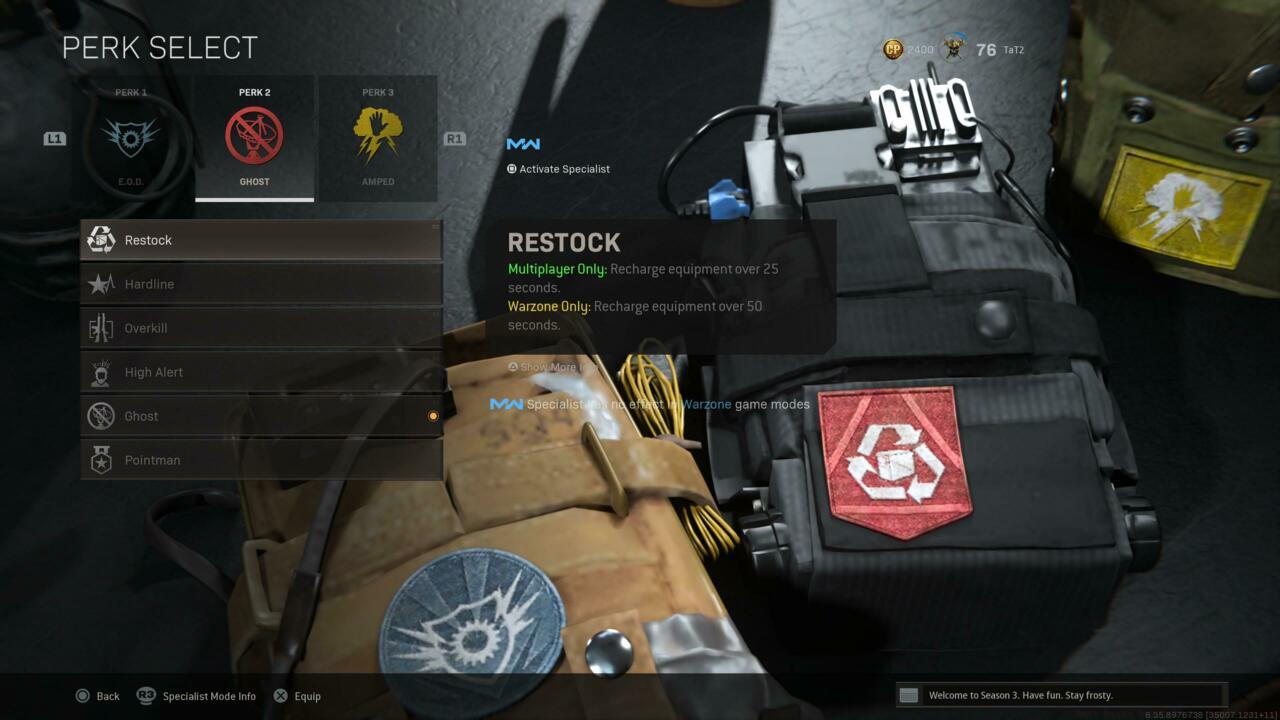
- Ghost remains essential for staying off enemy radar and heartbeat sensors
- Avoid Scavenger in standard modes as ammo is plentiful from ground loot
- Adapt perk choices based on playstyle, map knowledge, and current meta trends
While custom weapon configurations often receive the most attention in Warzone loadout discussions, your perk selections can dramatically influence match outcomes. Many players overlook these passive abilities, focusing solely on firearm optimization while missing critical tactical advantages.
Battle royale engagements in Call of Duty: Warzone commence with parachute deployment and immediate scavenging for equipment. Survival remains your primary objective, though accumulating sufficient currency for the expensive $10,000 loadout drop represents a key early-game milestone. Alternatively, you might await the complimentary loadout that appears later in the match. Regardless of acquisition method, ensuring your personalized loadout delivers optimal survival potential is paramount.
Firearm configurations typically dominate custom loadout conversations due to constantly evolving weapon metas. However, your chosen perks significantly impact firefight outcomes and overall match performance.
Whether you’re newly experiencing Warzone or haven’t reviewed your perk selections recently, it’s common to configure them once then neglect adjustments. Despite the transition to Cold War integration and Verdansk ’84’s introduction, Warzone continues utilizing Modern Warfare’s perk system. The available perk options remain consistent, with meta shifts rarely necessitating changes.
Thermal scope popularity around Season 1’s launch represented a notable exception. During that period, switching to Cold Blooded in the initial perk slot provided tactical advantage since it prevents thermal optic detection. Once the meta progressed beyond thermal dominance, Cold Blooded lost its viability compared to alternatives like E.O.D., which diminishes damage from non-killstreak explosives and incendiary devices. Encountering Semtex or fragmentation grenades occurs far more frequently than facing thermal-equipped opponents in the current gameplay environment.
These strategic perk recommendations will enhance your Warzone performance:
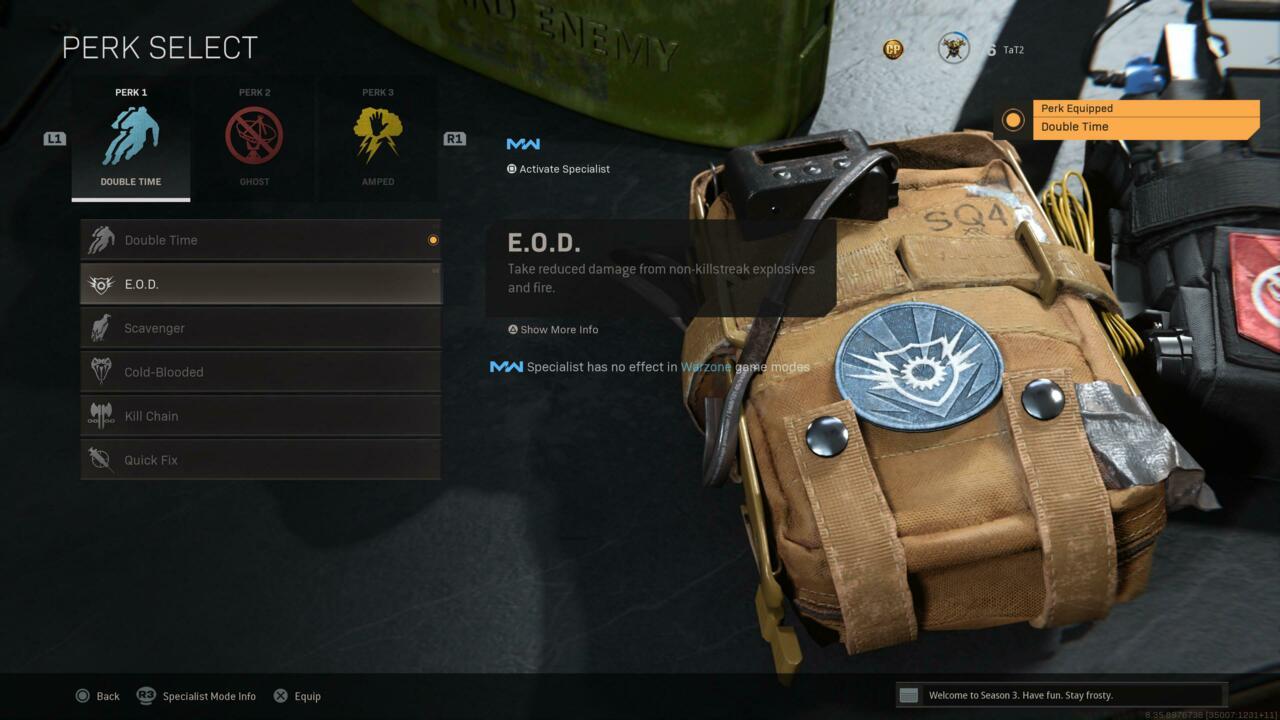
E.O.D. stands as the premier selection for your first perk slot due to its explosive damage reduction capabilities against non-killstreak explosives and fire. When trapped in structures without trophy system protection, E.O.D. becomes invaluable for surviving concentrated enemy equipment assaults like grenade barrages or Molotov cocktails.
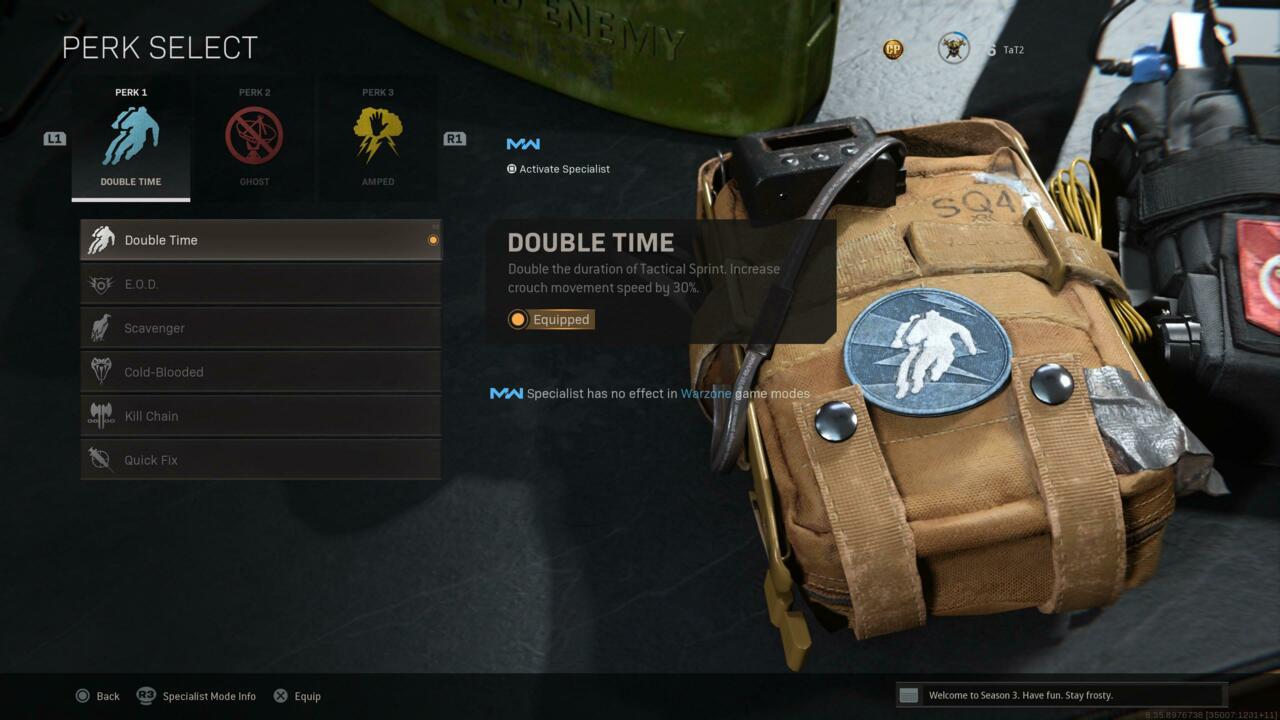
Double Time presents another excellent option for the initial perk position. Movement efficiency proves critical in Warzone scenarios, whether aggressively advancing on enemy squads or desperately fleeing the collapsing gas circle. This perk extends your Tactical Sprint duration while increasing crouch movement velocity by 30%.
The advantages provided by both E.O.D. and Double Time substantially outperform other perk one alternatives. If you continue utilizing Scavenger for ammunition replenishment from eliminated combatants, contemplate transitioning to E.O.D. or Double Time for conventional Warzone gameplay. Typically, you’ll discover adequate ammunition without this perk. Scavenger only becomes consideration-worthy in environments like Rebirth Island, where opponents frequently lack substantial ammunition reserves. Even in those situations, I maintain that its benefits don’t surpass those offered by E.O.D. or Double Time.
Advanced Tip: Consider creating duplicate loadouts with both E.O.D. and Double Time for mid-game swaps based on changing circumstances. If you find yourself frequently engaging in building defenses, switch to E.O.D. loadouts. For open-area rotations or aggressive plays, Double Time provides superior value. This flexibility adaptation separates intermediate from advanced players.
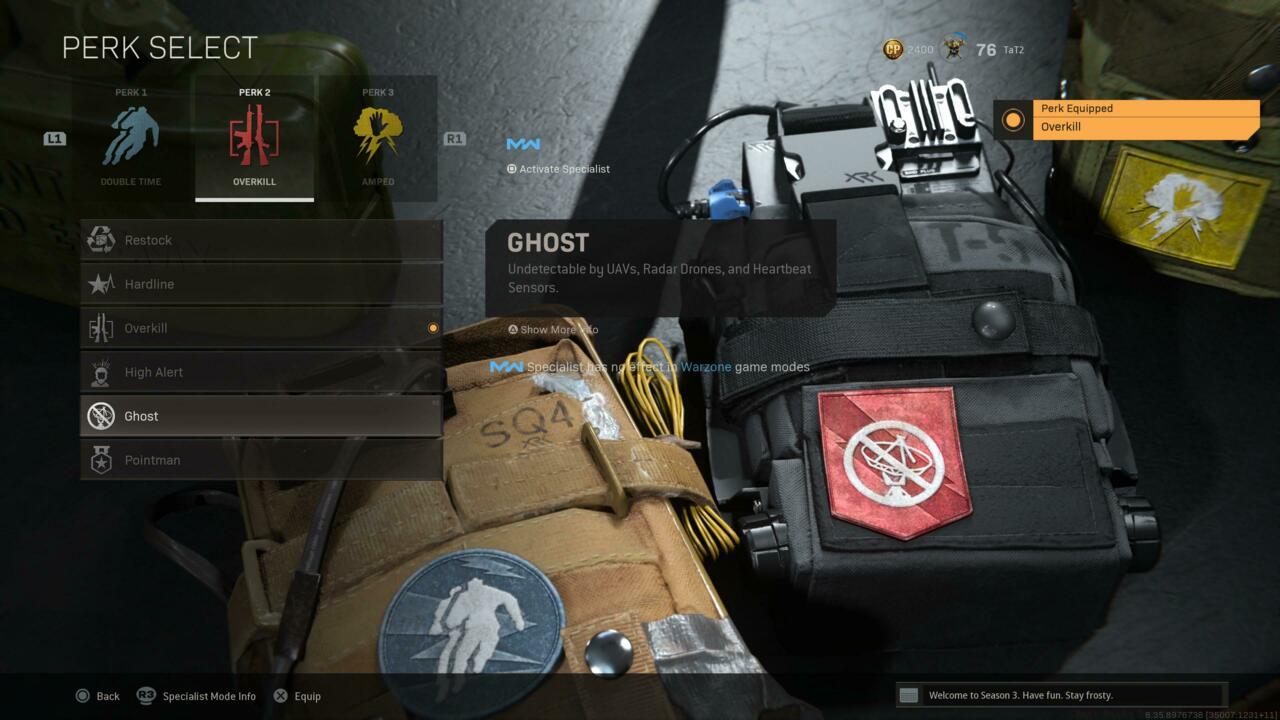
Ghost represents the most frequently deployed perk throughout Warzone. This ability renders you invisible to UAVs, radar drones, and heartbeat sensors. Player survival carries immense importance in battle royale formats, particularly in non-respawn modes, making radar invisibility crucial. Given the persistent UAV threat and heartbeat sensor prevalence, Ghost serves as an automatic selection for the secondary perk position.
Common Mistake: Many players underestimate how frequently enemies deploy UAVs. Even without purchased UAVs, numerous Advanced UAVs activate during typical matches from loot crates and killstreaks. Remaining undetectable provides positional advantage that often determines engagement outcomes.
For players transitioning from other tactical shooters, understanding Warzone’s radar mechanics proves essential. Unlike traditional minimap systems, Ghost’s protection against multiple detection methods creates safe rotation opportunities that aggressive players can exploit. Combine this with strategic positioning near optimal class setups for maximum effectiveness.
Beyond the core perk recommendations, several advanced tactics can elevate your gameplay. Understanding perk synergies with weapon choices and equipment selections creates compounded advantages that overwhelm opponents.
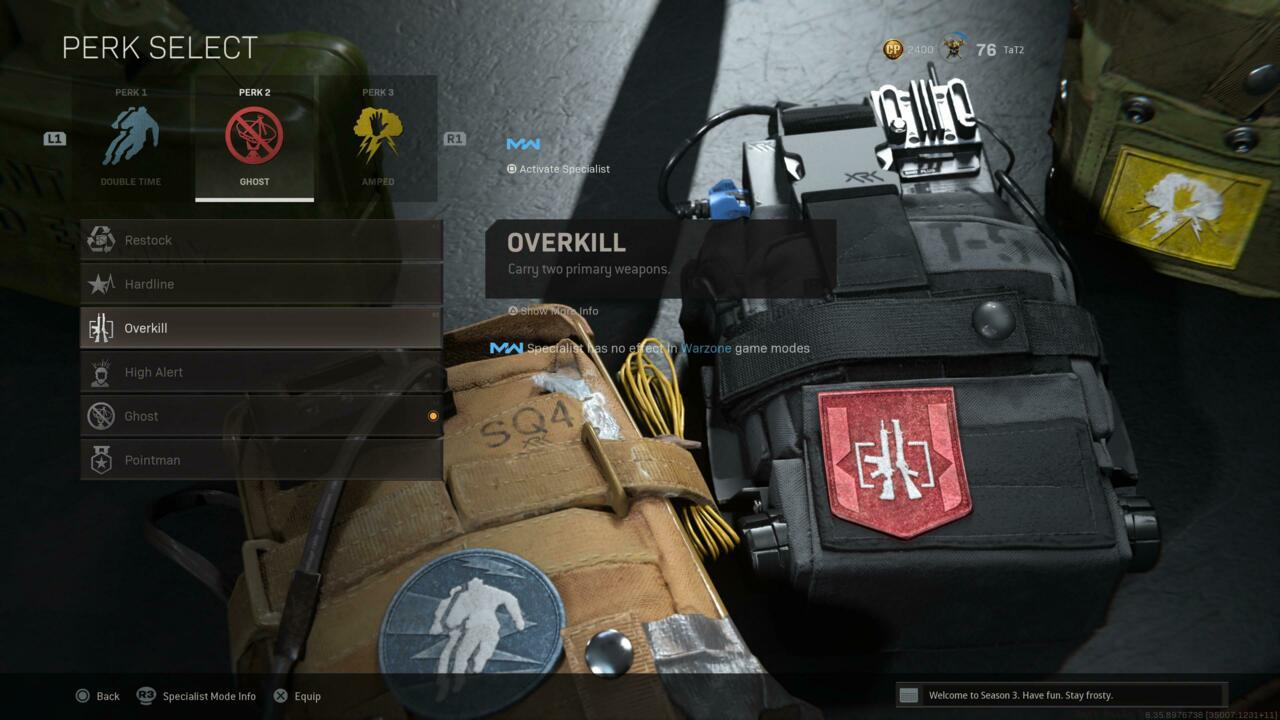
Team Composition Strategy: In squad play, consider diversifying perk selections rather than everyone running identical setups. Having one player with Overkill for secondary weapon flexibility while others utilize Ghost creates balanced team capabilities.
Late-Game Adaptation: As matches progress into final circles, your perk requirements may shift. The condensed play area reduces the value of mobility perks while increasing explosive threat probabilities. Smart players utilize loadout drops in later stages to swap Double Time for E.O.D. when anticipating final circle building engagements.
For comprehensive strategic planning similar to what we might see in upcoming titles, reference our comprehensive Battlefield 6 guide for additional tactical insights. Weapon selection synergies also play crucial roles, as detailed in our BF6 armament unlock guide.
Pro Tip: Monitor killcam details to identify which perks your eliminators utilize. This intelligence gathering helps you adapt your own selections to counter prevalent strategies in your current gaming session.
Action Checklist
- Create primary loadout with E.O.D., Ghost, and preferred third perk
- Build secondary loadout featuring Double Time for mobility-focused scenarios
- Analyze your playstyle to determine E.O.D. vs. Double Time priority
- Monitor match progression and switch loadouts mid-game based on changing needs
- Review eliminated-by footage to identify opponent perk strategies
No reproduction without permission:SeeYouSoon Game Club » Best Perks For Call Of Duty: Warzone Master Warzone's essential perk system to gain tactical advantages and dominate battle royale matches