Master the Officer class with optimal loadouts, strategic Star Cards, and advanced Battlefront 2 gameplay tactics
Officer Class Overview and Strategic Role
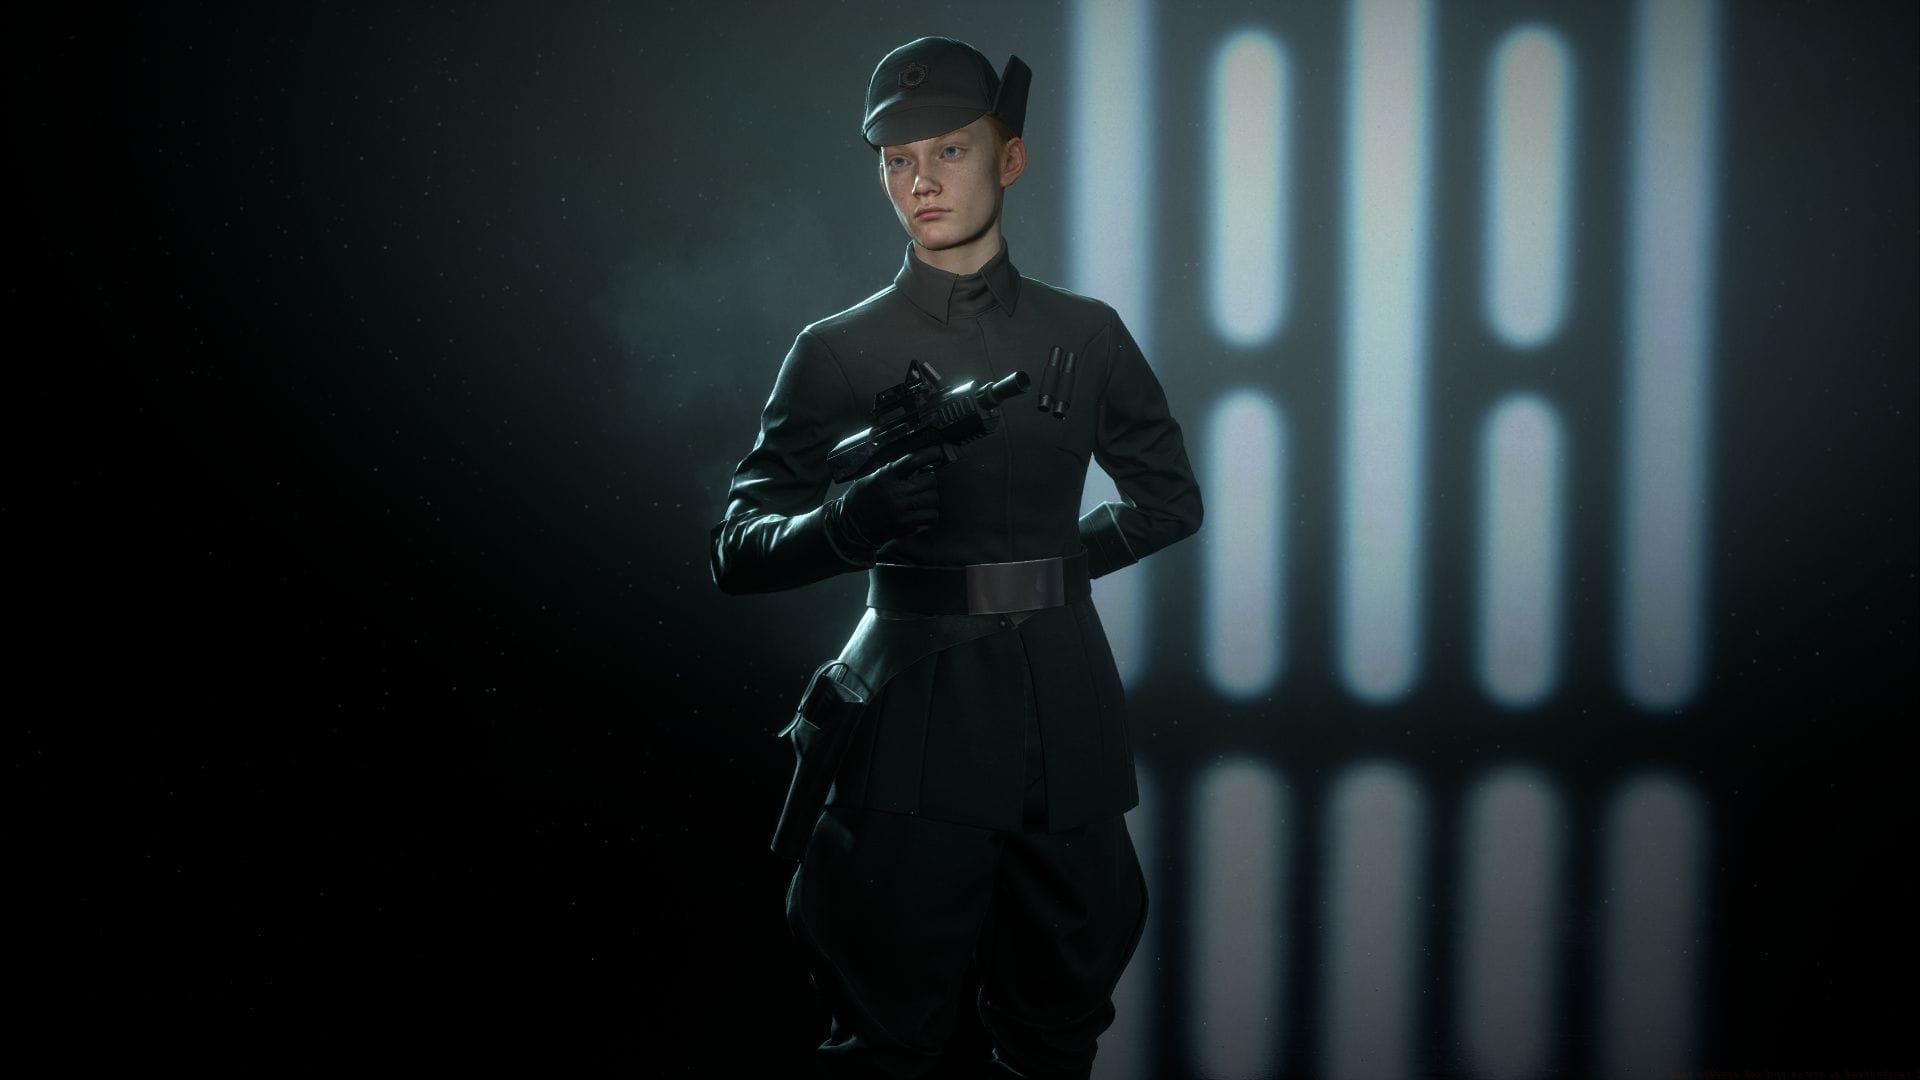
The Officer class represents Battlefront 2’s premier support specialist, capable of turning the tide through strategic positioning and well-timed ability usage. Unlike assault troops who excel at direct combat, officers thrive when positioned behind frontlines where they can maximize their team support capabilities while accumulating battle points rapidly. Their unique blend of defensive utilities and offensive enhancements makes them invaluable for holding objectives and supporting pushes.
Strategic officers understand that their primary role extends beyond simple kills – they’re battlefield facilitators who enable their team’s success through careful ability management. Positioning near choke points or objective zones allows officers to affect multiple allies simultaneously, dramatically increasing team survivability and combat effectiveness. This positioning strategy also accelerates battle point generation, often allowing officers to access hero units faster than any other class.
Primary Blaster Analysis and Selection Guide
Selecting the ideal blaster requires understanding both weapon statistics and your intended engagement distances. Each officer blaster caters to distinct playstyles, with performance characteristics that excel in specific combat scenarios.
- DC-17: This balanced blaster offers consistent performance across most engagement ranges with its solid damage profile and manageable recoil. Its high accuracy makes it ideal for medium-range support fire, allowing officers to contribute to fights while maintaining safe positioning. The DC-17’s versatility makes it the recommended starting weapon until players unlock more specialized options.
- S-5: Precision specialists will appreciate this high-damage sidearm that rewards accurate aiming with devastating headshot potential. While its low fire rate demands careful shot placement, the S-5 can eliminate standard troopers in just two well-placed shots. This weapon excels when paired with defensive positioning that allows time for aimed shots rather than reaction fire.
- SE-44C: Close-quarters domination defines this rapid-fire blaster that melts enemies at short ranges. Its high rate of fire compensates for moderate damage per shot, making it exceptionally lethal when combined with the Officer’s flash grenade for disorienting targets. The SE-44C becomes particularly devastating once players unlock the rapid fire modification.
Weapon modifications significantly enhance these blasters’ capabilities. Ion Shot proves invaluable against vehicles and turrets, while Improved Cooling extends engagement duration before overheating. Night Vision serves situational purposes on darker maps but generally offers less consistent value than other modifications.
Also read: Should you try Star Wars Battlefront 2 in 2025?
Essential Star Cards and Ability Optimization
Star Cards transform the Officer from a basic support unit into a specialized combat role tailored to your preferred playstyle. Understanding ability synergies and unlock requirements ensures you’re maximizing your effectiveness at every class level.
- Blast Command: This Battle Command replacement creates area denial zones while providing temporary unlimited blaster cooling for you and nearby allies. The strategic value comes from timing this ability during intense firefights where sustained fire provides critical advantages. Deploy when your team is pushing objectives or defending against enemy assaults.
- Bounty Hunter (Boost card): As your primary battle point acceleration tool, this card should remain equipped once unlocked at level 30. The increased point generation stacks with the Officer’s natural support point gains, dramatically reducing the time required to access reinforcement units and heroes.
- Improved Battle Command: This enhanced version provides faster cooldowns, larger effect radius, and self-applied buffs, making it essential for officers frequently positioned with teammate clusters. The shorter recharge enables more frequent health and ability cooldown resets for your squad.
- Officer’s Presence: This passive ability accelerates health regeneration for nearby allies, providing constant value without active management. Its effect radius makes it particularly valuable for officers who position themselves near objective points or choke points where teammates frequently cluster.
- Squad Shield: Replacing the blaster turret, this defensive bubble creates safe zones for objective play and team revives. Its protection against blaster and energy weapons makes it invaluable for securing control points or creating temporary cover in exposed areas. Advanced tactics involve deploying the shield just beyond doorways to create one-way firing positions.
Advanced Officer Playstyles and Team Tactics
Beyond basic loadout selection, mastering the Officer requires understanding advanced gameplay tactics and common pitfalls. Different situations demand adaptation of both equipment and positioning to maximize effectiveness.
Aggressive Officer Builds combine the SE-44C with Blast Command and Improved Battle Command for close-quarters dominance. This setup excels in capture point scenarios where you can deploy area denial effects while leveraging high close-range damage. Position yourself just behind frontlines to quickly support pushing teammates while maintaining escape routes.
Support-Focused Strategies utilize the DC-17 or S-5 with Officer’s Presence and Squad Shield for defensive play. This approach works exceptionally well on objective defense scenarios where sustained team presence matters more than individual kill counts. Your role becomes maintaining team survivability while picking off enemies from protected positions.
Common Officer Mistakes include overextending beyond support range, poor ability timing, and neglecting battle point generation opportunities. Avoid positioning yourself as a frontline combatant – your value comes from enabling teammates rather than chasing eliminations. Time your Battle Command uses after initial engagement when health depletion begins rather than preemptively.
Optimization for Advanced Players involves mastering ability combos like flash grenade into SE-44C rushes or Squad Shield placements that create asymmetric sightlines. Learn to read battle flow to anticipate when and where your abilities will provide maximum value rather than using them on cooldown.
For more info on Battlefront 2, follow Sportskeeda:
- Best heavy loadout to use in Battlefront 2
- Best assault loadout to use in Battlefront 2
- Is Star Wars Battlefront 2 crossplay?
No reproduction without permission:SeeYouSoon Game Club » Best officer loadout to use in Battlefront 2 Master the Officer class with optimal loadouts, strategic Star Cards, and advanced Battlefront 2 gameplay tactics