TL;DR
- Collect all seven pieces in any order to assemble the Totem of Perseverance at camp
- Purchase the totem piece list from Solace Keep vendor for reference guidance
- Use Yatzli’s ability to clear illusions for accessing hidden cave locations
- Navigate complex terrain using environmental landmarks and strategic pathfinding
- Combine fire magic with exploration skills to overcome vine-blocked obstacles
Embark on an immersive treasure hunt throughout Galawain’s Tusks to locate all seven components of the powerful Totem of Perseverance. This comprehensive guide provides detailed navigation strategies and expert tips to streamline your collection process while maximizing your gaming experience.
Within the expansive world of Avowed, each region contains unique totems that grant valuable passive bonuses when fully assembled. The Totem of Perseverance specifically enhances your character’s resilience and combat endurance. While you can acquire a basic inventory list from merchants in Solace Keep, these documents lack the crucial geographical markers needed for efficient navigation.
Strategic flexibility is key – you can gather the totem fragments in whatever sequence best suits your exploration style and current progress.
- Antler of the Persevering Stag
- Hunter’s Arrows of Slaying
- Hunter’s Arrows of Surviving
- Antler of the Pursued Stag
- Hunter’s Arrows of Seeking
The sacred Shrine to Galawain serves as your primary starting landmark, positioned in the northeastern sector of Twinedwood’s dense wilderness.
Your totem assembly journey begins at the Shrine to Galawain, situated in Twinedwood’s northern territories. This ancient religious site contains the foundational component needed to unite all other fragments into a complete magical artifact.
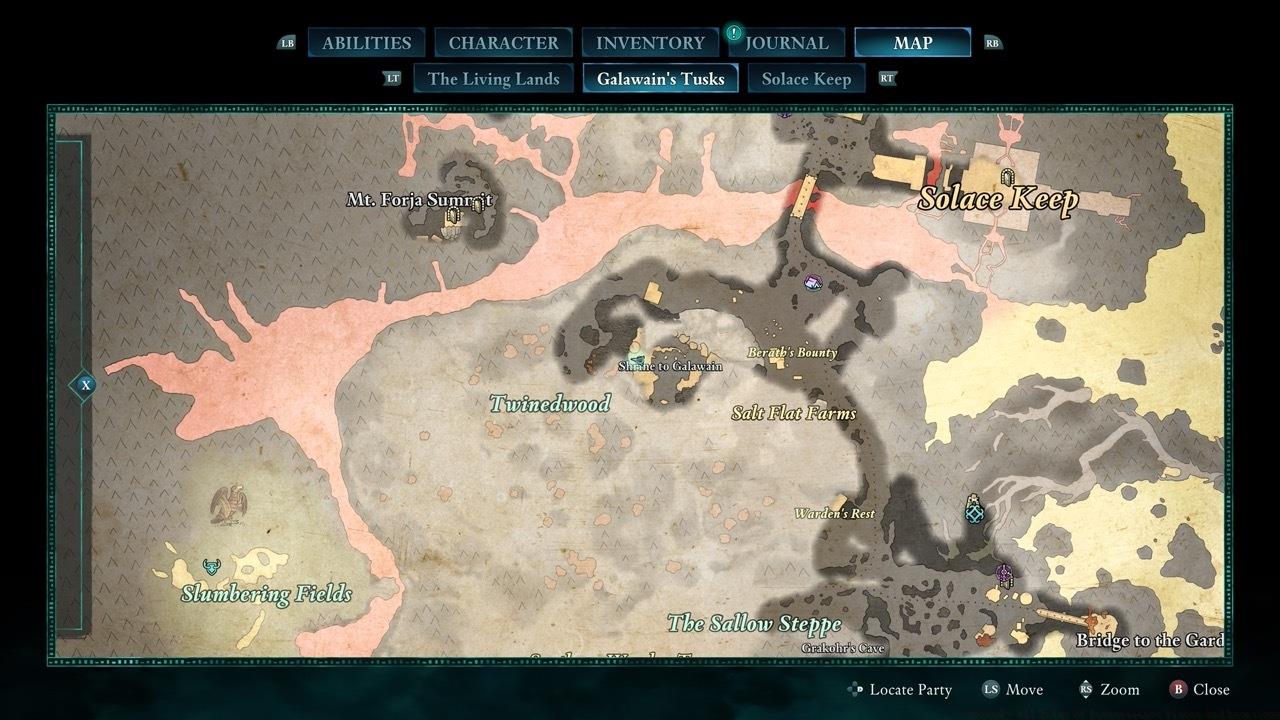
Navigate to the northeastern Twinedwood sector to locate the Shrine to Galawain, your starting point for this collection quest.
The essential Totem Base rests upon a ceremonial altar in the shrine’s western section. Approach carefully as the area may contain environmental hazards or hidden challenges that test your exploratory skills.
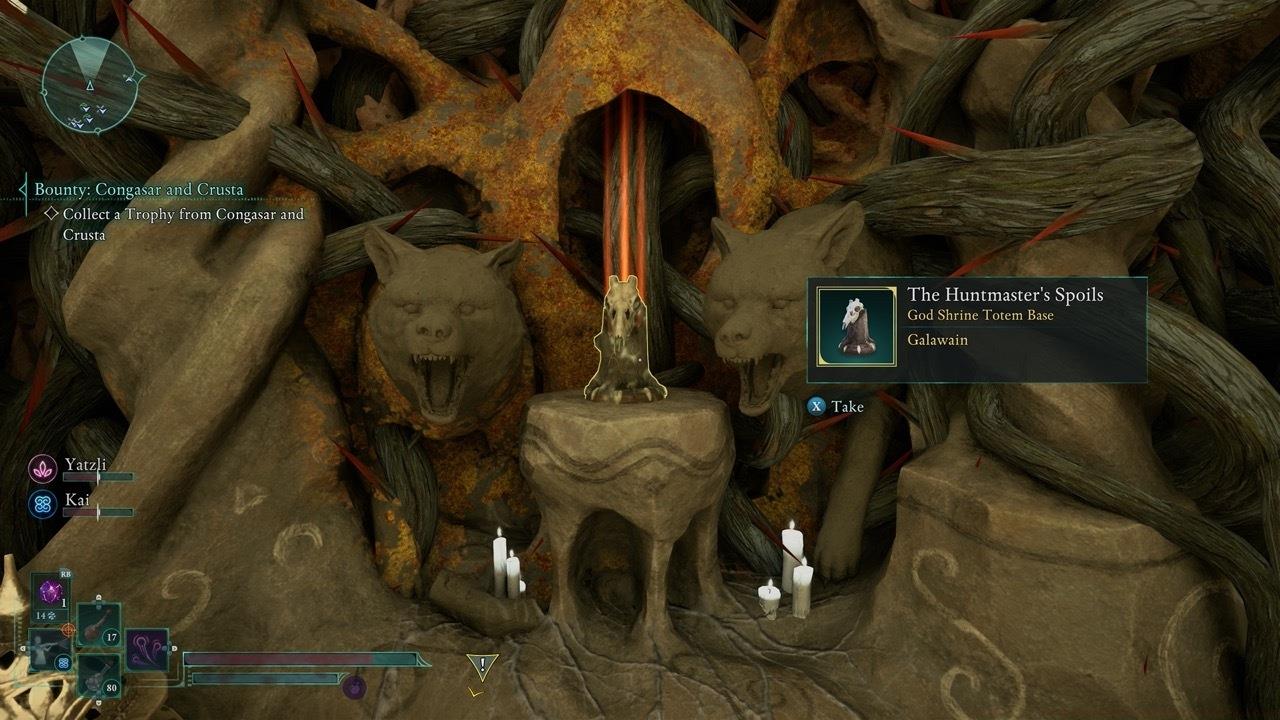
Identify the ceremonial altar in the western shrine area where the Totem Base awaits discovery.
Pro Tip: Before departing the shrine, thoroughly explore the immediate surroundings. Many players miss secondary loot containers or hidden lore elements positioned near the main totem component.
Venture beneath the western segment of the Bridge to the Garden to locate this distinctive antler fragment. The positioning requires careful navigation of elevated ledges and potentially treacherous terrain.
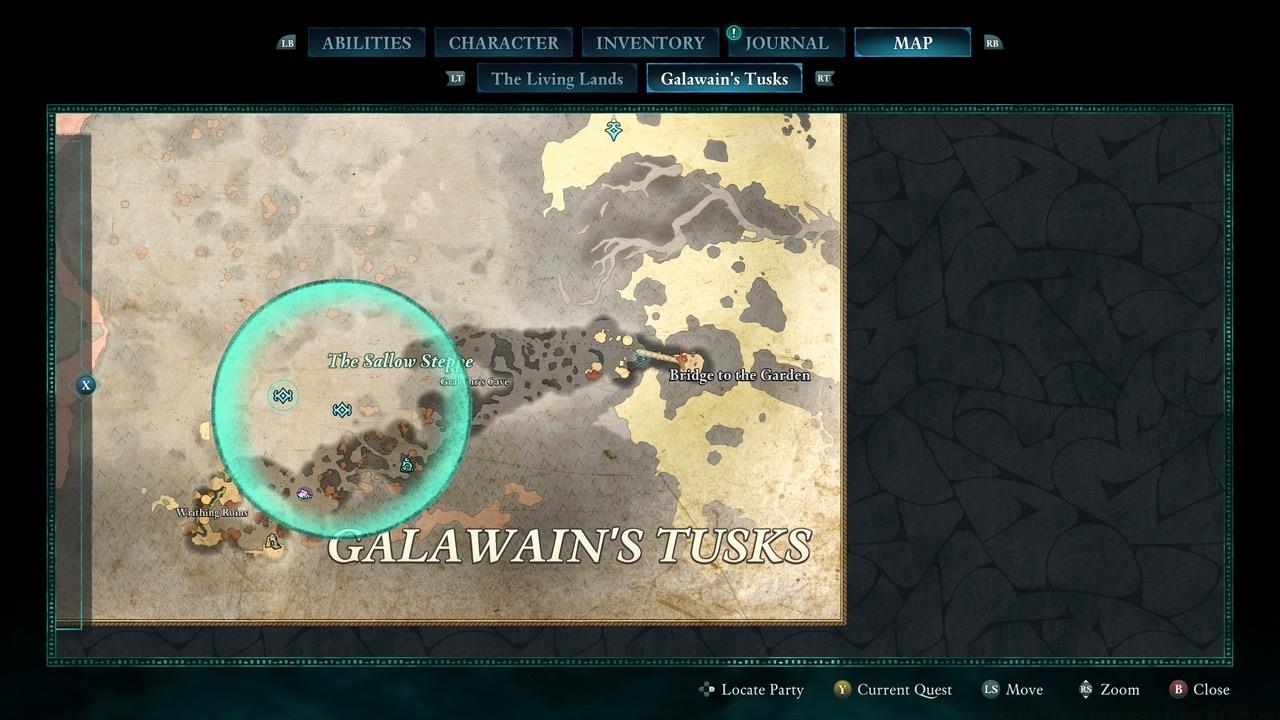
The Antler of the Persevering Stag hides beneath the Bridge to the Garden’s western section.
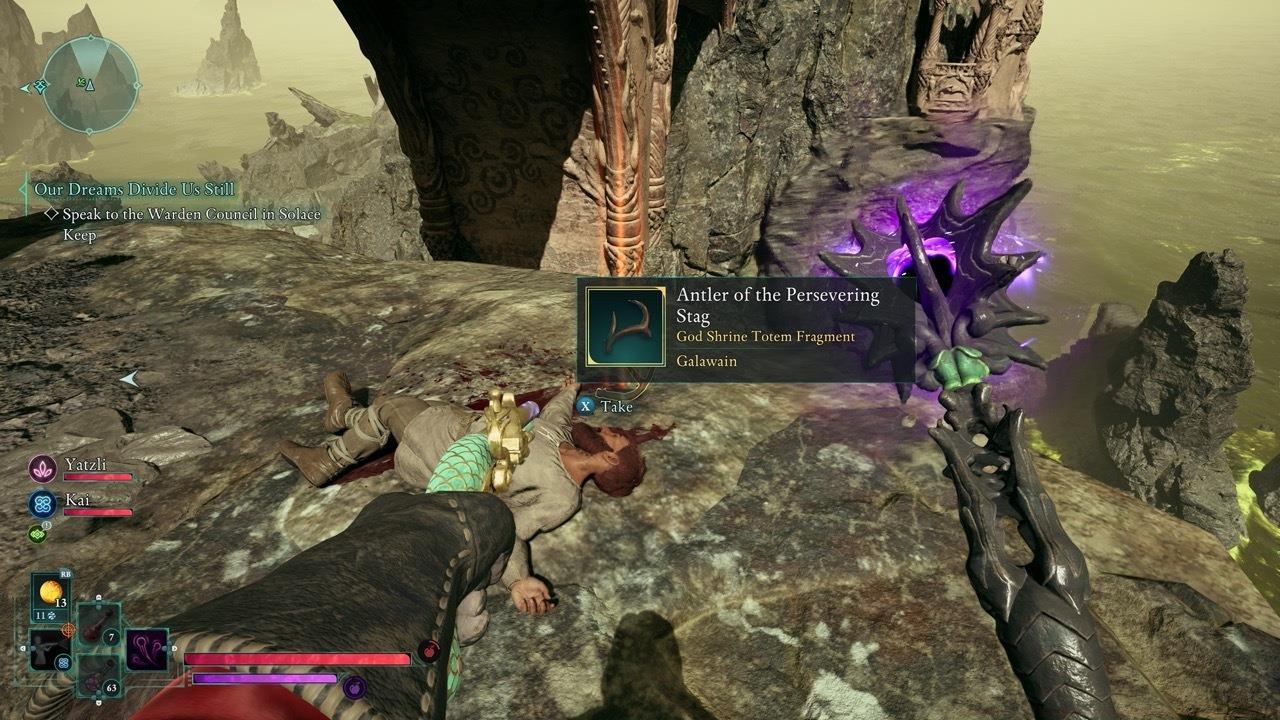
Precisely navigate to the specific ledge underneath the bridge structure where the antler fragment rests.
Navigation Strategy: Approach from the southern riverbank and scan for partially hidden pathways leading upward. The ledge typically sits approximately halfway between the bridge’s foundation and the water level below.
Common Mistake: Many explorers waste time searching the eastern bridge sections. Focus your investigation exclusively on the western third of the structure for optimal efficiency.
Journey into the Slumbering Fields region to uncover the Hunter’s Arrows of Slaying. This fragment enhances offensive capabilities and requires navigating through ancient architectural remains.
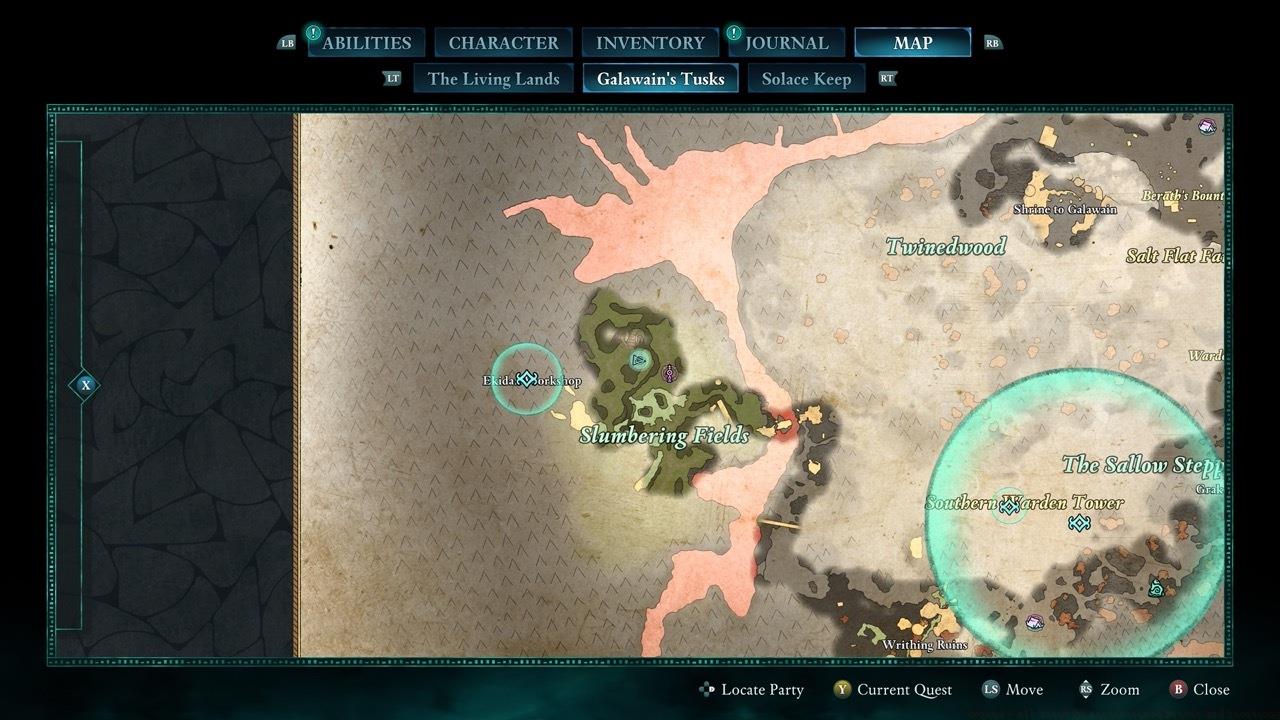
The Hunter’s Arrows of Slaying awaits discovery within the Slumbering Fields landscape.
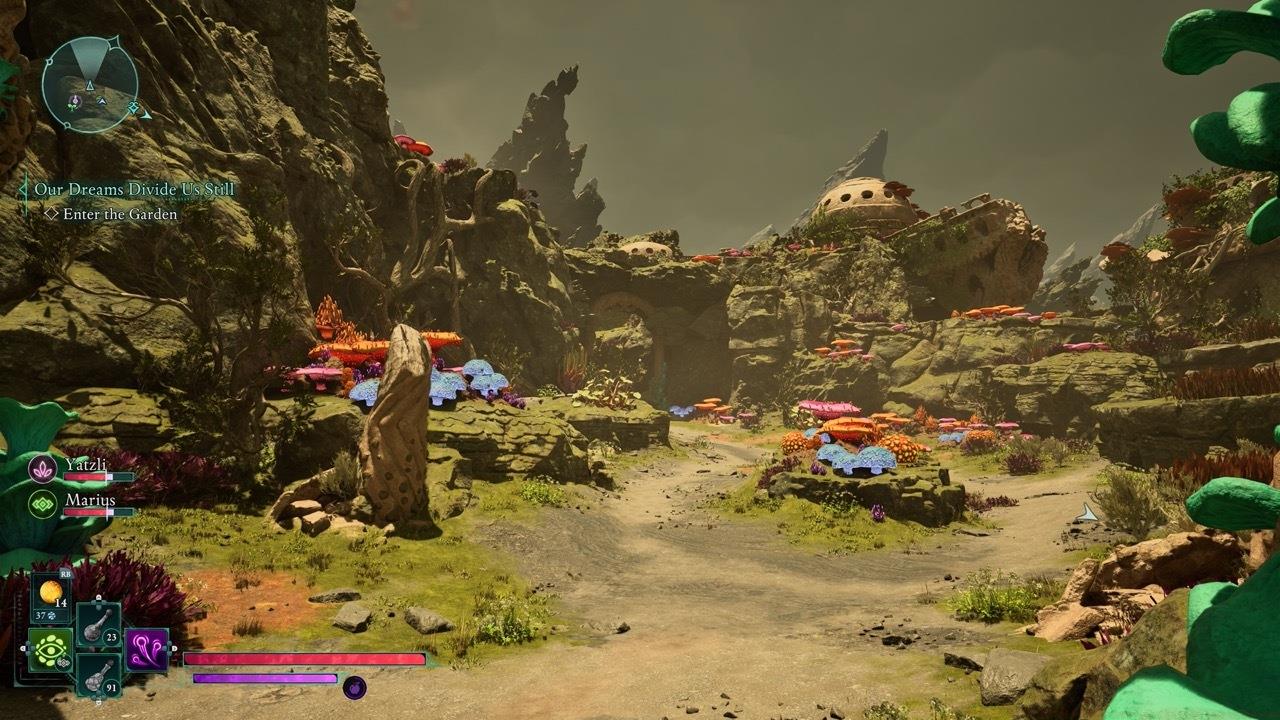
Navigate toward the initial archway structure, then proceed through the subsequent arch positioned immediately beyond it.
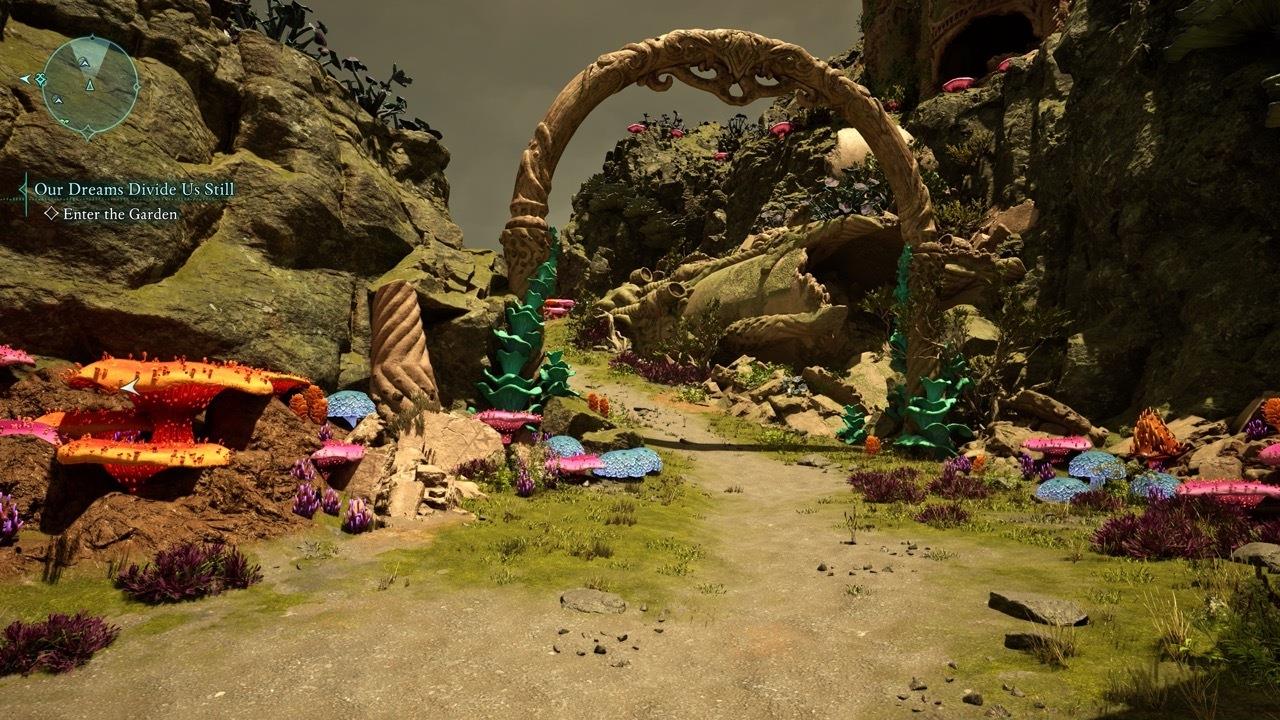
After passing through the archway, maintain a straight trajectory until encountering a cliff formation, then ascend leftward into the ruined structures.
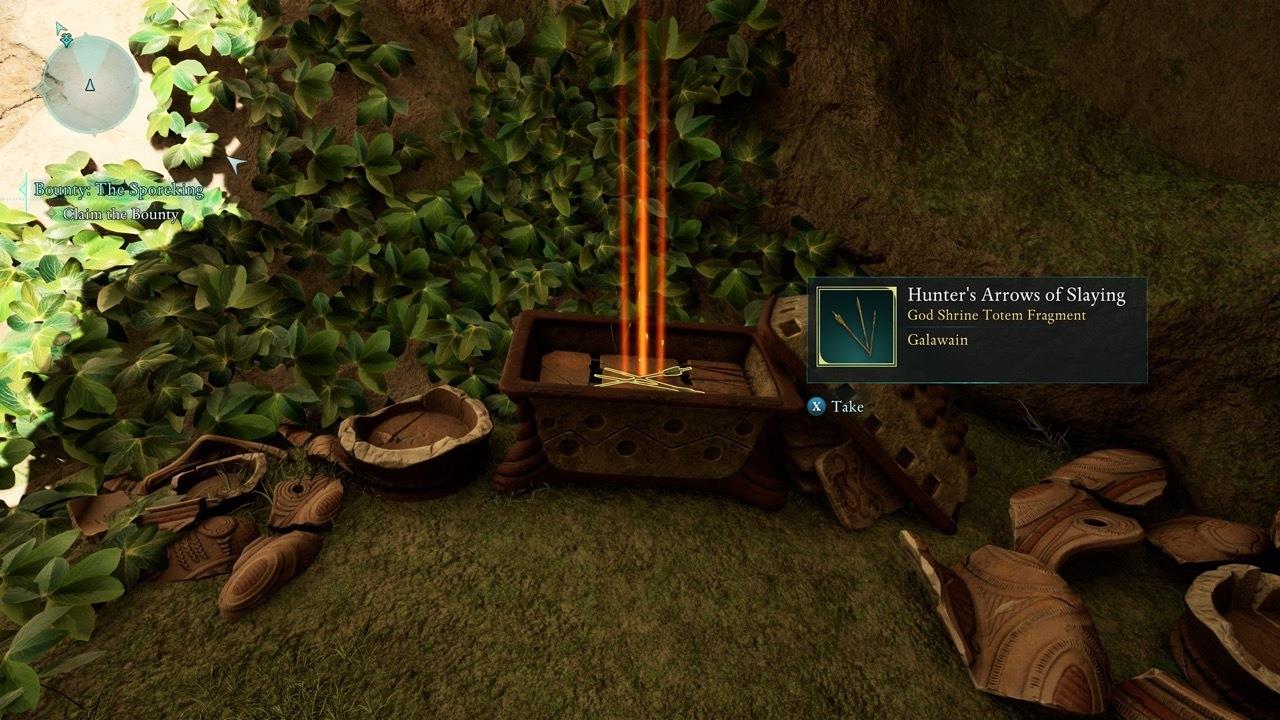
The Hunter’s Arrows of Slaying rests within a compact circular architectural feature among the ruins.
Advanced Technique: Experienced players can bypass certain terrain obstacles using precise jumping maneuvers, though this requires thorough understanding of the game’s movement mechanics.
Locate the Hunter’s Arrows of Surviving within the mysterious Lost Village area, initiating your approach from the northwestern Pargrun Cache location for optimal routing.
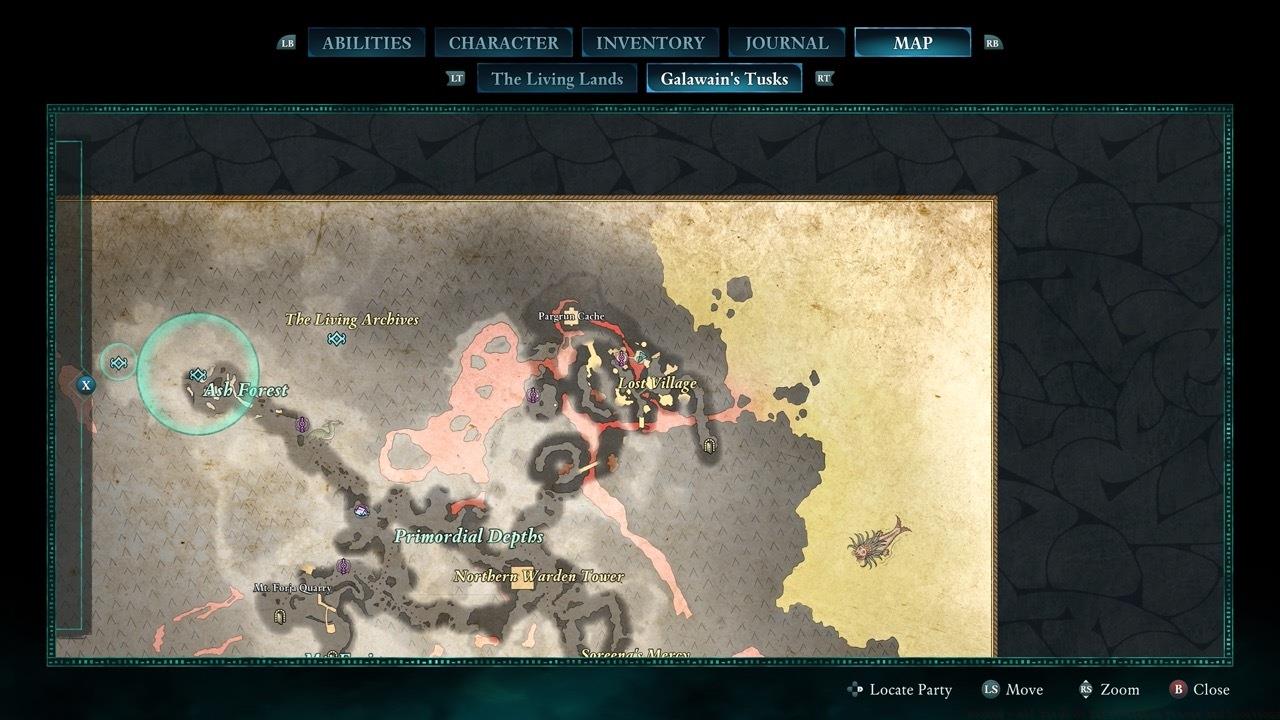
Begin your search at the Pargrun Cache northwest of the Lost Village for the most efficient access route.

Position yourself facing the cache, then execute a left turn and track the pathway leading toward the ruined structures visible in the distance.

The totem fragment resides within the ruined buildings positioned at the lava river’s termination point.
Route Optimization: The lava river serves as a natural guide – simply follow its flow upstream to reach the target destination without unnecessary detours.
Time Estimate: Allocate approximately 15-20 minutes for this segment, including combat encounters with regional enemies that may block your progression.
Discover the Antler of the Pursued Stag north of the Pargrun Cache, requiring specific character abilities and environmental interaction skills.
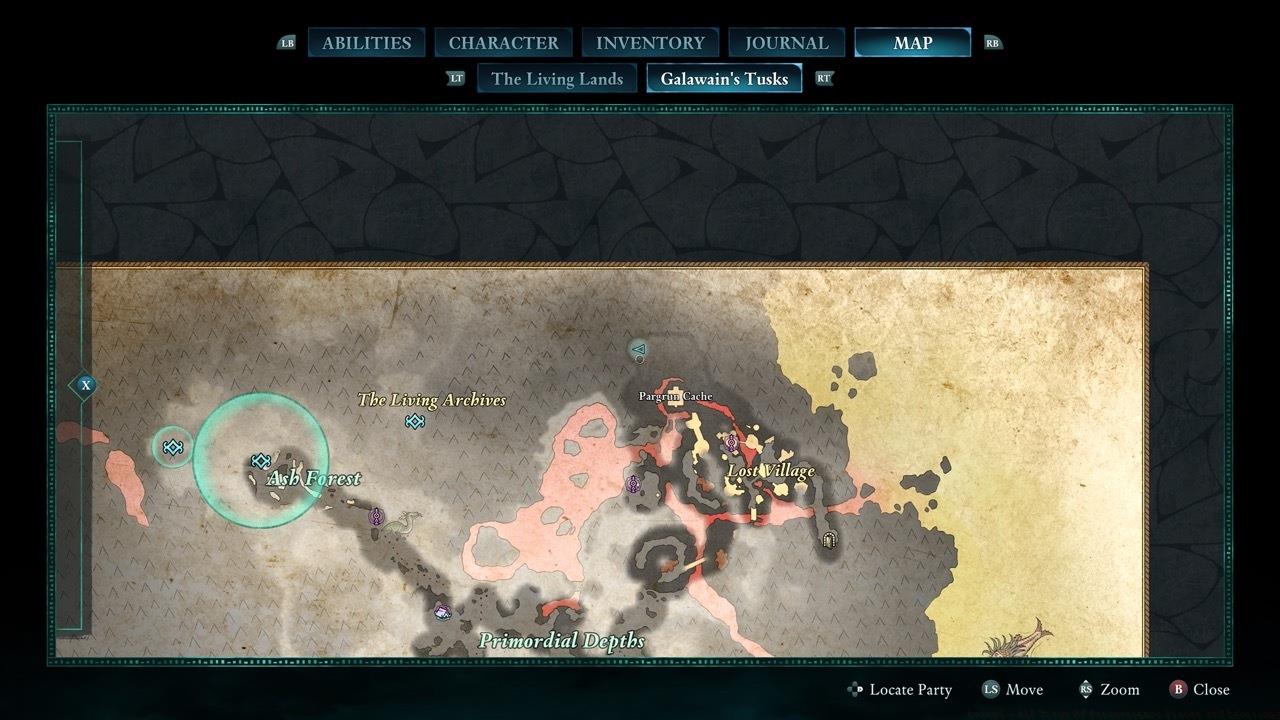
This totem component demands Yatzli’s unique capabilities and sits northward from the Pargrun Cache location.
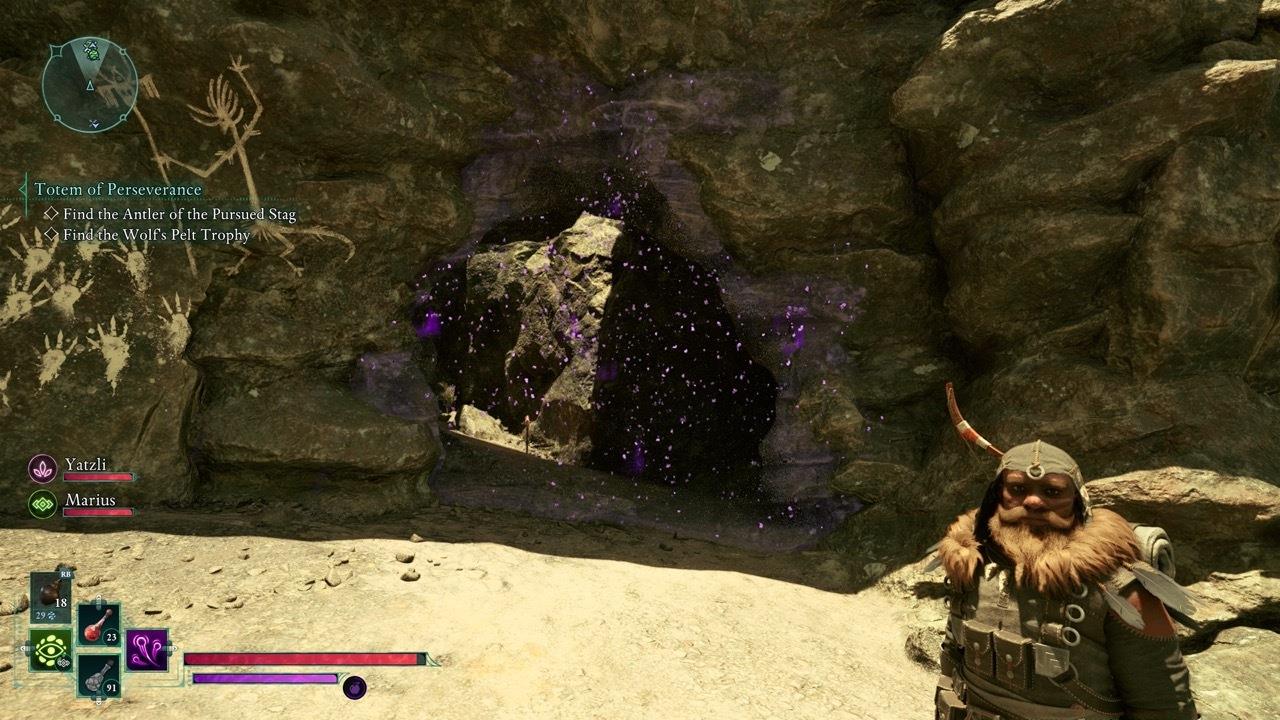
Employ Yatzli’s special power to dissipate the magical illusion concealing the cave entrance.
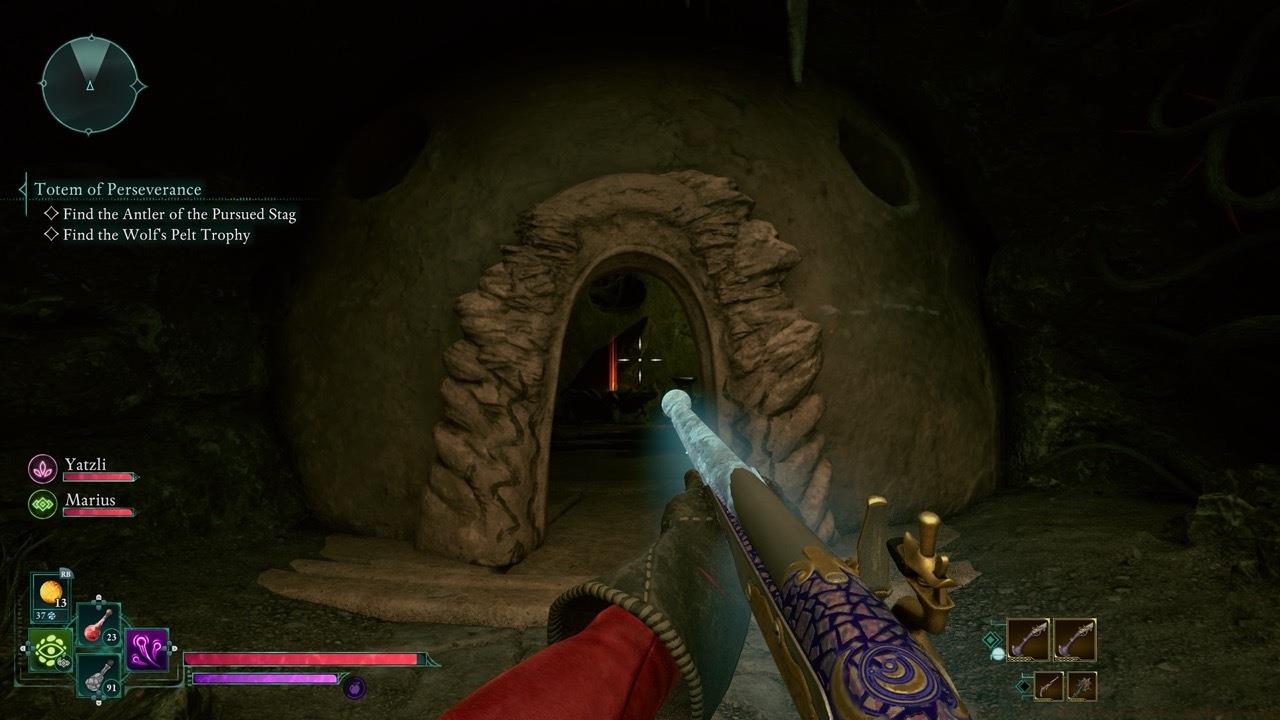
Utilize fire-based abilities or spells to eliminate the vegetative obstruction blocking access through the doorway.

The Antler fragment awaits discovery beyond the vine-sealed doorway within the cavern interior.
Ability Preparation: Ensure Yatzli is available in your party and that you possess reliable fire magic sources before attempting this collection objective.
Common Pitfall: Many players attempt brute force methods against the vines, wasting valuable resources. Fire-based solutions prove dramatically more efficient.
Ascend to the rooftop of the Ash Forest Outpost to claim the Wolf’s Pelt Trophy, requiring careful navigation of the structure’s external architecture.
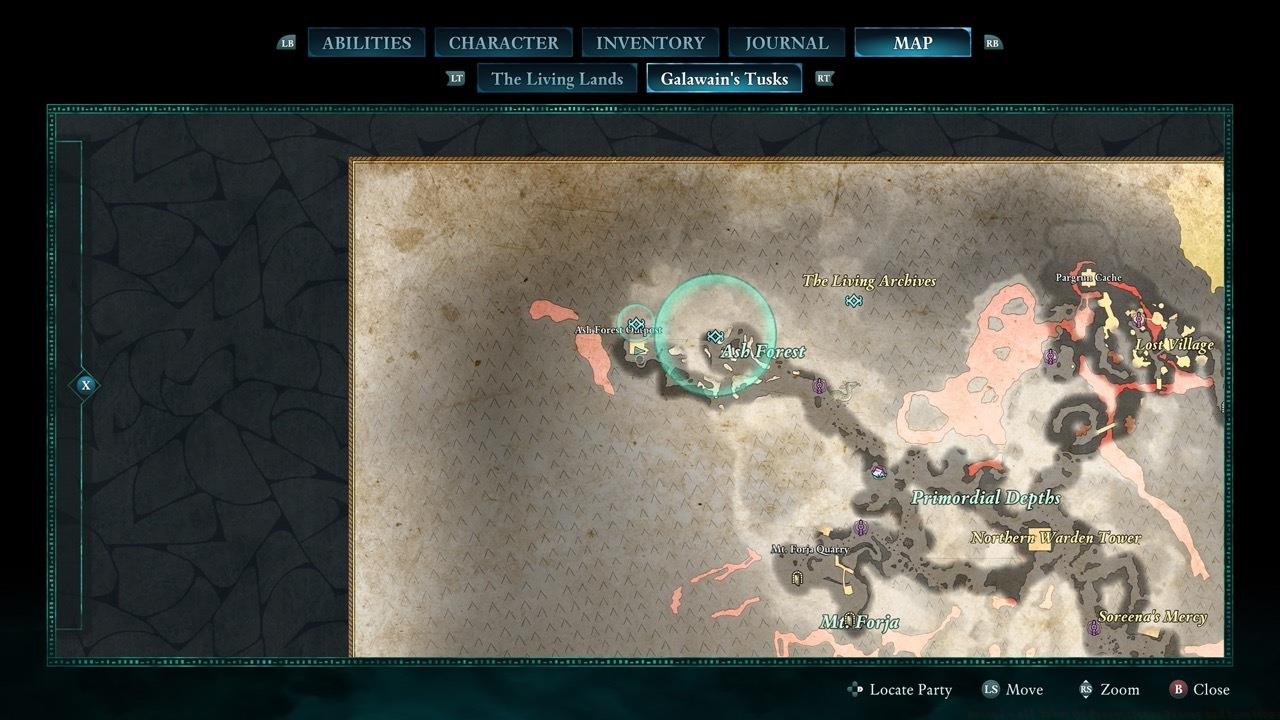
The Wolf’s Pelt Trophy occupies the uppermost level of the Ash Forest Outpost building complex.
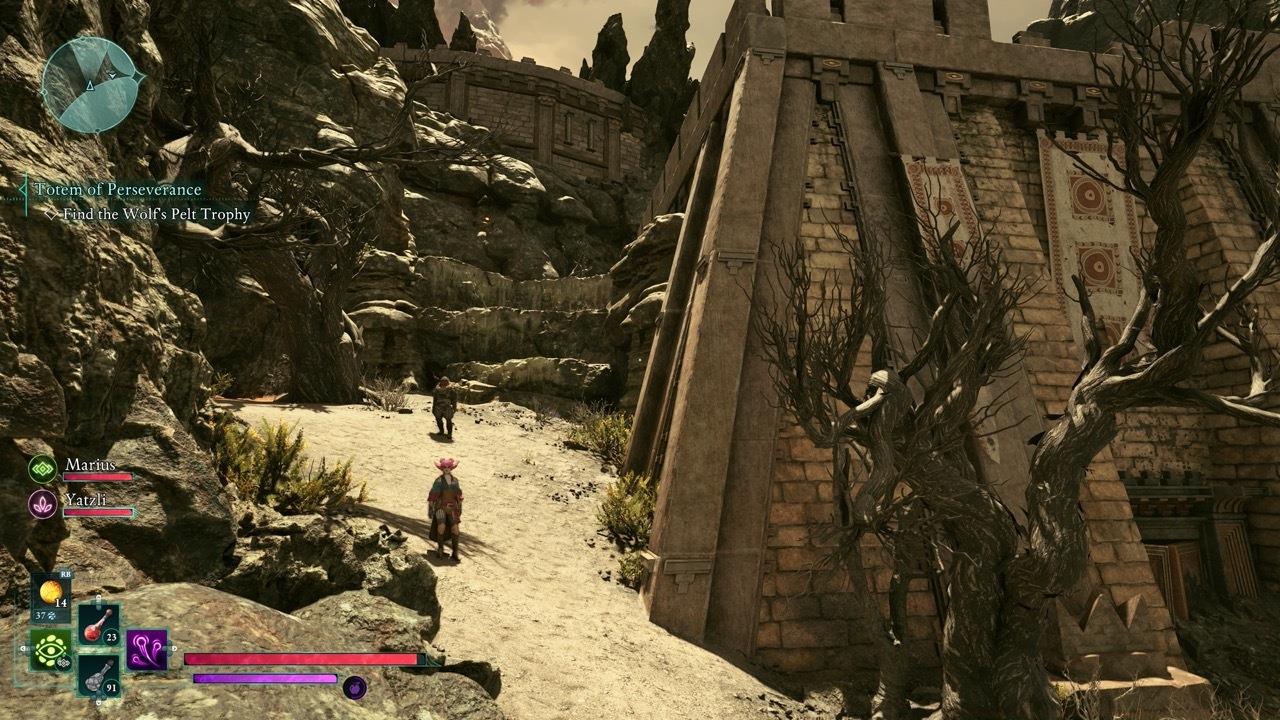
Follow the stone pathway illustrated here to gain access to the outpost’s rooftop area.
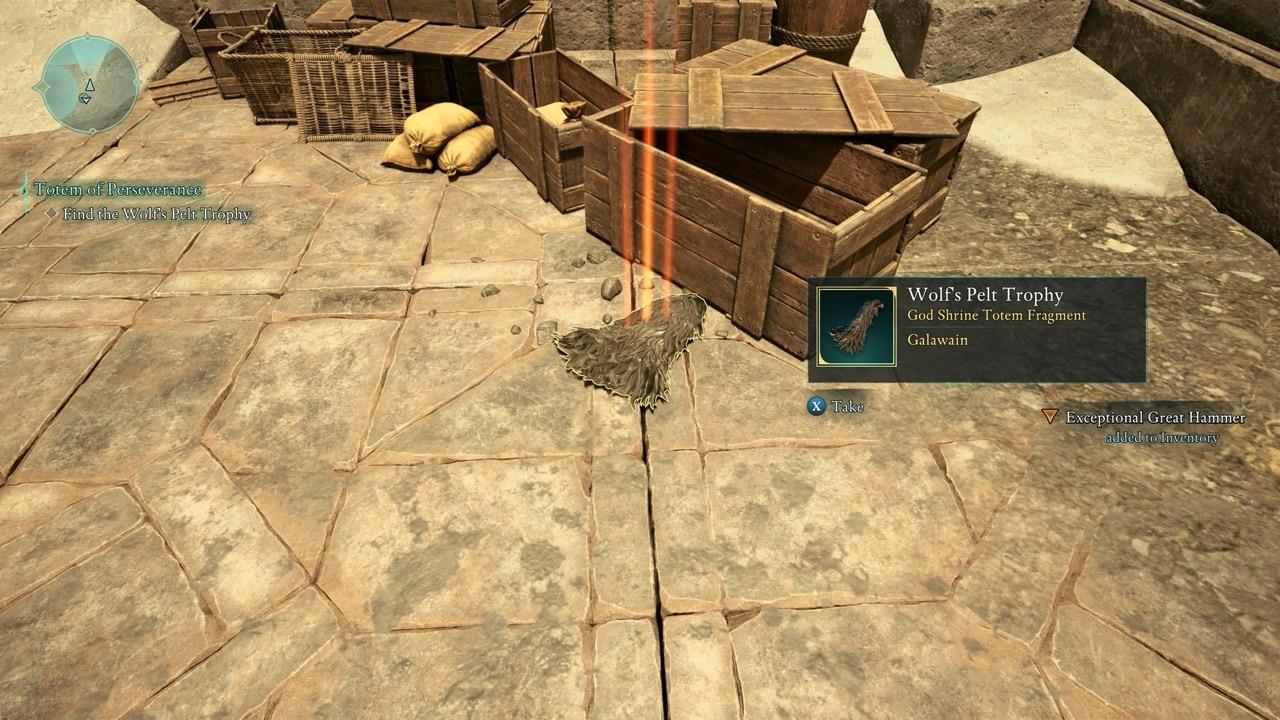
The Wolf’s Pelt fragment rests upon the Ash Forest Outpost’s roof structure.
Architectural Insight: The stone path incorporates subtle elevation changes that may not be immediately visible. Move deliberately and scan for transitional points between ground and elevated sections.
Optimization Tip: Complete nearby quest objectives simultaneously to minimize backtracking. The outpost typically contains multiple interactive elements worth investigating during your visit.
Secure the Hunter’s Arrows of Seeking at the summit of Mt. Forja, accessible through dungeon exploration and precise directional navigation.
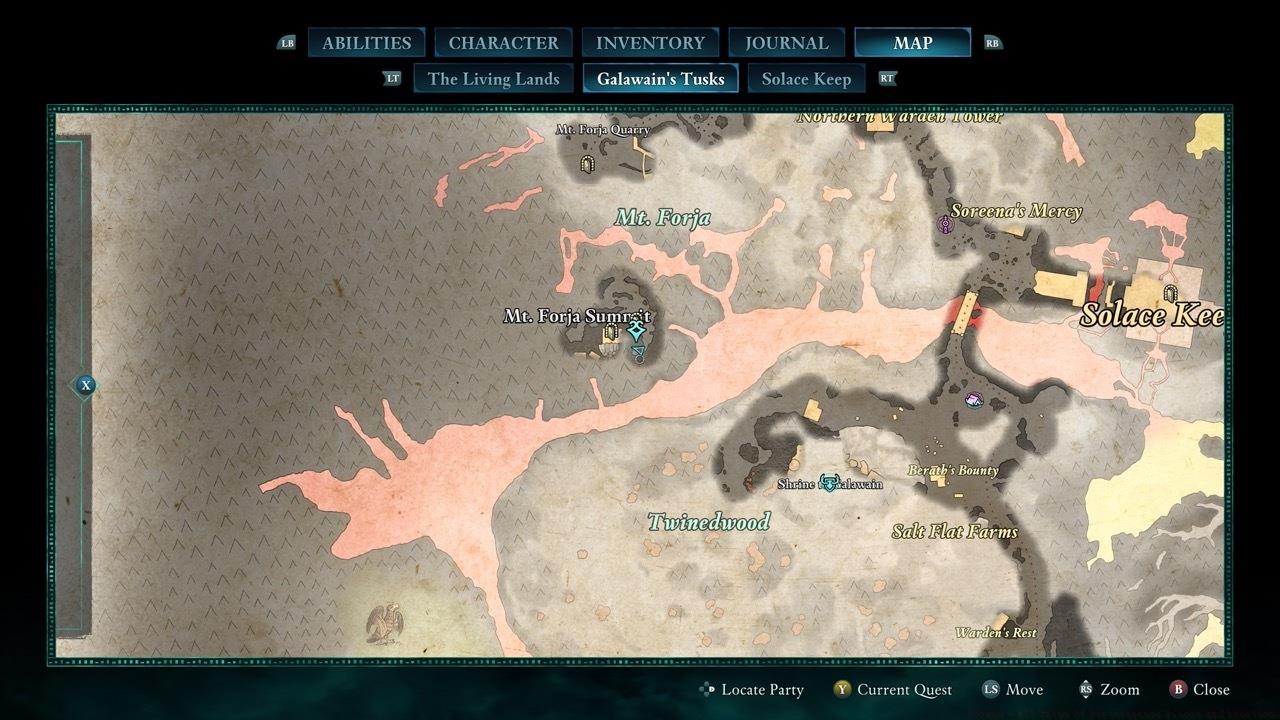
The Hunter’s Arrows of Seeking awaits discovery atop Mt. Forja’s peak.
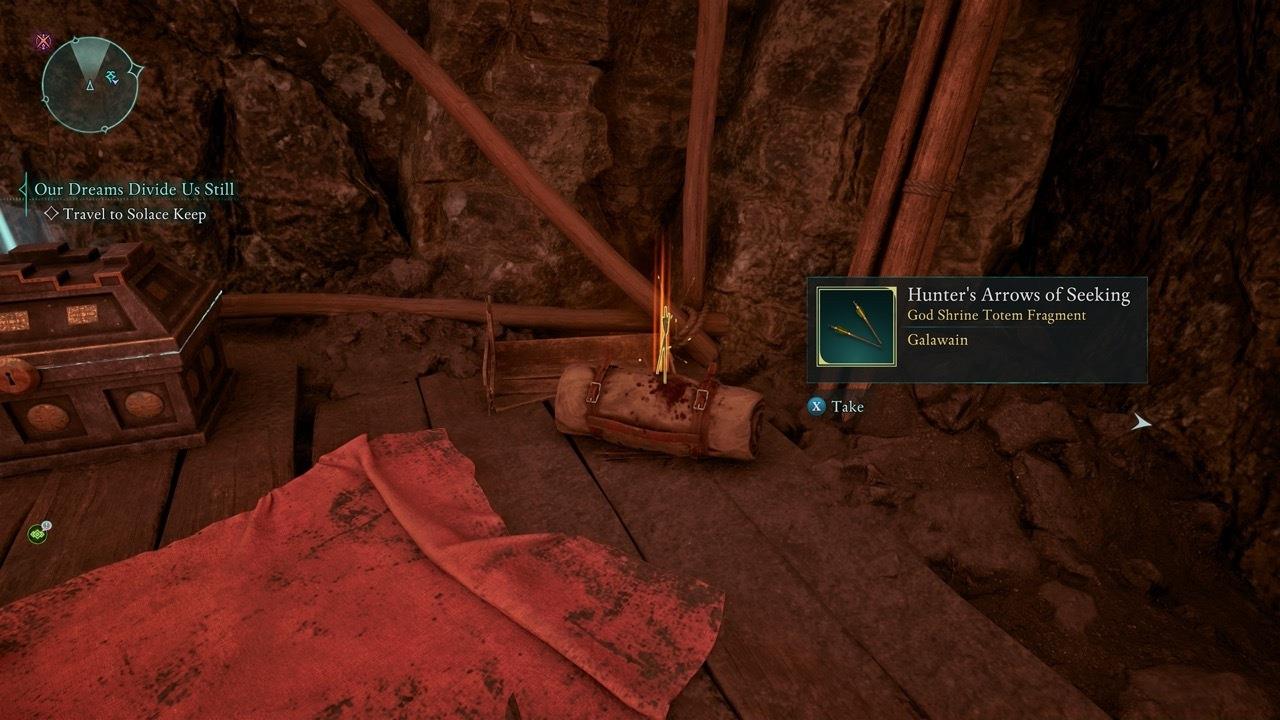
Locate this totem fragment by executing an immediate sharp right turn upon emerging from the dungeon onto the summit area.
Strategic Approach: The immediate right turn is crucial – hesitation or exploration of other summit areas first often leads to confusion and unnecessary time expenditure.
Advanced Player Strategy: Speedrunners can combine this collection with other summit objectives by memorizing the optimal path that minimizes movement between interactive points.
For comprehensive gameplay strategies beyond totem collection, consult our Battlefield 6 Complete Guide for expert techniques.
Once you’ve successfully gathered all seven totem components, return to your camp to assemble the complete Totem of Perseverance. The assembly interface automatically appears when all fragments are in your inventory.
Buff Optimization: The assembled totem provides stacking benefits that complement specific character builds. Consider pairing it with complementary artifacts from our BF6 Weapons Unlock Guide for maximum combat effectiveness.
Advanced Collection Tactics: Experienced players can optimize their route by collecting pieces based on geographical proximity rather than following a strict numerical sequence.
The passive bonuses granted by the Totem of Perseverance work exceptionally well with certain character specializations detailed in our BF6 Class Selection Guide for synergistic build planning.
Pro Tip: Document each discovery location with custom map markers. This practice proves invaluable for future playthroughs or when assisting other players with their collection efforts.
Action Checklist
- Purchase totem piece list from Solace Keep vendor for reference
- Collect Totem Base from Shrine to Galawain altar
- Navigate under Bridge to Garden for Antler of Persevering Stag
- Explore Slumbering Fields ruins for Hunter’s Arrows of Slaying
- Follow lava river from Pargrun Cache to Lost Village ruins
- Use Yatzli to clear illusion and fire to remove vines for Antler of Pursued Stag
- Ascend stone path to Ash Forest Outpost roof for Wolf’s Pelt Trophy
- Take immediate right turn on Mt. Forja Summit for Hunter’s Arrows of Seeking
- Return to camp and assemble complete Totem of Perseverance
No reproduction without permission:SeeYouSoon Game Club » Avowed – All Totem Of Perseverance Pieces And Locations Complete guide to finding all seven Totem of Perseverance pieces in Galawain's Tusks with expert strategies