Master the Windward Part 2 quest with strategic tips, combat tactics, and essential survival guidance for Avatar Frontiers of Pandora’s DLC
Quest Overview and Starting Point
The Windward (Part 2) mission in Avatar Frontiers of Pandora From The Ashes DLC continues the narrative arc following Ulinay’s demise, positioning So’lek as the primary ally for Kukulope and the Wind Traders faction. This segment directly connects to part one’s conclusion, maintaining story continuity while introducing new gameplay mechanics. Understanding the emotional weight of Ulinay’s sacrifice provides crucial context for character motivations throughout this mission.
Looking for Crossword hints & solutions? Check out latest NYT Mini Crossword Answers, LA Times Crossword Answers, and Atlantic Crossword Answers
To initiate the Windward (Part 2) questline, navigate to the Boundless Range camp location where Kukulope awaits your arrival. Strategic timing matters here – arriving during daylight hours ensures better visibility for subsequent navigation challenges. Patiently wait near the campfire until Kukulope appears, then engage in dialogue to trigger the cinematic sequence where she outlines the Kreytu’um luring strategy. Pro tip: Use this waiting period to stock up on ammunition and check your equipment loadout for the upcoming aerial combat sequences.
Fruit Collection Strategy
After the initial cinematic concludes, Kukulope assigns the critical task of gathering three specific fruits designed to attract the Kreytu’um creature. These fruits serve as essential bait and must be collected sequentially. The collection process introduces the Bladewing Moth navigation mechanic, which provides visual guidance through luminous trails.
Locate the initial Bladewing Moth Hive positioned adjacent to the campsite and activate it to begin the tracking process. The moths emit a distinctive glowing path that leads directly to the first fruit location. Expert players recommend activating your Na’vi senses to enhance trail visibility, especially in densely vegetated areas where the path might be obscured.
Once you secure the initial fruit, the quest marker automatically updates to direct you toward subsequent Bladewing Moth Hives. Repeat the interaction process with each hive, carefully following the increasingly complex moth trails. Advanced strategy: Use your Ikran to cover distance between hive locations quickly, but dismount for precise trail following in dense forest areas where aerial visibility is limited. Common mistake: Rushing the process and missing subtle trail deviations can lead to unnecessary backtracking.
Kreytu’um Encounter and Mounting
With all three fruits successfully collected, proceed to the highest elevation point within the Boundless Range territory to reunite with Kukulope. The summit location offers spectacular views but presents navigation challenges – use your climbing abilities and Ikran flight to reach this elevated position efficiently. Preparation advice: Ensure your health and resources are fully replenished before this encounter, as you won’t have opportunities for restocking once the sequence begins.
Upon delivering the fruits to Kukulope, a scripted event triggers where she successfully captures a Kreytu’um using the collected bait. This cinematic showcases the creature’s impressive scale and introduces the mounting mechanic. Pay close attention to the dialogue exchanges between So’lek and Kukulope, as they contain subtle hints about upcoming challenges.
When prompted, execute the mounting action by approaching the Kreytu’um and activating the interaction prompt. The mounting process transitions into an aerial sequence where you must maintain balance while Kukulope pilots the creature. Professional tip: Adjust your camera sensitivity settings beforehand for smoother control during this unstable flying sequence. The Kreytu’um responds differently than your Ikran, requiring adjusted movement anticipation.
RDA Combat Survival Tactics
As the aerial journey progresses, RDA forces unexpectedly ambush your Kreytu’um transport, initiating combat sequences. Your primary objective shifts to protecting the vulnerable creature from sustained enemy attacks. The RDA employs both aerial units and ground-based turrets, creating a multi-layered threat environment that requires adaptive combat strategies.
You maintain the option to defend from your mounted position on the Kreytu’um or transition to Ikran-based aerial combat. Each approach offers distinct advantages: Kreytu’um mounting provides stable shooting platforms but limited mobility, while Ikran engagement offers superior maneuverability at the cost of accuracy. Advanced tactic: Begin engagements mounted on the Kreytu’um for initial defensive positioning, then transition to Ikran when enemy numbers increase for better evasive capabilities.
Midway through the combat sequence, the Kreytu’um becomes entangled in obstructive vines that must be destroyed to continue. This is where your Ikran’s Ikran Smash ability becomes essential for clearing the path. Execution tip: Position your Ikran directly above the vine clusters and activate the smash ability with sufficient altitude for maximum impact. Common error: Attempting to shoot vines with conventional weapons wastes precious time and ammunition – the Ikran Smash is specifically designed for this obstacle type.
As RDA assault intensity escalates, a narrative cutscene triggers where So’lek instructs Kukulope to evacuate with the Kreytu’um. This strategic withdrawal leaves you to handle the remaining hostile forces. During this transition, immediately assess the combat landscape and identify optimal cover positions before engaging remaining enemies.
Quest Completion and Rewards
Following Kukulope’s escape with the Kreytu’um, your mission objective simplifies to eliminating all residual RDA combat units in the immediate area. The enemy composition typically includes both standard infantry and specialized aerial units, requiring comprehensive engagement tactics. Prioritize targets based on threat level – aerial attackers often present the most immediate danger to your survival.
Systematically defeat each remaining RDA combatant until the area is fully secured. Utilize environmental advantages such as high ground positions and natural cover to maximize combat efficiency. Post-combat recommendation: Conduct a thorough area sweep to collect valuable resources dropped by defeated enemies before the mission concludes.
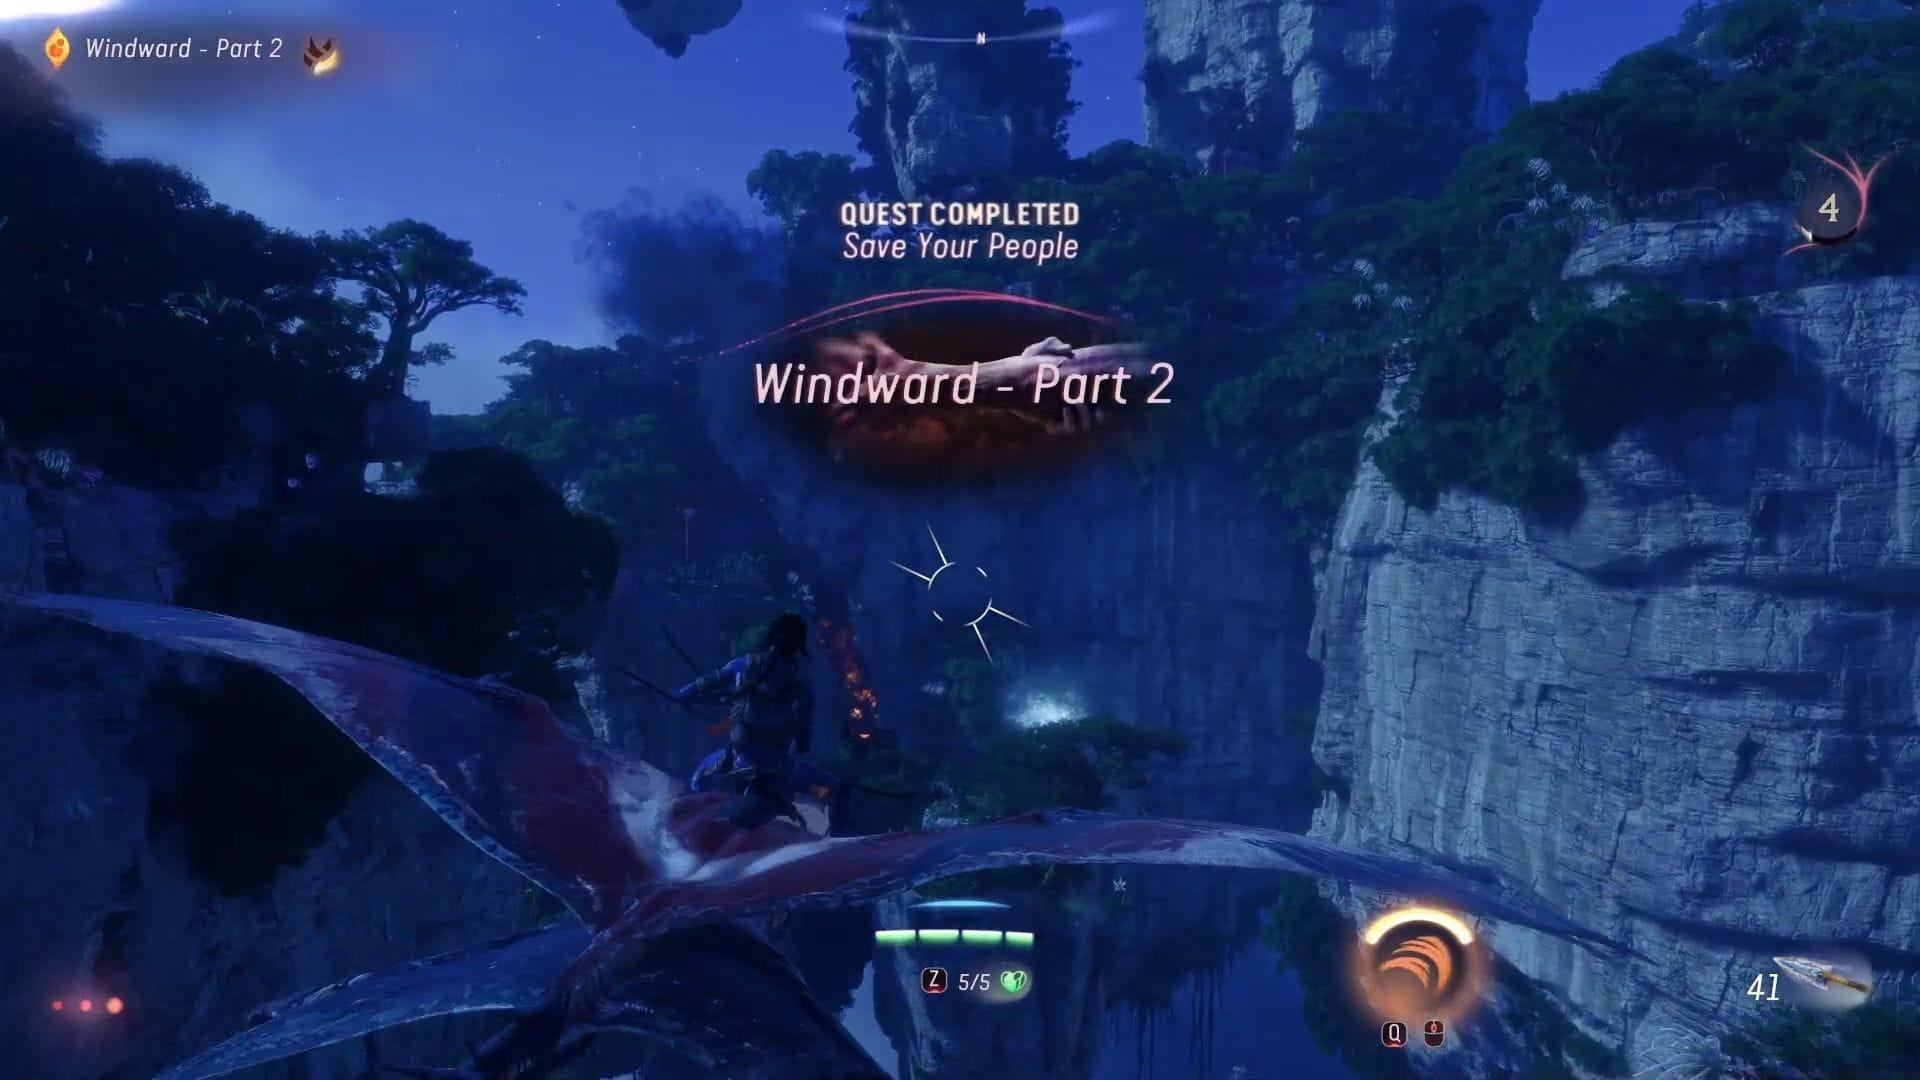
Upon neutralizing the final hostile unit, the Windward (Part 2) quest officially completes, advancing the From The Ashes DLC narrative. Completion unlocks subsequent mission availability and typically provides resource rewards, experience points, and story progression. This achievement sets the stage for the next chapter in the Wind Trader alliance storyline, continuing So’lek’s journey through Pandora’s evolving conflicts.
No reproduction without permission:SeeYouSoon Game Club » Avatar Frontiers of Pandora From The Ashes walkthrough: How to complete Windward (Part 2) quest Master the Windward Part 2 quest with strategic tips, combat tactics, and essential survival guidance for Avatar Frontiers of Pandora's DLC