TL;DR
- Upgrade Disks provide permanent room enhancements across Security, Laboratory, Office, and Shelter types
- Locations span three main zones: Manor interiors, Outer rooms, and Underground complexes
- Randomization means finding specific perks requires strategic exploration and multiple runs
- Advanced players should prioritize Security and Laboratory upgrades for optimal progression
- Found Floorplans offer additional disk opportunities but require careful resource investment
GameSpot may receive revenue from affiliate and advertising partnerships for sharing this content and from purchases through links.
Are you hunting for the elusive Upgrade Disks scattered throughout Blue Prince? These critical items represent some of the most valuable assets in your estate management arsenal, offering permanent enhancements to room functionality and efficiency. Before diving deeper into this comprehensive location guide, please be aware that we’ll be discussing specific item placements that constitute spoilers for the exploration experience.
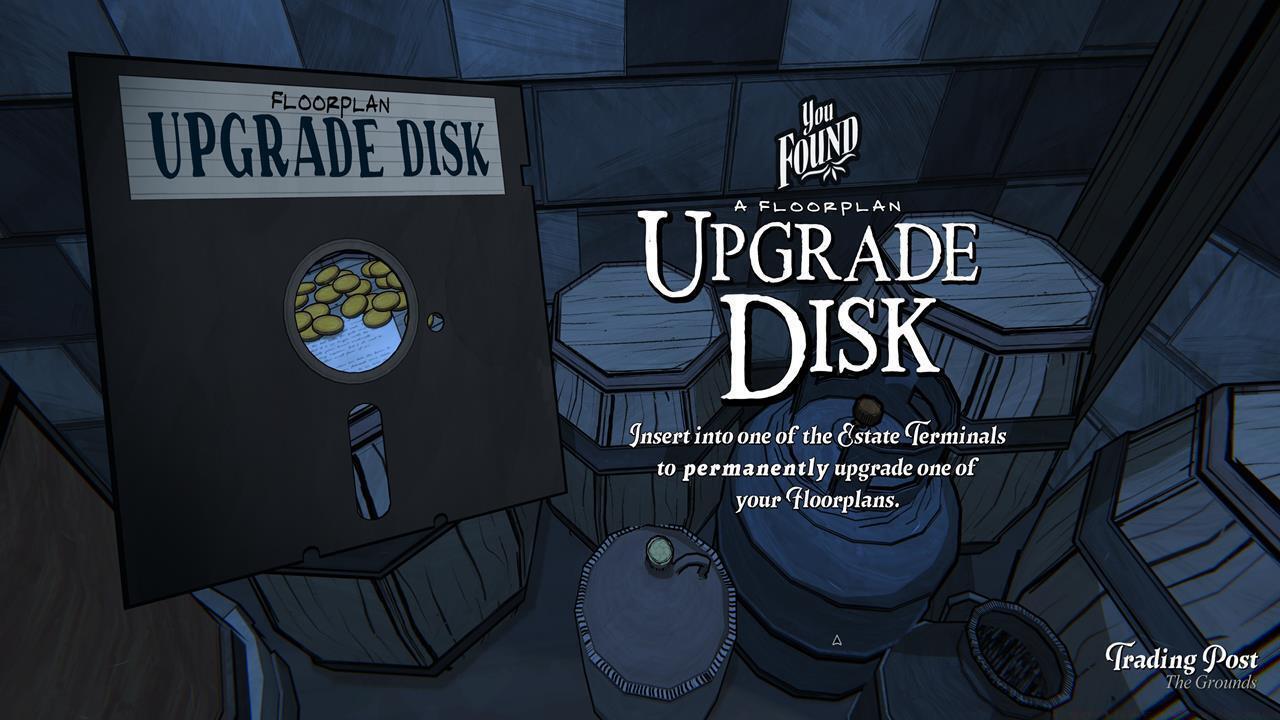
With over a dozen distinct Upgrade Disks available in Blue Prince, each provides specialized perks for specific room categories you’ll draft during your estate development. When you acquire one for your inventory, activation occurs at computer terminals located in designated room types—specifically Security, Laboratory, Office, and Shelter facilities. Approaching these terminals should trigger an interface prompt allowing you to apply the disk’s enhancements.
However, the game’s procedural generation system introduces significant randomization factors. You might discover an Upgrade Disk in a predictable location, only to find it offers bonuses for an entirely different room category than expected. This design encourages repeated exploration and strategic adaptation to the perks available in each playthrough.
Our organized approach to Upgrade Disk acquisition follows a logical progression through the estate’s zones. We begin with disks located within the main manor structure, proceed to those found in outer rooms, and conclude with Underground discoveries. We’ve integrated relevant guide connections where acquisition methods involve more complex procedures than simple location finding.
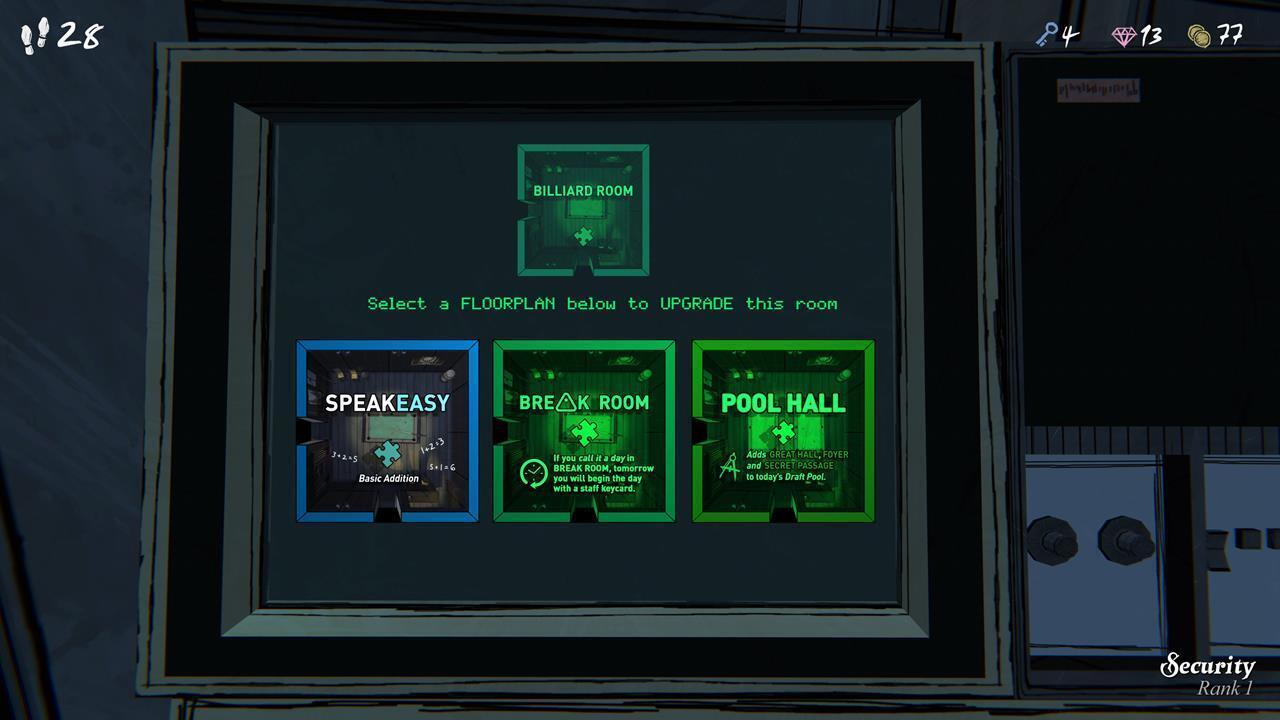
Below you’ll find examples of the enhancement options available through Blue Prince Upgrade Disks. Critical planning note: you can only select a single perk from each disk, and these choices typically create permanent effects on your estate layout. However, strategic workarounds exist, which we’ll explore in the advanced tactics section later in this guide.
Spare Room (modifies room coloration and functional attributes):
Spare Room (secondary enhancement tier) – Additional room variants become available based on your initial selection. For example, choosing Spare Greenroom unlocked these subsequent options:

The manor’s interior presents your most accessible Upgrade Disk opportunities, with spawn points distributed across multiple floors and specialized chambers. These locations typically offer lower-risk acquisition compared to exterior or underground zones, making them ideal starting points for new players.
Ground Floor Hotspots: Begin your search in the main hallway’s decorative alcoves, particularly behind movable bookcases in the library section. The grand dining room often conceals disks beneath central table arrangements or within sideboard compartments. Don’t overlook the obvious—checking desk drawers in the office areas frequently yields unexpected disk discoveries.
Upper Level Secrets: Second-floor bedrooms frequently hide disks under beds or within wardrobe interiors. The master suite’s bathroom medicine cabinet represents another common spawn location that many players overlook during their initial searches.
Basement Areas: While technically part of the manor structure, basement zones bridge the difficulty gap between main floor easiness and underground challenges. Check storage crates, utility closets, and behind boiler equipment for concealed disk placements.
Common Exploration Mistakes: Many players rush through rooms without conducting thorough searches of container interiors. The randomization algorithm frequently places disks inside interactable objects rather than in plain sight on surfaces. Another frequent error involves neglecting to return to previously searched areas after acquiring new keys or tools that might unlock additional compartments.
Time Investment: A complete manor sweep typically requires 15-20 minutes of methodical searching. Prioritize rooms adjacent to your current progression path to minimize backtracking while maintaining exploration efficiency.


Venturing beyond the manor’s main structure introduces higher-risk, higher-reward Upgrade Disk acquisition opportunities. These zones typically require more advanced equipment or completed objectives to access safely.
Outer Room Strategies: The estate’s exterior structures—including garden sheds, greenhouse facilities, and guard posts—often contain disks with more powerful perk options. However, these areas frequently feature environmental hazards or require specific key items for entry.
Underground Complex Navigation: This high-difficulty zone demands careful preparation before exploration. Bring adequate healing items and ensure your combat capabilities can handle unexpected enemy encounters. The underground’s maze-like layout benefits from mapping or careful navigation marking to avoid disorientation during extended searches.
Risk-Reward Analysis: Outer rooms typically offer 20-30% more powerful perks than manor disks, while underground discoveries can provide enhancements 50-75% stronger than basic options. This power progression makes later-game disk hunting essential for optimizing your estate’s capabilities.
Advanced Preparation: Before tackling these higher-difficulty zones, ensure you’ve acquired the Complete Guide to understand the full scope of game mechanics. Proper preparation significantly reduces failed exploration attempts and resource waste.
Resource Management: Underground expeditions consume substantial resources—plan to allocate 25-40 gems and multiple health restoration items for comprehensive searches. The investment typically justifies itself through the superior room enhancements obtained.
Common Pitfalls: Many players underestimate the resource demands of outer zone exploration or attempt these areas before acquiring necessary equipment from the Weapons Unlock progression path. Another frequent mistake involves bringing inadequate lighting sources for underground sectors, resulting in missed hidden compartments.

Mastering Upgrade Disk utilization requires understanding both immediate benefits and long-term estate development strategy. Your perk selections create cascading effects throughout your playthrough, influencing resource generation, defensive capabilities, and research progression.
Perk Selection Hierarchy: Security room enhancements should typically receive priority in early and mid-game, as they directly impact your ability to defend against estate incursions. Laboratory upgrades become crucial for advanced research trees, while Office improvements optimize resource management efficiency.
Found Floorplan Opportunities: These special discoveries provide additional Upgrade Disk acquisition chances beyond standard location hunting. However, they require careful gem investment and should only be pursued when you have surplus resources beyond immediate drafting needs.
Room Synergy Planning: Advanced players should consider how upgraded rooms interact with their Class Guide selections, as certain class abilities synergize powerfully with specific room enhancements.
Progression Optimization: Based on community testing and gameplay analysis, the most efficient upgrade path involves: Security (defensive capabilities) → Laboratory (research acceleration) → Office (resource optimization) → Shelter (survivability). This sequence balances immediate survival needs with long-term progression capabilities.
Common Strategic Errors: Many players make the mistake of spreading upgrades too thinly across multiple room types early in their playthrough. Instead, focusing enhancement investments on 1-2 critical room categories typically yields better overall estate performance.
Advanced Workarounds: While Upgrade Disk selections are technically permanent, strategic estate resets through specific game mechanics can effectively “reroll” your upgrade choices. This advanced technique requires careful planning and should only be attempted once you understand the full ramifications of resetting your progression.
Time Management: Efficient disk hunting sessions typically last 45-60 minutes and should combine location exploration with other objective completions to maximize time efficiency.
Action Checklist
- Complete initial manor exploration focusing on ground floor hotspots and upper level secrets
- Systematically search basement areas before attempting exterior zones
- Prepare resources (25-40 gems + healing items) for outer room expeditions
- Tackle underground complexes only after securing adequate equipment and mapping tools
- Prioritize Security and Laboratory upgrades following the optimal progression path
- Evaluate Found Floorplan opportunities based on current resource availability
No reproduction without permission:SeeYouSoon Game Club » All Upgrade Disk Locations In Blue Prince Complete guide to finding all Upgrade Disks in Blue Prince with strategic location tips and room optimization