TL;DR
- Complete Shadowkeep campaign and reach Power Level 840+ before starting
- Systematically clear three specific Lost Sectors in strategic order
- Master the unique indirect firing mechanics of Deathbringer for maximum damage
- Utilize specific weapon loadouts optimized for Hive enemy weaknesses
- Follow precise navigation to hidden chambers using Firewall Data Fragment
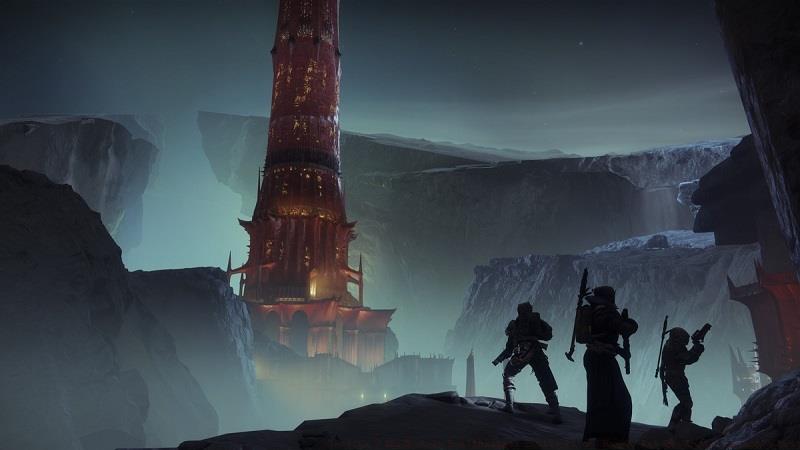
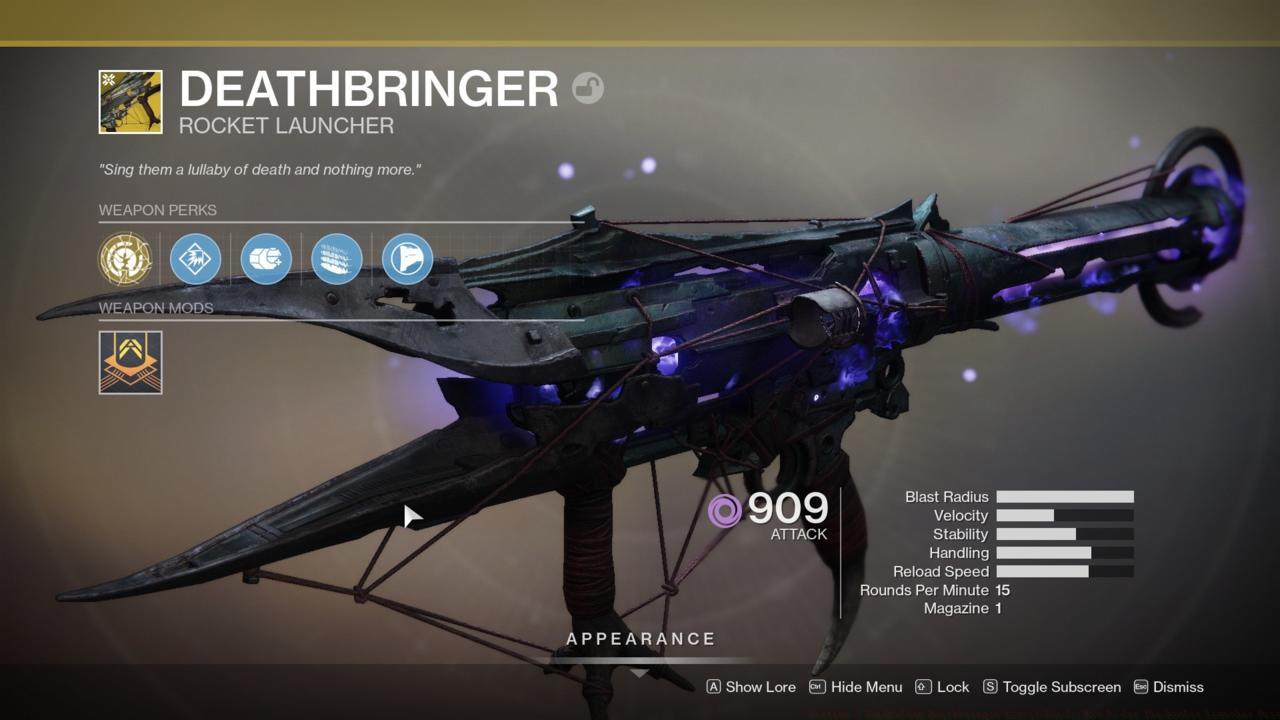
Acquiring the Deathbringer exotic rocket launcher represents one of Destiny 2 Shadowkeep’s most rewarding post-campaign pursuits. This powerful weapon employs unconventional indirect fire mechanics, requiring you to launch projectiles above targets that then descend upon enemies. While less demanding than raid exotics like Divinity, obtaining Deathbringer involves a multi-stage quest chain demanding strategic preparation and execution.
Before initiating the acquisition process, ensure you’ve completed Shadowkeep’s entire narrative campaign, culminating in the Beyond mission. Return to Eris Morn at the Lunar Sanctuary to receive the Memory of Sai Mota questline. Though not marked as a traditional exotic pursuit, this mission chain directly leads to Deathbringer. Immediately secure the Lunar Spelunker bounty from Eris, as its completion remains mandatory for progression.
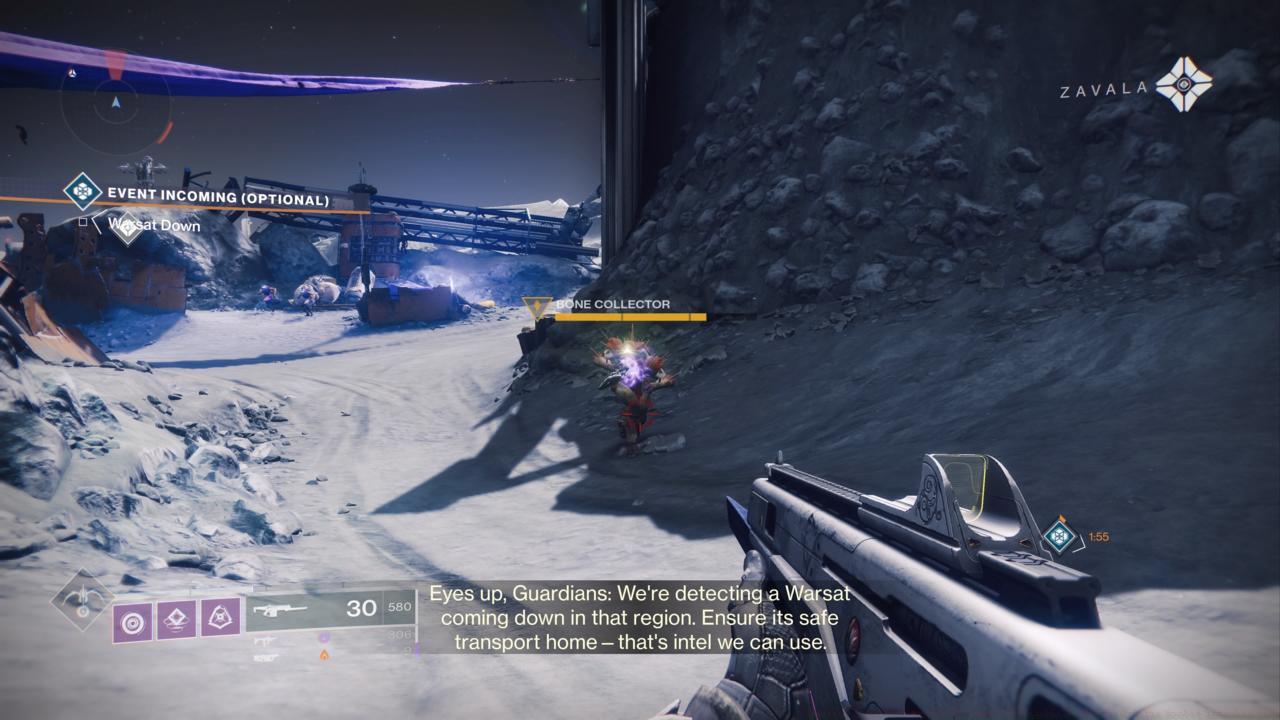
Power level considerations prove crucial for success. While the campaign naturally elevates your power, we strongly recommend achieving at least 840 Power before attempting the Lost Sectors. Under-leveled guardians will struggle significantly against the formidable Hive adversaries encountered throughout this endeavor.
The Memory of Sai Mota expedition directs you through four distinct Lunar Lost Sectors, though initial progression requires conquering only three specific locations. Focus your efforts on K1 Crew Quarters, K1 Logistics, and K1 Communion—the southern triad of underground complexes. The Sorrow’s Harbor sector becomes relevant later in the quest chain.
Strategic sequencing dramatically impacts completion efficiency. We recommend tackling K1 Communion first due to its linear layout and predictable enemy spawns. Follow with K1 Logistics, then conclude with K1 Crew Quarters, which features the most challenging enemy density and layout.
Loadout optimization proves essential for rapid clearance. Equip weapons with high burst damage against Hive shields—arc damage for knight barriers, solar for wizard shields. Shotguns and fusion rifles excel in the close-quarters environments, while add-clearing primaries like SMGs or auto rifles handle thrall and acolyte swarms effectively.
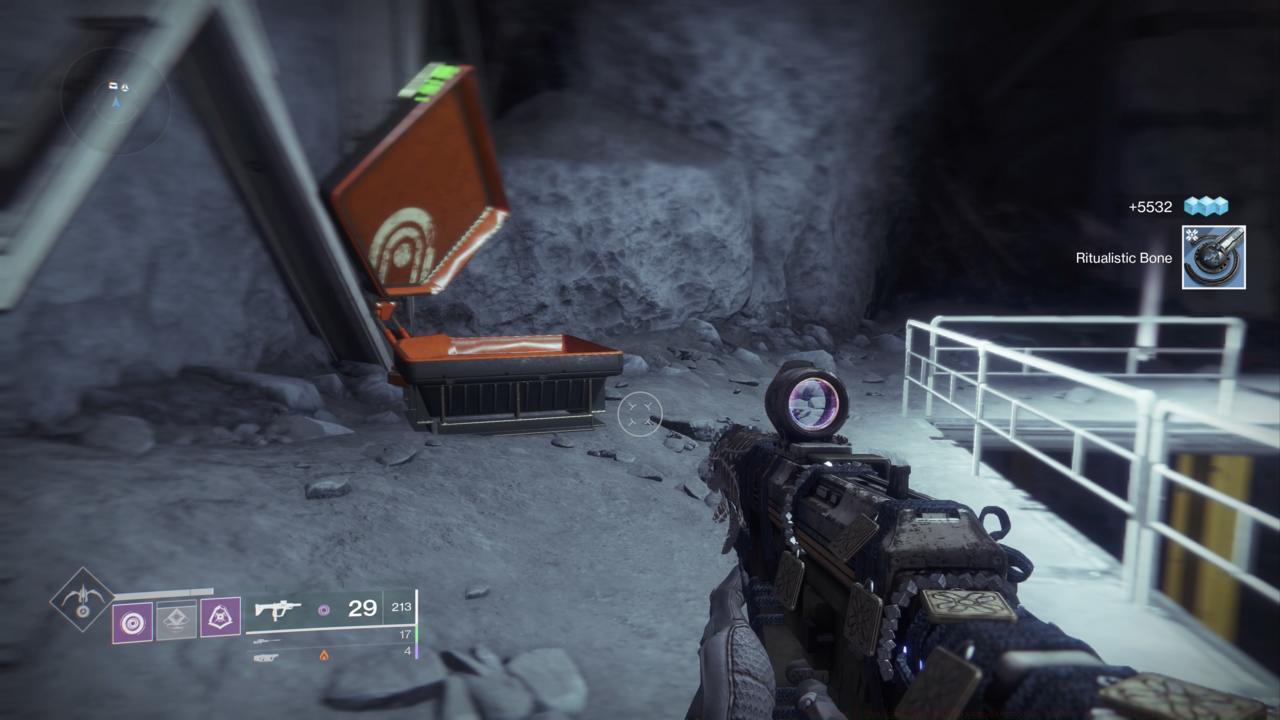
Upon clearing all three initial Lost Sectors, you’ll obtain the Firewall Data Fragment—a crucial item enabling access to restricted areas. This artifact permits entry into K1 Revelation, the final Lost Sector requiring mastery.
K1 Revelation presents unique challenges with its Revenant Wizard guardians protecting destructive crystals. Prioritize eliminating these spectral casters before targeting their crystalline charges. Wizards employ aggressive tracking projectiles and area denial attacks, making cover utilization and positioning paramount.
The culminating confrontation pits you against a formidable Nightmare Ogre. This boss employs devastating eye beams and ground slam attacks. Maintain distance, utilize environmental cover, and coordinate damage phases when playing with fireteams. Solo players should employ hit-and-run tactics, exploiting the ogre’s limited mobility.
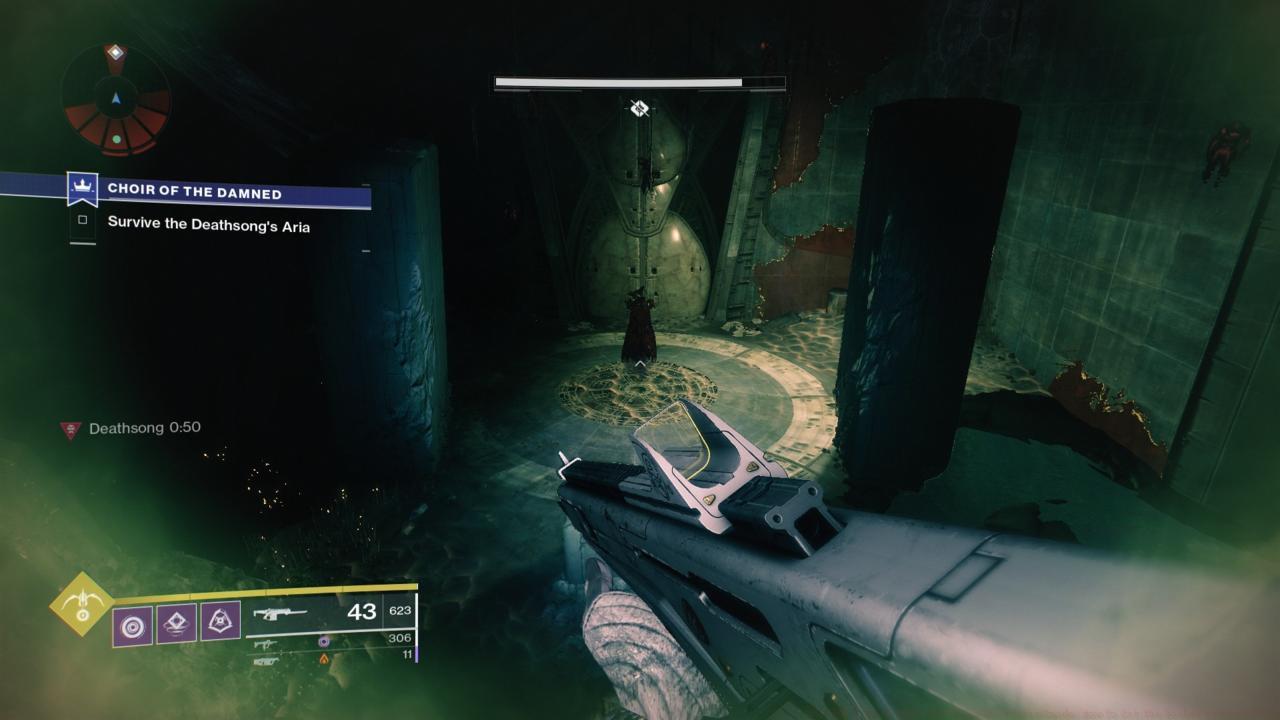
Following the Nightmare Ogre’s defeat, immediately navigate to the right-side tunnel within the arena. This concealed passage houses a secured door interface compatible with your Firewall Data Fragment. Insert the artifact to unlock the restricted chamber containing advanced computational systems.
Activate the central console to advance the quest objective, which transitions to locating scattered fragments of Sai Mota’s Necklace. This artifact collection phase requires thorough exploration of Lunar terrain and systematic enemy engagement.
Common execution errors include inadequate power preparation, improper Lost Sector sequencing, and underestimating Revenant Wizard capabilities. Ensure you maintain appropriate power levels and equip suitable anti-Hive weaponry throughout the entire process. For comprehensive weapon acquisition strategies, consult our extensive Weapons Unlock guide covering optimal loadout configurations.
Destiny 2 News And Guides
Action Checklist
- Complete Shadowkeep campaign and reach Power Level 840
- Collect Memory of Sai Mota quest and Lunar Spelunker bounty from Eris Morn
- Clear K1 Communion, K1 Logistics, and K1 Crew Quarters Lost Sectors
- Conquer K1 Revelation, eliminate Revenant Wizards and destroy protected crystals
- Defeat Nightmare Ogre and access hidden chamber using Firewall Data Fragment
- Activate console and begin necklace fragment collection
No reproduction without permission:SeeYouSoon Game Club » Destiny 2 Shadowkeep Deathbringer Exotic Guide: How To Get The Rocket Launcher Fast Complete guide to unlocking Deathbringer rocket launcher with optimized strategies and time-saving tips