TL;DR
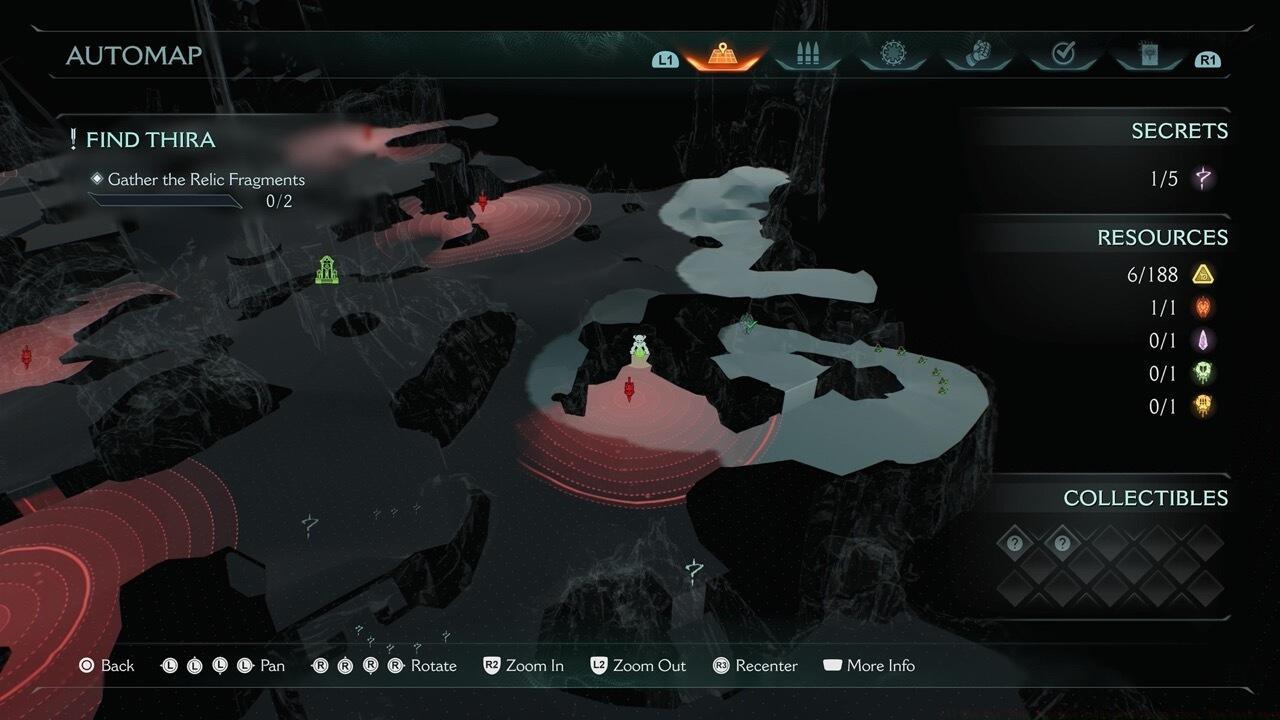
- Kar’Thul Marshes contains exactly two collectibles: Battle Knight Toy and The Witch Codex Entry
- First collectible requires precise shield throw positioning on elevated platform mechanics
- Second collectible involves strategic enemy management without shield recall during combat
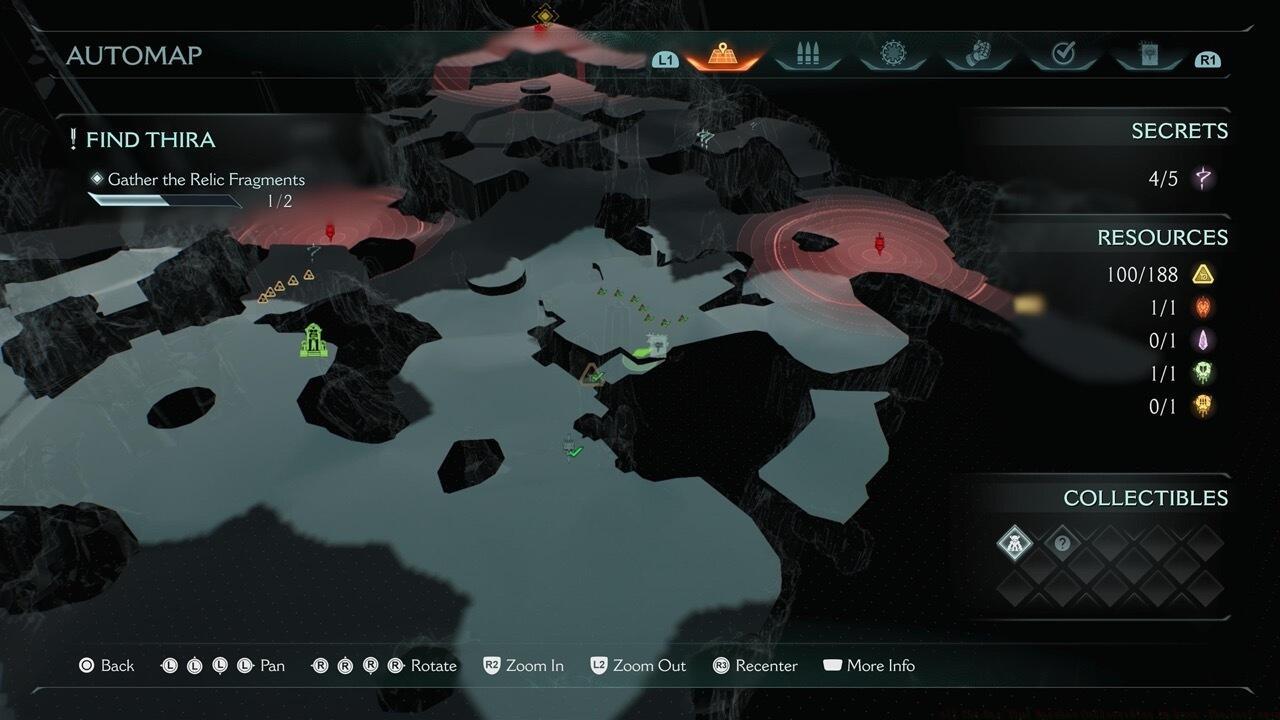
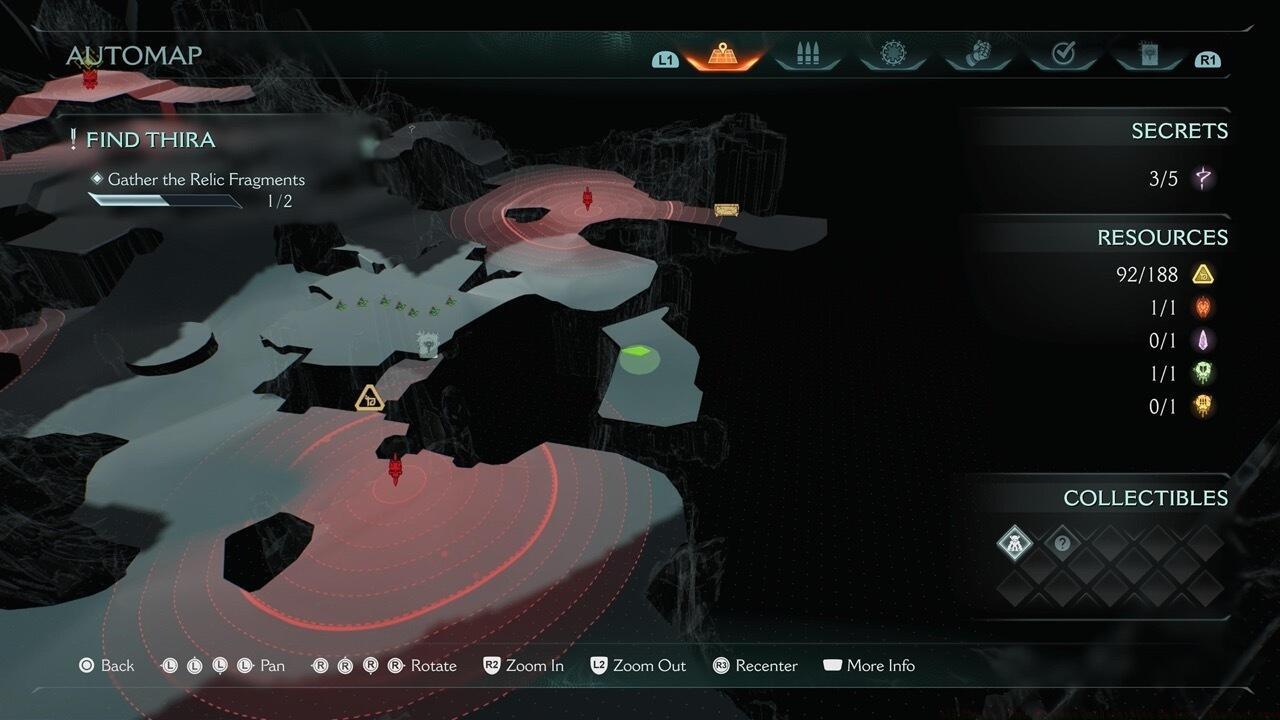
- Map tracking updates automatically as you discover each hidden item location
- Advanced positioning strategies prevent common mistakes that reset puzzle elements
GameSpot maintains transparency regarding potential revenue from affiliate partnerships and advertising collaborations associated with this gaming content.
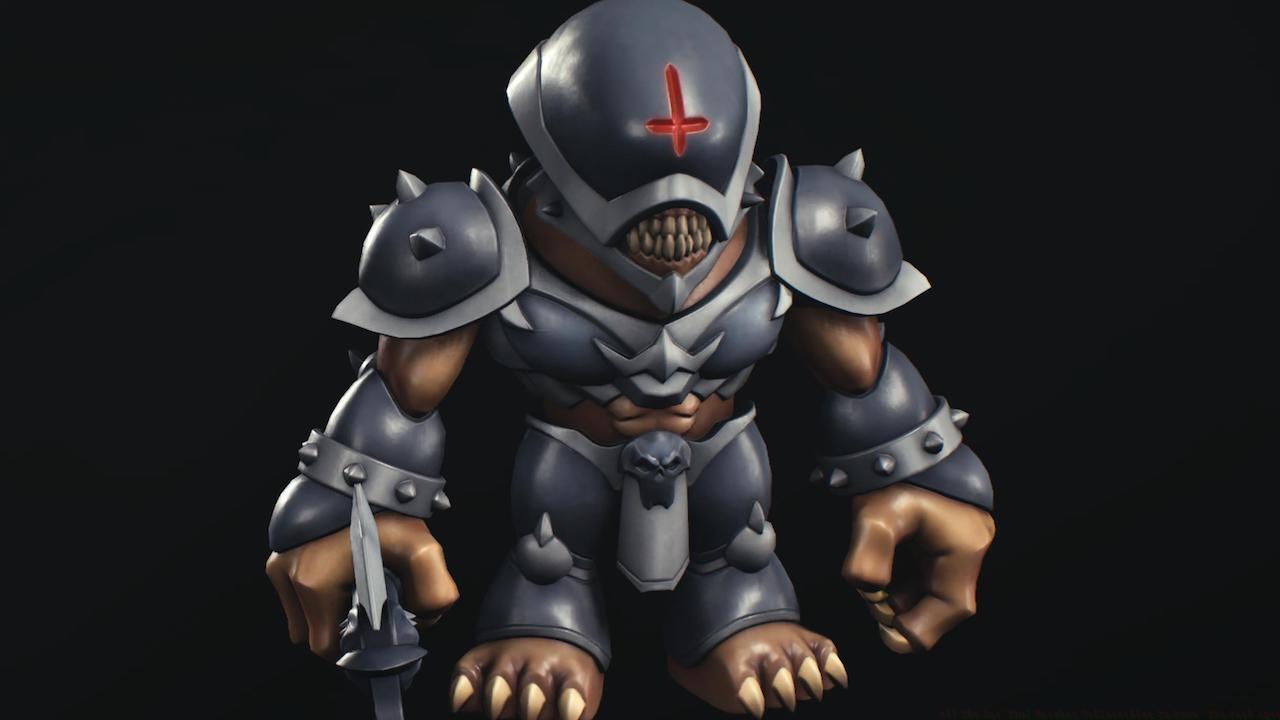
The sixteenth mission in Doom: The Dark Ages, known as The Kar’Thul Marshes, features precisely two hidden collectibles awaiting discovery. These valuable items fall into three distinct categories throughout the game: character toys that showcase detailed models, codex entries expanding the lore narrative, and exclusive weapon skins that customize your arsenal. Your in-game map interface displays the complete count of undiscovered collectibles per level, with real-time updates reflecting your progression as you successfully secure each item.
For comprehensive coverage of all hidden items across every mission, explore our centralized Doom: The Dark Ages Collectibles Guides Hub containing interconnected navigation to all level-specific guides.
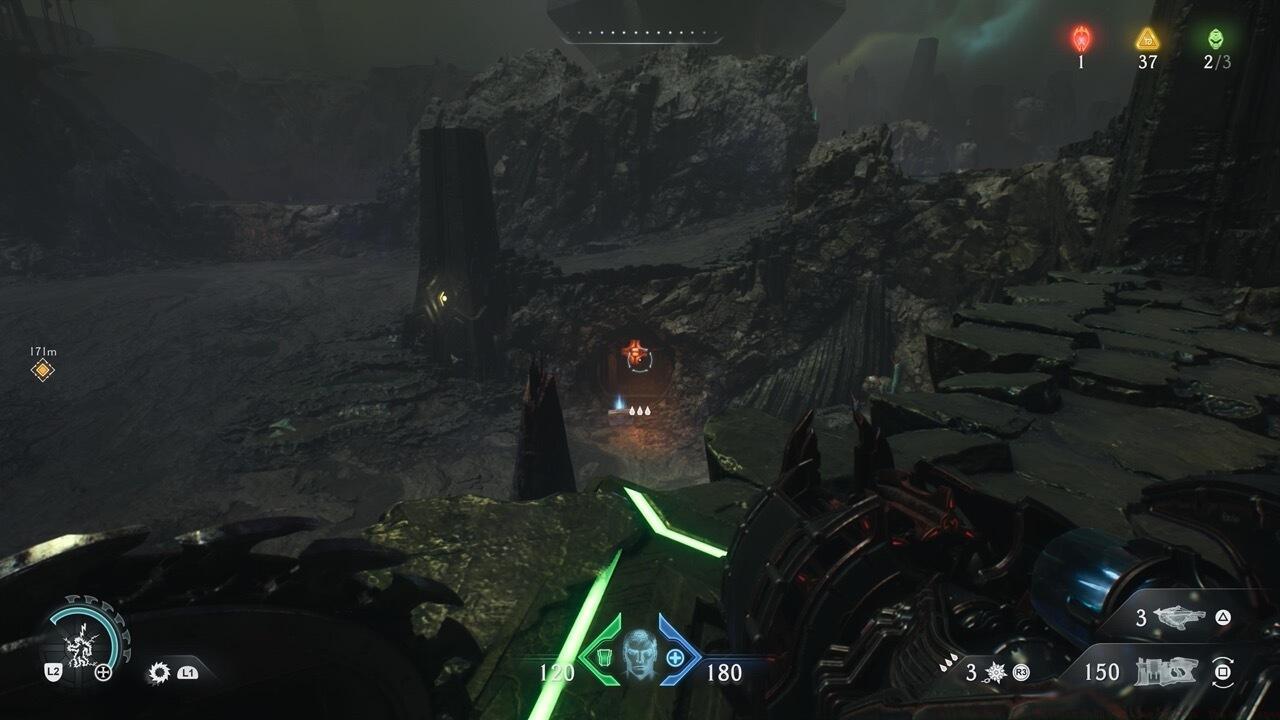
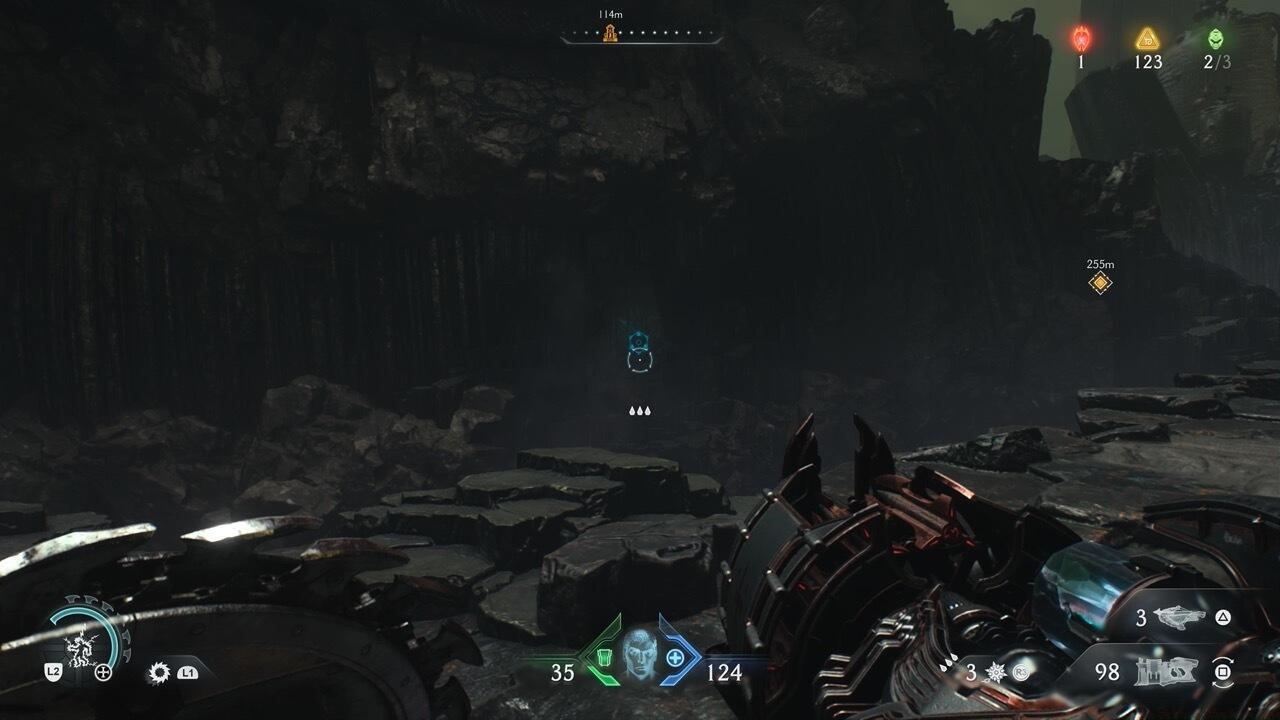
The initial collectible emerges relatively early during your exploration of this swampy terrain. Navigate toward your left-hand objective marker to encounter a secured containment unit housing the prize. This protective barrier opens through an environmental puzzle requiring you to position yourself atop a pressure-sensitive platform situated on the overlooking cliff formation. Activating this mechanism reveals a metallic suspension chain that responds specifically to your shield projectile capabilities.
Success demands precise positioning at this specific coordinate before executing your shield throw maneuver targeting the metallic linkage apparatus.

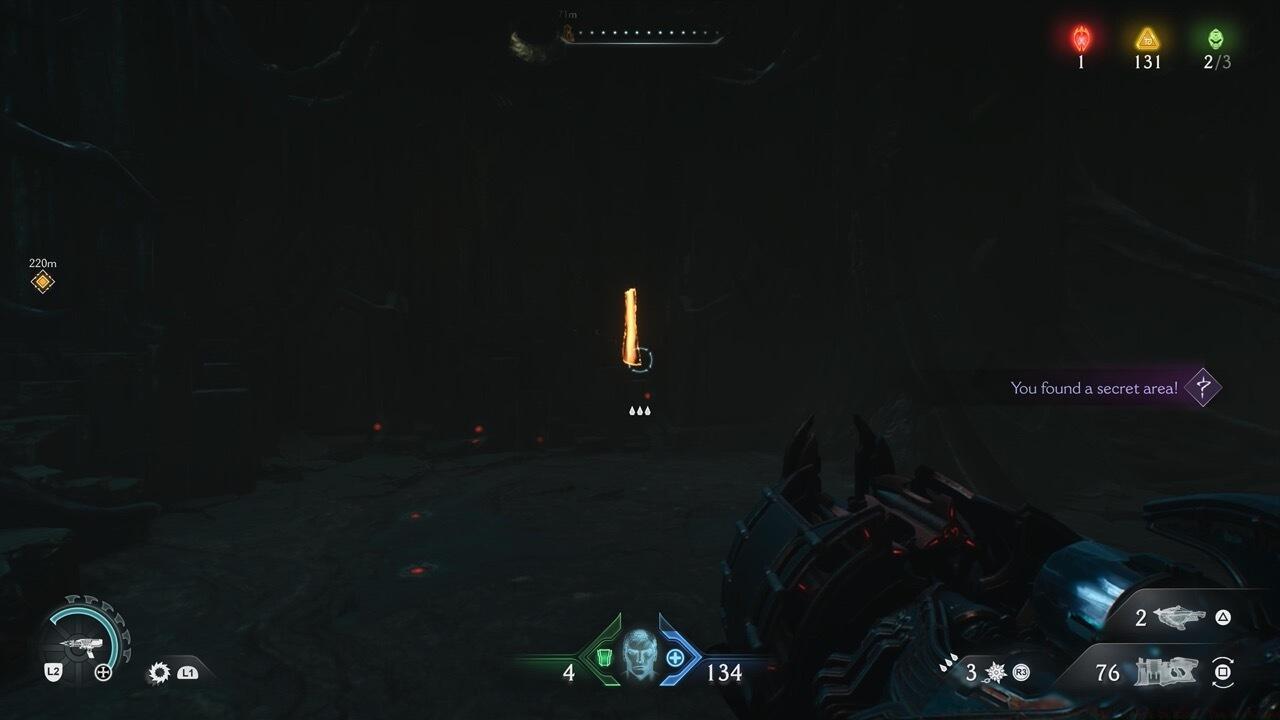
Locate the secondary collectible immediately to the right of your initial spawn location within this marshy battlefield. A valuable codex manuscript rests behind a fortified gate structure requiring alternative access. Circumnavigate to the eastern perimeter of this restricted zone to identify a structural breach in the wall containing a shield-activated mechanism. Deploy your shield into this receptacle then immediately retreat to the primary area.
The activation sequence summons hostile entities that will immediately vanish if you retrieve your shield prematurely. Critical strategy: maintain shield deployment throughout the engagement, as you must eliminate all adversaries and acquire the codex while your shield remains engaged with the switch mechanism. Should accidental recall occur, simply return to the insertion point and reinitiate the shield deployment sequence.
Mastering collectible acquisition in Kar’Thul Marshes requires understanding nuanced game mechanics beyond basic navigation. The shield throw puzzle for the Battle Knight Toy demands specific trajectory angles – aim slightly above the chain’s center point for consistent activation. Many players mistakenly stand too close to the edge, resulting in failed interactions; maintain a 3-5 meter distance from the cliff edge for optimal results.
For The Witch Codex Entry, prioritize eliminating ranged enemies first while your shield remains deployed. The spawned adversaries typically include two melee combatants and one projectile attacker – neutralize the threat systematically rather than rushing the codex collection. Completion typically requires 2-4 minutes per collectible once you’ve mastered the positioning requirements and combat sequencing.
Common errors include premature shield retrieval during the codex sequence and incorrect positioning for the chain mechanism. Advanced players recommend clearing surrounding minor threats before initiating either collectible sequence to avoid unexpected interruptions during precise puzzle execution.
Action Checklist
- Navigate left from start to locate elevated button platform for first collectible
- Position precisely 3-5 meters from cliff edge before shield throwing at metallic chain
- Circle right from spawn point to find wall gap with shield switch mechanism
- Deploy shield into switch, eliminate all spawned enemies without recalling shield
- Collect codex entry after all hostiles are neutralized with shield still active
No reproduction without permission:SeeYouSoon Game Club » All The Kar’Thul Marshes Collectibles In Doom: The Dark Ages Complete guide to finding both collectibles in Doom: The Dark Ages Kar'Thul Marshes with expert strategies