TL;DR
- Temple of Lomarith contains three distinct collectibles: codex entry, Cacodemon toy, and weapon skin
- Each collectible requires specific environmental interactions and combat sequences
- Underwater navigation and shield mechanics are crucial for successful collection
- Average completion time is 15-20 minutes with proper route optimization
- Boss encounters and environmental puzzles present the main challenges
GameSpot may receive revenue from affiliate and advertising partnerships for sharing this content and from purchases through links.
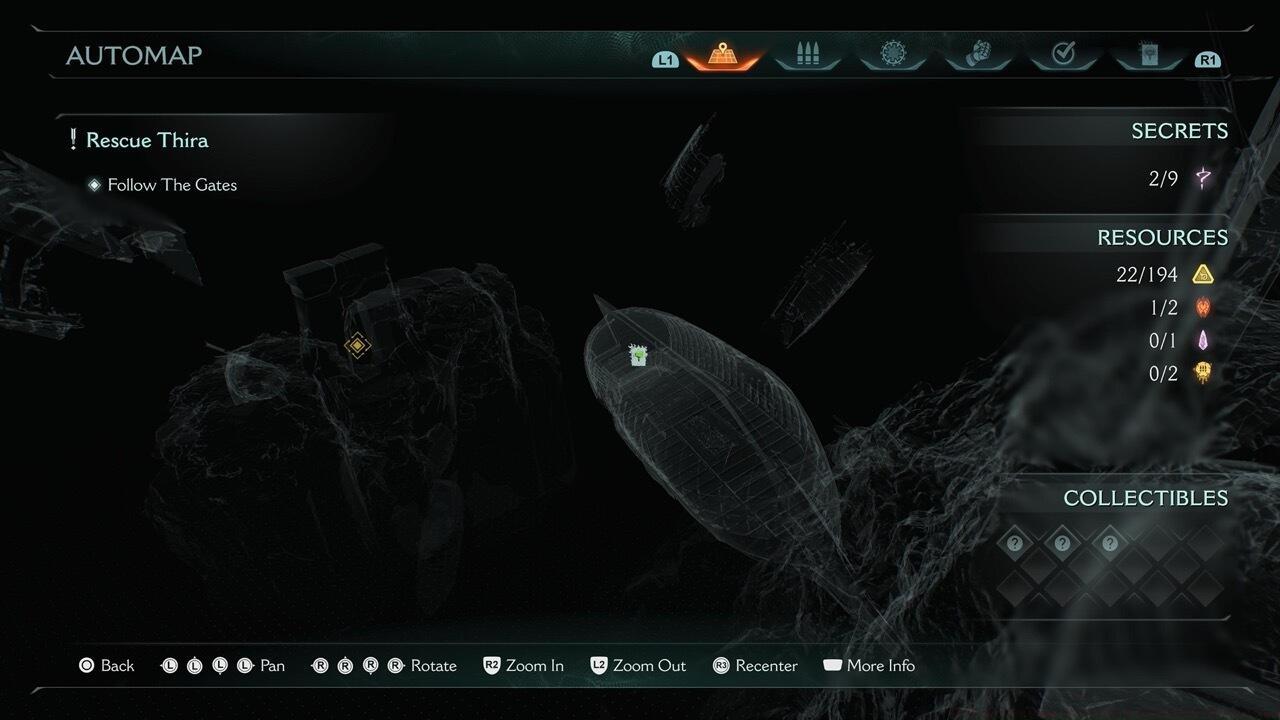
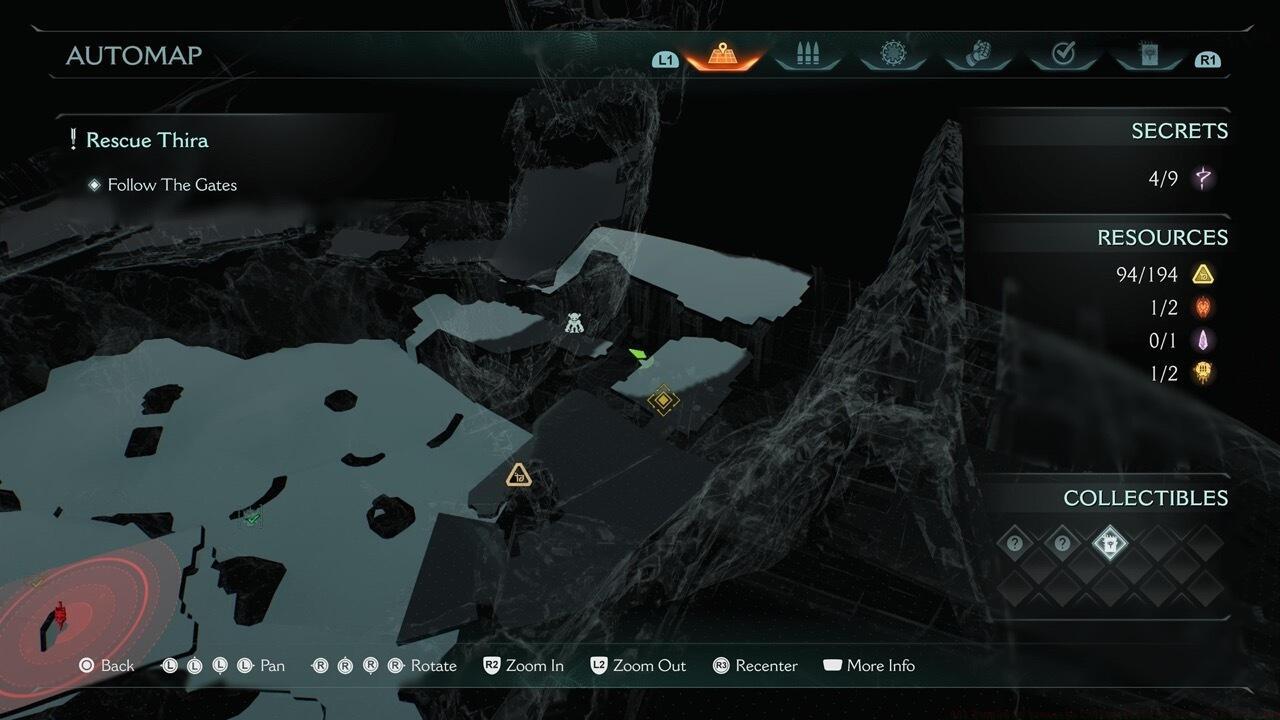
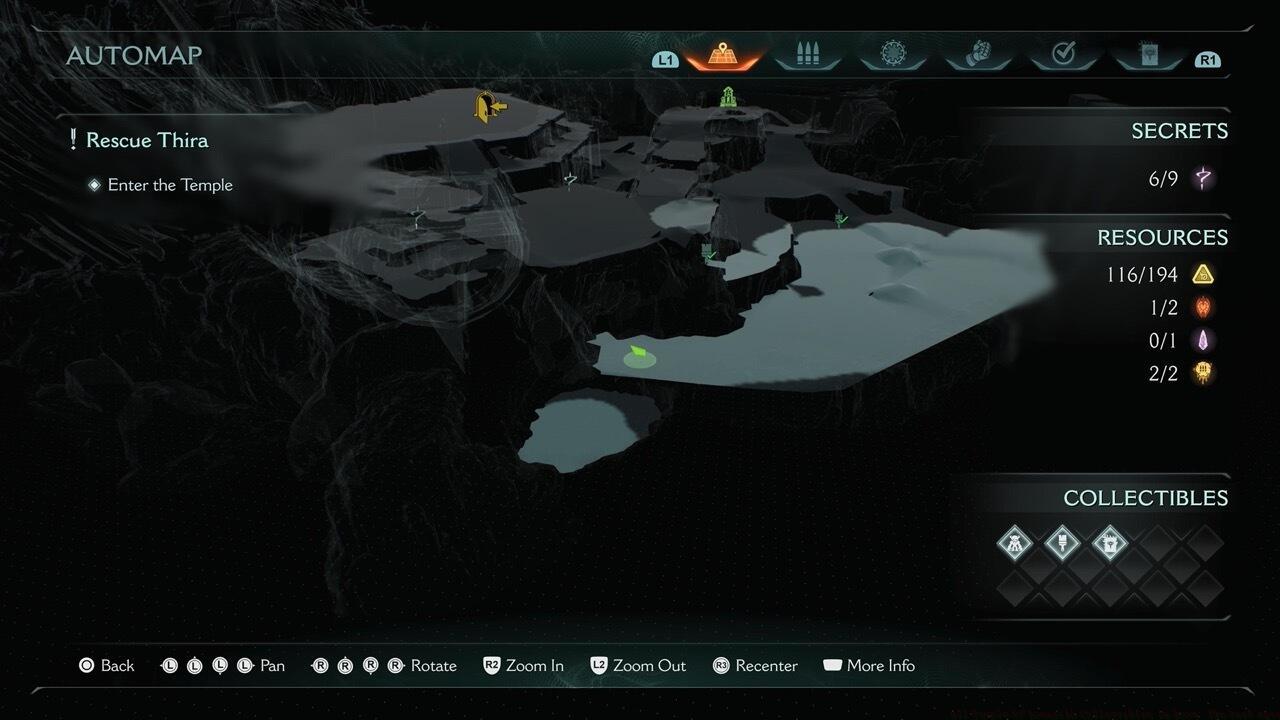
The Temple of Lomarith represents the seventeenth campaign mission in Doom: The Dark Ages, featuring three distinct hidden items for completionists. These environmental collectibles provide cosmetic enhancements rather than gameplay advantages, falling into three specific categories: miniature demon toys that serve as display pieces, codex entries expanding the game’s lore, and unique weapon skins that alter visual appearance. All discovered items are conveniently tracked in the lower map screen interface, allowing players to monitor their collection progress across all levels.
For comprehensive coverage of all hidden items throughout the campaign, consult our Complete Guide to similar collection systems in modern shooters.
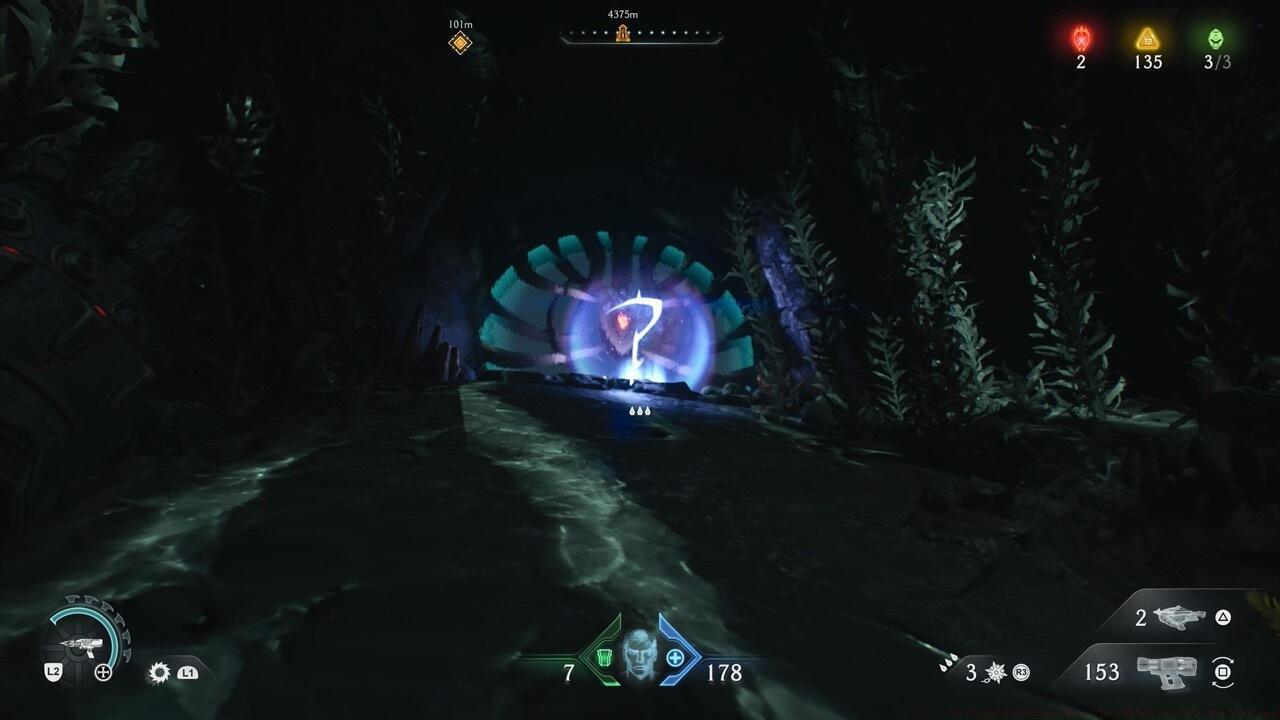
Upon activating the initial major portal at the mission’s commencement, you’ll be teleported to a submerged environment requiring aquatic navigation toward your primary objective. During this underwater traversal, you’ll encounter a sunken vessel that must be explored internally. Navigate toward the vessel’s bow section while submerged to locate the codex collectible positioned within the forward compartment.
Pro Tip: Conserve oxygen by utilizing air pockets found in wreckage sections and maintain awareness of limited visibility that can obscure the collectible’s glow effect.
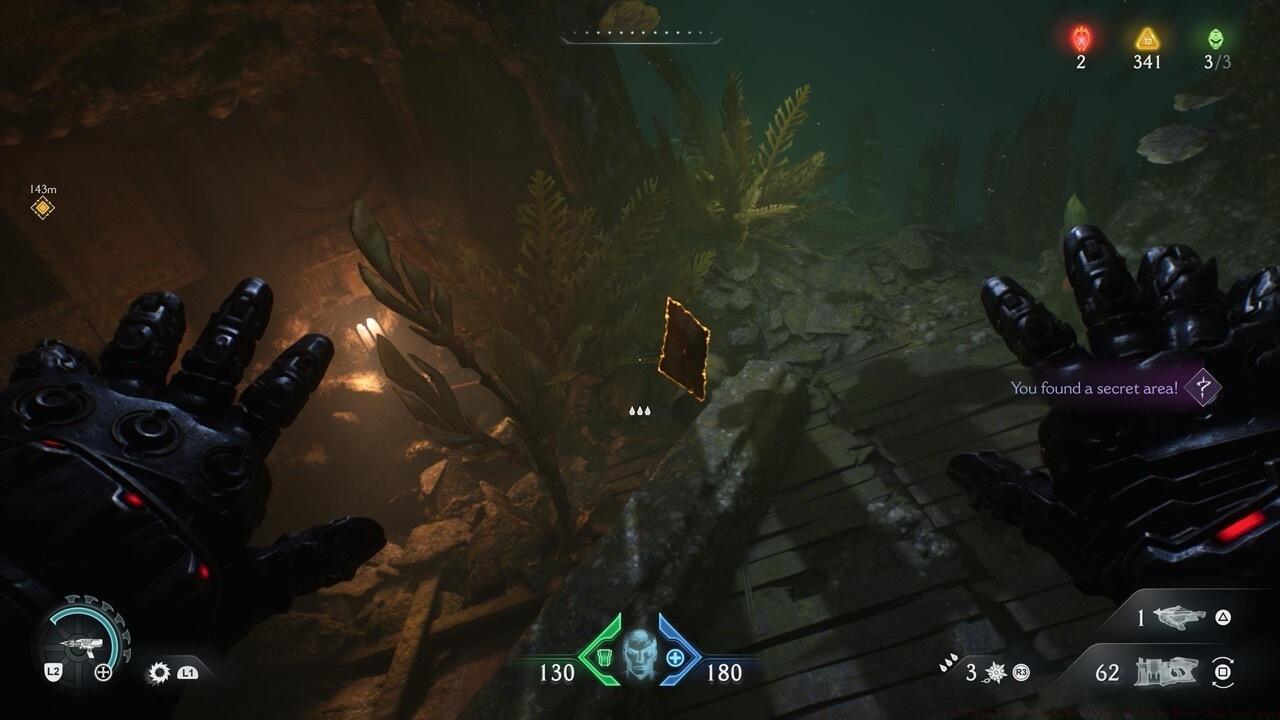
Following utilization of the weather-altering portal mechanism, you’ll receive directions to ascend through a dilapidated ship structure. Approaching the exit leading back outside the vessel, observe a caged collectible positioned to your immediate right. Execute a shield bash maneuver against the cage to initiate sliding motion toward your entry point. Return to the exterior environment and employ the visual alignment structure outside to precisely target the collectible, enabling a successful shield throw to breach the containment.
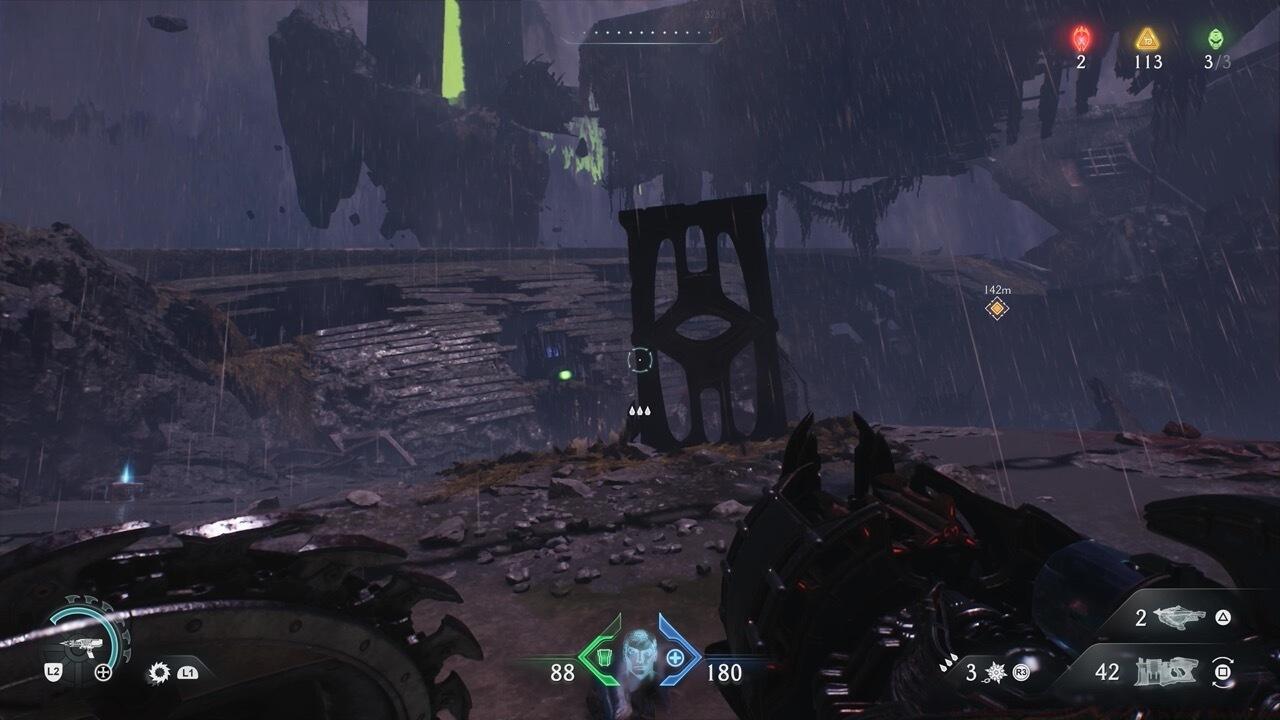
Common Mistake: Players often misalign the shield throw by not properly utilizing the external guidance structure, resulting in wasted attempts and potential enemy engagements.
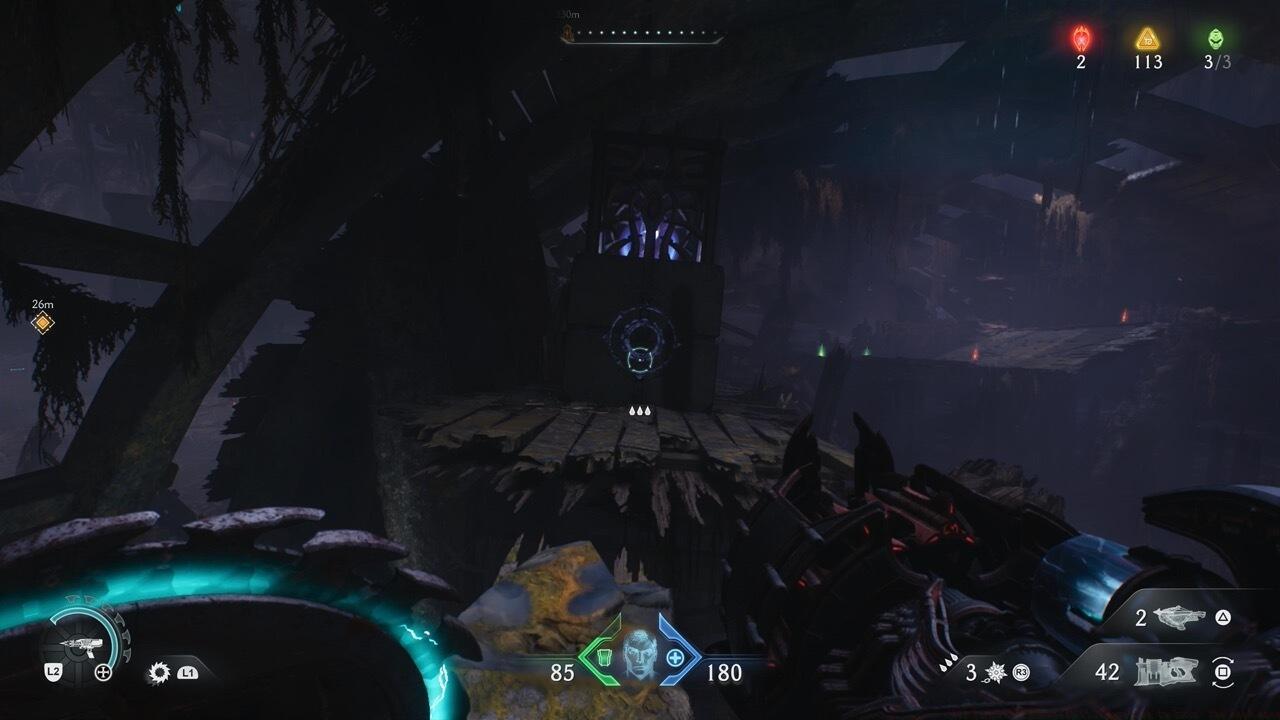
During the concluding segment of the mission, immediately exterior to the temple structure, circumnavigate toward the map’s left flank on the ground level. Identify an aquatic portal permitting underwater passage. Upon emerging on the opposite side, prepare for combat against a massive tentacled entity. After successfully vanquishing this formidable opponent, an elevation platform materializes, propelling you upward into additional watery terrain, facilitating access to the final collectible.
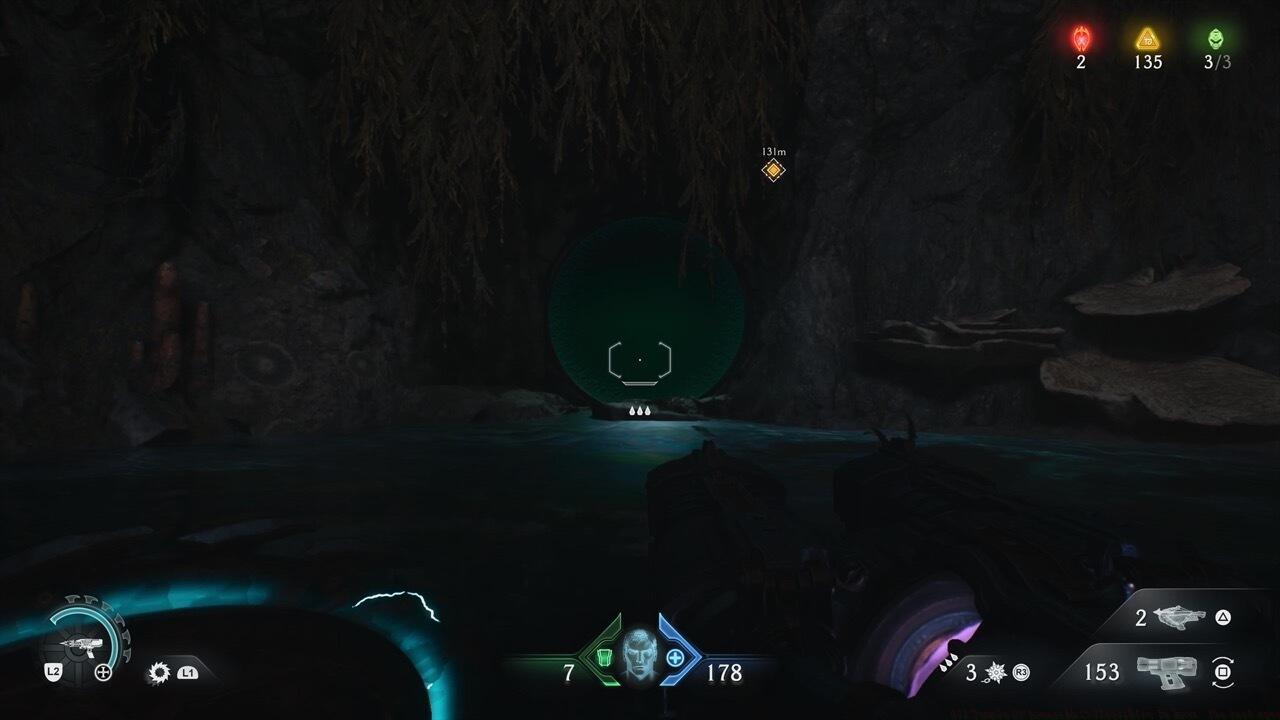
Combat Strategy: The tentacle boss possesses predictable attack patterns; focus on dodging sweeping strikes while targeting vulnerable areas between assaults. For advanced weapon customization techniques, explore our Weapons Unlock guide covering similar progression systems.
Efficient collectible acquisition requires strategic route planning and mastery of game mechanics. Allocate approximately 15-20 minutes for comprehensive collection, accounting for combat encounters and puzzle solving. Prioritize the codex entry first as it’s encountered earliest, followed by systematic progression through the remaining items.
Time-Saving Technique: Complete primary objectives first, then backtrack for collectibles to minimize redundant traversal. For character build optimization supporting collection efforts, consult our comprehensive Class Guide for role-specific advantages.
Avoid the common pitfall of attempting collectibles during intense combat sequences; instead, clear areas thoroughly before focusing on exploration. The shield mechanics introduced in this level are particularly crucial for accessing several collectibles, so practice these abilities in safer environments first.
Action Checklist
- Navigate through initial portal to underwater area and explore sunken ship bow for codex entry
- Use weather portal, locate caged Cacodemon toy in ruined ship, execute shield bash and throw sequence
- Defeat tentacle boss after water portal, use jump pad to access final weapon skin
- Verify all three collectibles appear in map screen tracking interface
No reproduction without permission:SeeYouSoon Game Club » All Temple Of Lomarith Collectibles In Doom: The Dark Ages Complete guide to finding all three collectibles in Temple of Lomarith with expert strategies and time-saving tips