TL;DR
- Shakra moves between 14 distinct locations based on your progression through Silksong’s campaign
- Listen for humming audio cues to detect her presence in nearby areas
- Essential tools include Quill for map filling, Compass for positioning, and Markers for annotations
- Missing her in one zone doesn’t lock you out – she carries previous inventory to new locations
- Complete map collection unlocks special rewards and enhances overall navigation efficiency
GameSpot may receive revenue from affiliate and advertising partnerships for sharing this content and from purchases through links.
Navigating the intricate world of Hollow Knight: Silksong becomes significantly more manageable when you understand Shakra’s cartography services. This wandering merchant specializes in selling essential exploration aids that transform your journey through Pharloom’s treacherous landscapes.
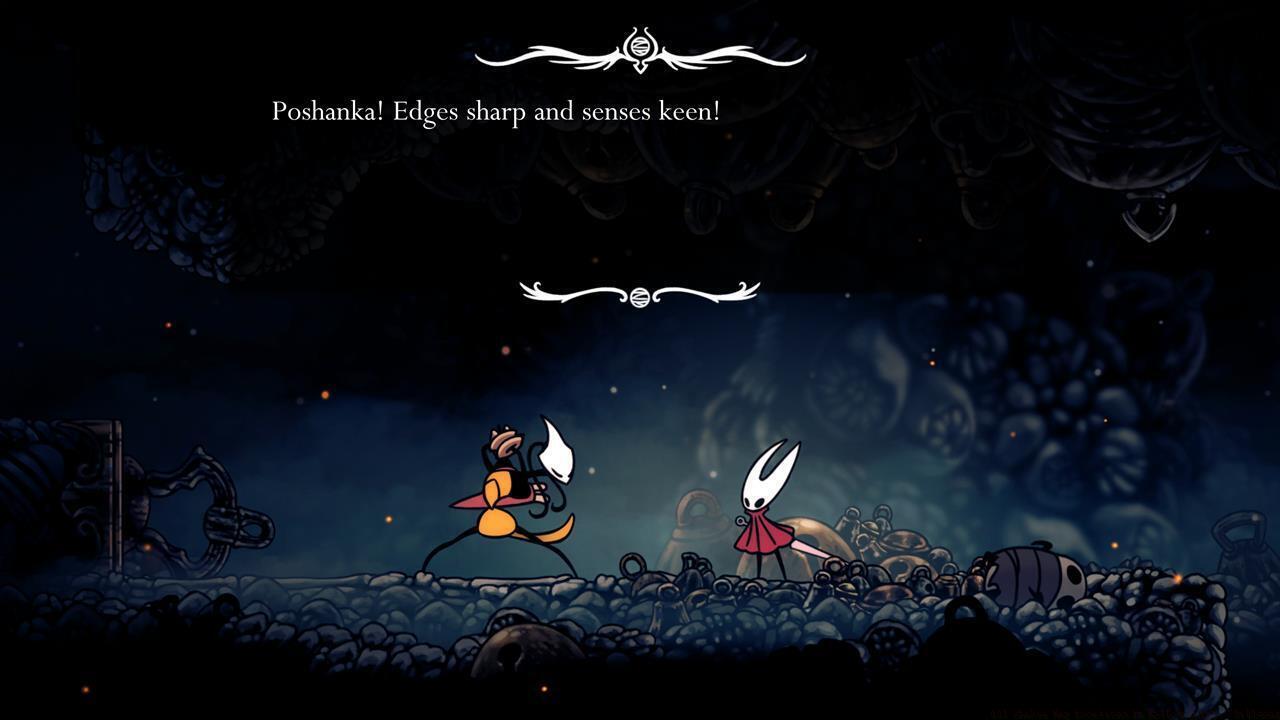
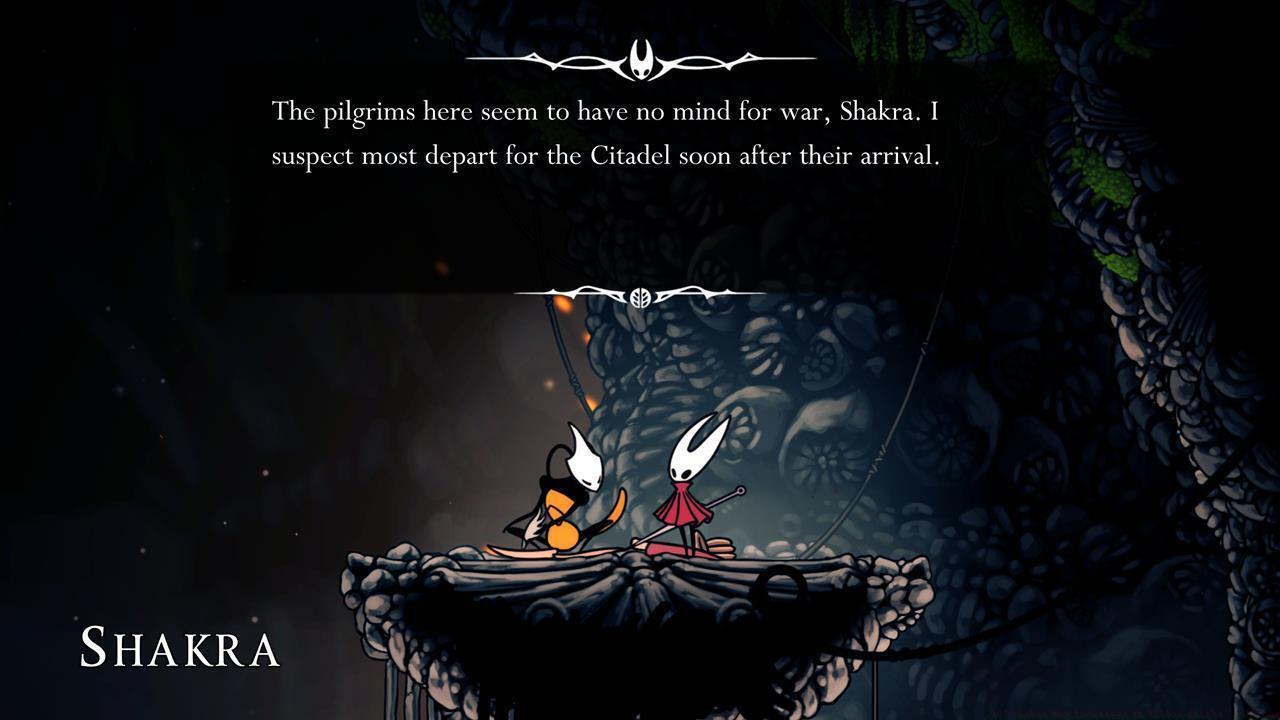
Shakra establishes temporary shops across multiple regions, but her presence is conditional on your campaign advancement. Defeating area bosses typically triggers her relocation to subsequent zones, creating a dynamic shopping experience that evolves with your progression.
Pro Tip: Experienced players recommend prioritizing boss encounters in new regions specifically to unlock Shakra’s next location sooner. Her movement pattern follows a logical sequence that mirrors the game’s intended difficulty curve.

Tracking down Shakra requires understanding her fourteen distinct locations throughout Pharloom. Each area presents unique environmental challenges that test your navigation skills before you can even purchase her maps.
Early Game Encounter Zones: Begin your search in The Marrow, where Shakra establishes her first shop. Bone Bottom and Deep Docks follow as natural progression points, with each location offering increasingly detailed cartographic resources.

Mid-Game Cartography Hubs: Far Fields, Greymoor, and Shellwood represent intermediate zones where Shakra’s maps become increasingly crucial for navigation. These areas feature complex multi-level structures that demand precise mapping.


Advanced Region Encounters: Bellhart, Wormways, and Hunter’s March challenge even seasoned explorers. These zones often require backtracking with newly acquired abilities, making Shakra’s maps invaluable for planning efficient routes.


Endgame Mapping Locations: Blasted Steps, Sands of Karak, Mount Fay, Sinner’s Road, and Bilewater represent the final stages of your cartographic journey. Each location typically requires defeating challenging bosses and navigating hazardous terrain.


Shakra’s inventory extends beyond basic maps to include crucial navigation tools that transform how you interact with Pharloom’s geography. Understanding each item’s functionality is essential for efficient exploration.
Map Acquisition Mechanics: Initially, purchased maps display only vague outlines of regions. This intentional design encourages organic exploration while providing foundational orientation.
Quill and Bench System: The Quill represents your most vital cartography tool. After purchasing maps, you must locate and rest at benches to activate the Quill’s functionality, which solidifies explored areas on your map while leaving undiscovered regions obscured.
Compass Navigation: This essential equipment pinpoints Hornet’s exact position on acquired maps, eliminating disorientation in complex multi-level environments. The Compass proves particularly valuable in vertically-oriented zones like Bellhart and Mount Fay.
Annotation Tools: Markers enable manual notation of significant locations, while Pins provide standardized icons for common points of interest like merchant locations, save points, and hidden passages.
Common Mistake: Many new players overlook the bench requirement for map updates, leading to unnecessary backtracking. Always prioritize bench visits after major exploration sessions.
Mastering Silksong’s cartography system requires more than simply purchasing Shakra’s wares. Advanced strategies can significantly enhance your navigation efficiency and completion rate.
Audio Detection Strategy: Shakra’s distinctive humming serves as an auditory beacon. Experienced players recommend disabling background music temporarily in new areas to better detect her presence.
Progression Planning: Since Shakra relocates after boss defeats, strategic sequencing of area completion can optimize your access to her inventory. Consider delaying certain boss fights until you’ve fully explored adjacent zones.
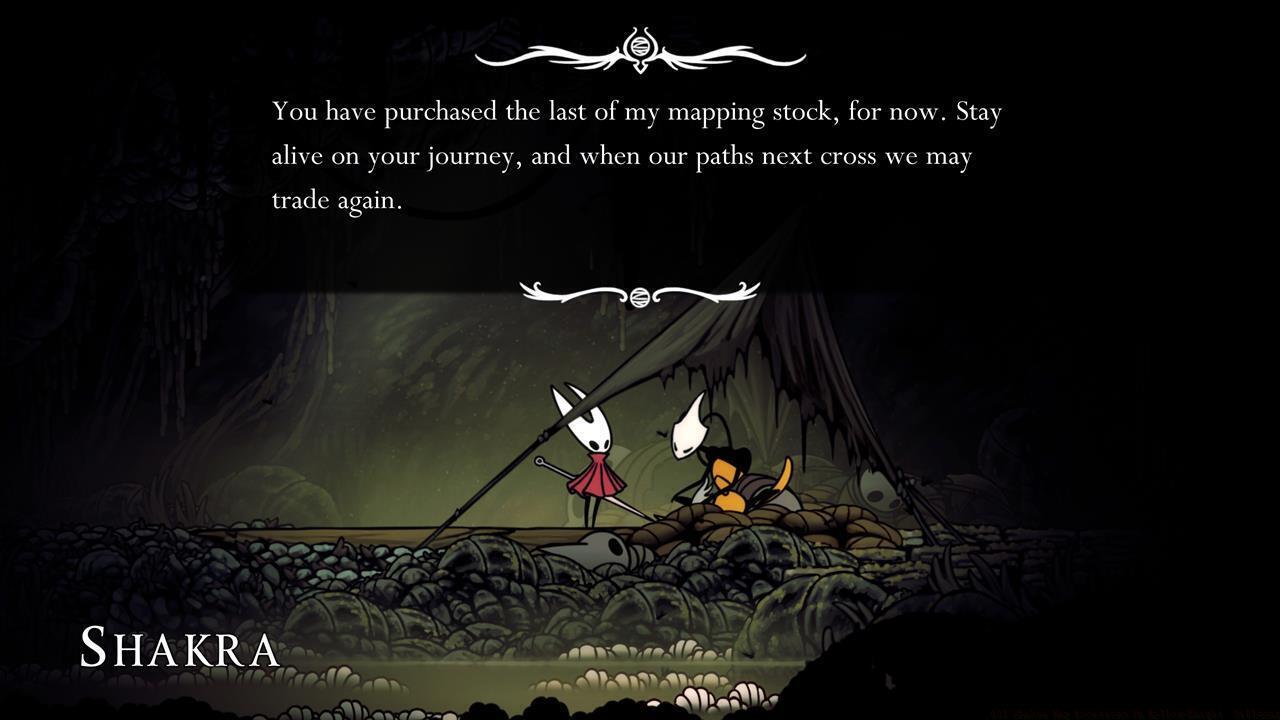
Inventory Carryover Assurance: Missing Shakra in earlier regions doesn’t permanently lock you out of her merchandise. She maintains comprehensive stock from previous locations when encountered in new zones.
Completion Rewards: Obtaining all of Shakra’s maps unlocks special rewards that enhance your overall exploration capabilities. These incentives make comprehensive cartography collection worthwhile beyond basic navigation needs.

Time Investment: Completing Shakra’s entire map collection typically requires 15-20 hours of dedicated exploration, depending on your familiarity with Metroidvania game mechanics.
For additional Silksong mastery, explore our Complete Guide for comprehensive strategies, or dive deeper into combat with our Weapons Unlock techniques. Those seeking character optimization should consult our comprehensive Class Guide for advanced build strategies.
Action Checklist
- Enable audio cues and listen for humming when entering new areas
- Purchase Quill immediately upon first Shakra encounter
- Systematically visit benches after exploration to update maps
- Acquire Compass before tackling vertically complex zones
- Use markers to note hidden passages and valuable resources
- Complete all 14 locations to unlock special navigation rewards
No reproduction without permission:SeeYouSoon Game Club » All Shakra Map Locations In Hollow Knight: Silksong Complete guide to finding Shakra's maps and navigation tools in Hollow Knight: Silksong with expert strategies