Master Security Locker locations and loot strategies across all ARC Raiders maps for optimal resource gathering
Understanding Security Lockers
Security Lockers represent crucial resource containers scattered throughout the Rust Belt Ridge regions in ARC Raiders. These reinforced storage units remain inaccessible until players obtain the specialized lockpicking proficiency from the Raider Skill Tree advancement system. Once unlocked, these containers yield substantial material rewards that can dramatically accelerate your gear progression.
Unlike standard loot crates, Security Lockers typically contain rare crafting components, weapon attachments, and currency reserves that make them priority targets during resource gathering expeditions. Their fixed locations allow for strategic planning, but their high-value contents often attract competitive attention from other players.
Map-by-Map Location Breakdown
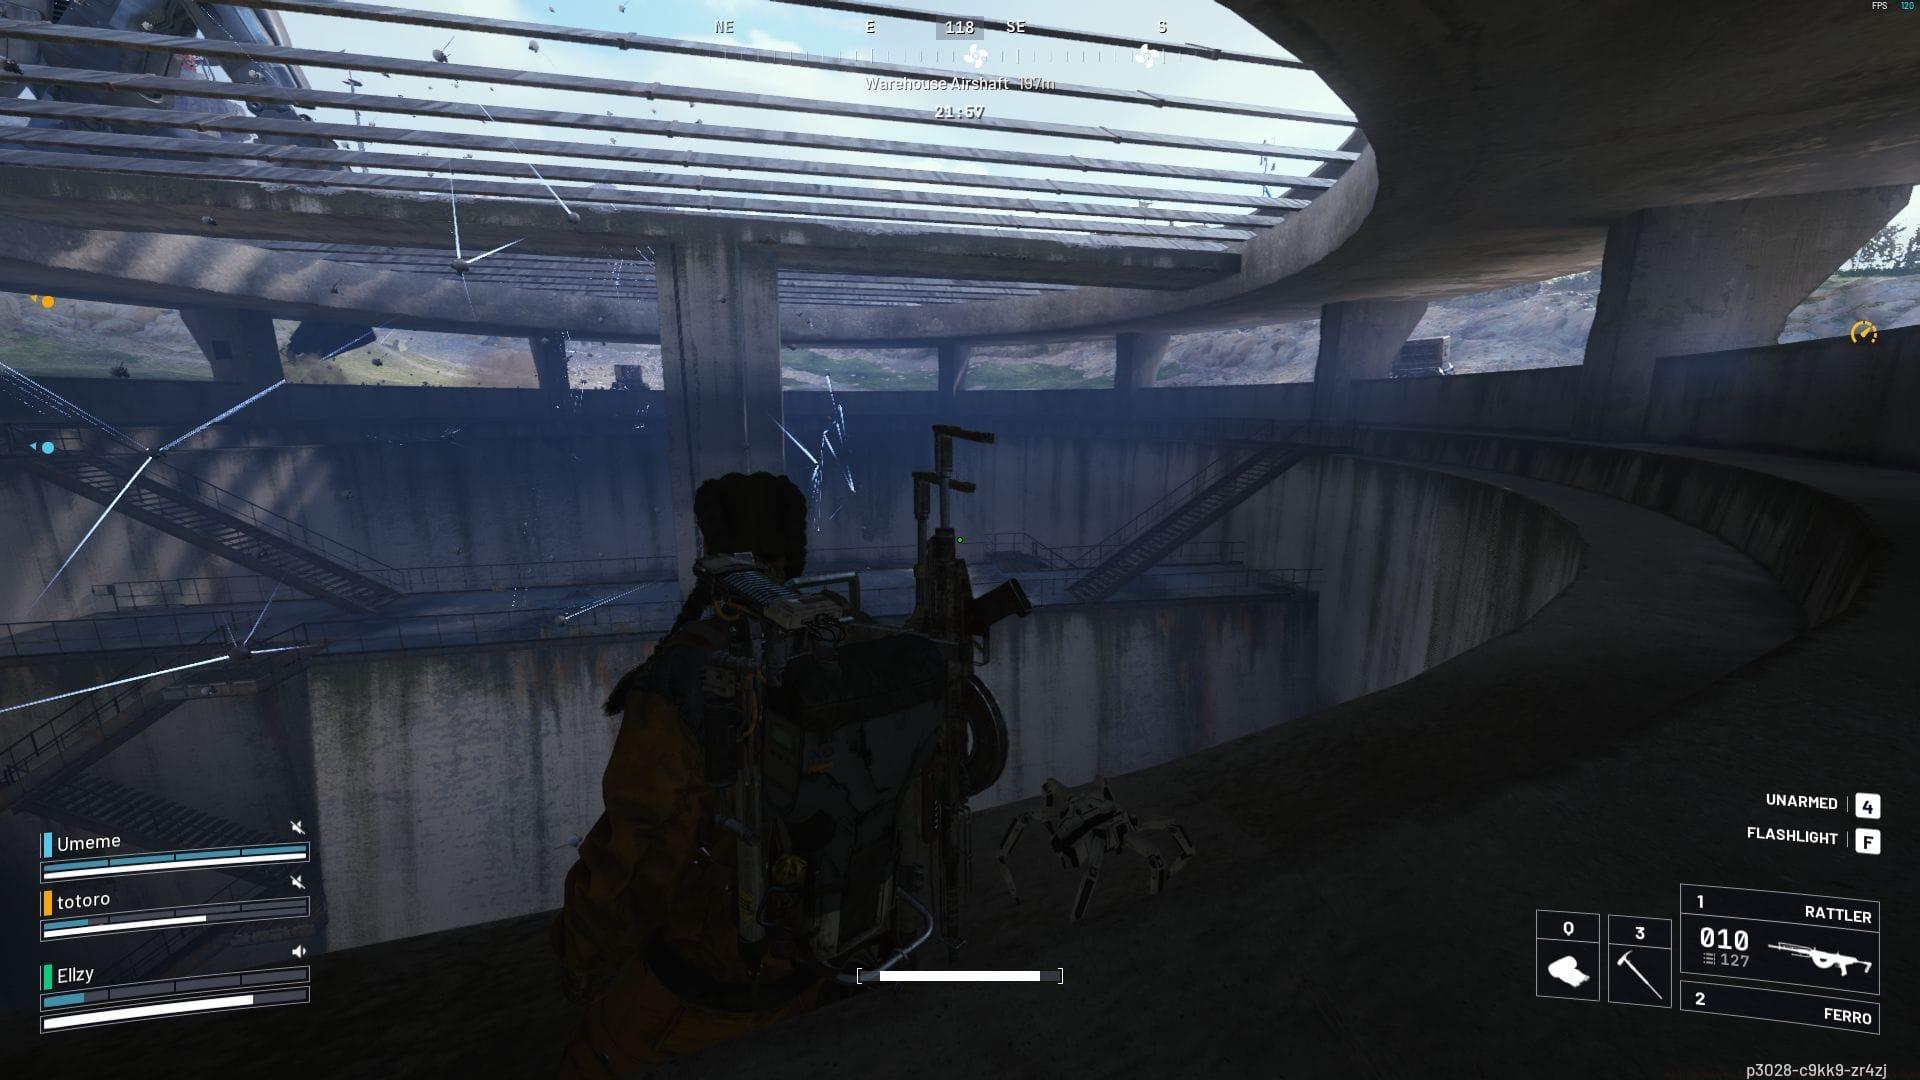
Dam Battlegrounds Security Locker Positions
The hydroelectric facility offers multiple high-risk, high-reward locker locations:
- Power Generation Complex – Often guarded by automated defenses
- Hydrophonic Dome Complex – Typically less contested but requires navigation through complex terrain
- Control Tower (inside Dam Staff Room) – Central location with good visibility but high traffic
- Control Tower (inside locked room) – Requires additional security clearance
Buried City Locker Placement
This urban environment features concentrated security:
- Grandioso Apartments (inside locked room) – Residential zone with limited escape routes
Spaceport Container Locations
The transportation hub contains strategically placed lockers:
- Between Shipping warehouse and Arrival Building – Exposed position requiring quick execution
- Between Arrival Building and Departure Building – High-value transit corridor
- Control Tower A6 (inside locked room) – Restricted access with premium rewards
The Blue Gate Security Points
Mountainous region with concealed locker placements:
- Raider’s Refuge (inside locked room) – Often overlooked by newer players
- Trapper’s Glade (inside locked room) – Wilderness location with natural cover
Stella Montis Complex Distribution
The industrial facility features extensive locker networks:
- Assembly Workshop (upper level) – Manufacturing area with multiple access points
- Cargo Dock B (upper level) – Logistics zone with container-based cover
- Collapsed Tunnel (lower level) – Subterranean approach required
- Western Tunnel (lower level) – Alternative underground route
- Robotic Sandbox A (lower level) (inside locked room) – Automated defense testing area
- Control Room (lower level) – Central command position with valuable intelligence
Advanced Loot Run Strategies
Successful Security Locker expeditions require meticulous planning beyond simple location knowledge. Begin each session by assessing your spawn position relative to high-priority lockers, then create a route that minimizes travel time while avoiding high-traffic combat zones.
Route Optimization Techniques: Map your path to hit 3-4 lockers in sequence, considering both the direct distance and potential enemy engagement points. Urban maps like Buried City benefit from rooftop routes, while industrial complexes like Stella Montis often have subterranean access points that provide cover.
Team Coordination Benefits: When playing in squads, assign specific roles – one player focuses on lockpicking while others provide security overwatch. This division of labor significantly reduces vulnerability during the unlocking animation sequence.
Extraction Timing: Always monitor the match timer and plan your extraction with at least 90 seconds remaining. The most common failure in loot runs occurs when players become too ambitious and get caught by the closing extraction zone.
Common Mistakes to Avoid
Many players undermine their Security Locker efforts through preventable errors. The most frequent mistake involves attempting loot runs without first acquiring the necessary Raider Skill Tree abilities, resulting in wasted time reaching inaccessible containers.
Timing Mismanagement: Novice players often underestimate the time required for both travel and unlocking procedures. Each locker interaction takes approximately 15-20 seconds, plus navigation time between locations.
Over-ambitious Routing: Attempting to clear every locker in a single match typically results in incomplete runs or failed extractions. Prioritize 3-4 high-value targets based on your spawn location instead of pursuing comprehensive coverage.
Neglecting Security: Never assume you’re alone when approaching locker locations. Always clear the area first, listen for enemy activity, and have an escape route planned before beginning the unlocking process.
No reproduction without permission:SeeYouSoon Game Club » All Security Lockers locations in ARC Raiders Master Security Locker locations and loot strategies across all ARC Raiders maps for optimal resource gathering