Complete guide to Celeste’s Journals quest with strategic tips for maximizing rewards and minimizing risks
Quest Overview and Setup Requirements
Celeste’s Journals quest in ARC Raiders presents a challenging multi-stage objective that typically requires multiple attempts to master. You’ll acquire this assignment directly from Celeste, who serves as both faction leader and primary merchant within Speranza’s safe zone. The mission design intentionally splits objectives between two distant locations on opposite map edges, creating inherent travel risks. While the basic premise seems straightforward—retrieve two journal fragments—the operational reality involves navigating through territories heavily patrolled by both automated ARC units and opportunistic player Raiders hunting for easy targets.
Mission success heavily depends on understanding spawn mechanics and enemy behavior patterns. ARC patrols follow predictable routes but can quickly overwhelm isolated players, while human opponents often camp extraction points or high-value locations. Proper preparation including weapon upgrades, medical supplies, and movement tools dramatically increases survival chances during the lengthy cross-map journey required for completion.
Western Location: South Swamp Outpost Strategy
Begin your mission deployment at Dam Battlegrounds, then immediately navigate westward toward the swampy region surrounding Water Treatment Control. The South Swamp Outpost building typically contains multiple entry points—prioritize the least visible entrance to avoid alerting nearby patrols. Inside the structure, scan living quarters systematically until locating a military-style bed marked with a distinctive yellow interaction prompt. The first journal segment will be clearly visible on the bedding surface.
Pro Tip: Clear the immediate area before entering the outpost, as ARC scouts frequently investigate open doors. Time your approach during reduced patrol activity—typically following major enemy movements toward central conflict zones. Consider using audio distractions like thrown objects to draw attention away from your infiltration path. The swamp terrain provides natural cover but also limits escape routes, so always maintain an exit strategy.
Avoid lingering inside the outpost after retrieving the item. Experienced players often monitor these locations for ambush opportunities, and the yellow interaction glow can attract attention through windows. Immediately reposition to a concealed location to assess your next move toward the northern objective.
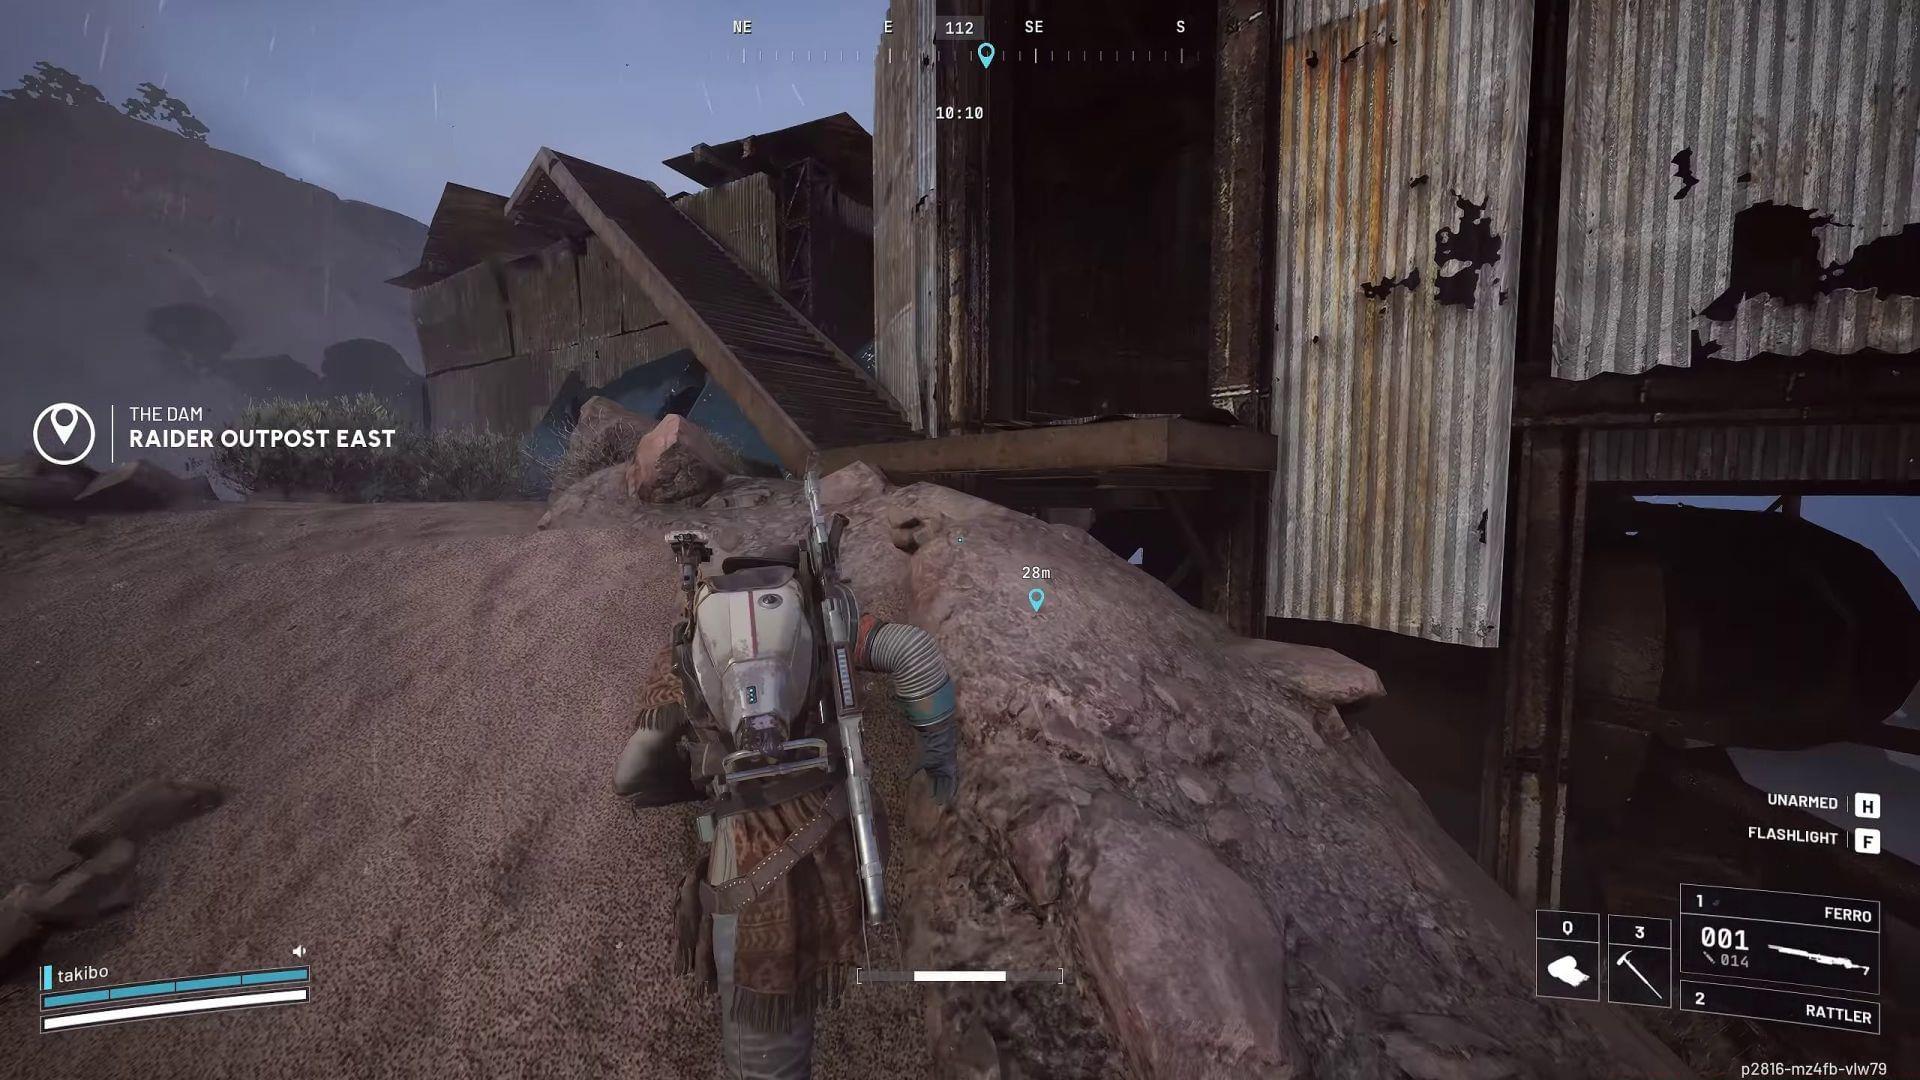
Northern Location: Raider Outpost East Approach
With the first journal secured, navigate toward the northern extreme of the operational area. Your destination is Raider Outpost East, positioned adjacent to the Power Generation Complex landmark. This facility typically houses more concentrated resistance, including both stationary defenses and roaming patrols. The journal’s second half resides within another military bed inside the main barracks, again marked with a yellow interaction indicator.
Advanced Tactics: Approach from the eastern ridge line to maintain elevation advantage and better visibility. The power complex generates consistent ambient noise that can mask your movement sounds. Time your entry during shift changes in patrol patterns—observe enemy movements for 2-3 minutes to identify gaps in coverage. The northern region’s more open terrain makes stealth approaches challenging but provides better extraction route options once both items are secured.
Consider using the complex’s infrastructure as cover during approach and retreat. Pipeline networks and service tunnels offer concealed movement paths, though these can also become death traps if cornered. Always assume other players are monitoring high-value locations and prepare engagement protocols accordingly.
Complete Reward Breakdown and Value Analysis
Upon successful extraction and return to Speranza with both journal fragments, Celeste provides substantial compensation reflecting the mission’s difficulty. The complete reward package includes:
The Magnetic Accelerator represents one of the most valuable early-to-mid game weapons available through quest rewards. This epic-rarity railgun-type weapon delivers exceptional single-target damage with perfect accuracy, making it ideal for eliminating high-threat ARC units like Bastions and Rocketeers efficiently. Its penetration capabilities allow it to damage multiple enemies in linear formations, while the charging mechanic rewards tactical positioning and shot timing.
Gear Progression Impact: Obtaining this weapon significantly accelerates your combat effectiveness against later-game content. The magnetic technology provides unique tactical options not available through conventional ballistic weapons, including the ability to bypass certain enemy shield systems. For players building toward endgame content, this quest provides essential foundation gear that remains relevant through multiple progression tiers.
The reward quality justifies the substantial risk involved, but only for properly prepared teams. Solo attempts typically result in item loss unless executed with meticulous planning and favorable circumstance alignment.
Advanced Strategy and Common Pitfalls
The most challenging phase begins after securing both journal pieces. The extraction journey back to Speranza requires traversing active combat zones while protecting your collected items. Team Composition Strategy: Optimal squads include one long-range specialist (ideally using the Magnetic Accelerator reward), one close-quarters combatant for building clearance, and one support player carrying extra healing and utility items. Random matchmaking can work but requires clear communication and role assignment during the pre-mission phase.
Loadout Optimization: Prioritize mobility and sustainability over pure firepower. Bring at least three medical kits, two armor repair stations, and movement enhancement equipment. Avoid heavy weapons that slow movement speed—the mission success depends more on evasion than combat dominance. Silenced secondary weapons help manage patrols without alerting additional enemies.
Common Failure Points: Most unsuccessful attempts result from: (1) rushing between locations without proper reconnaissance, (2) engaging unnecessary fights that deplete resources, (3) extracting through predictable routes that ambushers monitor, and (4) insufficient communication in team play. Successful teams typically complete the full circuit in 25-35 minutes with coordinated movement and disciplined engagement rules.
Always monitor the match timer and enemy activity spikes—extracting during heightened ARC activity increases survival chances as other players become preoccupied with defense. The journey between objectives crosses several high-risk zones where Leaper ambushes and Rocketeer patrols frequently eliminate unprepared Raiders.
No reproduction without permission:SeeYouSoon Game Club » How to complete Celeste’s Journals quest in ARC Raiders Complete guide to Celeste's Journals quest with strategic tips for maximizing rewards and minimizing risks