TL;DR
- Safehouses serve as crucial fast travel points with vending machines and bounty boards
- Claim Safehouses by finding and activating datapads at each location
- Fadefields contains 5 Safehouses including the tutorial area starter
- Terminus Range, Carcadia Burn, and Dominion regions each contain multiple hidden Safehouses
- Strategic Safehouse control dramatically improves exploration efficiency and resource management
GameSpot may receive revenue from affiliate and advertising partnerships for sharing this content and from purchases through links.
Are you determined to locate every Safehouse scattered throughout Borderlands 4? These fortified structures are strategically positioned across the hostile landscapes of Kairos, and securing them should be a top priority for any serious Vault Hunter. Their importance stems from how significantly they enhance your ability to traverse and master each region efficiently.
The game world contains more than a dozen distinct Safehouse locations that serve as your personal operational bases. While several become accessible naturally during main story progression, many others demand deliberate exploration beyond primary mission pathways. Before embarking on your Safehouse hunting expedition, several critical mechanics require understanding:
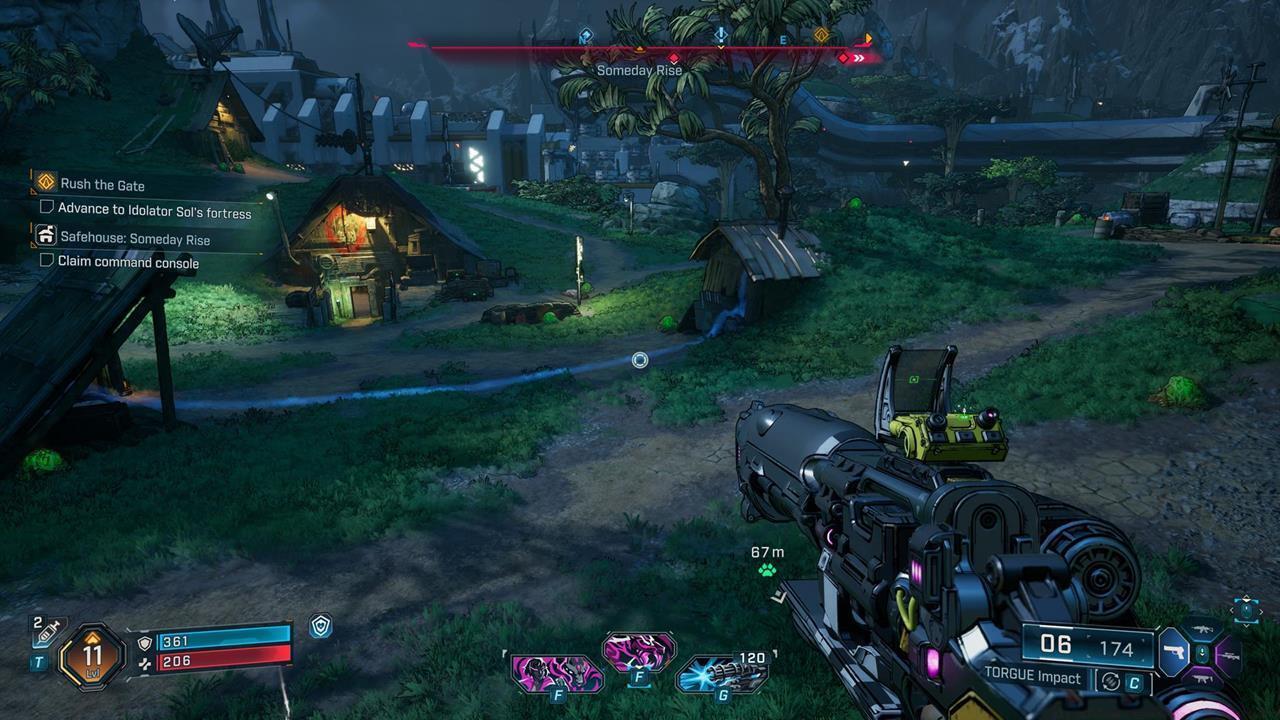
The visual reference above displays all Borderlands 4 Safehouse positions within the Fadefields territory. This represents the initial explorable zone following the introductory tutorial segment of your campaign journey.
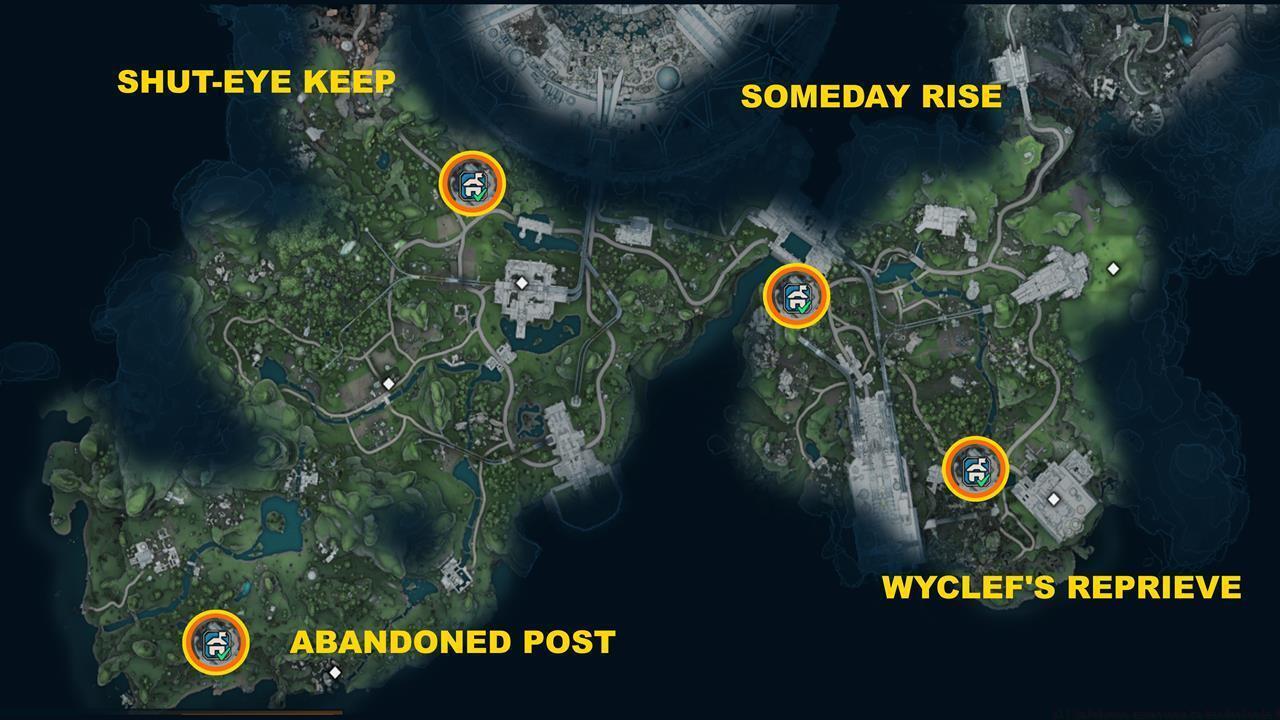
The Fadefields region introduces you to Safehouse mechanics and contains five distinct locations that establish your initial network across Kairos.


Pro Tip: The Shut-Eye Keep Safehouse often gets missed due to players overlooking the grapple mechanics tutorial. Practice these movement skills early to avoid backtracking later.

Wyclef’s Reprieve presents one of the more challenging Safehouses to locate in Fadefields. Situated within a canyon network easily overlooked during main quest progression, this location requires deliberate canyon exploration beyond primary pathways. The datapad rests on a concealed ledge requiring precise jumping from adjacent rock formations.
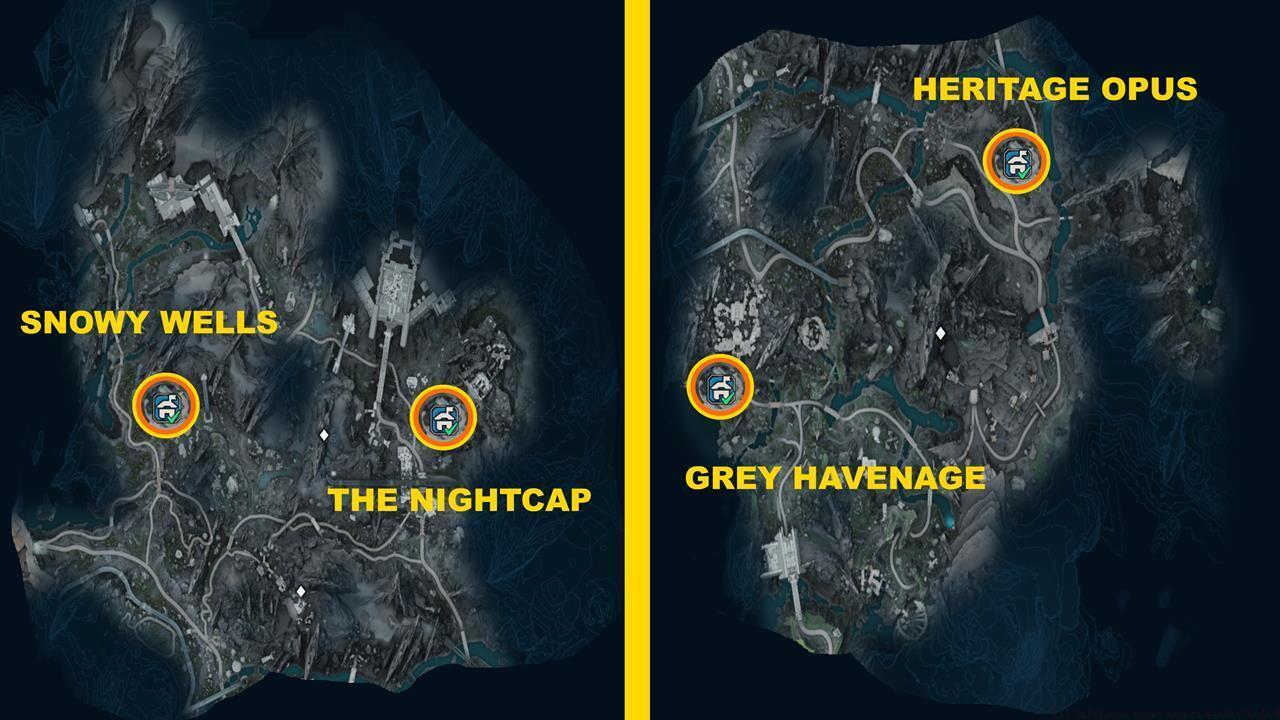
The snow-covered expanses of Terminus Range host four strategically positioned Safehouses that become essential for navigating this treacherous mountainous territory.

Grey Havenage sits nestled within an ice cavern system that becomes accessible after completing the “Frozen Assets” side mission. The datapad resides on an elevated ice shelf requiring thermal gear to withstand the extreme cold temperatures.

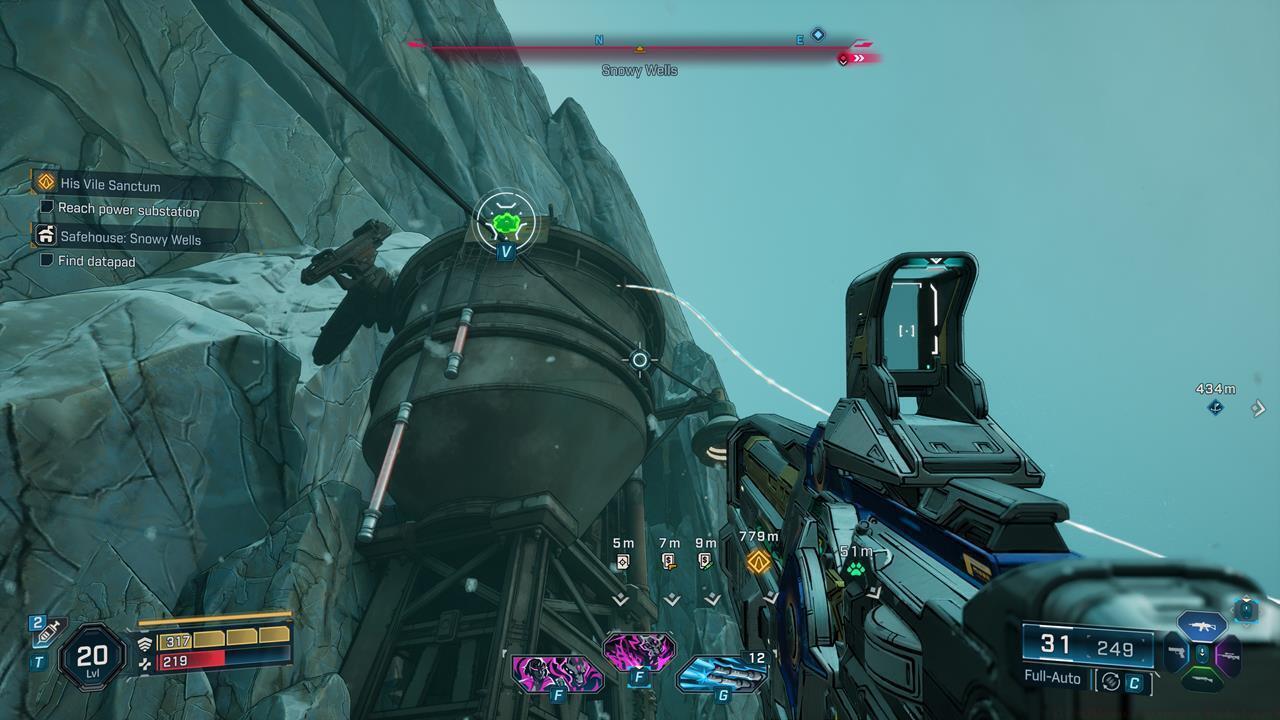
Snowy Wells represents perhaps the most challenging Terminus Range Safehouse to secure. Located deep within an active geothermal area, you must navigate through steam vents and unstable terrain. The datapad rests precariously on a mineral deposit surrounded by environmental hazards.
Common Mistake: Many players attempt Snowy Wells without adequate cold resistance gear, resulting in rapid health depletion. Ensure you’ve acquired thermal protection from Faction Towns before attempting this location.
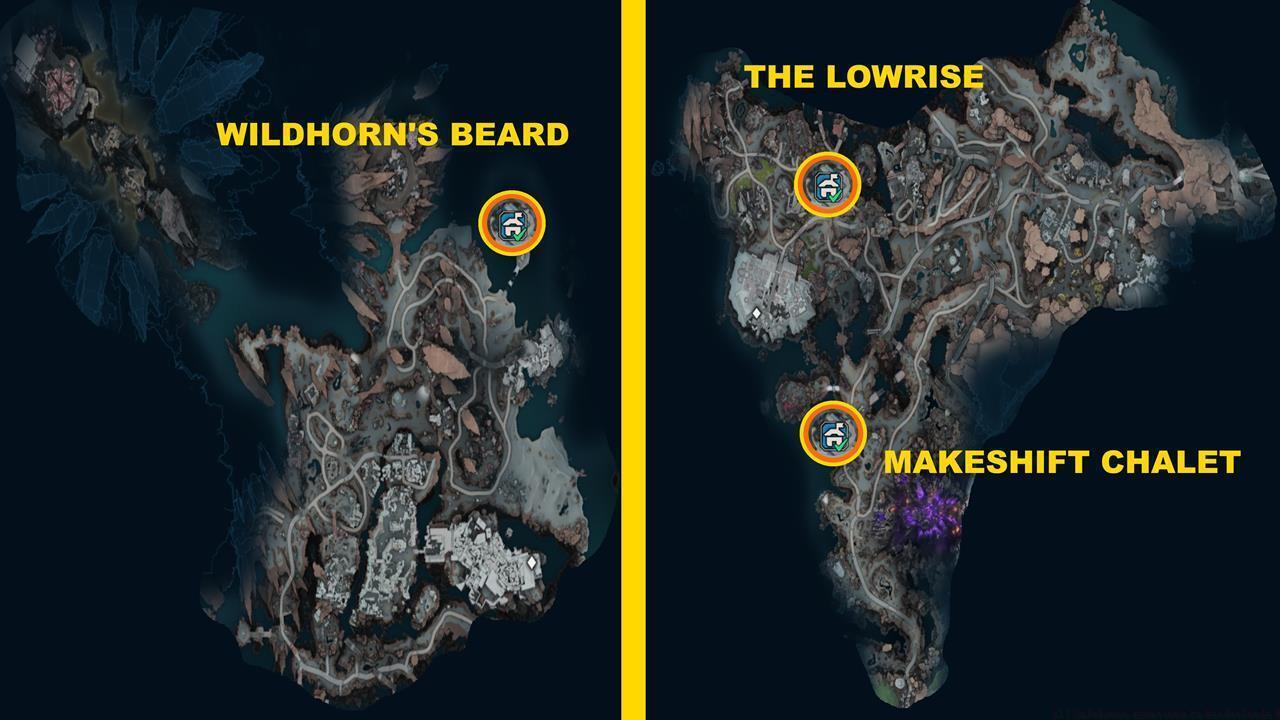
The volcanic wastelands of Carcadia Burn contain three critical Safehouse positions that provide essential respite from the relentless heat and hostile creatures.
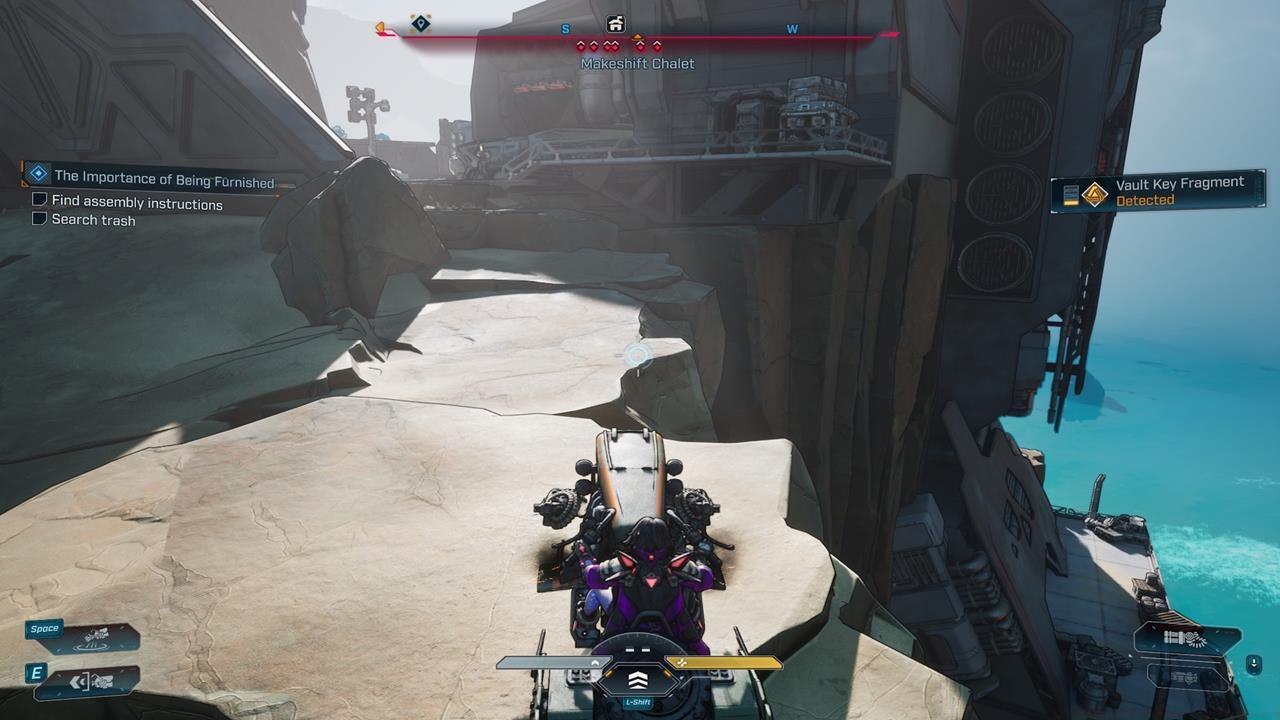
Makeshift Chalet occupies a precarious position on a cooling lava flow. Access requires navigating across recently solidified rock surfaces that may collapse under weight. The datapad sits within a metal container partially submerged in obsidian.

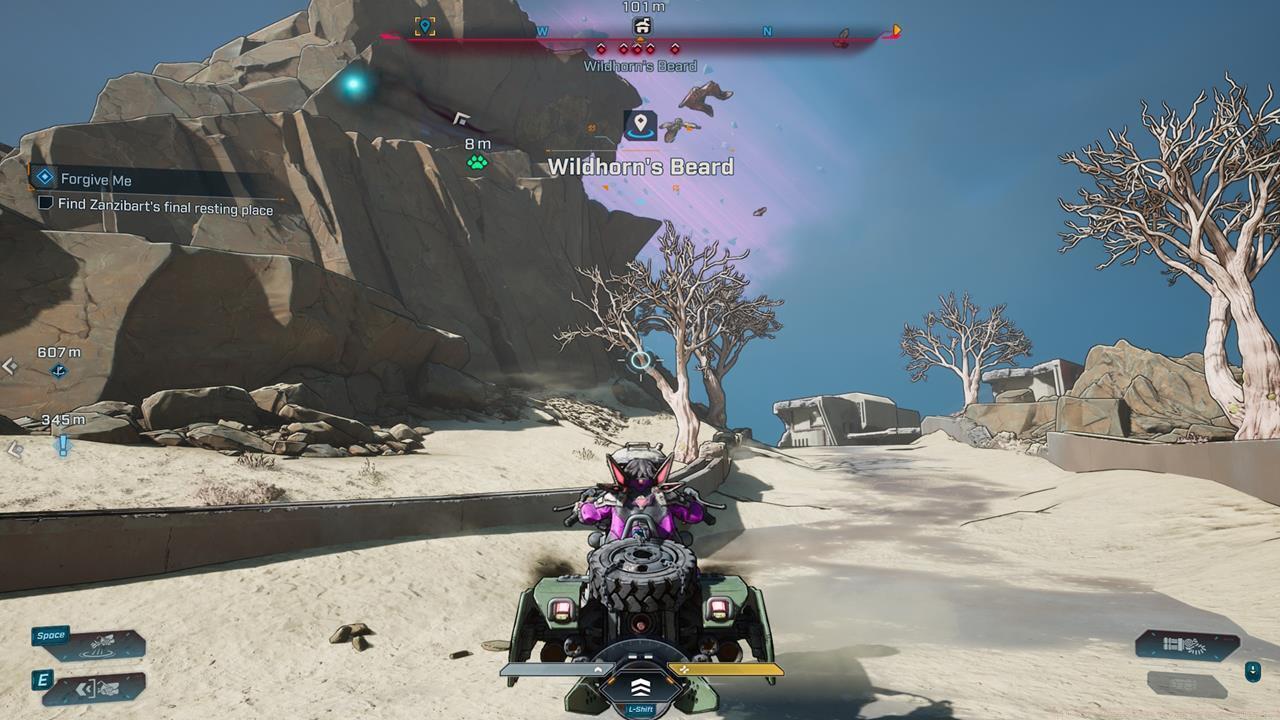
Wildhorn’s Beard presents unique challenges with its position inside an active geyser field. Time your approach during geyser dormancy cycles to safely reach the datapad positioned on a mineral encrusted rock formation.

The technologically advanced Dominion region houses three final Safehouses that complete your network across Kairos.

The Lockaway requires bypassing sophisticated security systems through either hacking mini-games or finding alternate physical access routes.

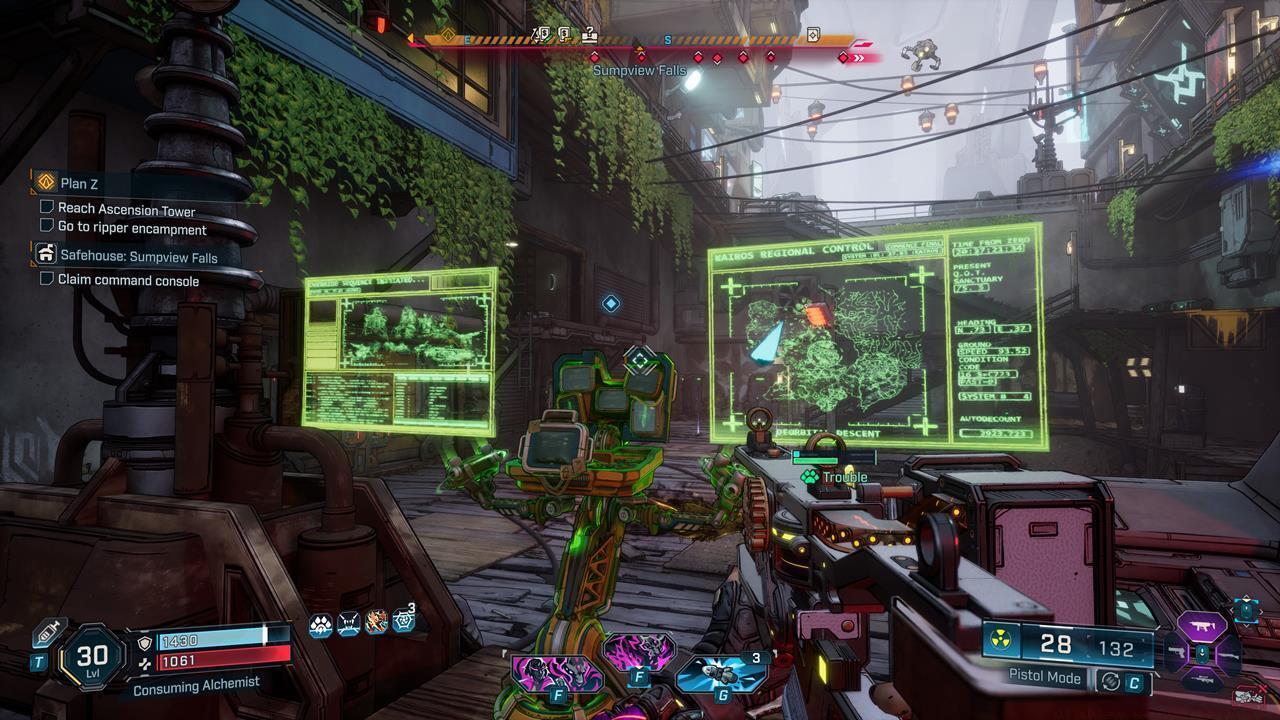
Sumpview Falls offers perhaps the most visually striking Safehouse location, positioned behind a massive waterfall. Access requires finding the hidden cave entrance obscured by the falling water.
Mastering Safehouse acquisition requires more than simply finding locations—it demands strategic planning and awareness of common pitfalls that can waste valuable exploration time.
Efficient Route Planning: Prioritize Safehouses that provide access to multiple regions or contain rare vending machine inventories. The Heritage Opus Safehouse in Terminus Range, for instance, frequently stocks legendary equipment, making early acquisition highly beneficial.
Common Mistakes to Avoid:
Endgame Considerations: When activating Ultimate Vault Hunter mode, remember that your alternate characters spawn at the Coastal Bonescape Safehouse completely unequipped. Store backup gear in your bank before starting new characters to ease the transition.
Time Investment: Completing all Safehouse acquisitions typically requires 4-6 hours of dedicated exploration beyond main story progression. The investment pays dividends through dramatically reduced travel time during completionist playthroughs.
For comprehensive strategies on character development that complement your Safehouse network, consult our detailed Class Guide for optimal build strategies.
Action Checklist
- Complete Claptrap’s tutorial missions to unlock the Coastal Bonescape Safehouse automatically
- Practice grapple mechanics at Shut-Eye Keep before attempting more challenging locations
- Acquire thermal and environmental protection gear from Faction Towns before attempting extreme climate Safehouses
- Systematically clear each region by following efficient travel routes between Safehouse locations
- Utilize Safehouse fast travel networks when completing bounty missions to minimize backtracking
No reproduction without permission:SeeYouSoon Game Club » All Safehouse Locations In Borderlands 4 Complete guide to locating and securing all Borderlands 4 Safehouse locations with strategic navigation tips