TL;DR
- Complete all four regional temples to unlock essential Sage companion abilities first
- Each puzzle requires specific positioning and timing for companion abilities to activate
- The Long Dragon puzzle is the most challenging with precise tail location requirements
- Rewards include rare items like Diamond, Dusk Claymore, and Large Zonai Charge
- Perfect execution saves time and prevents common activation failures
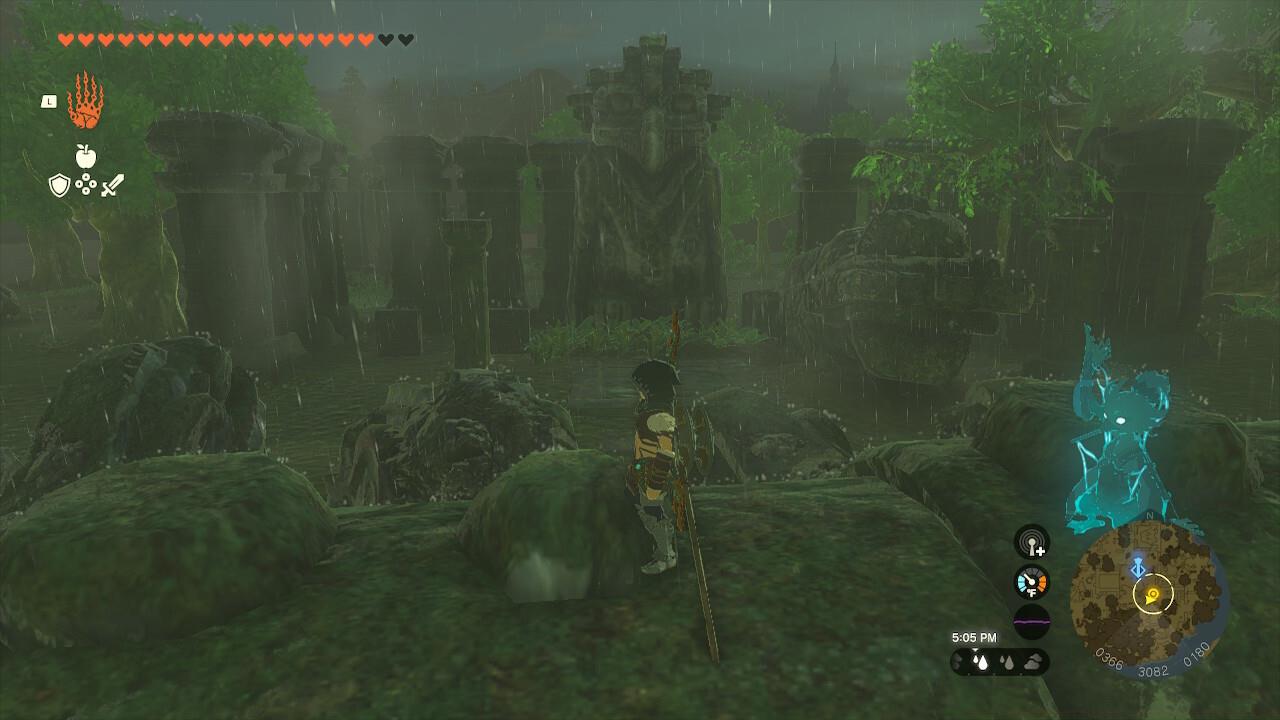
Uncover the secrets of the ancient Typhlo Ruins by mastering four distinct dragon-themed puzzles in The Legend of Zelda: Tears of the Kingdom. This comprehensive guide provides advanced strategies to efficiently solve each challenge while avoiding common player mistakes.
The Typhlo Ruins location lies north of Lookout Landing, positioned beyond the Great Hyrule Forest region. You’ll naturally discover this area while activating the nearby Skyview Tower, which reveals the surrounding terrain except for the corrupted Lost Forest sections that require later cleansing.
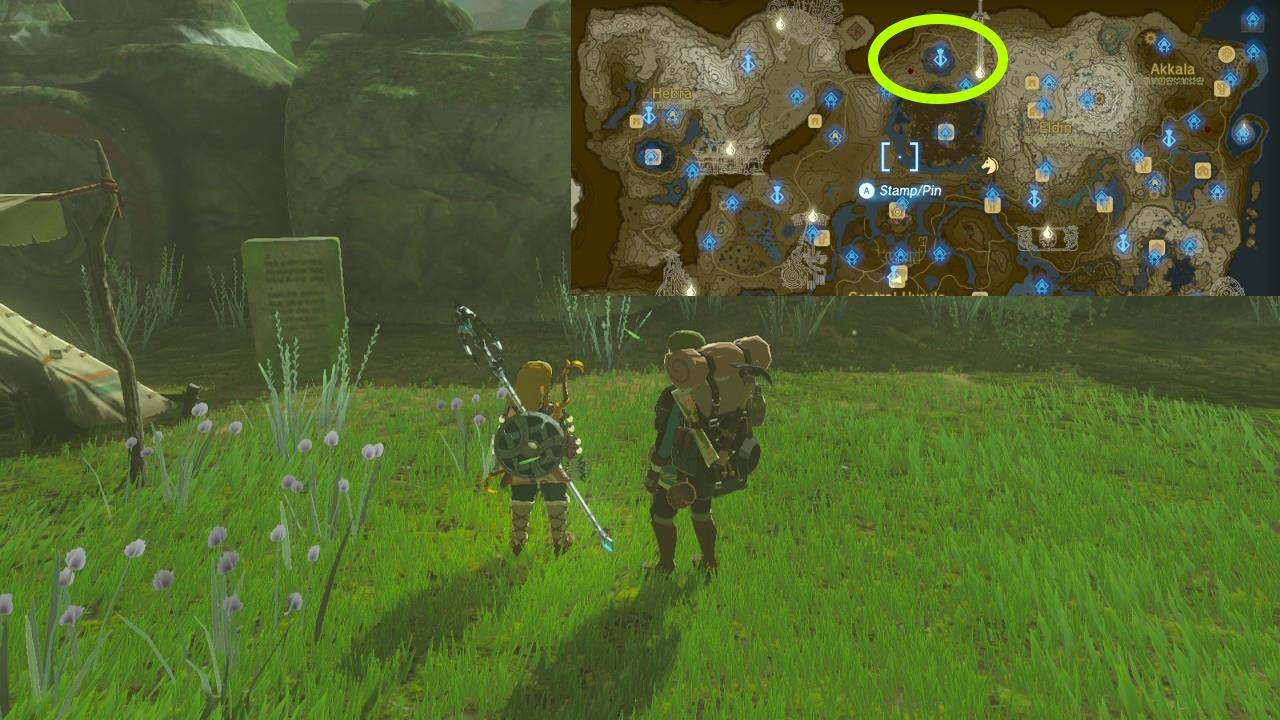
Initiate the quest by speaking with researcher Kazul near the ruins entrance.
Before attempting these puzzles, ensure you’ve completed the main story quests in the four key regions to unlock all Sage companion abilities. Each challenge specifically requires one of these powers, making progression impossible without them.
The Owl Protected by Dragons
- Location: Travel southwest from the Skyview Tower to discover an area where stone dragon heads completely encircle an owl statue formation.
- Companion ability: Execute Tulin’s Wind Burst power while positioned precisely on the central activation plate.
Identify the circular dragon head arrangement surrounding the central owl figure.
Pro Strategy: Stand directly in the plate’s center and face outward toward the dragon heads when activating Tulin’s ability. Many players fail by standing too close to the edges or facing the wrong direction.
Common Mistake: Attempting to use Wind Burst from elevated positions or while moving – the ability only registers when used from the specific ground plate location.
The Corridor Between Two Dragons
- Location: Journey westward from the Skyview Tower until you encounter a distinctive entrance pathway flanked by parallel dragon wall structures.
- Companion ability: Deploy Yunobo’s Rolling Fireball between the two opposing dragon formations.
Navigate through the dragon-walled corridor to find the activation zone.
Timing Critical: Activate Yunobo’s ability precisely midway between the dragon walls. The fireball must travel the complete corridor length without hitting obstacles.
Advanced Tip: Clear any environmental debris beforehand and ensure you have adequate charge for multiple attempts if needed.
The Six Dragons
- Location: From Yunobo’s puzzle area, head northward to locate a shallow water basin containing six distinct dragon head sculptures.
- Companion ability: Activate Sidon’s Water Bubble protection, then perform a charged area attack striking multiple dragon heads simultaneously.
The shallow pond contains six dragon heads requiring simultaneous activation.
Mechanics Insight: The charged attack must connect with all six dragon heads within the Water Bubble’s duration. Use two-handed weapons for wider attack arcs.
Optimization: Position yourself centrally in the pond and time your charged attack release to maximize coverage area.
The Long Dragon
- Location: This presents the most complex navigation challenge. From the Skyview Tower, proceed directly southeast toward the swamp perimeter. Locate the dragon head sculpture oriented toward Death Mountain, then meticulously trace the extended body to discover the distant tail section.
- Companion ability: Execute Riju’s Lightning Strike precisely on the stone plate marking the tail endpoint.
The dragon head faces Death Mountain with an elongated body extending to the tail plate.
Navigation Challenge: The tail plate blends with surrounding terrain. Look for subtle stonework patterns and elevation changes.
Execution Tip: Ensure clear weather conditions as thunderstorms can interfere with Riju’s ability activation.
After successfully completing all four Typhlo Ruins challenges, seismic activity will reveal a hidden underground chamber containing ancient tablets and valuable treasure. Your reward collection includes premium items: Large Zonai Charge for enhanced device operation, Big Battery extending construct duration, a rare Diamond gemstone, and the powerful Dusk Claymore weapon.
Strategic Advantage: The Dusk Claymore proves exceptionally effective against shadow-type enemies, while the Zonai items significantly boost your construction capabilities.
With the ruins conquered, consider advancing to cleanse the Great Hyrule Forest and heal the Deku Tree, continuing your adventure through Hyrule’s most challenging regions.
For comprehensive gameplay mastery, explore our Complete Guide covering all essential mechanics.
Action Checklist
- Complete all four regional temples to unlock Sage companion abilities
- Activate Typhlo Ruins Skyview Tower for area visibility
- Speak with Kazul to initiate the Investigate Typhlo Ruins quest
- Solve Owl Protected by Dragons using Tulin’s Wind Burst
- Complete Corridor Between Two Dragons with Yunobo’s Rolling Fireball
- Master Six Dragons puzzle using Sidon’s Water Bubble and charged attacks
- Navigate and solve the challenging Long Dragon puzzle with Riju’s Lightning Strike
- Collect underground chamber rewards and advance to Great Hyrule Forest cleansing
No reproduction without permission:SeeYouSoon Game Club » Zelda: Tears of the Kingdom – Typhlo Ruins Puzzle Guide Master the Typhlo Ruins puzzles with expert strategies, common pitfalls, and optimal companion ability usage