TL;DR
- Master Kohga has four distinct boss fights in the Depths, each with unique vehicle-based mechanics
- The first encounter requires precise vehicle positioning and timing to avoid boulders and counterattack
- Aerial battles benefit significantly from Tulin’s Wind Burst ability for closing distance
- Each victory rewards Schema Stones for the Autobuild system progression
- Proper preparation for Depths exploration is crucial for success against all encounters
Conquering Master Kohga’s boss encounters requires understanding the structured progression system within Tears of the Kingdom’s Depths region. These four distinct battles form a cohesive quest chain that challenges players with increasingly complex mechanical confrontations.
The Legend of Zelda: Tears of the Kingdom positions all Master Kohga confrontations deep within the treacherous Depths area. As you advance through this subterranean world, you’ll discover new Zonai facilities where Kohga awaits atop progressively sophisticated combat vehicles. This comprehensive guide provides the strategic knowledge needed to overcome each phase of this extended boss sequence.
Venturing into the Depths presents significant environmental hazards that demand thorough preparation. The pervasive darkness and debilitating Gloom status effect can quickly overwhelm unprepared adventurers. Consult our Depths and Chasms overview for essential survival strategies before attempting these challenging encounters.
The four-part Master Kohga battle series constitutes the core of the Yiga Clan questline. Navigation follows the directional cues provided by statue placements, which systematically guide you toward each combat facility. Every successful confrontation earns you a Schema Stone, providing valuable blueprints for expanding your Autobuild system capabilities and unlocking advanced construction options.
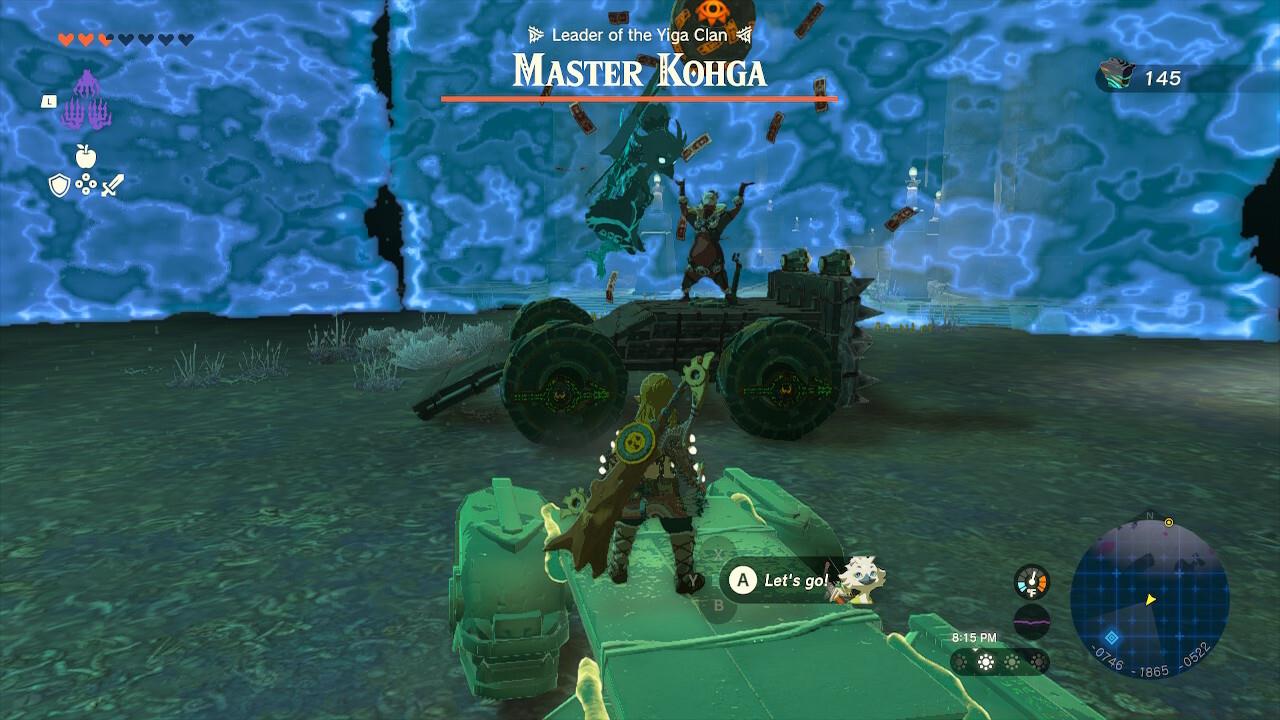
Kohga’s initial confrontation features him piloting an aggressive hybrid vehicle combining monster truck mobility with battering ram offensive capabilities. This opening battle establishes the fundamental combat rhythm that defines the entire quest chain.
Strategic positioning on your makeshift vehicle forms the foundation of success. Maintaining elevation prevents Kohga from executing devastating ramming maneuvers that can instantly deplete your health reserves. When he initiates his boulder drop sequence, lateral movement provides the most reliable evasion pattern to avoid taking significant damage.
Timing your counterattack requires careful observation of casting animations. Once the boulder impact sequence completes, immediately transition to his vehicle platform for offensive engagement. A single well-placed strike triggers a stun state, creating extended vulnerability windows for sustained damage application.

Strategic positioning allows safe boulder evasion while creating counterattack opportunities.
Common mistakes include premature engagement during active boulder sequences and failure to maintain proper distancing. Advanced players should experiment with different vehicle configurations to optimize mobility and defensive capabilities during this encounter.
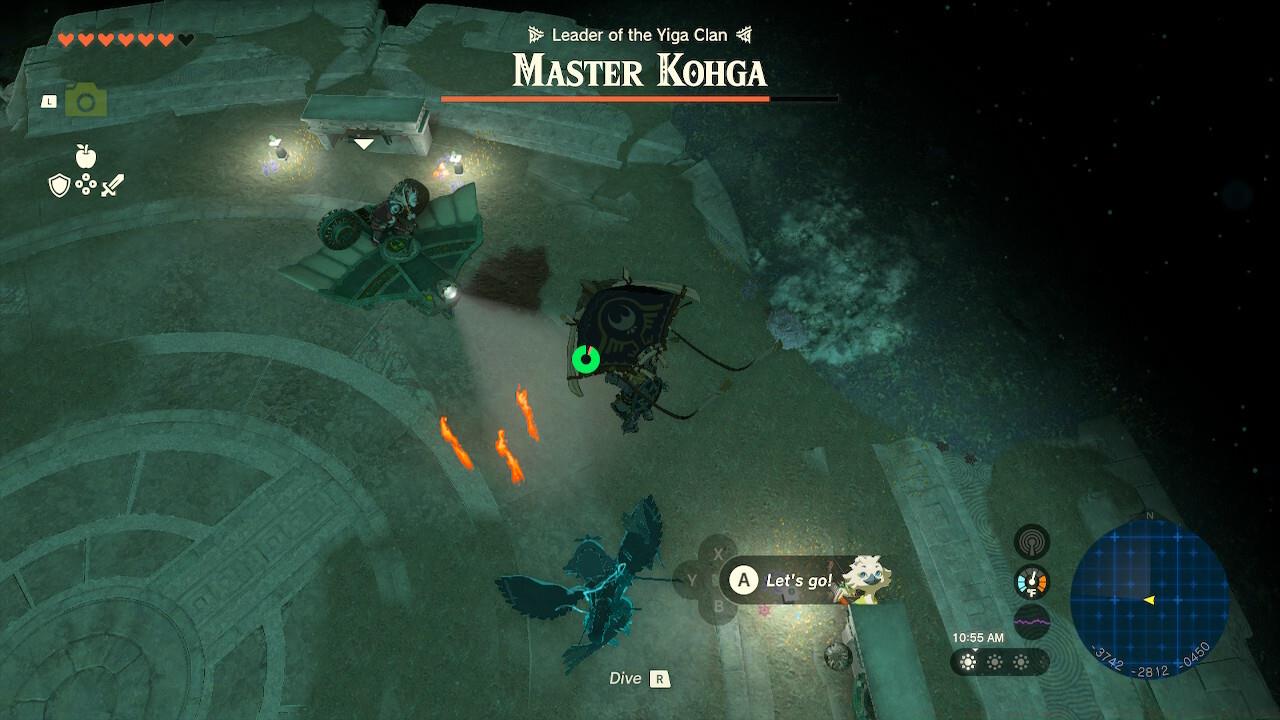
The second Master Kohga confrontation transitions to aerial warfare, with your adversary commanding an advanced Zonai aircraft. This battle introduces layered phase mechanics that demand adaptive combat strategies.
Initial engagement involves straightforward pursuit patterns with flame jets emitting from the aircraft’s underside. The combat dynamic shifts dramatically once Kohga’s health drops below 50%, activating explosive missile barrages that require strategic environmental utilization.
Surviving the missile phase necessitates using pillar structures as defensive barriers. Positioning yourself behind these obstacles forces missiles to detonate at safe distances, preventing catastrophic damage while creating counterattack opportunities.
Damage application relies heavily on aerial mobility and precision timing. Completing the Hebra/Rito main questline beforehand provides access to Tulin’s Wind Burst ability, which dramatically enhances combat effectiveness during this encounter.
Optimal engagement combines Zonai Fan activation with aerial bow mechanics. Striking the fan generates lift for elevation gain, while bow aiming activates slow-motion targeting for precise strikes. Tulin’s ability becomes essential for closing distance gaps when Kohga maintains excessive separation.

Aerial bow targeting creates slow-motion windows for precise damage application against mobile targets.
Companion abilities like Yunobo’s provide alternative engagement options for different playstyles.
Mastering Kohga’s combat patterns requires understanding advanced mechanical interactions beyond basic evasion and attack sequences. Weapon selection significantly impacts engagement efficiency during all encounter phases.
Movement pattern recognition forms the core of advanced strategy development. Each vehicle exhibits distinct attack telegraphing that, when properly interpreted, enables predictive positioning and optimal counter timing.
Resource management often determines success in extended engagements. Ensure adequate arrow supplies, durability-enhanced weapons, and healing items before initiating any confrontation in the Depths region.
Consistent offensive pressure creates stunlock opportunities that dramatically reduce encounter difficulty.
Common strategic errors include inadequate Depths preparation, mismatched weapon selection, and failure to utilize companion abilities effectively. For broader combat strategies, consult our Weapons Unlock guide for equipment optimization principles.
Advanced players should experiment with Zonai device combinations to create specialized vehicles tailored to each encounter’s unique challenges.
Action Checklist
- Complete Depths preparation with adequate Gloom resistance and illumination sources
- Follow statue directional indicators to locate each combat facility sequentially
- Secure Tulin’s Wind Burst ability through Hebra/Rito quest completion
- Practice aerial bow targeting and vehicle transition timing in safer environments
- Collect Schema Stones after each victory to expand Autobuild system capabilities
No reproduction without permission:SeeYouSoon Game Club » Zelda: Tears Of The Kingdom – All Master Kohga Boss Fights Guide Complete guide to defeating Master Kohga's four boss encounters with advanced strategies and combat techniques
