TL;DR
- Complete all 45 floors to permanently upgrade your Master Sword’s damage output
- Strategic weapon preservation and enemy prioritization are crucial for success
- Environmental awareness and elemental advantages provide significant combat benefits
- Resource management and preparation before entering determine your survival chances
- Advanced techniques like perfect dodges and parries become essential in later stages
GameSpot may receive revenue from affiliate and advertising partnerships for sharing this content and from purchases through links.
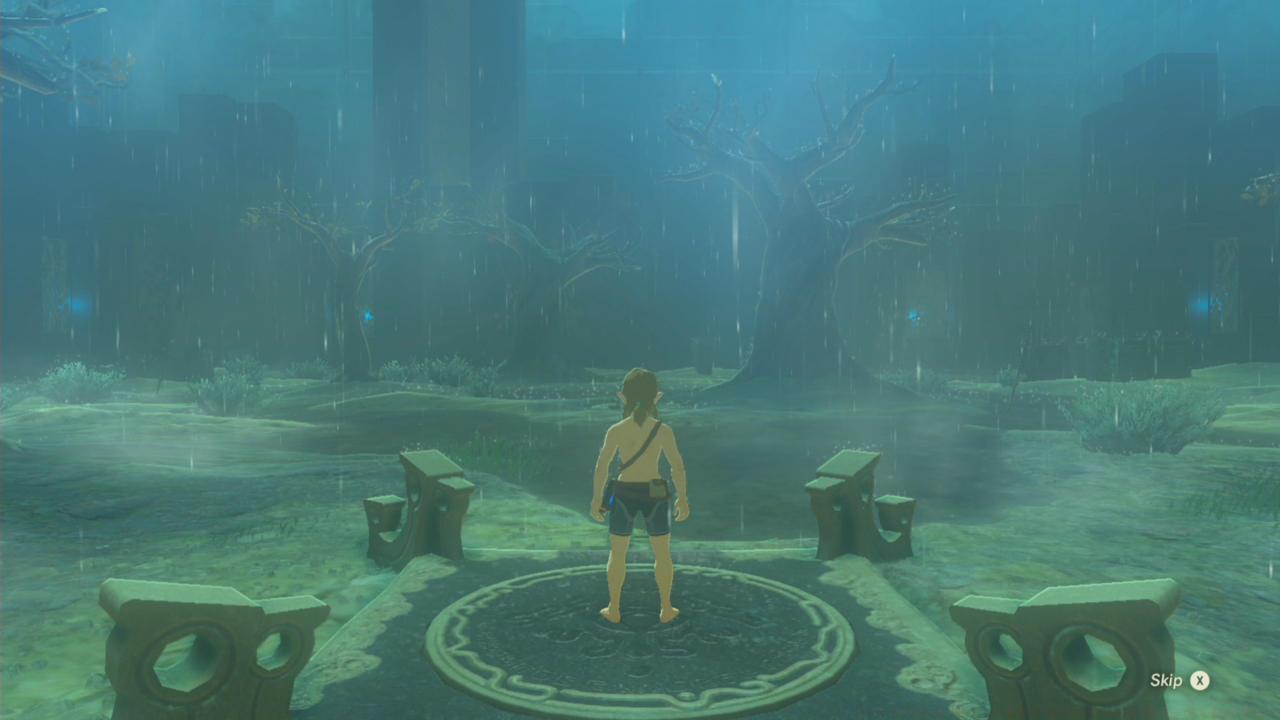
The Master Trials DLC expansion for The Legend of Zelda: Breath of the Wild introduces an exceptionally demanding challenge called The Trial of the Sword. This endurance test transports players through 45 consecutive combat arenas where survival depends entirely on scavenged equipment discovered within each stage. Successfully navigating this punishing gauntlet permanently enhances your Master Sword, boosting its base damage to 60 while eliminating the cooldown period that previously limited its effectiveness against ordinary enemies.
The trials are strategically divided into three distinct segments: Beginning (floors 1-12), Middle (floors 13-24), and Final (floors 25-45). Each segment progressively increases in difficulty, requiring advanced combat proficiency and tactical decision-making. Before attempting this challenge, ensure you’ve maximized your heart containers and stamina wheel, as these carry over into the trials.
For comprehensive preparation guidance, consult our Complete Guide which covers essential pre-trial optimizations.
Mastering weapon economy represents the most critical skill for Trial of the Sword success. Unlike standard gameplay where resources are abundant, here every weapon has strategic value. Rusty weapons, often overlooked in regular play, become invaluable when strategically preserved for weapon transformation opportunities later in the trials.
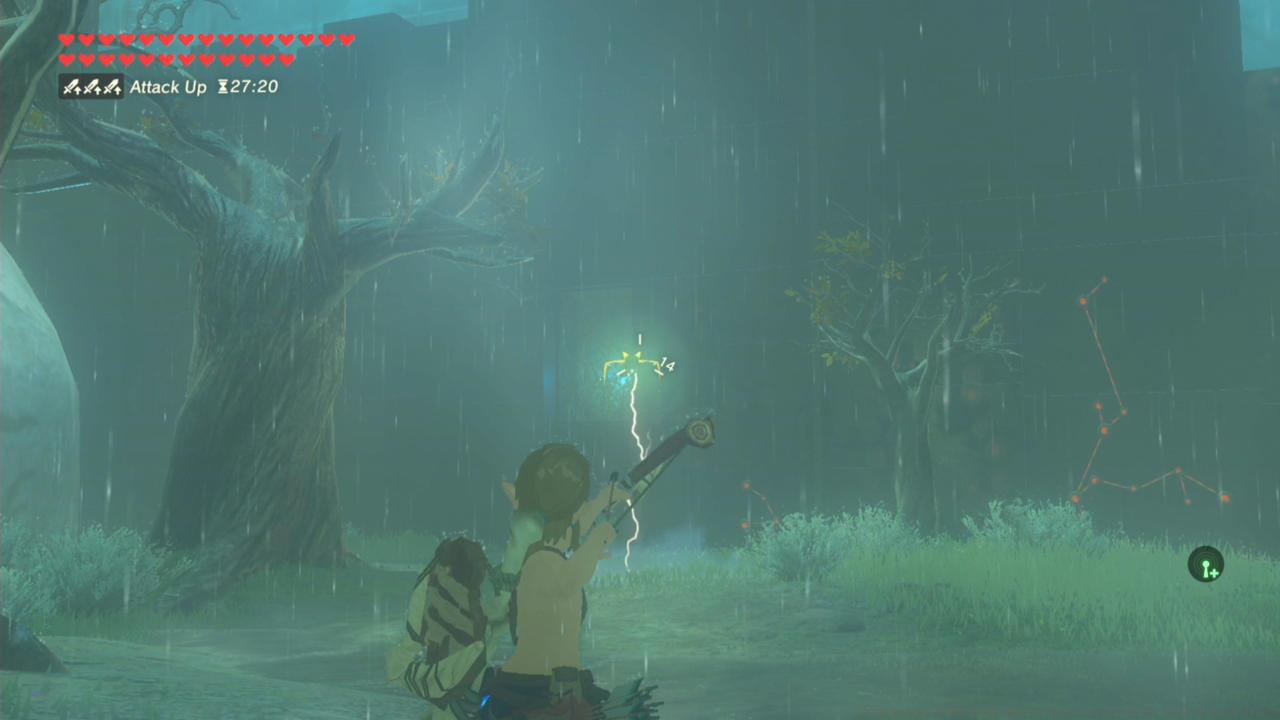
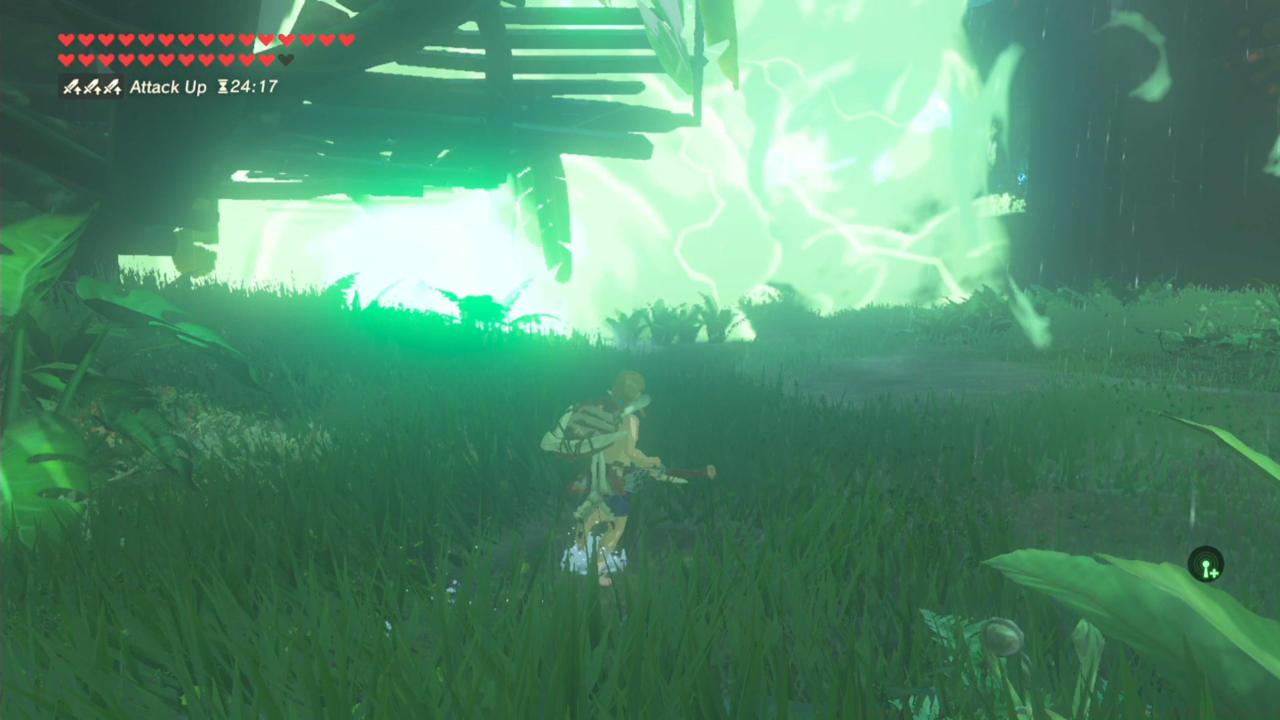
Environmental manipulation provides substantial advantages. During thunderstorm segments, immediately unequip all metallic gear to avoid lightning strikes. Utilize explosive barrels strategically to eliminate grouped enemies while conserving weapon durability. The key mistake many players make is engaging enemies directly when environmental solutions are available.
Enemy prioritization follows a clear hierarchy: eliminate aerial threats like Electric Keese first, followed by ranged attackers, then melee combatants. This approach minimizes damage taken and preserves healing resources.
For weapon-specific strategies and unlock methods, our Weapons Unlock guide offers detailed combat optimization techniques.
The initial floors establish fundamental survival patterns. Floor 1 features Stalkoblins that succumb to two hits each. Initiate engagements with remote bombs to conserve melee weapon durability. After defeating initial enemies, strategically loot their wooden weapons or skeletal arms to dispatch remaining foes. Shatter wooden containers using acquired Boko Bats to secure arrow supplies.
Pro Tip: While bone and wooden equipment seem preferable for electrical safety, deliberately collecting rusty weapons proves advantageous for subsequent transformation opportunities. Maintain a balanced arsenal of both weapon types.
Enemies: Electric Keese, Stalizalfos
Loot: Royal Guard Sword (48 attack)
Electrical floor strategy demands ranged engagement. Employ arrows to neutralize Electric Keese from distance, as close-quarters combat triggers debilitating shocks. Tactically position yourself within structures, allowing Stalizalfos to approach before counterattacking. Preserve raw meat ingredients by avoiding explosive barrel detonations near food containers—cooked meat provides diminished healing compared to properly prepared meals. Utilize Magnesis to retrieve buried treasure chests, typically concealed in terrain near defensive structures.
Weapon durability management separates successful runs from failed attempts. Prioritize using found weapons over carried equipment, and conserve high-damage weapons for particularly resilient enemies. The Royal Guard Sword discovered in early floors should be reserved for boss-level encounters where its substantial damage output provides maximum value.
Food and healing optimization requires understanding cooking mechanics. Raw ingredients provide significantly more healing when properly prepared versus accidentally cooked through environmental fires. Strategic consumption timing—healing only when necessary rather than preemptively—conserves limited resources for critical moments.
Advanced players should master perfect dodges and parries, as these techniques consume no durability while providing devastating counterattack opportunities. This becomes increasingly vital in later floors where weapon scarcity intensifies.
For character build optimization that complements trial strategies, explore our Class Guide for specialized loadout recommendations.
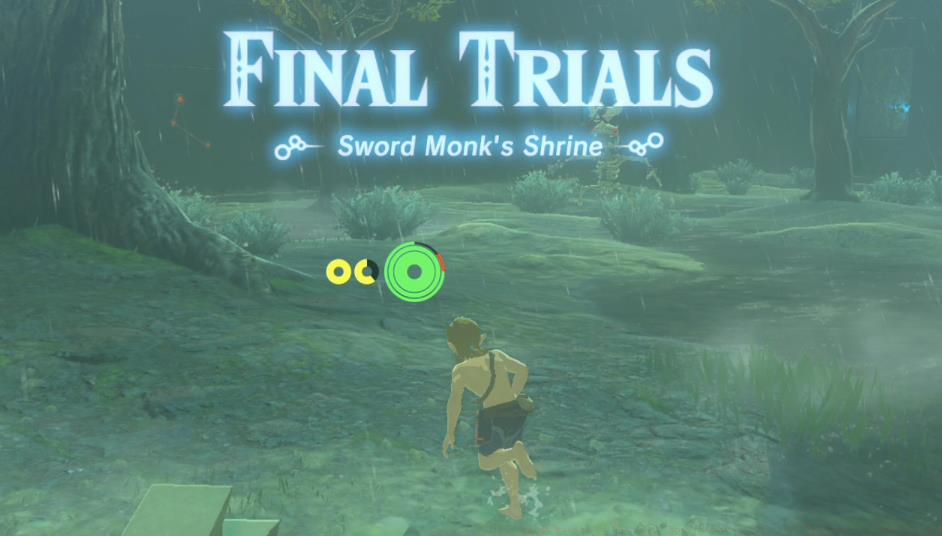
Common failure points include inadequate preparation, poor weapon conservation, and misjudging enemy attack patterns. Allocate 2-3 hours for completion attempts, with the final segment typically requiring 45-60 minutes alone. Practice combat fundamentals in the overworld before attempting this elite challenge.
Action Checklist
- Maximize heart containers and stamina before attempting trials
- Configure Sheikah Sensor for treasure chest detection
- Practice perfect dodges and parries against various enemy types
- Master environmental combat using bombs and explosive elements
- Complete all three trial segments in single session
No reproduction without permission:SeeYouSoon Game Club » Zelda Breath Of The Wild: How To Survive Trial Of The Sword’s Final Floors Master the Trial of the Sword with expert strategies, combat tactics, and resource management techniques