TL;DR
- Locate Ymir in Cathedral of Manus Metyr after defeating Castle Ensis boss
- Activate three Finger Ruins using Hole-Laden Necklace across different regions
- Complete quest chain before Belurat Tower of Shadow to avoid point of no return
- Unlock powerful DLC spells through progressive quest completion
- Navigate complex terrain with strategic pathfinding and combat preparation
GameSpot may receive revenue from affiliate and advertising partnerships for sharing this content and from purchases through links.
Several NPC characters throughout Elden Ring: Shadow of the Erdtree present players with intricate side quests requiring careful navigation. Among these, the mysterious wizard Ymir offers one of the most elaborate quest chains, guiding you through unsettling locations filled with secrets. This comprehensive walkthrough details how to successfully complete the Ymir Finger Ruins questline in Elden Ring’s expansion. Be advised that this guide contains significant spoilers regarding major story elements.
The extensive Finger Ruins and Ymir mission sequence involves multiple complex stages where strategic decision-making proves crucial. You’ll traverse diverse geographical regions requiring thorough exploration. Consult our DLC world map guide for detailed assistance with navigation throughout this expansive new territory.
Critical Path Alert: A pivotal story moment connected to Belurat Tower of Shadow (major spoilers) serves as an irreversible progression point. This campaign milestone triggers NPC departures and questline cancellations. We strongly advise finishing Ymir’s entire mission sequence before advancing to that decisive narrative juncture.
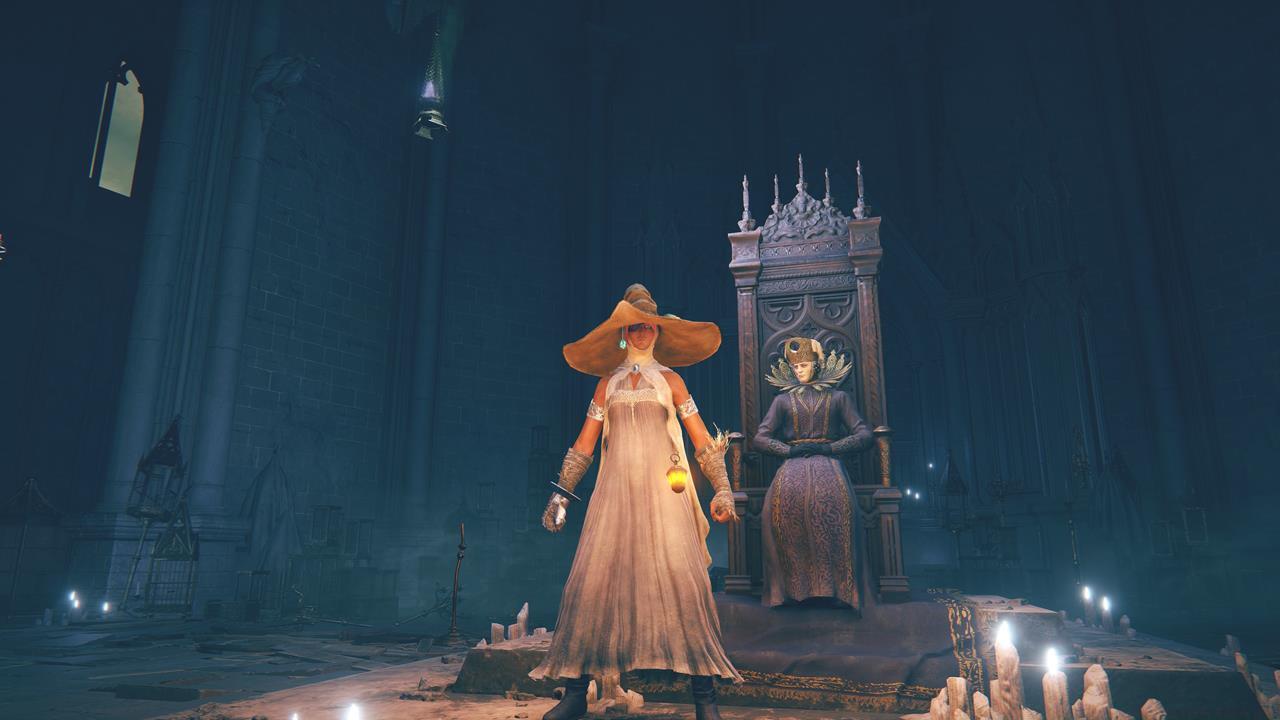
To encounter Ymir within Elden Ring: Shadow of the Erdtree, navigate to the Cathedral of Manus Metyr situated in Scadu Altus. Here’s the essential route breakdown:
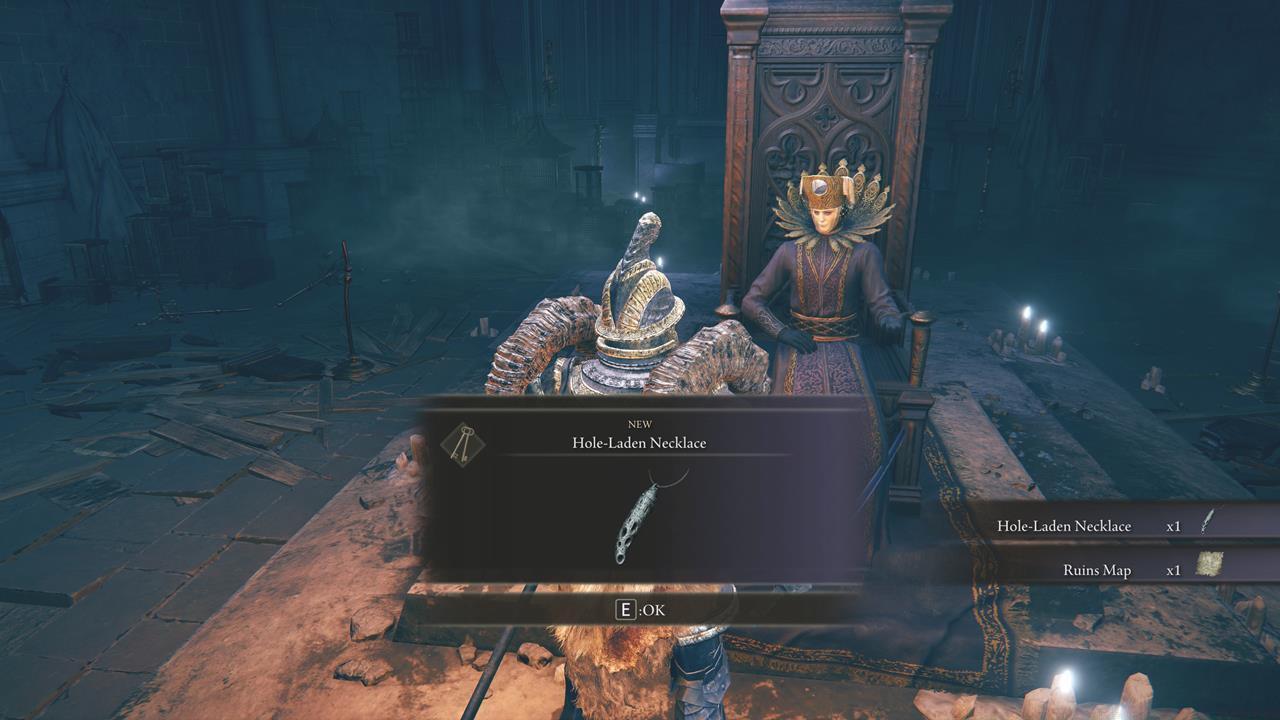
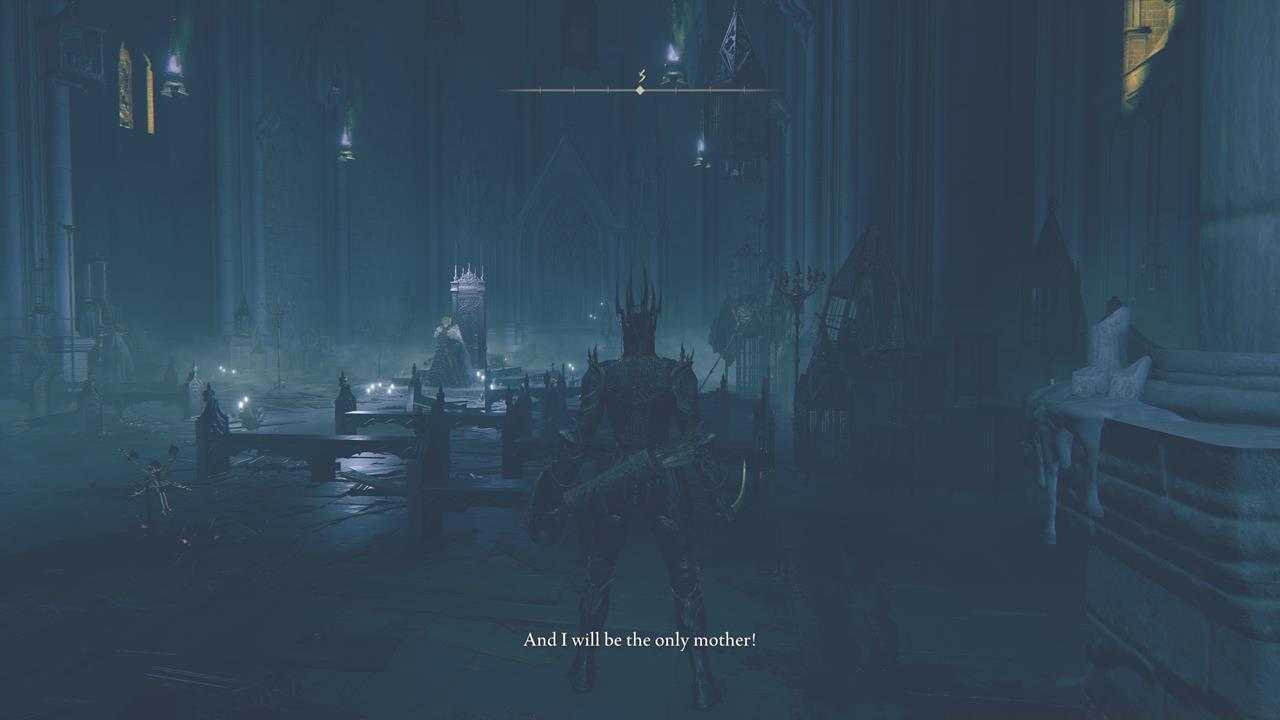
Approach Ymir positioned upon his ceremonial throne, where he delegates specific missions requiring your assistance. These objectives center around activating the Finger Ruins utilizing the Hole-Laden Necklace, a specialized quest artifact he provides. He additionally supplies a Ruins Map containing cryptic information related to the initial Finger Ruins location you must discover.
Important to note: Ymir markets several DLC spells such as Glintstone Nail, Glintstone Nails, and Fleeting Microcosm. Two additional powerful incantations become accessible after fulfilling all his assigned duties.
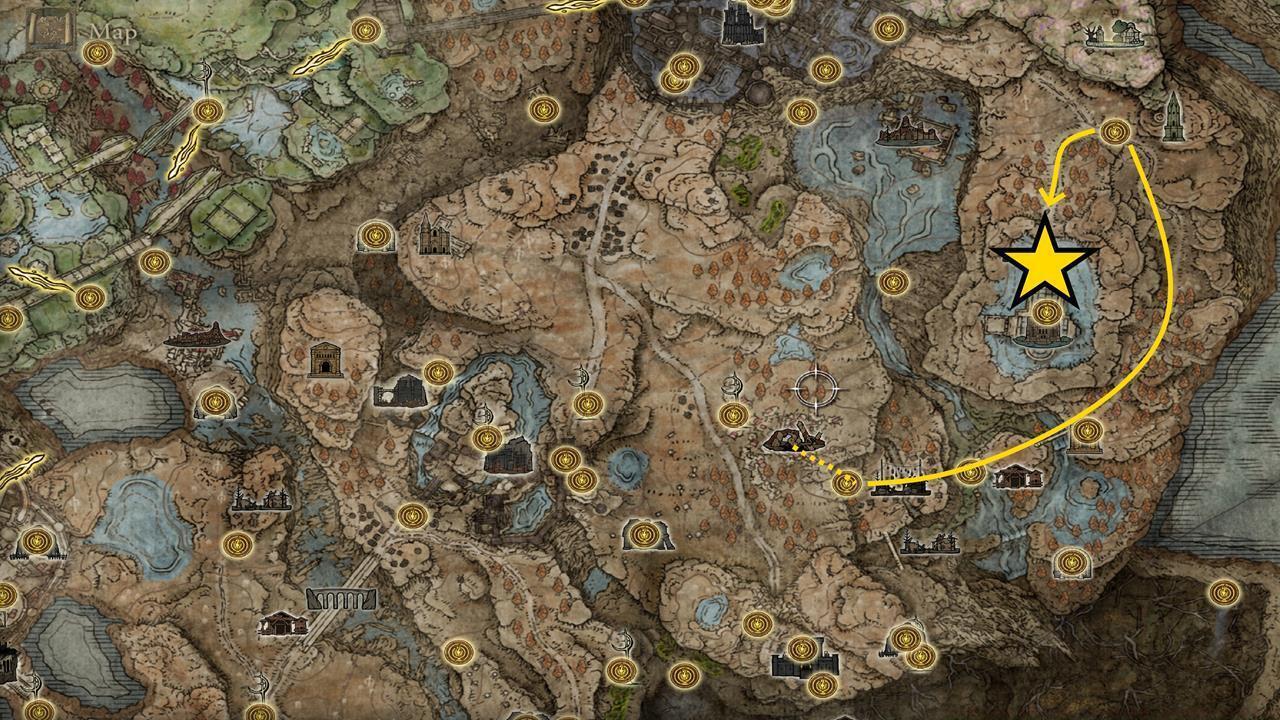
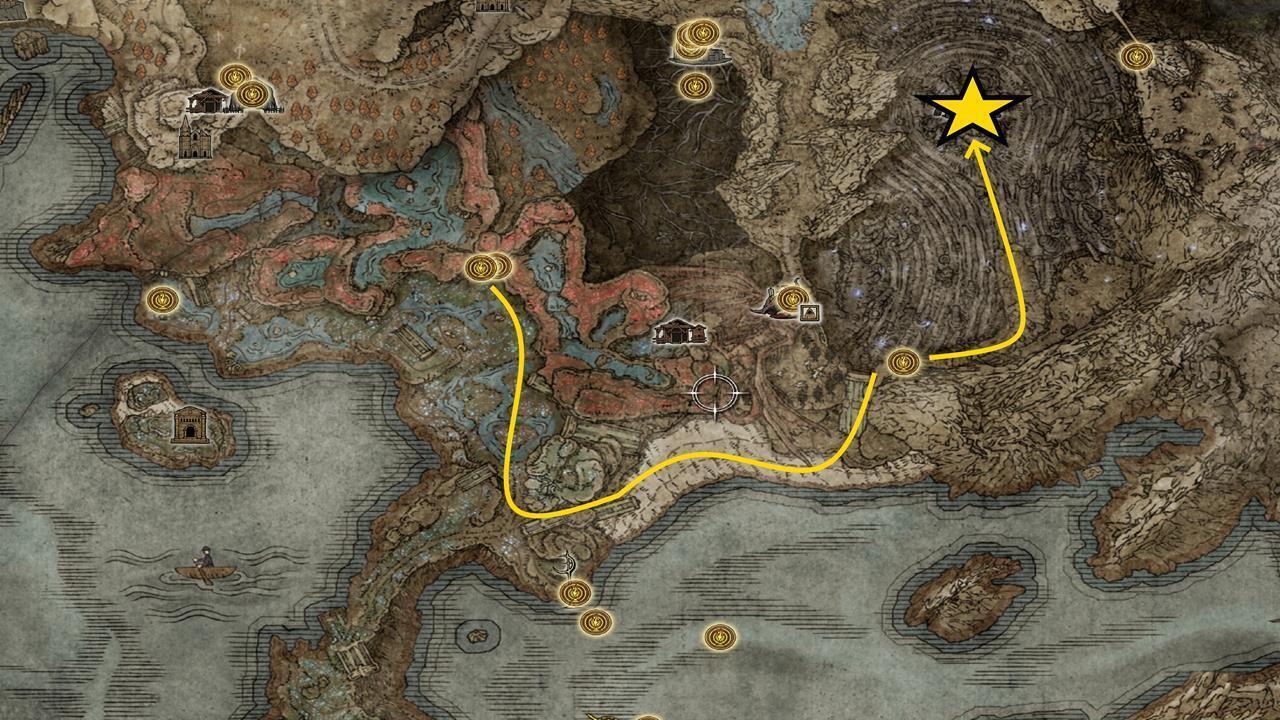
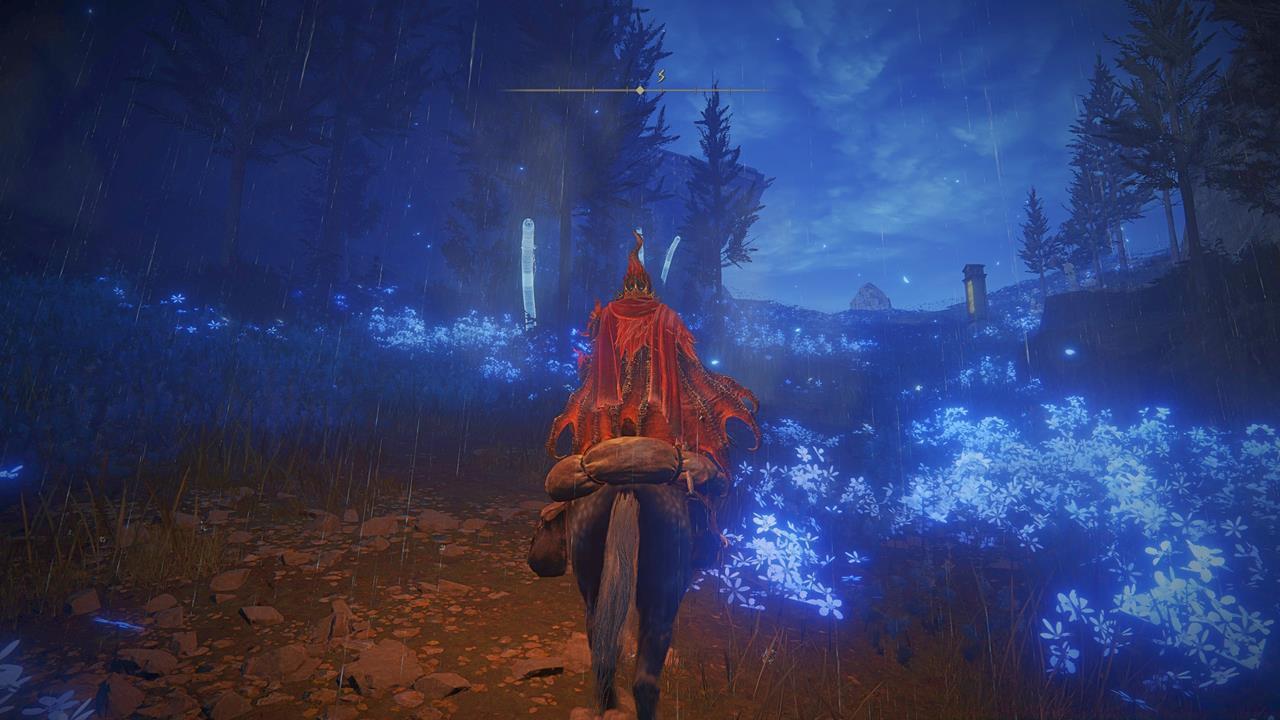
The Finger Ruins activation sequence follows a specific geographical pattern requiring methodical exploration. Begin with Finger Ruins of Rhia, accessible via the Cerulean Coast region. This initial location features moderate enemy resistance but contains valuable progression items.
Pro Tip: Equip ranged combat capabilities before approaching Finger Ruins, as many feature elevated enemy positions and environmental hazards. The Hole-Laden Necklace interaction typically triggers minor seismic events and spawns additional adversaries.
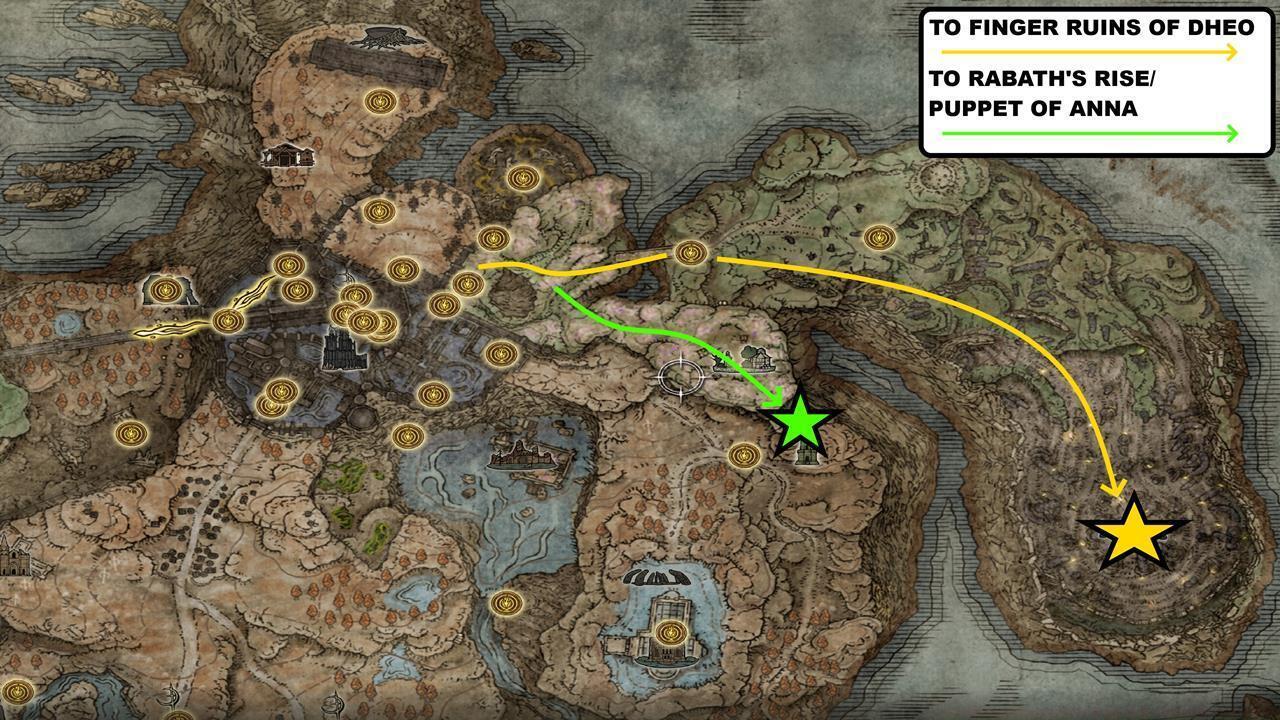
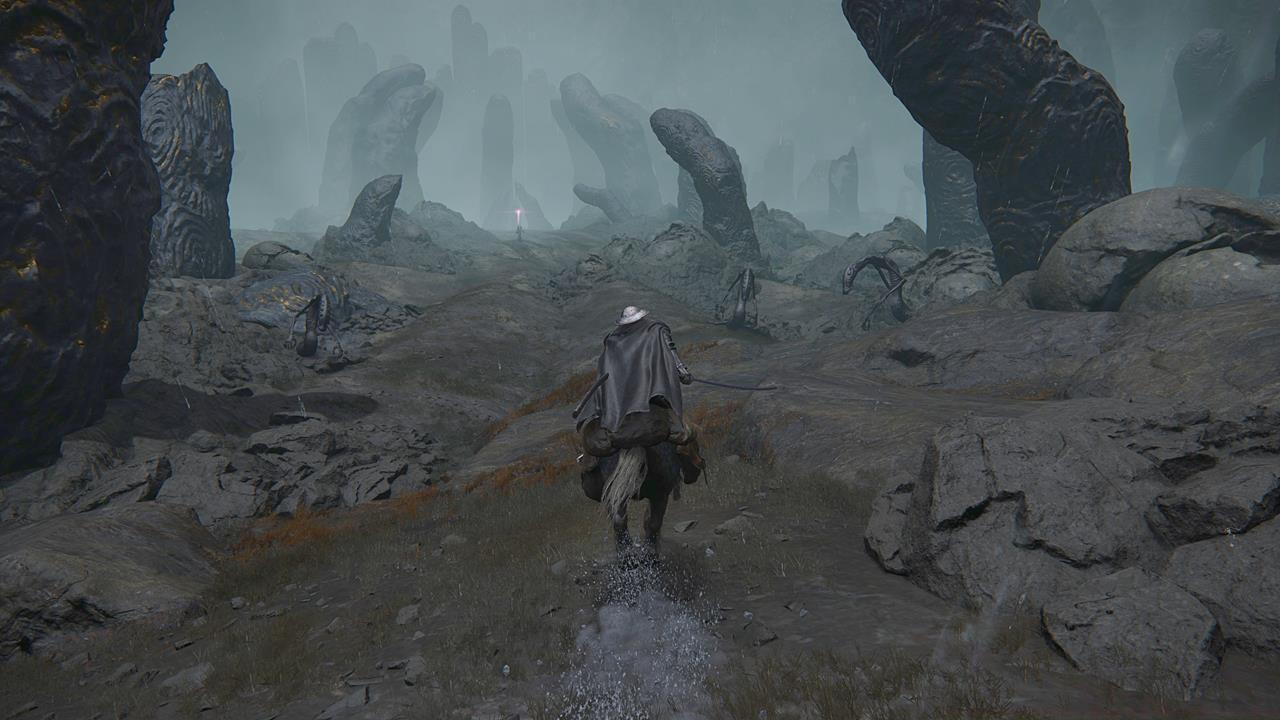
Finger Ruins of Dheo presents increased complexity with multi-level structures and stronger enemy varieties. Coordinate your approach with Rabbath’s Rise navigation for optimal efficiency.
Common Mistake: Many players attempt to complete Finger Ruins out of sequence, potentially missing crucial narrative context. Follow the intended progression: Rhia → Dheo → Miyr for coherent story development.

The Belurat Tower of Shadow narrative moment represents the most significant progression checkpoint in the DLC. Advancing beyond this point irrevocably alters game state, terminating numerous questlines and NPC interactions.
Strategic Planning: Allocate approximately 3-4 hours for complete Ymir quest chain completion before approaching Belurat Tower. This timeframe accounts for exploration, combat encounters, and potential setbacks.

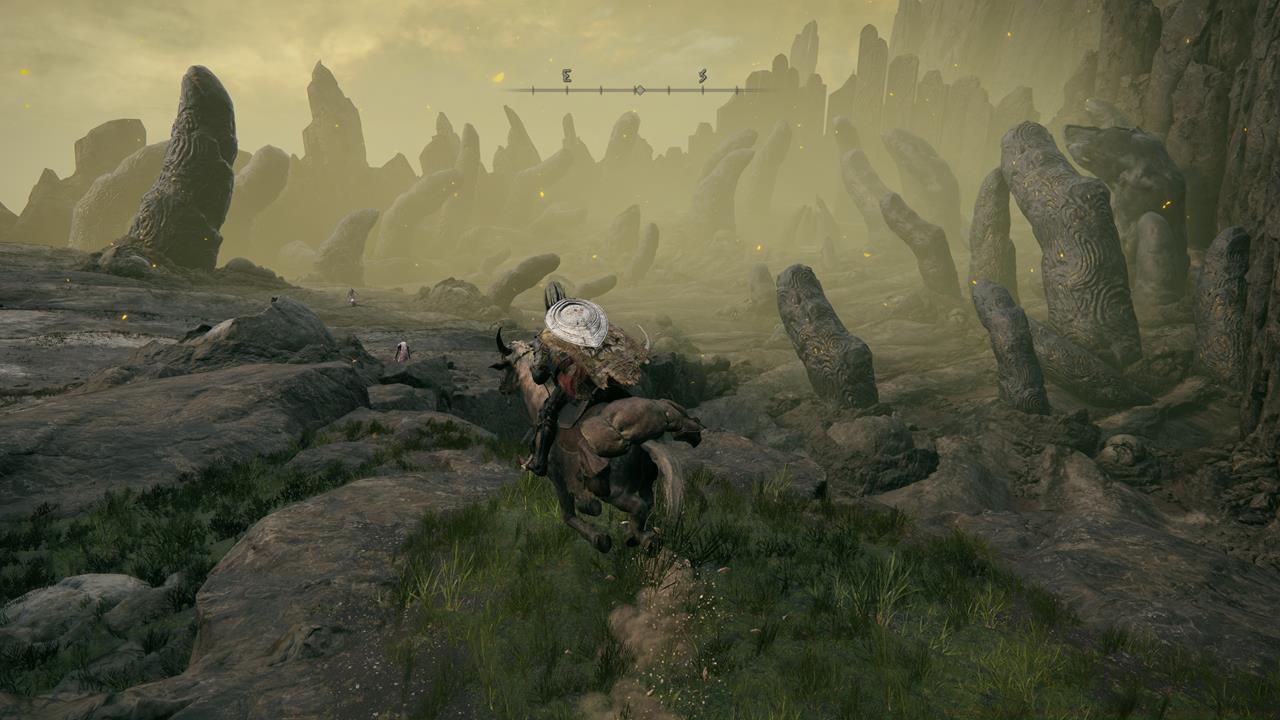
Finger Ruins of Miyr culminates the activation sequence with challenging enemy configurations and the Metyr Mother of Fingers boss confrontation.
Advanced Technique: Prepare summoning ashes and defensive buffs before the Miyr confrontation, as the boss employs aggressive area-of-effect attacks and minion summons.

Successfully navigating Ymir’s complete questline unlocks substantial rewards including the Iris of Grace and Iris of Occultation artifacts. These items provide significant gameplay advantages for subsequent content.
Spell Progression System: Ymir’s available spells evolve throughout the quest chain. Initial offerings include Glintstone Nail variants, with Fleeting Microcosm representing intermediate power. Final completion grants access to elite-tier incantations.
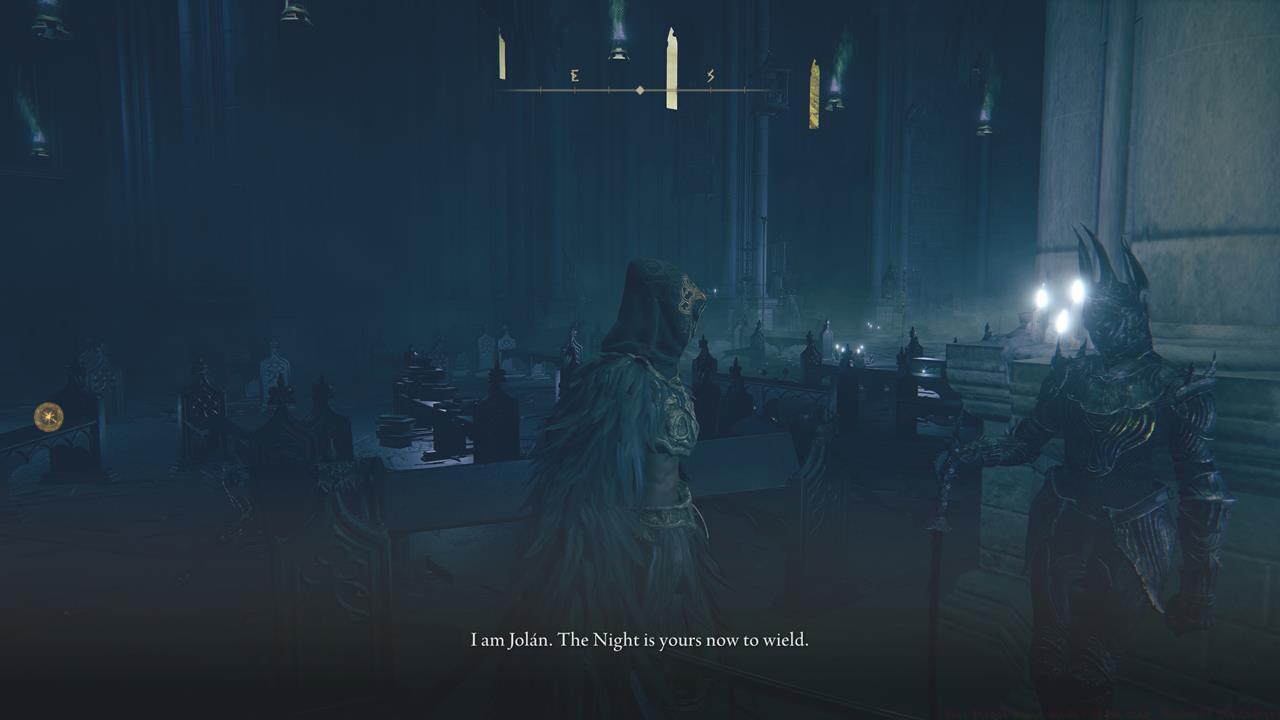
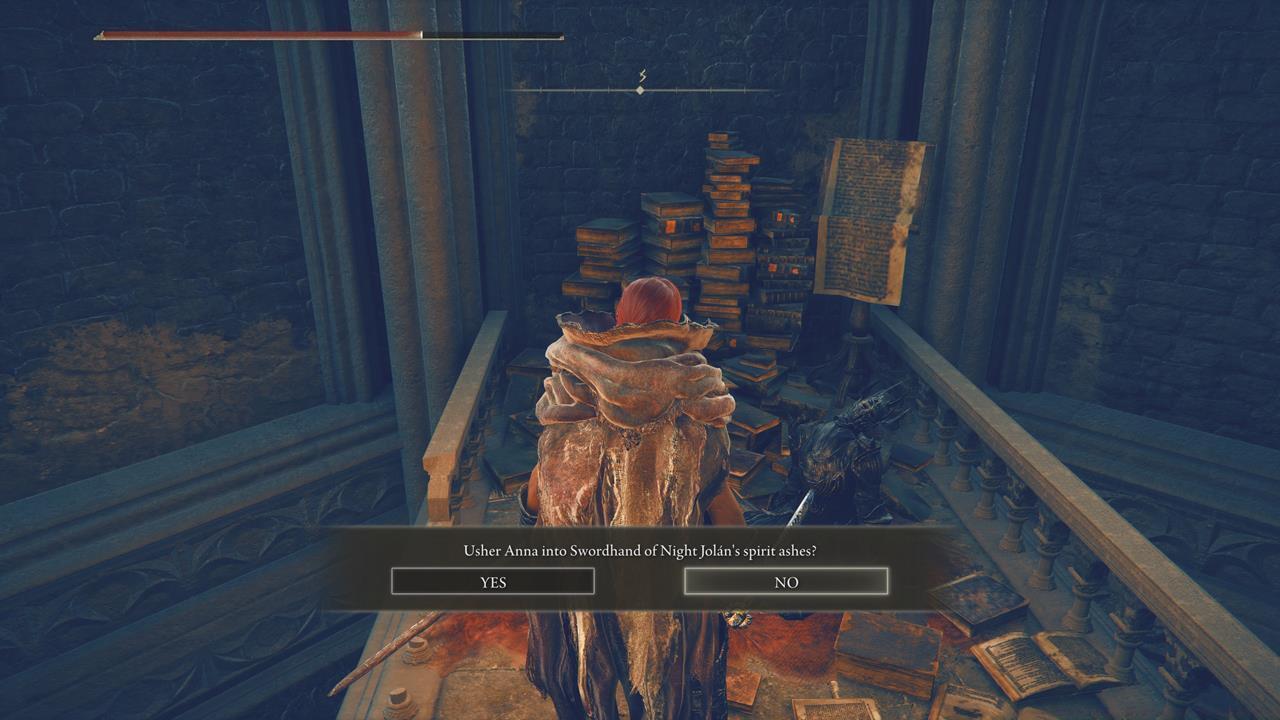
Optimization Strategy: For experienced players, complete the Swordhand of Night Jolan and Puppet of Anna side content during Finger Ruins exploration for comprehensive reward acquisition.
The culminating narrative reveals profound lore connections between Ymir, the Finger Ruins, and the overarching Shadow of the Erdtree narrative. This depth reinforces the value of meticulous quest completion.
Remember that proper Class Guide principles apply to character preparation, ensuring optimal stat distribution for the challenging encounters throughout this questline.
Action Checklist
- Defeat Castle Ensis boss and navigate to Cathedral of Manus Metyr
- Acquire Hole-Laden Necklace and Ruins Map from Ymir
- Activate Finger Ruins of Rhia via Cerulean Coast
- Complete Finger Ruins of Dheo with Rabbath’s Rise coordination
- Confront Metyr Mother of Fingers at Finger Ruins of Miyr
- Return to Ymir for final rewards and spell unlocks
No reproduction without permission:SeeYouSoon Game Club » Ymir Finger Ruins Guide – Elden Ring: Shadow Of The Erdtree Complete Ymir's Finger Ruins quest chain with expert strategies and critical path guidance