Complete guide to locating and mastering all three Vitreum Dancer tactical hologram challenges in Wuthering Waves’ Septimont region
Introduction to Vitreum Dancer Challenges
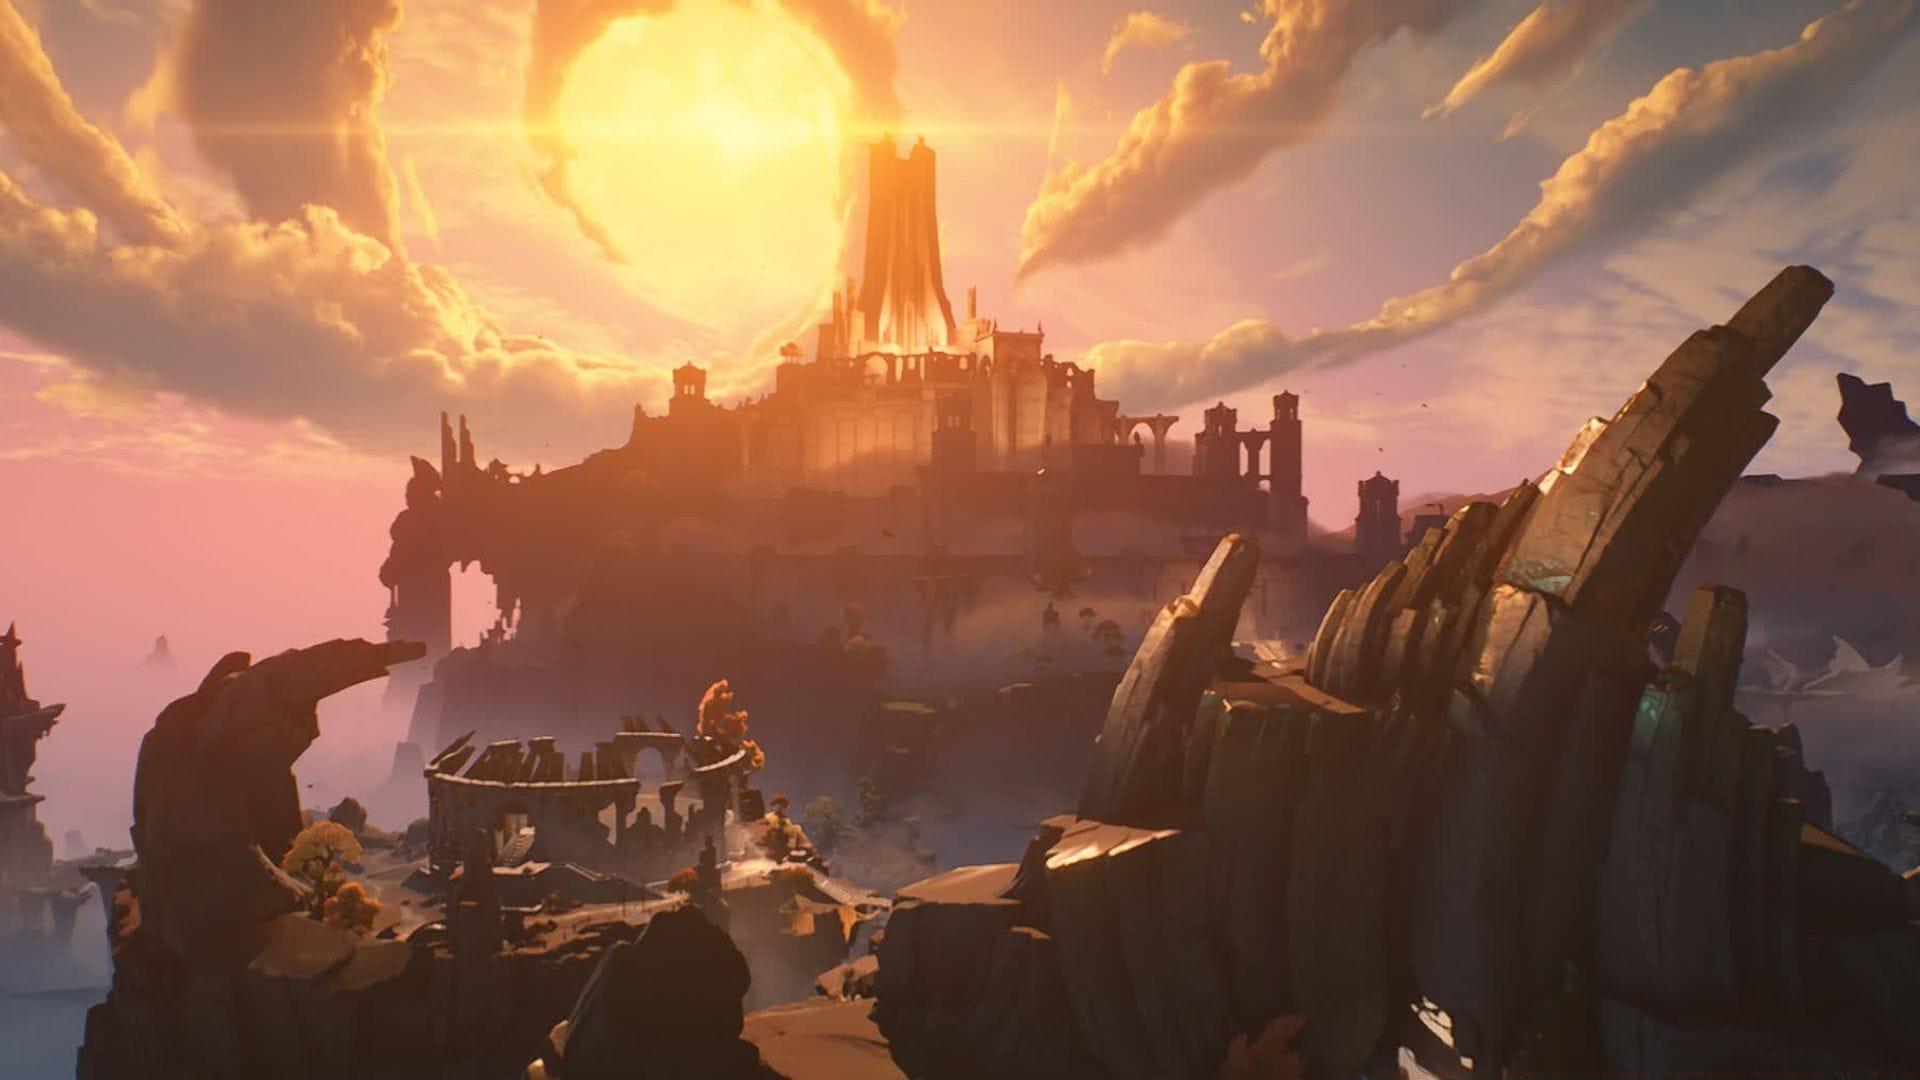
Wuthering Waves introduces three distinct Tactical Hologram – Vitreum Dancer challenges strategically placed throughout the expansive Septimont region within Rinascita. These advanced combat simulations represent some of the most rewarding content additions in recent updates, offering substantial treasure chests containing premium resources like Astrites essential for character advancement. Unlike standard world challenges, Vitreum Dancer encounters demand precise execution and strategic preparation, making proper location knowledge crucial for efficient completion.
For players seeking comprehensive gaming content beyond these challenges, numerous puzzle resources exist including daily crossword solutions and strategy guides across various gaming publications.
This detailed guide systematically covers all three Septimont Tactical Hologram – Vitreum Dancer challenge locations with optimized navigation routes and combat preparation advice.
Titanbone Expanse Challenge Location
Begin your Vitreum Dancer challenge collection by activating the Resonance Beacon within Titanbone Expanse, then immediately ascend the staircase to your right. Critical navigation tip: bypass the secondary staircase entirely and instead pivot rightward to scale the adjacent cliff faces. The challenge platform becomes visible on an elevated stone outcrop approximately halfway up the cliffside. Many players mistakenly continue up the main staircase path, wasting valuable time navigating unnecessary terrain.
Pro tactical advice: Before initiating the challenge, ensure your resonance energy is fully charged and consider deploying a defensive resonance skill immediately upon activation to counter the Vitreum Dancer’s aggressive opening attacks. The elevated position provides some environmental advantage but requires precise dodging to avoid falling during combat sequences.
Mournfell Canyon Challenge Location
Efficiently transition between challenges by utilizing Wuthering Waves’ aerial mobility systems from Titanbone Expanse directly to Mournfell Canyon. The flight mechanism provides the fastest traversal method, significantly reducing inter-challenge travel time. Navigate to the precisely marked location indicated in the reference imagery to discover the second Vitreum Dancer encounter positioned atop a deteriorated structural roof.
Related Content: Complete Septimont Treasure location master guide
Strategic consideration: The surrounding area contains multiple hostile entities that can be engaged for additional resources or completely circumvented through careful positioning. Advanced players recommend clearing these enemies before challenge activation to prevent accidental agro during the combat sequence. The rooftop positioning creates a confined combat arena that favors mobile, close-range characters over stationary attackers.
Flooded Old District Challenge Location
The concluding Vitreum Dancer challenge resides within the submerged historical sector of Septimont City, an area naturally encountered during primary narrative progression in the WuWa 2.4 update. Access this zone efficiently via the Capitoline Hillside Resonance Nexus, which provides optimal positioning for the flooded district approach. The challenge mechanism awaits on a partially collapsed rooftop within the aquatic urban environment.
Navigation pro tip: The flooded terrain introduces unique movement considerations. Characters with aquatic mobility skills or increased movement speed resonance effects significantly reduce navigation time through the waterlogged streets. During main story progression, mark this location for later return if you’re under-leveled, as the Vitreum Dancer presents substantial combat difficulty for unprepared players.
Advanced Combat Strategies
Successfully conquering Vitreum Dancer challenges demands more than simple location knowledge. These tactical holograms employ complex attack patterns that punish straightforward approaches. Recommended character selections include mobile duelists with high burst damage potential and reliable evasion capabilities. Elemental resonance combinations that provide crowd control or temporary invulnerability windows prove exceptionally valuable.
Strategic sequencing: Initiate combat with debuff applications or control effects before committing to damage rotations. The Vitreum Dancer’s attack patterns include telegraphed area-of-effect strikes that can be completely avoided with proper positioning and timing. Advanced technique: Bait their dash attacks toward environmental edges to create opening windows for counter-attacks.
Check out these additional version 2.4 strategic resources:
Common Mistakes & Optimization Tips
Many players undermine their Vitreum Dancer attempts through preventable errors. The most frequent mistake involves improper resource management before challenge activation—ensuring health, energy, and cooldowns are optimized dramatically improves success rates. Navigation errors account for significant time loss, particularly in the Titanbone Expanse where the cliffside approach is often missed.
Optimization strategy: Group Vitreum Dancer challenges with other nearby activities like treasure collection or world boss encounters to maximize resource efficiency per gaming session. Elite players recommend completing these challenges after reaching specific character level milestones rather than immediately upon discovery, as being under-powered transforms manageable encounters into frustrating battles.
Final pro tip: Record your successful attempts to analyze combat patterns and identify improvement opportunities for future challenges. The knowledge gained from these tactical holograms directly translates to improved performance in endgame content and future combat encounters.
No reproduction without permission:SeeYouSoon Game Club » Wuthering Waves: All Septimont Tactical Hologram – Vitreum Dancer challenges and their locations Complete guide to locating and mastering all three Vitreum Dancer tactical hologram challenges in Wuthering Waves' Septimont region