Master ARC Performance Steel farming locations and strategies in ARC Raiders with expert efficiency tips
Understanding ARC Performance Steel Value
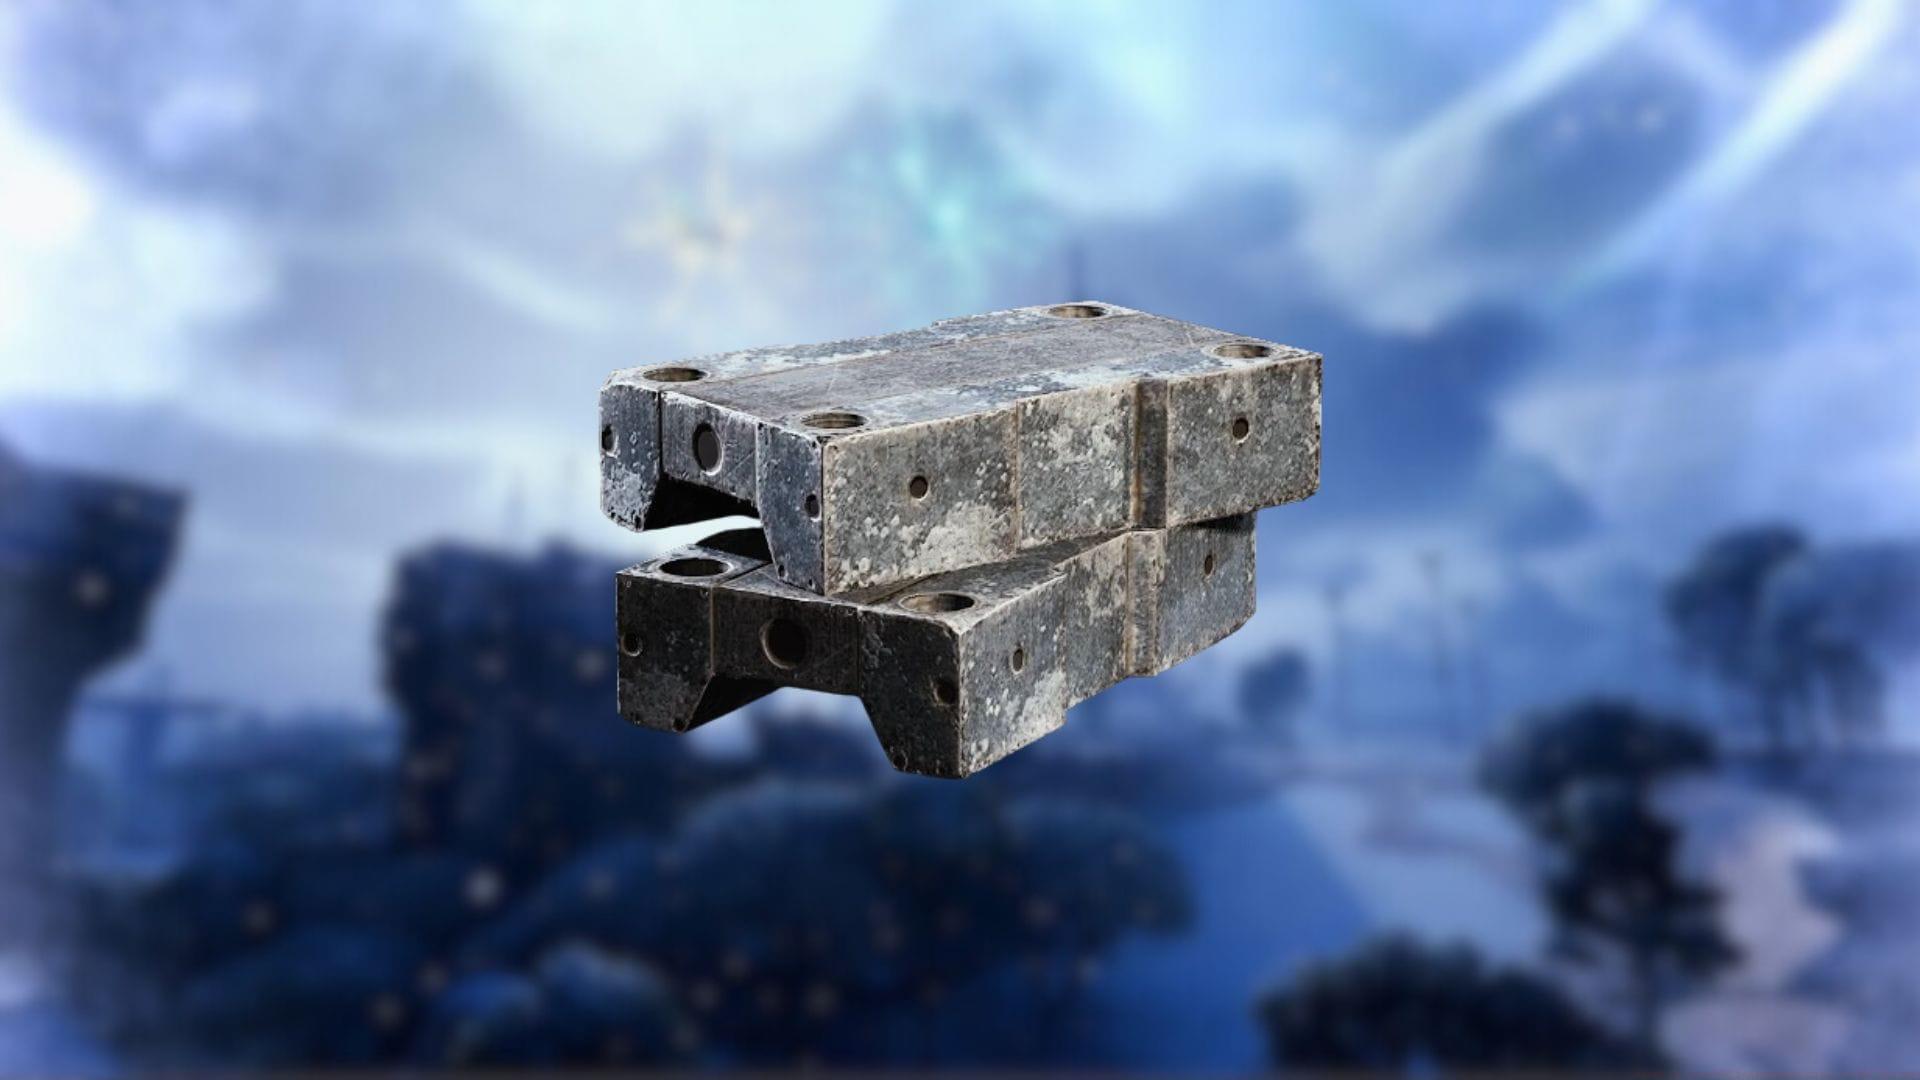
ARC Performance Steel in ARC Raiders represents a premium crafting material essential for weapon upgrades and equipment modifications. This high-grade resource primarily serves as the foundation for manufacturing Metal Parts, making it invaluable for progression. Unlike common materials, Performance Steel maintains consistent demand throughout the game’s economic ecosystem.
Heavy combat units constitute the primary source of this prized material, though their distribution remains intentionally limited to maintain resource scarcity. The strategic importance extends beyond crafting—surplus Performance Steel commands impressive vendor prices, providing reliable income streams for players focusing on economic gameplay. Understanding its dual utility as both crafting component and trade commodity maximizes your farming efficiency.
Primary Farming Locations by Region
Strategic farming requires systematic exploration of high-yield zones across Topside’s diverse environments. Each region offers distinct advantages and challenges for Performance Steel acquisition.
Dam Battlegrounds Hotspots: This industrial zone features concentrated mechanical presence with multiple guaranteed spawn points. Water Treatment and Primary Facility consistently host heavy units, while Red Lakes and Pipeline Tower provide additional farming opportunities. The dense enemy distribution makes efficient route planning crucial.
Space Port Concentration Zones: Technological hubs like Launch Towers, Control Tower A6, and Rocket Assembly maintain high mechanical activity. The interconnected layout of Fuel Lines, Departure Building, and Container Storage enables continuous farming loops without excessive travel time.
Buried City Opportunities: Urban environments offer scattered but reliable spawns. Focus efforts on Plaza Rosa, Main Street, and the frequently spawning Marano Park locations. The verticality of these areas requires adjusted combat approaches.
The Blue Gate Outposts: Frontier zones feature strategic choke points. Reinforced Reception, Warehouse Complex, and Trapper’s Glade provide consistent returns, while the area between Trapper’s Glade and Checkpoint often spawns multiple heavy units simultaneously.
- Water Treatment – Dam Battlegrounds
- The Breach – Dam Battlegrounds
- Red Lakes Balcony – Dam Battlegrounds
- Red Lakes – Dam Battlegrounds
- Launch Towers – Space Port
- Control Tower A6 – Space Port
- Buried Properties – Buried City
- Plaza Rosa – Buried City
- Abandoned Highway Camp – Buried City
- Marano Park – Buried City
- Reinforced Reception – The Blue Gate
- Warehouse Complex – The Blue Gate
- Ruined Homestead – The Blue Gate
- Adorned Wreckage – The Blue Gate
- Trapper’s Glade – The Blue Gate
- Pipeline Tower – Dam Battlegrounds
- Hydrophonic Dome Complex – Dam Battlegrounds
- Fuel Lines – Space Port
- Departure Building – Space Port
- Container Storage – Space Port
- The Trench – Space Port
- North/South Trench Tower – Space Port
- Piazza Arbusto – Buried City
- Main Street – Buried City
- Marano Park – Buried City
- Library – Buried City
- Market Ruins – Buried City
- Checkpoint – The Blue Gate
- Outer Gates – The Blue Gate
- Loading Bay – Stella Montis
- Red Lakes – Dam Battlegrounds
- Staff Parking – Space Port
- In the middle of Trapper’s Glade and Checkpoint – The Blue Gate
- The Breach – Dam Battlegrounds
- Launch Towers – Space Port
- Beside Headhouse – The Blue Gate
- Primary Facility – Dam Battlegrounds
- Container Storage – Space Port
- Vehicle Maintenance – Space Port
- In the middle of Fuel Processing and Departure Building – Space Port
- Arrival Building – Space Port
- South Trench Tower – Space Port
- Rocket Assembly – Space Port
- Parking Garage – Buried City
- Marano Park – Buried City
- Main Street – Buried City
- Checkpoint – The Blue Gate
- Gate Control Room – The Blue Gate
- Ruined Homestead – The Blue Gate
- Trapper’s Glade – The Blue Gate
- Raider’s Refuge – The Blue Gate
Probe Farming and Map Conditions
Beyond conventional enemy engagements, Probes present alternative Performance Steel acquisition methods. These technological artifacts spawn randomly throughout Topside but demonstrate significantly increased appearance rates during the specialized “Prospecting Probes” map condition.
Probe farming requires different tactical approaches than mechanical combat. These units typically feature lower health pools but enhanced mobility, demanding precision targeting rather than sustained firepower. During Prospecting Probes events, focus on central zones with clear sightlines rather than enclosed industrial areas.
Successful probe engagement yields moderate Performance Steel quantities with substantially reduced risk compared to heavy mechanical confrontations. This makes probe farming ideal for solo players or those operating with limited resources. The key advantage lies in the ability to extract quickly after probe destruction, minimizing exposure to additional threats.
Advanced Farming Strategies
Mastering Performance Steel acquisition extends beyond basic location knowledge. Implement these advanced techniques to maximize your farming efficiency and resource yield.
Route Optimization: Design circular paths connecting 3-4 high-probability spawn points within the same region. Dam Battlegrounds offers excellent route potential connecting Water Treatment, Red Lakes, and Primary Facility. Space Port routes should incorporate Launch Towers, Fuel Lines, and Container Storage for continuous action.
Enemy Prioritization: Not all heavy machines yield equal Performance Steel quantities. Focus on larger mechanical units with distinctive visual profiles—these typically provide superior resource drops. Learn enemy weak points to eliminate threats quickly and conserve ammunition.
Extraction Timing: Balance farming duration with successful extraction probability. Carrying excessive Performance Steel increases risk without proportional reward. Establish extraction thresholds based on your current equipment needs and risk tolerance.
Common Mistakes to Avoid: New players often waste resources attacking every enemy indiscriminately. Instead, target specific heavy units and disengage from unnecessary conflicts. Another frequent error involves overstaying in high-yield zones—extract while your inventory provides meaningful returns rather than pushing for marginally additional resources.
Also read – How to get Jupiter Sniper Rifle in Arc Raiders
For more ARC Raiders guides, take a look at the following section:
- How to complete ARC Raiders Greasing Her Palms quest
- How to complete Industrial Espionage quest in Arc Raiders
- How to complete Hatch Repairs quest in ARC Raiders
- How to complete The Right Tool quest in Arc Raiders
- How to complete the Eyes on the Prize quest in Arc Raiders
- How to complete Down To Earth quest in ARC Raiders
No reproduction without permission:SeeYouSoon Game Club » Where to find ARC Performance Steel in ARC Raiders Master ARC Performance Steel farming locations and strategies in ARC Raiders with expert efficiency tips