TL;DR
- 20 shrines scattered across Ginormosia offer unique challenges and Strangeling companions
- Five distinct challenge types require different skill sets and strategic approaches
- Proper life/class progression is essential for completing higher-level shrine trials
- Strategic preparation can reduce challenge completion time by 30-40%
- Companion acquisition requires both Strangelings and Celestia’s Gifts resources
GameSpot may receive revenue from affiliate and advertising partnerships for sharing this content and from purchases through links.
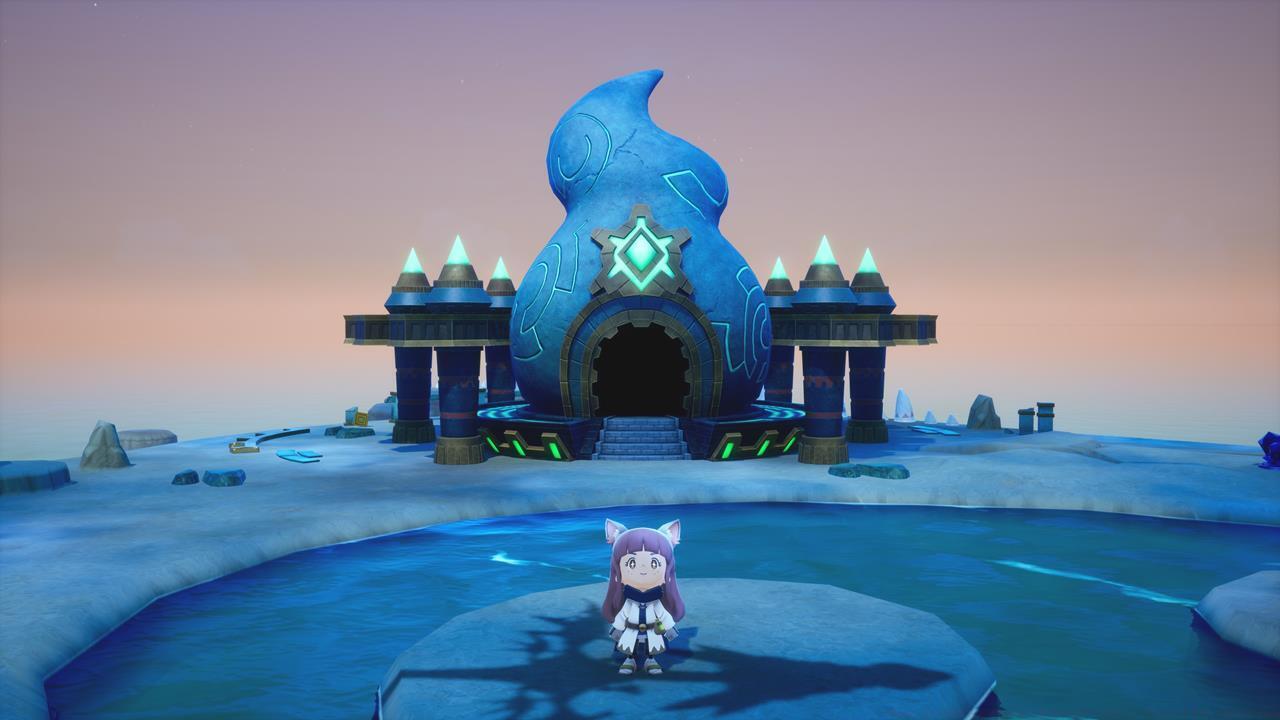
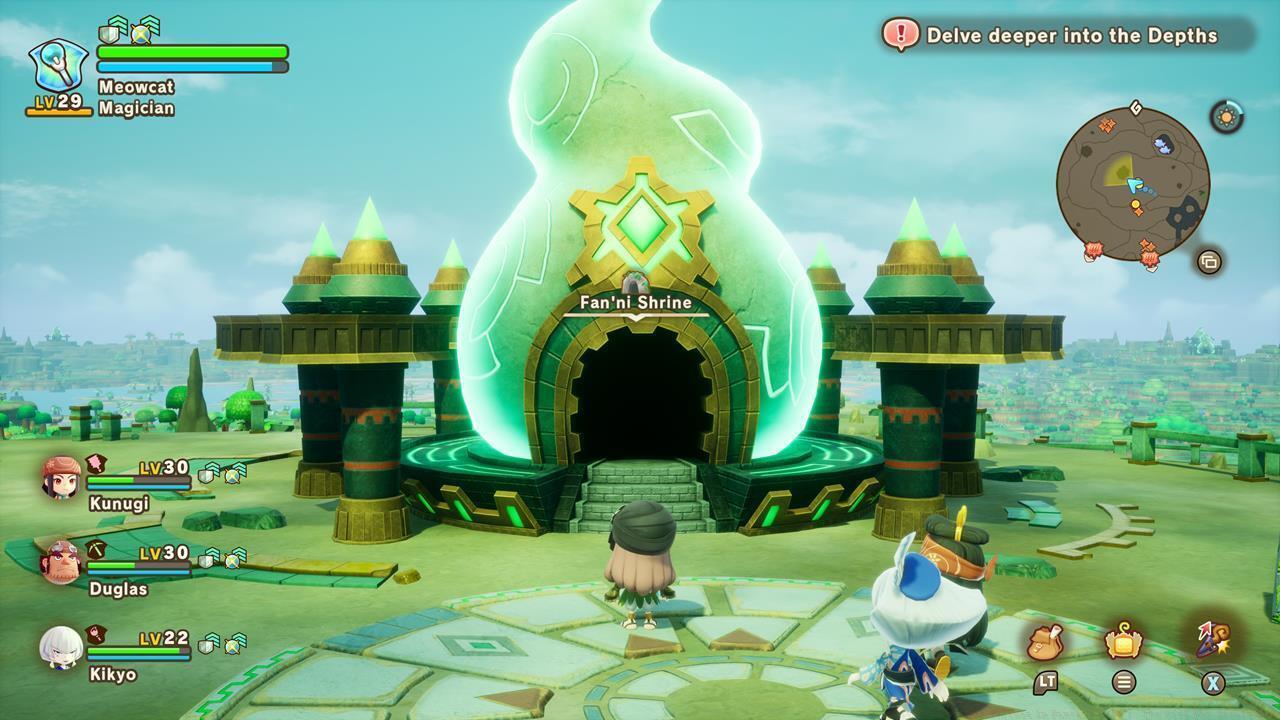
Exploring the shrines in Fantasy Life i: The Girl Who Steals Time provides some of the most rewarding gameplay experiences. These sacred sites test your abilities across multiple disciplines while offering valuable companion rewards that enhance your adventure. Our comprehensive guide ensures you maximize your shrine exploration efficiency.
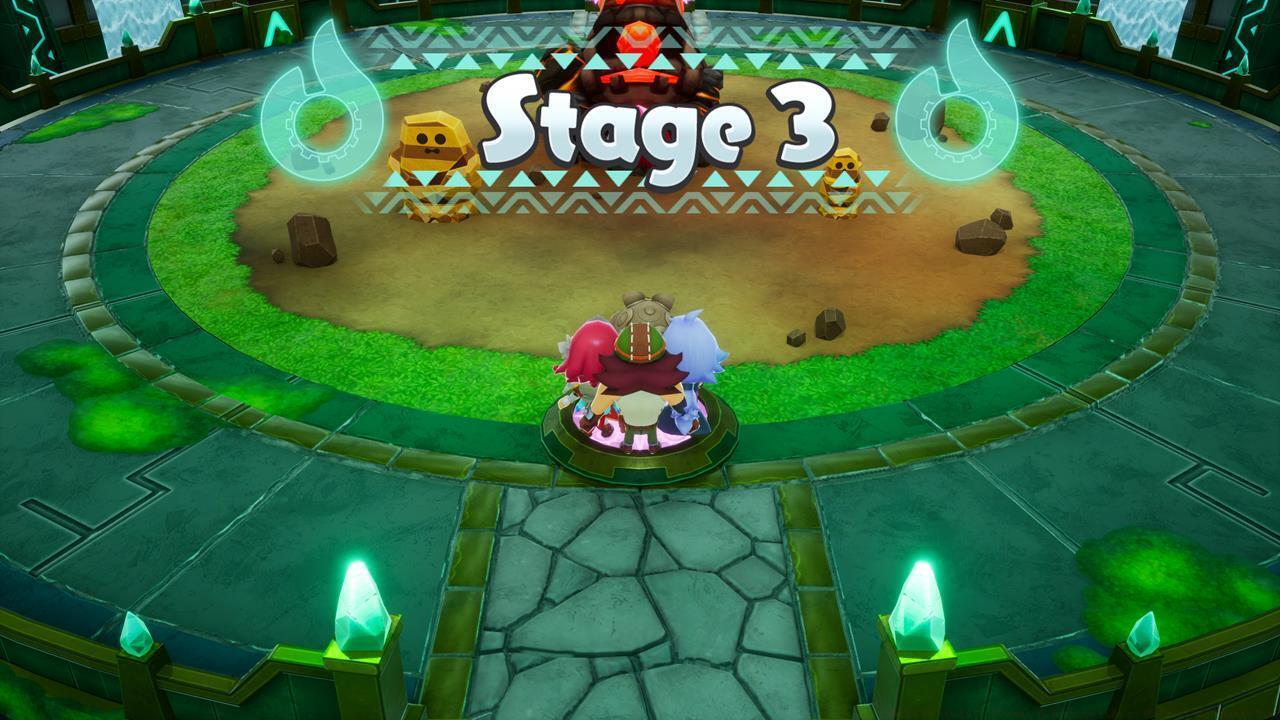
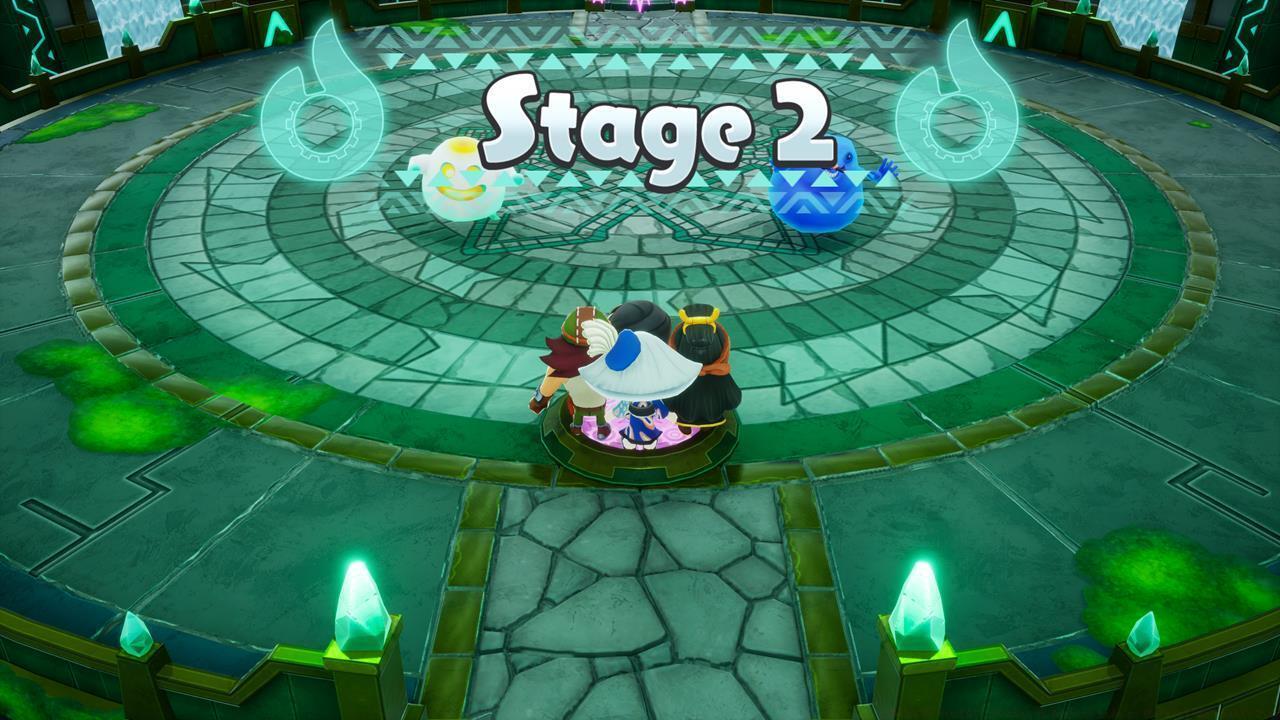
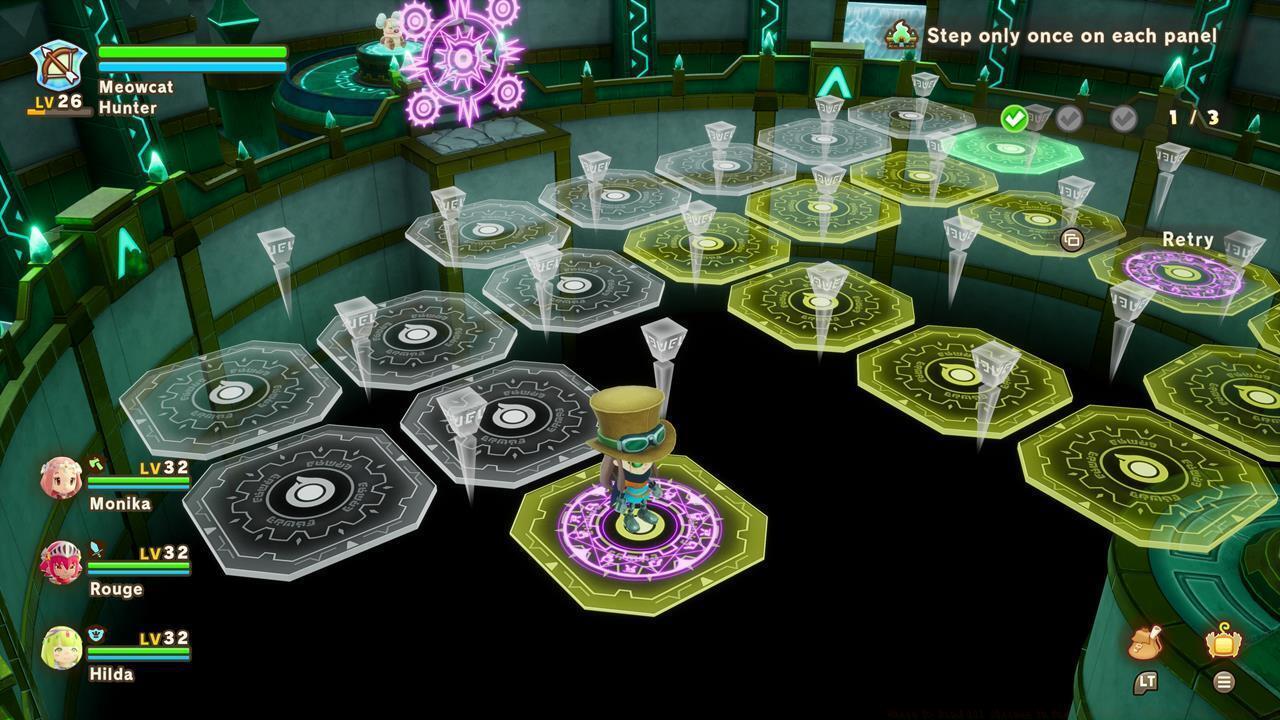
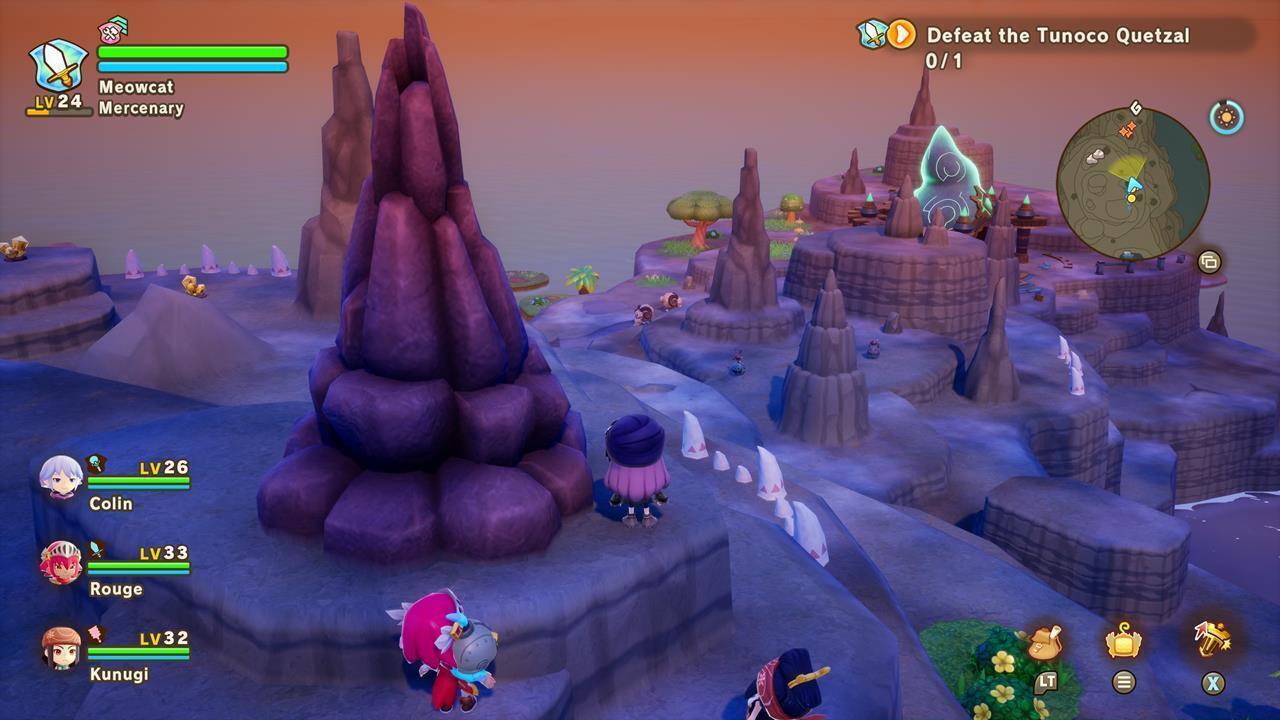
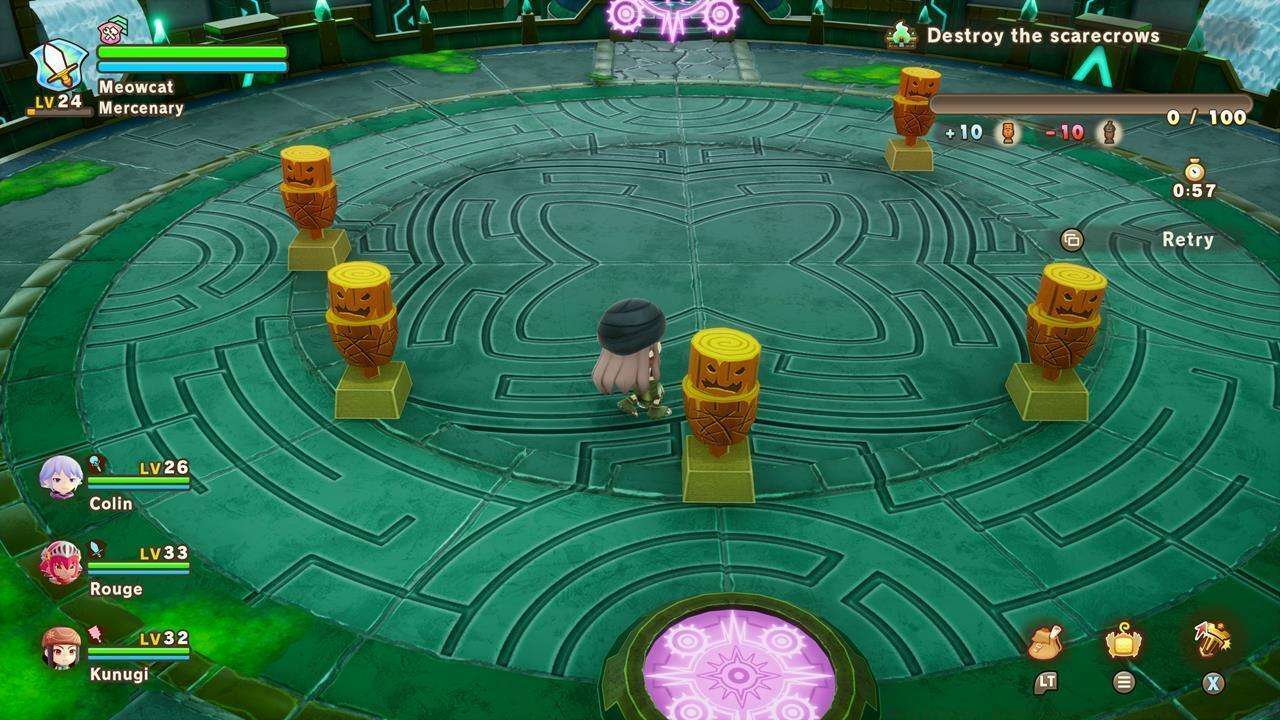
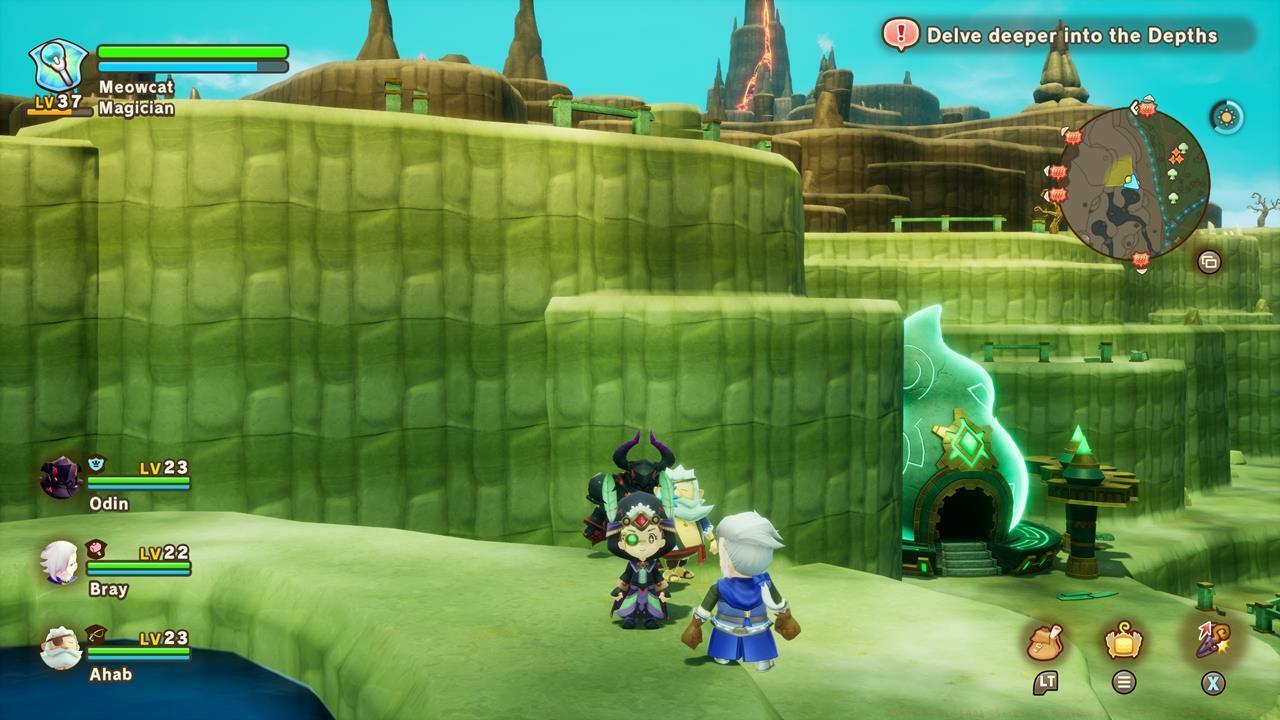
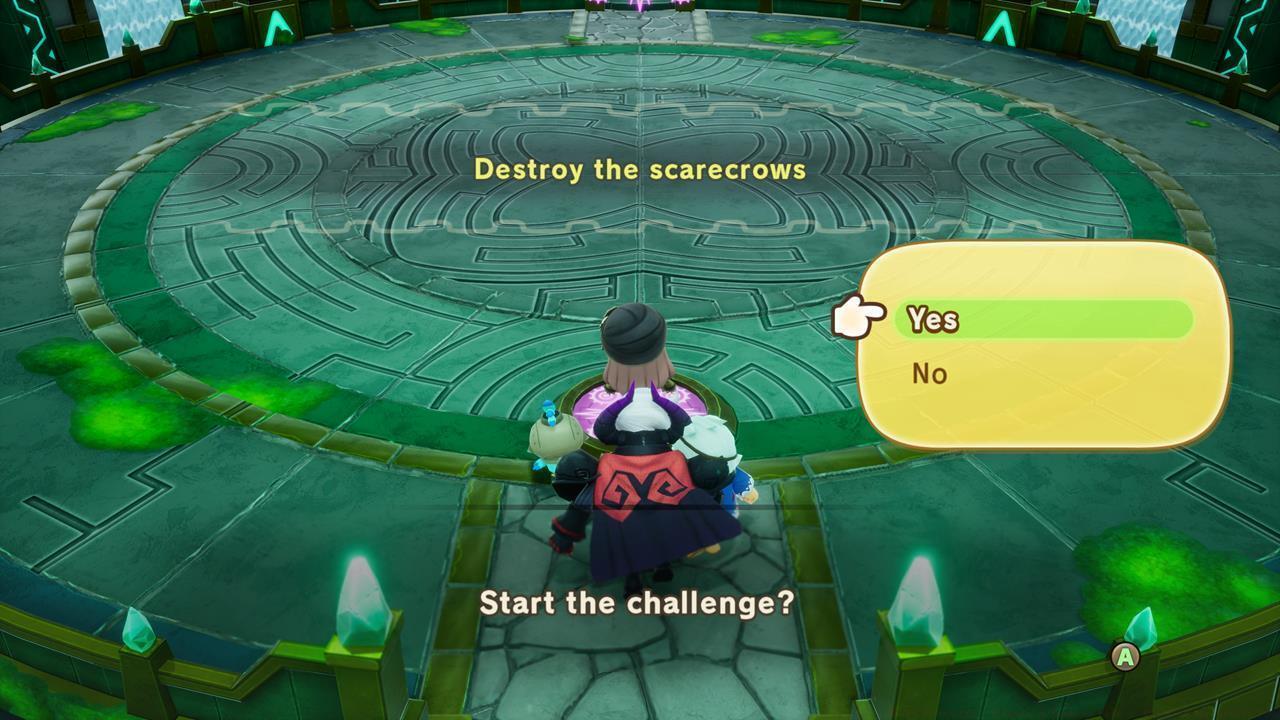
Ginormosia contains exactly 20 shrines strategically positioned throughout the continent. Each location presents unique trials that assess different aspects of your character development. While some shrines can be conquered during early gameplay phases, others demand significant progression in your chosen life paths and class specializations. Understanding the five primary challenge categories is crucial for success:
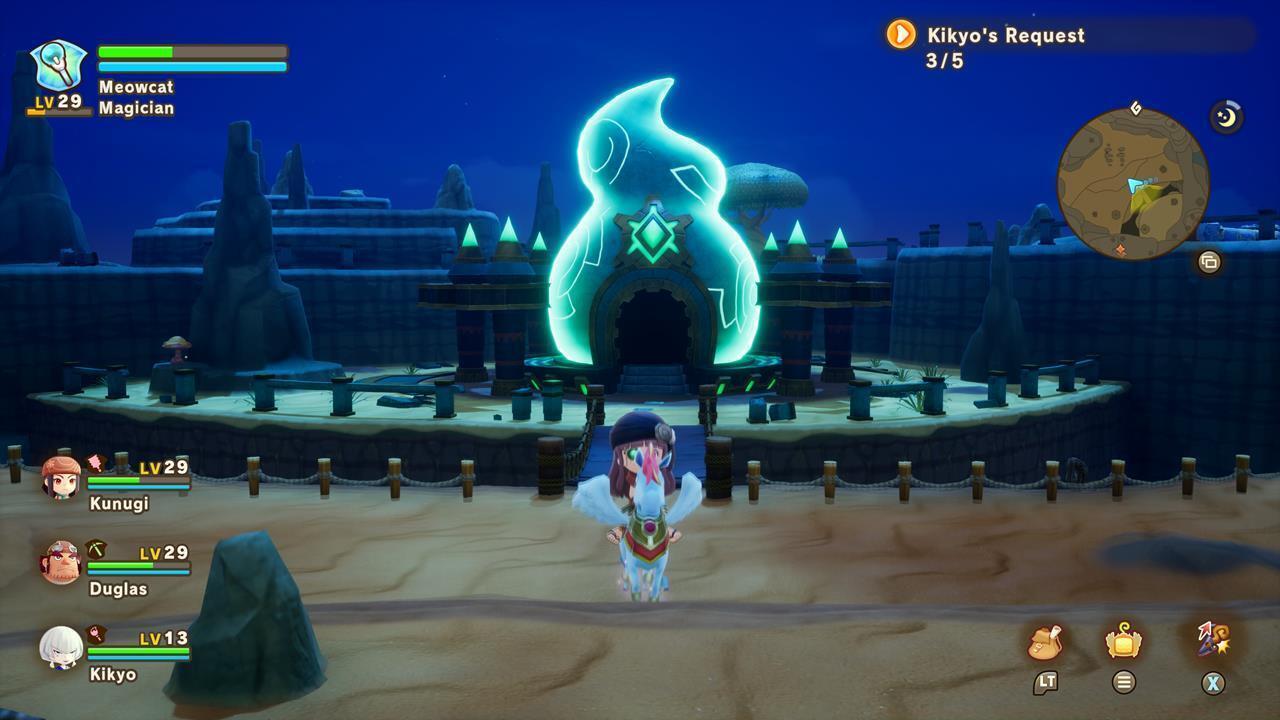
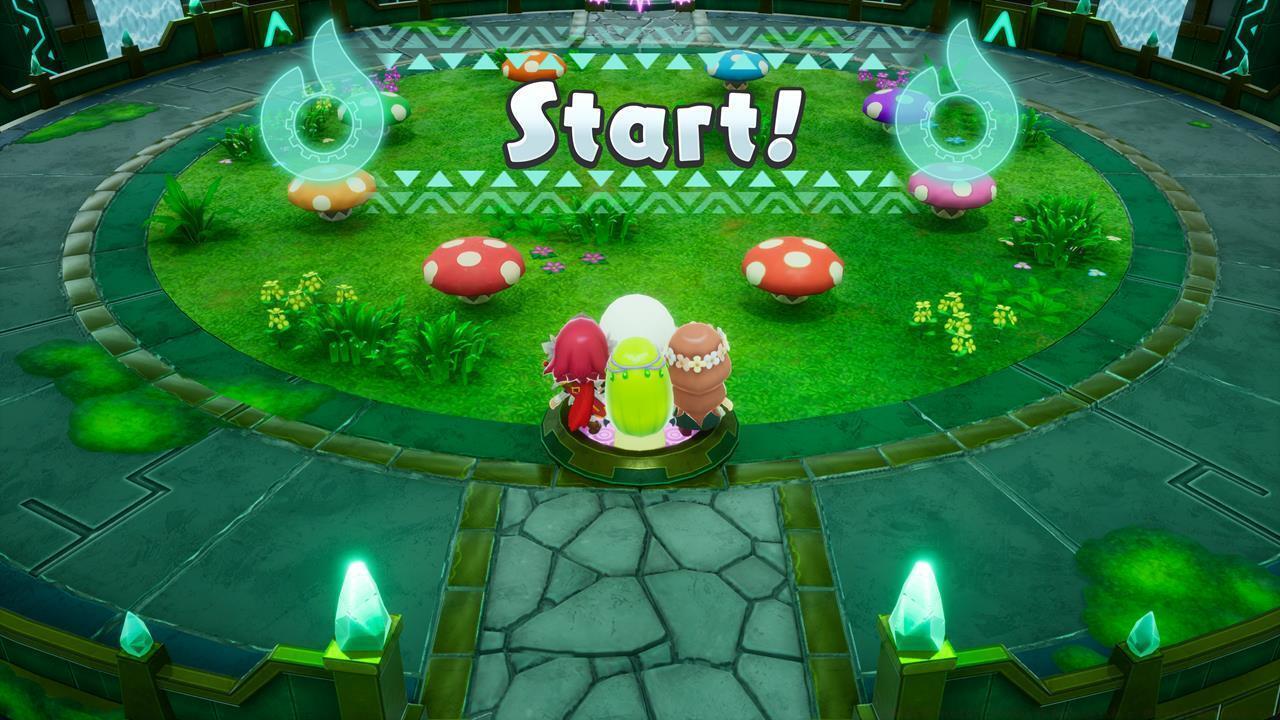
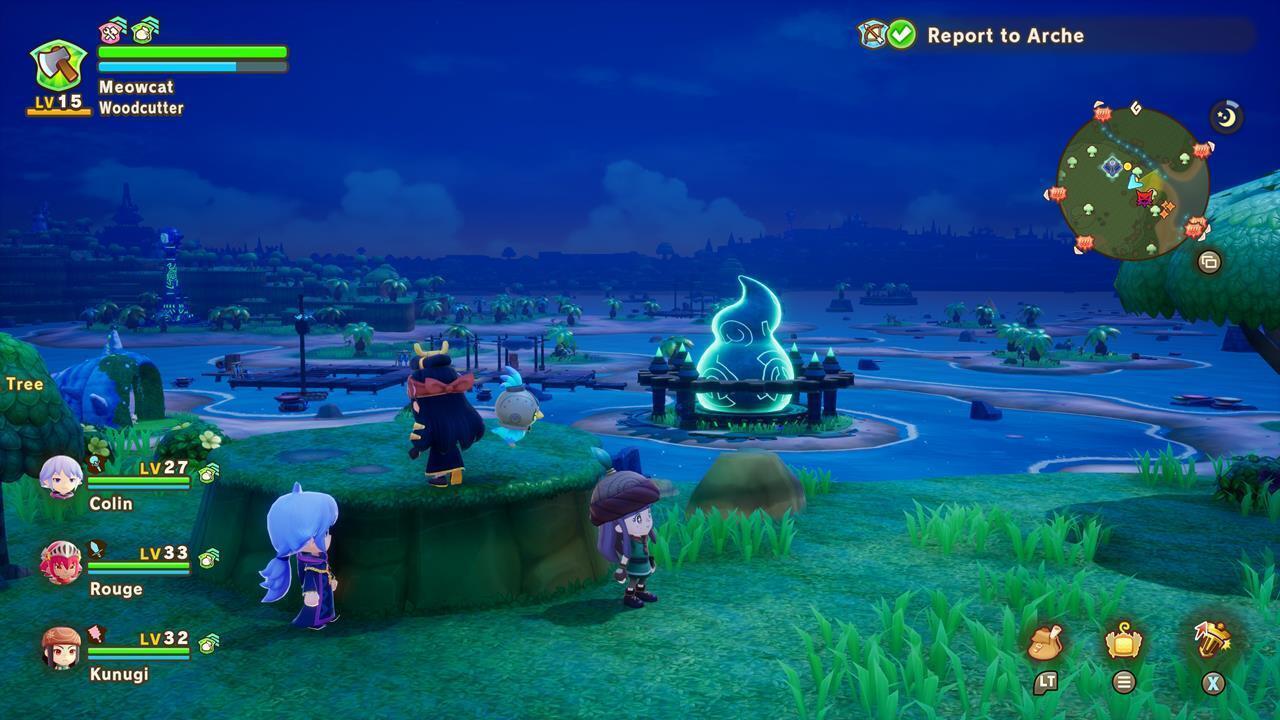
Critical Note: Every successfully completed shrine challenge rewards you with a Strangeling artifact. These mystical objects transform into loyal companions when combined with sufficient Celestia’s Gifts currency.
The visual reference above displays the precise positions of all 20 shrines throughout Fantasy Life i’s expansive world. Our numbering system begins at the southernmost point of Ginormosia and progresses systematically toward northern territories.
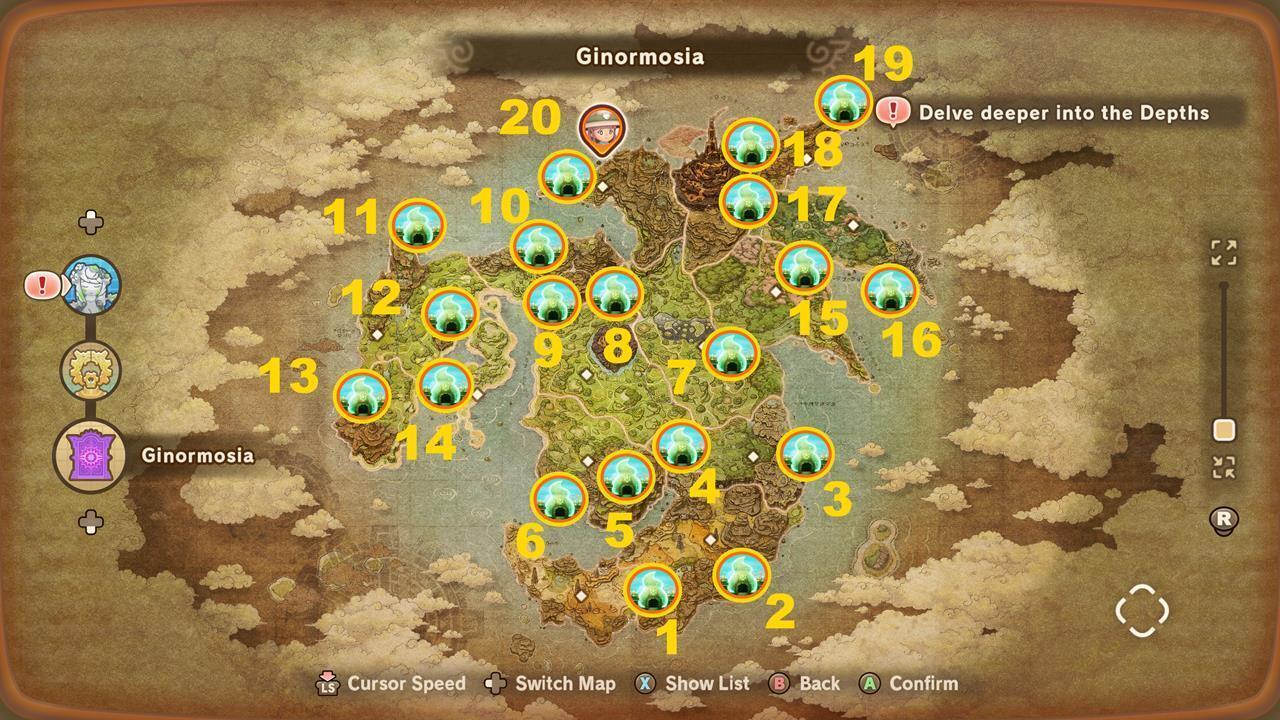
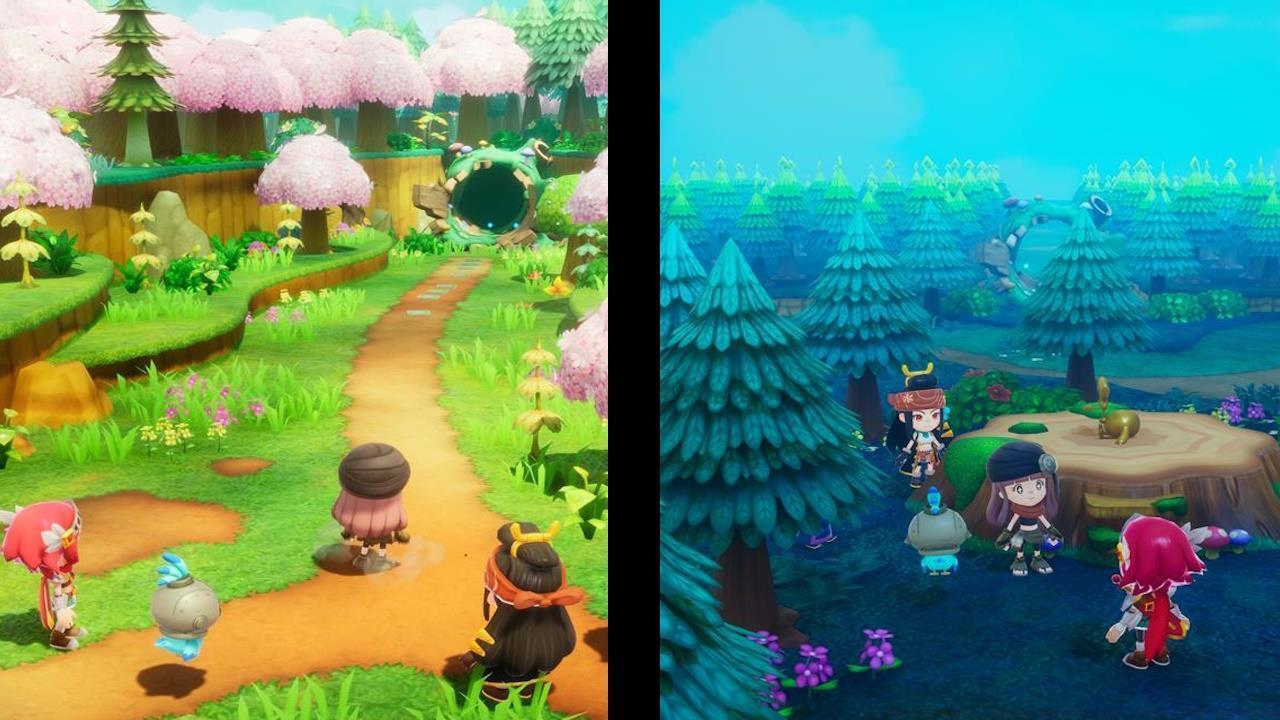
Regional organization significantly impacts your shrine exploration strategy. Southern shrines typically feature beginner-friendly challenges, while northern locations demand advanced combat proficiency and specialized gathering capabilities. Planning your route according to current character development prevents unnecessary backtracking and optimizes travel efficiency.
Pro Tip: Unlock fast travel points near shrine clusters to minimize transit time between challenges. This optimization can reduce overall completion time by approximately 25% compared to conventional exploration methods.
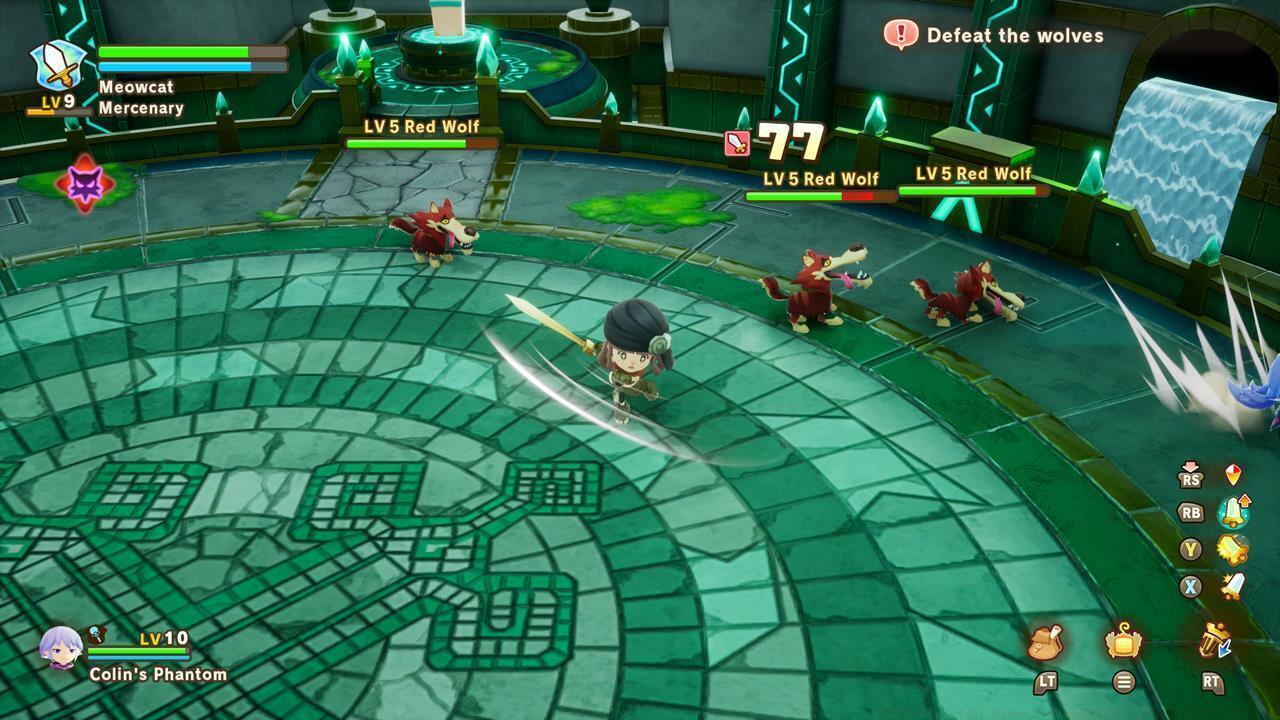
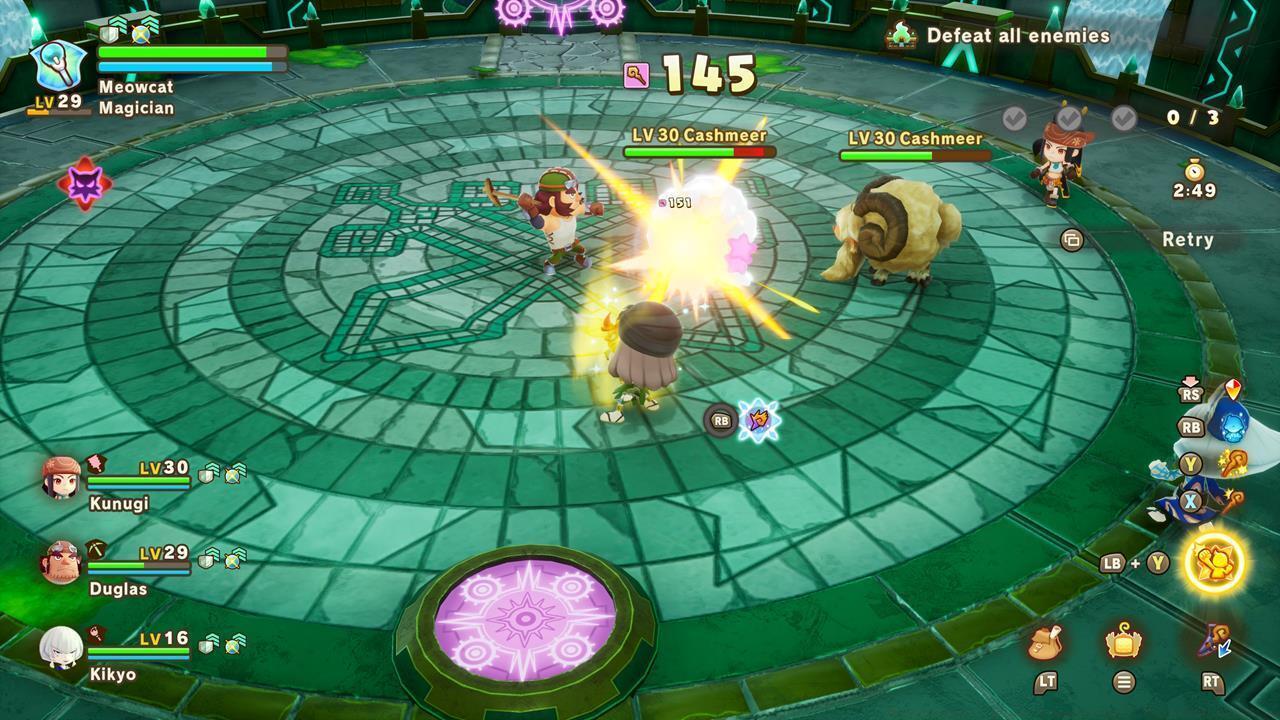
Mastering shrine challenges requires more than basic competency—it demands strategic foresight and mechanical precision. For combat trials, prioritize area-of-effect abilities and crowd control techniques to handle multiple enemy waves efficiently. Against single-target scenarios, focus on maximizing damage per second through proper ability sequencing.
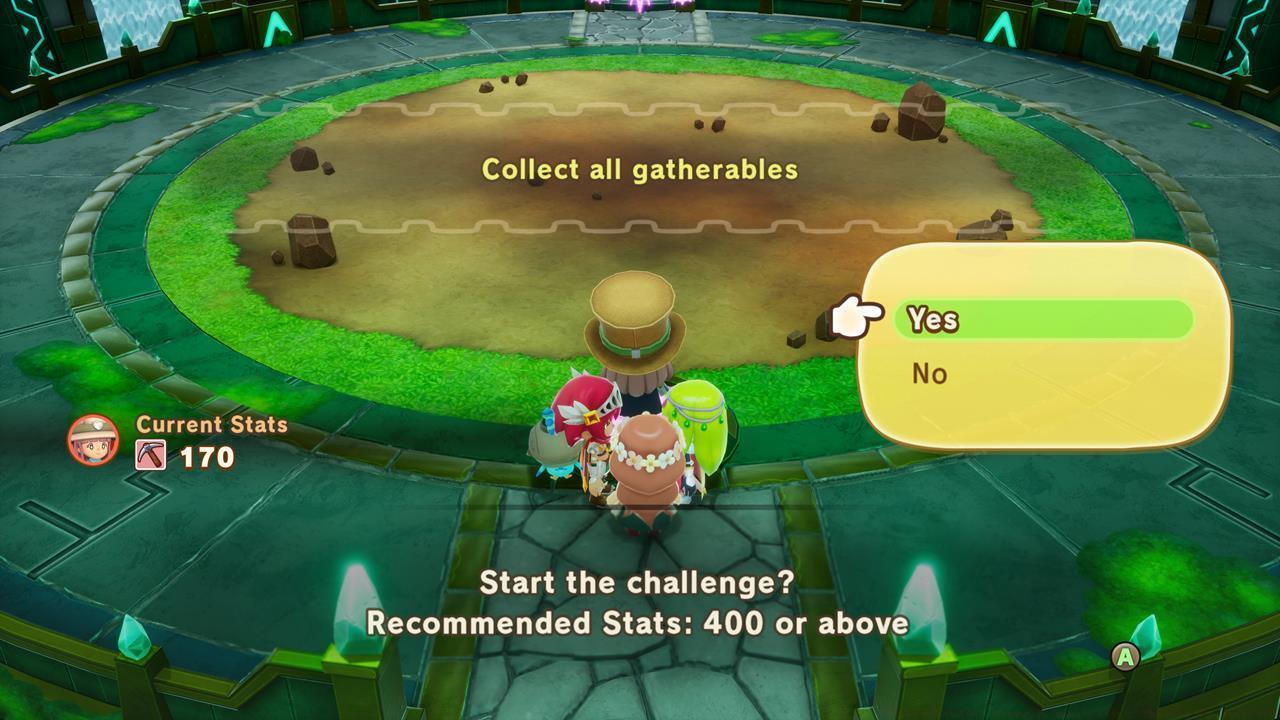
Gathering challenges benefit tremendously from pre-mission preparation. Upgrade your tools to maximum efficiency and study resource node locations before initiating timed trials. For complex mushroom sequence puzzles, create mental maps of color patterns and practice execution routes during untimed exploration phases.
Avoid Common Pitfalls: Many players fail scarecrow challenges by targeting decoys too frequently. Genuine scarecrows exhibit subtle visual distinctions—typically brighter colors and more detailed textures. Path of Light puzzles require systematic approaches; always begin from the perimeter and work inward methodically.


Companion Strategy: Strangelings represent just one component of companion acquisition. Ensure you maintain adequate reserves of Celestia’s Gifts to capitalize on your shrine conquests. Balance your resource expenditure between character upgrades and companion recruitment for optimal progression.
Action Checklist
- Study the shrine map and plan your route according to current character level and equipment
- Complete southern region shrines first to build Strangeling collection
- Upgrade tools and combat abilities before attempting northern shrine challenges
- Practice puzzle mechanics in non-timed conditions before initiating actual challenges
- Exchange Strangelings for companions once you’ve accumulated sufficient Celestia’s Gifts
No reproduction without permission:SeeYouSoon Game Club » Where To Find All Shrines In Fantasy Life I: The Girl Who Steals Time Complete guide to finding all 20 shrines and mastering their challenges in Fantasy Life i: The Girl Who Steals Time