TL;DR
- The Navis Nobilite lab puzzle offers two distinct solutions with different consumable rewards
- Thorough exploration and careful reading of Research Notes are essential for success
- Always create a manual save before attempting the puzzle to avoid permanent consequences
- The Transducer device converts specific materials into dust for puzzle completion
- Your reward choice should align with your party composition and upcoming combat challenges
Confront your first major cerebral test in Warhammer 40K: Rogue Trader with the intricate Navis Nobilite laboratory puzzle located on Eurac V. This sophisticated challenge demands careful observation and logical deduction based on environmental clues discovered throughout the facility.
The Eurac V laboratory conundrum represents an early campaign obstacle that heavily depends on your ability to interpret scattered research documentation. This comprehensive walkthrough details proven methodologies for conquering the Navis Nobilite enigma, enabling you to secure one of two exclusive consumable rewards.
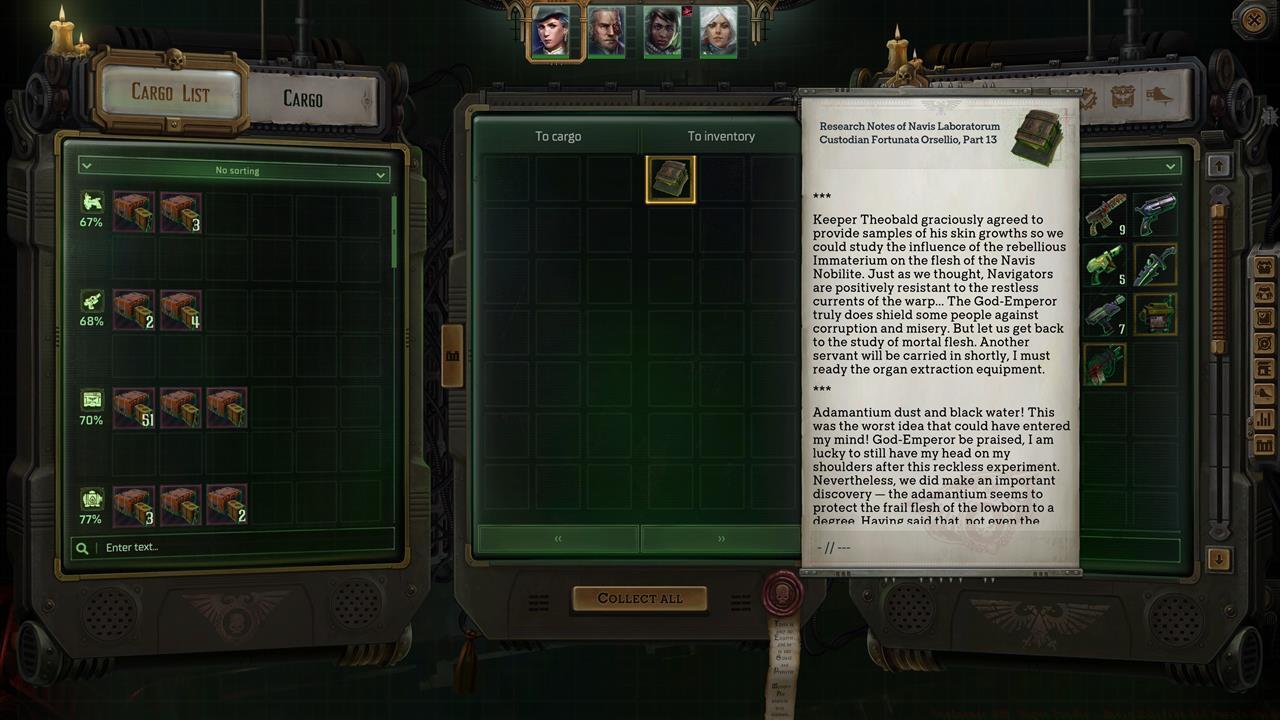
Thorough environmental scanning reveals essential Research Notes and puzzle components.
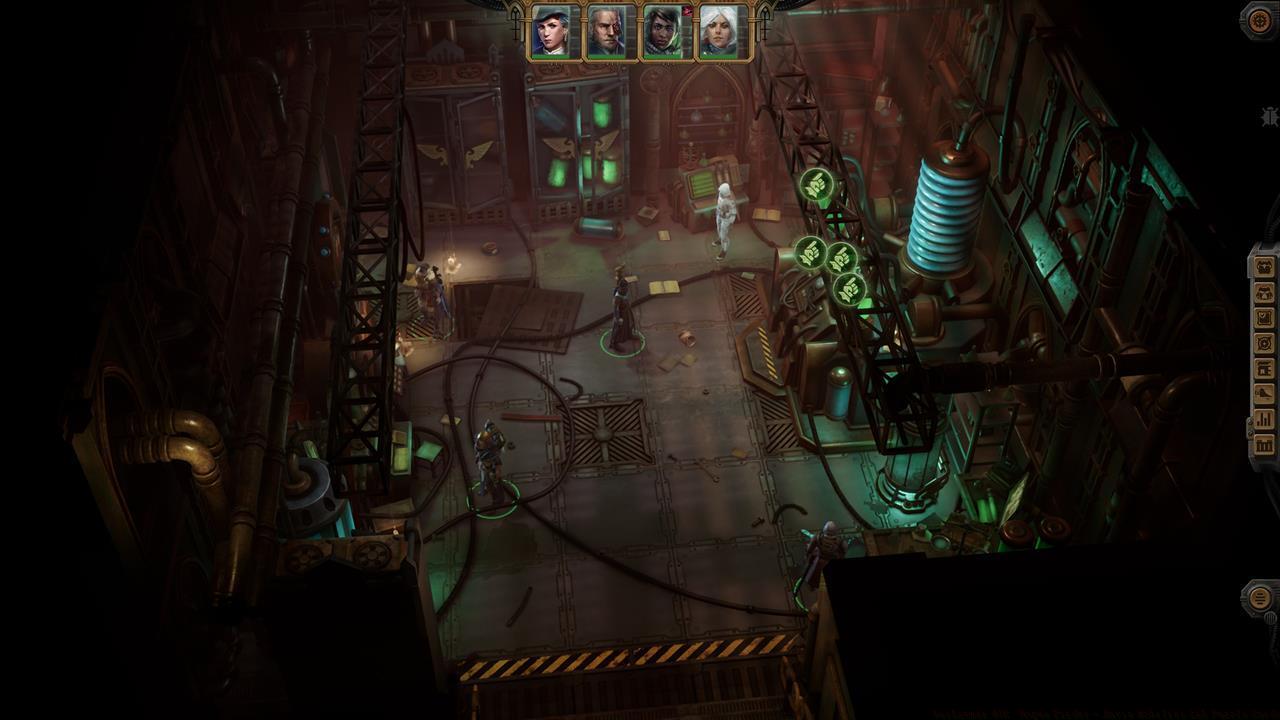
This intricate puzzle forms a crucial component of the Secrets of the Navis Nobilite mission chain, which ultimately leads to acquiring Cassia as a new party member. While navigating the compact dungeon environment, maintain heightened awareness of your surroundings. We strongly recommend holding the Shift key continuously during exploration to highlight all interactive objects and loot containers within proximity.
Numerous mission-critical items discovered during your investigation will prove essential for the impending puzzle resolution. Additionally, strategically placed Research Notes provide vital context regarding the experimental procedures conducted within the facility.
Progress deeper into the research complex until you reach the secured experimentation chamber at the rear section. Upon entry, you’ll observe multiple specialized apparatuses alongside corresponding interaction indicators. We cannot overemphasize the importance of creating a manual backup save at this juncture to safeguard against potential complications. Here are the essential operational principles you must comprehend:
- The primary apparatus features four distinct symbol interfaces, each accommodating a single item placement. Your selections must align precisely with clues extracted from collected Research Notes.
- After successfully positioning all four components, a single activation mechanism remains accessible. Engaging this control dispenses your earned reward, while incorrect material selection triggers catastrophic apparatus failure.
- A Transducer unit positioned to the left processes specific materials (including Adamantium, Psi-Crystal, or Meteorite specimens) into refined particulate matter.
- The terminal apparatus in the corner chamber yields the essential Control Rod component, required for elevator access to Cassia’s location.
Exercise extreme caution during component placement within the apparatus interfaces.
Two validated configurations exist, though each yields exclusively one reward type. The initial combination grants six units of Adaptive Antidot, providing complete immunity to toxic damage types while imposing a temporary -10 Toughness penalty for one engagement duration.
- Transducer: Psi-Crystal
- Tissue Flask: Mutated Flesh Sample
- Data-Crypt Connector: H-41-OK
- Catalyst Flask: Biogel
- Reagent Flask: Crystal Dust
Alternatively, implement the secondary validated configuration to obtain six units of Elixir of Warp Neutrality. This consumable confers complete immunity to warp-based damage while imposing a temporary -10 Fellowship penalty for one combat instance. Additionally, you cannot inflict warp damage during the affected engagement.
- Transducer: Adamantium
- Tissue Flask: Flesh Sample
- Data-Crypt Connector: K-04-OH
- Catalyst Flask: Unidentified Acid
- Reagent Flask: Adamantium Dust


Select your preferred configuration to acquire either Adaptive Antidot (left) or Elixir of Warp Neutrality (right).
The selection between available rewards remains entirely at your discretion, as both options represent single-use consumables. For enthusiasts of cerebral challenges, additional guidance exists covering the Footfall Dock Puzzle, Footfall Hidden Cache Riddles, and Classified Information conundrums.
Countless additional discoveries await as you progress through the Koronus Expanse narrative. Remember to consult our comprehensive Warhammer 40K: Rogue Trader guides hub for comprehensive assistance.
Pro Tip: Before committing to either solution, assess your party’s current composition and anticipated combat encounters. The Adaptive Antidot proves invaluable against toxin-based adversaries, while the Elixir of Warp Neutrality offers crucial protection against psychic threats. Always verify you’ve collected all necessary components from the surrounding environment to prevent frustrating backtracking. The entire puzzle resolution typically requires 15-20 minutes for prepared players.
Common mistakes include misreading Research Note clues, attempting to use non-transmuted materials, or forgetting to create that essential manual save. For optimization, experienced players should consider their character build specialization when selecting rewards, as the stat penalties can significantly impact certain playstyles.
Action Checklist
- Thoroughly explore the facility while holding Shift to highlight all interactive objects
- Collect all Research Notes and puzzle components from containers and examination points
- Create manual save before interacting with puzzle apparatus
- Use Transducer to convert required materials into dust form
- Select your preferred reward combination and execute the puzzle solution
No reproduction without permission:SeeYouSoon Game Club » Warhammer 40K: Rogue Trader – Navis Nobilite Lab Puzzle Guide Master the Navis Nobilite lab puzzle in Warhammer 40K: Rogue Trader with expert strategies and dual reward options