TL;DR
- Master job switching to counter different enemy types and situations effectively
- Always hunt Cactuars for massive job experience gains while avoiding their 1,000 Needles attack
- Use charged magic spells from distance to safely eliminate dangerous Tonberries
- Leverage party members as damage sponges while you focus on strategic positioning
- Utilize Anima shards to level secondary jobs without direct combat usage
Your journey to confront Chaos presents numerous challenges, but strategic preparation can significantly reduce the difficulty curve and enhance your combat effectiveness.
While Jack’s primary objective remains eliminating Chaos, the path demands far more tactical depth than simple brute force against armored adversaries. The sophisticated job and combat frameworks require layered understanding, with each mission concealing valuable rewards behind formidable opponents. Maintaining proficiency across multiple job classes becomes essential to prevent being overwhelmed by diverse enemy compositions. This guide provides foundational through advanced strategies for mastering Stranger of Paradise’s complex systems.
New players face information saturation during initial missions, with job mechanics, enemy vulnerabilities, MP management, and skill systems creating a steep learning curve. The game deliberately omits certain advanced techniques that experienced players discover through experimentation. While natural rhythm develops over time, these insights accelerate mastery and minimize frustrating learning phases.
Strategic job allocation proves crucial for survival. Unlike traditional RPGs, Stranger of Paradise demands constant job rotation to address shifting battlefield conditions. Mission design anticipates players capable of adapting to multiple threat types simultaneously. Neglecting secondary job development creates significant combat disadvantages that compound throughout the campaign.
Every mission contains one strategically hidden Cactuar creature, typically concealed in peripheral chambers or obscure locations. Despite their speed and potential lethality, prioritizing these encounters yields substantial dividends. Cactuars provide exceptional experience points toward your active job classes, though their signature 1,000 Needles ability can devastate your entire party if landed successfully. Their behavioral pattern emphasizes evasion over confrontation, allowing alert players to eliminate them before they execute dangerous techniques.
Each stage also features a Tonberry encounter, notorious for dropping exceptional gear and high-tier equipment. However, Tonberries present exponentially greater threats than Cactuars, employing multiple instant-kill maneuvers with high frequency, substantial health pools, and remarkably resilient break gauges that deplete slower than standard enemies.
During early game progression, the most reliable Tonberry strategy involves transitioning Jack to the Mage specialization. This enables safe distance engagement, facilitating evasion of the creature’s projectile attacks. Employing Aeroga—the fully-enhanced Aero incantation—immobilizes Tonberries for extended periods while dramatically weakening their break meter. Follow with empowered mace strikes to conclude encounters efficiently.

Strategic job tree development provides essential combat versatility against diverse enemy types and situations.
Many players overlook this critical mechanic amidst tutorial overload, but high-tier spells like Firaga become accessible immediately upon Mage class acquisition. Maintaining pressure on the casting trigger rather than quick-tapping charges spells through three progressive power tiers. While impractical during close-quarters swarm situations, charged magic excels at exploiting elemental vulnerabilities and engaging distant threats safely.
Tactical party management separates proficient players from struggling newcomers. Direct Ash, Jed, and companion characters to absorb primary damage, particularly during spellcasting sequences. Campaign failure occurs exclusively upon Jack’s demise, while allies can be revived with single potion applications. Activate enhanced aggression stances via face button commands during challenging engagements or multi-target battles. This strategic delegation creates opportunities to eliminate weakened opponents, maintain safe distance attacks, or address secondary threats without distraction.
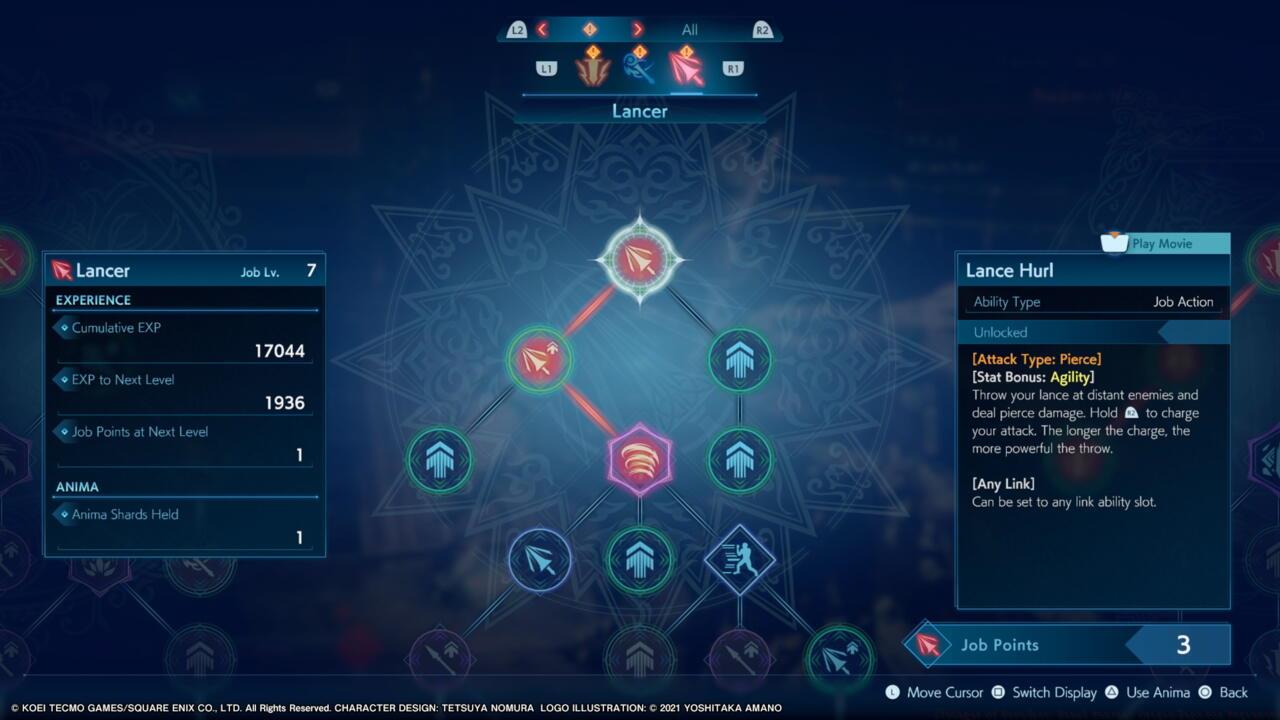
Job specialization trees contain extensive skill networks and passive enhancements, making concurrent multi-class development highly advantageous. For those seeking to master advanced class systems, the principles of strategic role allocation translate well across gaming genres.
The Anima shard system provides complimentary job progression, allowing players to enhance secondary specializations without direct combat application. Consider allocating these resources to jobs requiring development but not frequently deployed in active combat rotations.
Action Checklist
- Systematically hunt Cactuars in each mission for accelerated job experience gains
- Engage Tonberries exclusively with charged Mage spells from maximum distance
- Master three-tier spell charging for exploiting elemental weaknesses against bosses
- Utilize Anima shards to level non-combat jobs for broader specialization
- Activate party aggression modes during multi-enemy engagements for tactical advantage
No reproduction without permission:SeeYouSoon Game Club » Stranger Of Paradise: Final Fantasy Origin Tips For Beginners Master combat mechanics, job systems, and hidden enemies in Stranger of Paradise Final Fantasy Origin
