TL;DR
- Three distinct resolution paths with dramatically different outcomes for the stranded colonists
- Resource-intensive grav drive option requires significant credit investment but offers moral satisfaction
- Strategic preparation can reduce completion time by 30-40% through efficient resource gathering
- Each choice affects your reputation with different factions and future mission availability
- Mission rewards vary significantly based on your chosen resolution method
Navigating the First Contact mission in Starfield presents players with multiple resolution pathways, each carrying distinct narrative and gameplay consequences. This side quest stands out for its moral complexity and strategic depth.
The Starfield First Contact assignment introduces you to two contrasting factions: a stranded generation ship crew and a corporate resort establishment. What elevates this quest above typical missions is the trio of completion methods available, each yielding substantially different results. Our comprehensive Starfield First Contact walkthrough examines the implications of every available decision path.
Your journey with the First Contact mission commences when you enter orbit around Porrima II within the Porrima star system. As you approach, an urgent distress signal from the planetary surface will capture your attention. Simultaneously, an unknown vessel initiates communication, inviting you to dock. Boarding reveals Captain Diana and her crew.
The ship’s inhabitants represent colonists who evacuated Earth centuries ago. Technical malfunctions stranded multiple generations aboard, completely isolating them from galactic developments. Communication attempts with Porrima II—the world they claim as their ancestral home—have consistently failed. The complication arises from corporate ownership; the planet now serves as the foundation for an expansive luxury resort complex.
Captain Diana and her colonial descendants urgently require your intervention to resolve their precarious situation.
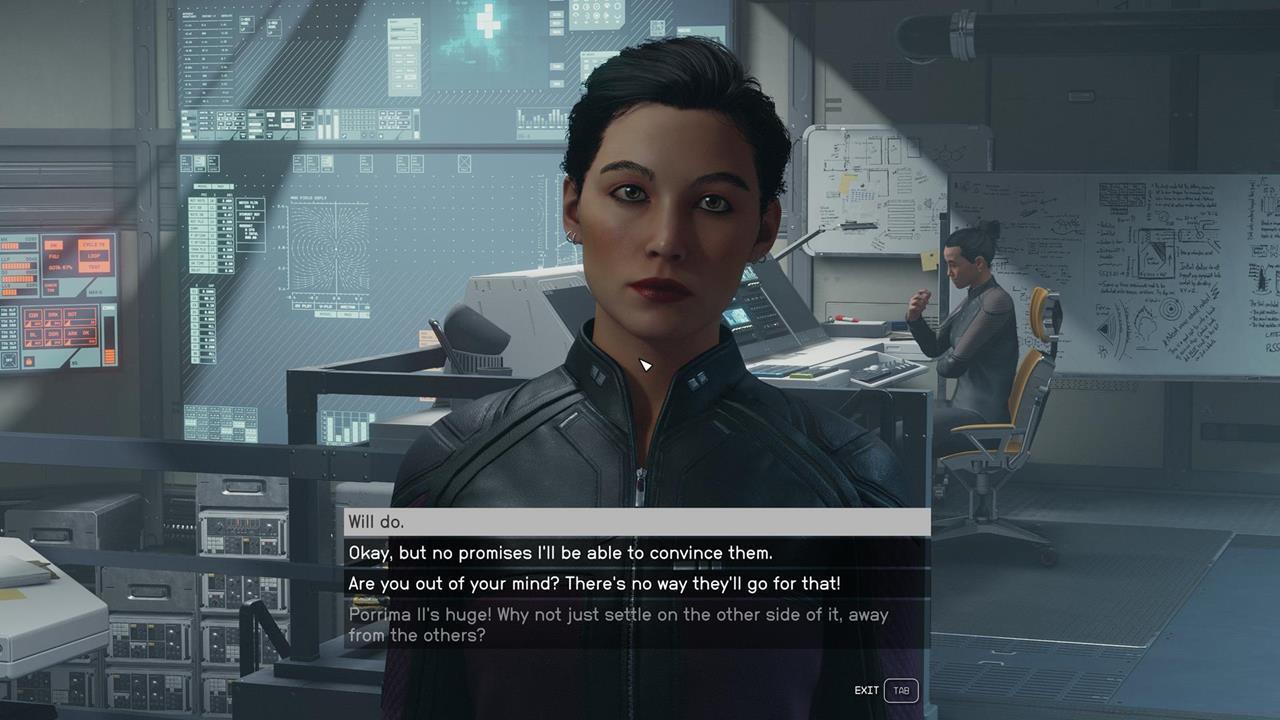
Diana and the other colonists need your help.
Proceed to land on Porrima II and navigate to the Paradiso corporate headquarters. Engage CEO Oliver in discussion regarding the colonial ship’s situation. He outlines three distinct resolution approaches, with your selection determining subsequent mission objectives:
The corporate executive presents these three divergent solutions, each with unique resource requirements and ethical implications.
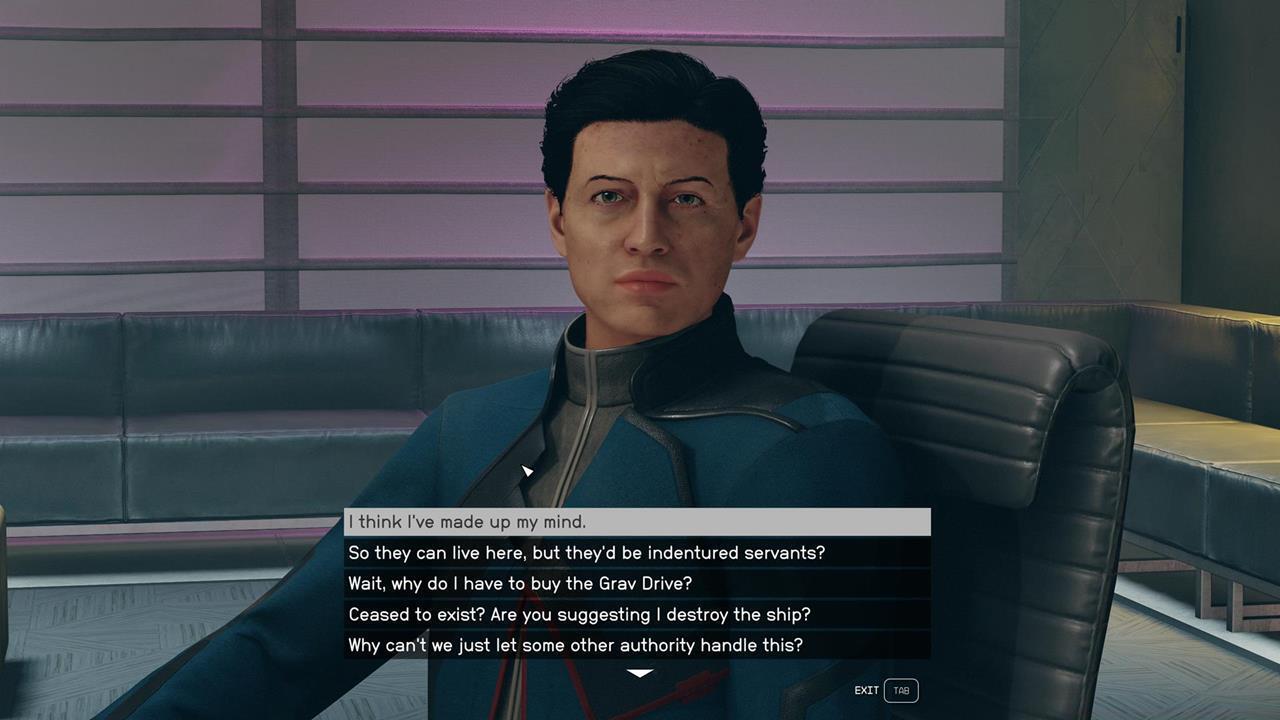
The head honcho of the corporation presents you with three choices.
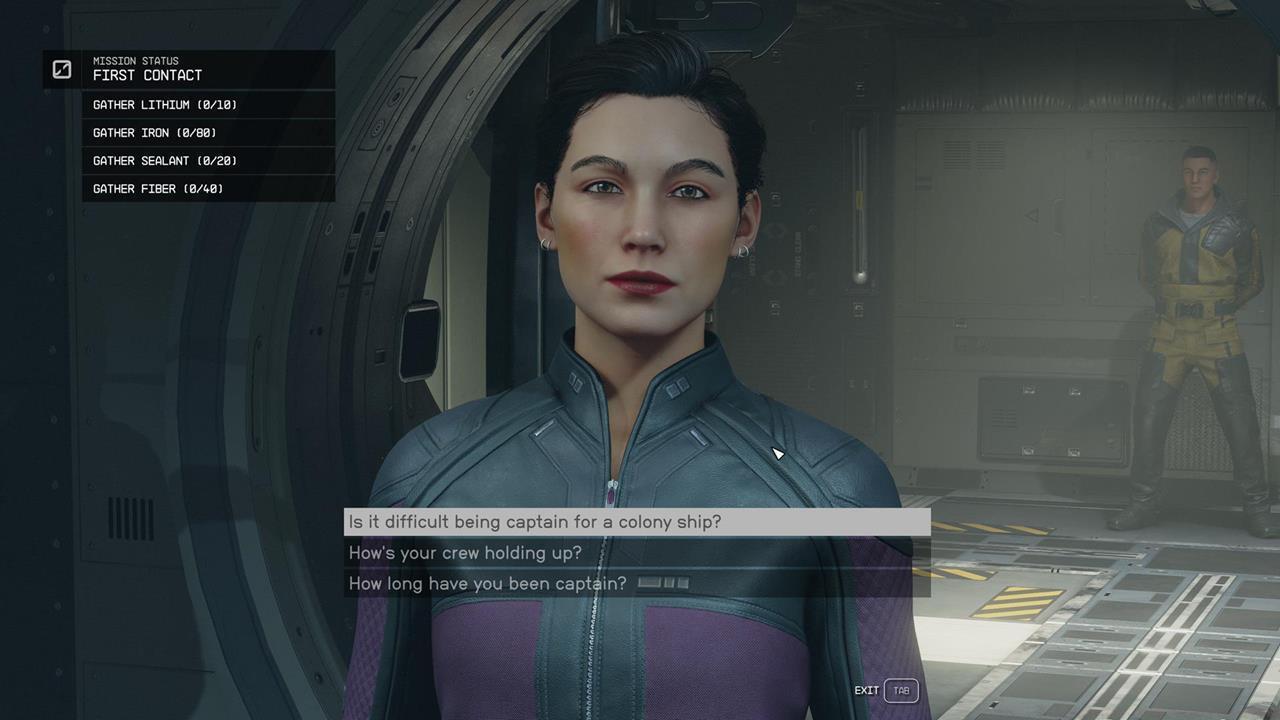
Having people settle on Porrima II might seem like a good idea, but you need to gather a lot of resources.
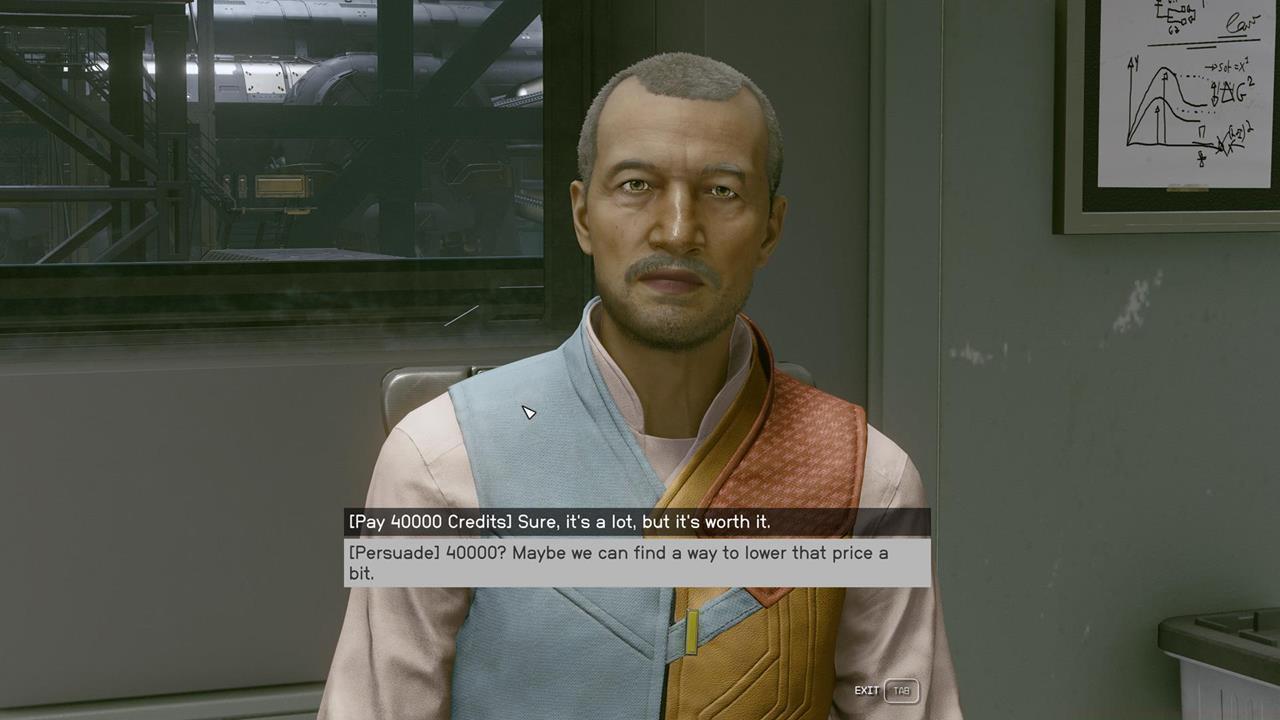
The grav drive can be quite expensive.
For players seeking the most efficient completion strategy, understanding resource optimization is crucial. The grav drive purchase, while morally satisfying, demands approximately 40,000 credits—a significant investment during early gameplay stages. Strategic preparation through our Weapons Unlock guide can help you generate necessary funds through side missions.
Avoid common mistakes like committing to the indentured servitude path without considering reputation damage. This decision negatively impacts your standing with independent factions and limits future diplomatic opportunities. Instead, leverage our Class Guide to select skills that enhance negotiation outcomes.
The reactor sabotage approach, while resource-light, carries severe moral consequences and eliminates potential future interactions with the colonists. Advanced players should note that this option provides the quickest completion time—approximately 15-20 minutes—but sacrifices long-term narrative possibilities.


Left: Sabotage the engines; Right: Watch the colony ship blow up.
Left: Sabotage the engines; Right: Watch the colony ship blow up.
Mission completion rewards vary dramatically: the grav drive solution provides unique crew members and access to specialized technology, while the corporate settlement option offers substantial credit compensation but limits narrative expansion. For comprehensive Starfield strategy, consult our Complete Guide for additional mission optimization techniques.
Action Checklist
- Travel to Porrima system and respond to distress signal
- Dock with unknown ship and learn colonists’ background
- Negotiate with Paradiso CEO Oliver about resolution options
- Evaluate resource requirements for each path before committing
- Execute chosen solution and manage faction reputation consequences
No reproduction without permission:SeeYouSoon Game Club » Starfield – First Contact Quest Guide Master the Starfield First Contact mission with strategic choices and practical gameplay guidance