Complete walkthrough with advanced strategies for Stalker 2’s Rat Catcher mission and traitor investigation
Mission Overview and Starting Point
The Rat Catcher mission within Stalker 2 Stories Untold activates immediately after finishing the Radio Silence operation. This investigation centers on uncovering which group member betrayed your position to hostile forces during previous engagements. Expect narrative complexity as you’ll encounter unexpected revelations about loyalty and deception within your ranks.
Pro Tip: Before initiating this mission, ensure you have adequate medical supplies and combat equipment. The investigation will lead through multiple hostile environments requiring both stealth and combat readiness. Many players underestimate the resource demands of extended dialogue sequences followed by immediate combat scenarios.
Investigating the Scoutmaster
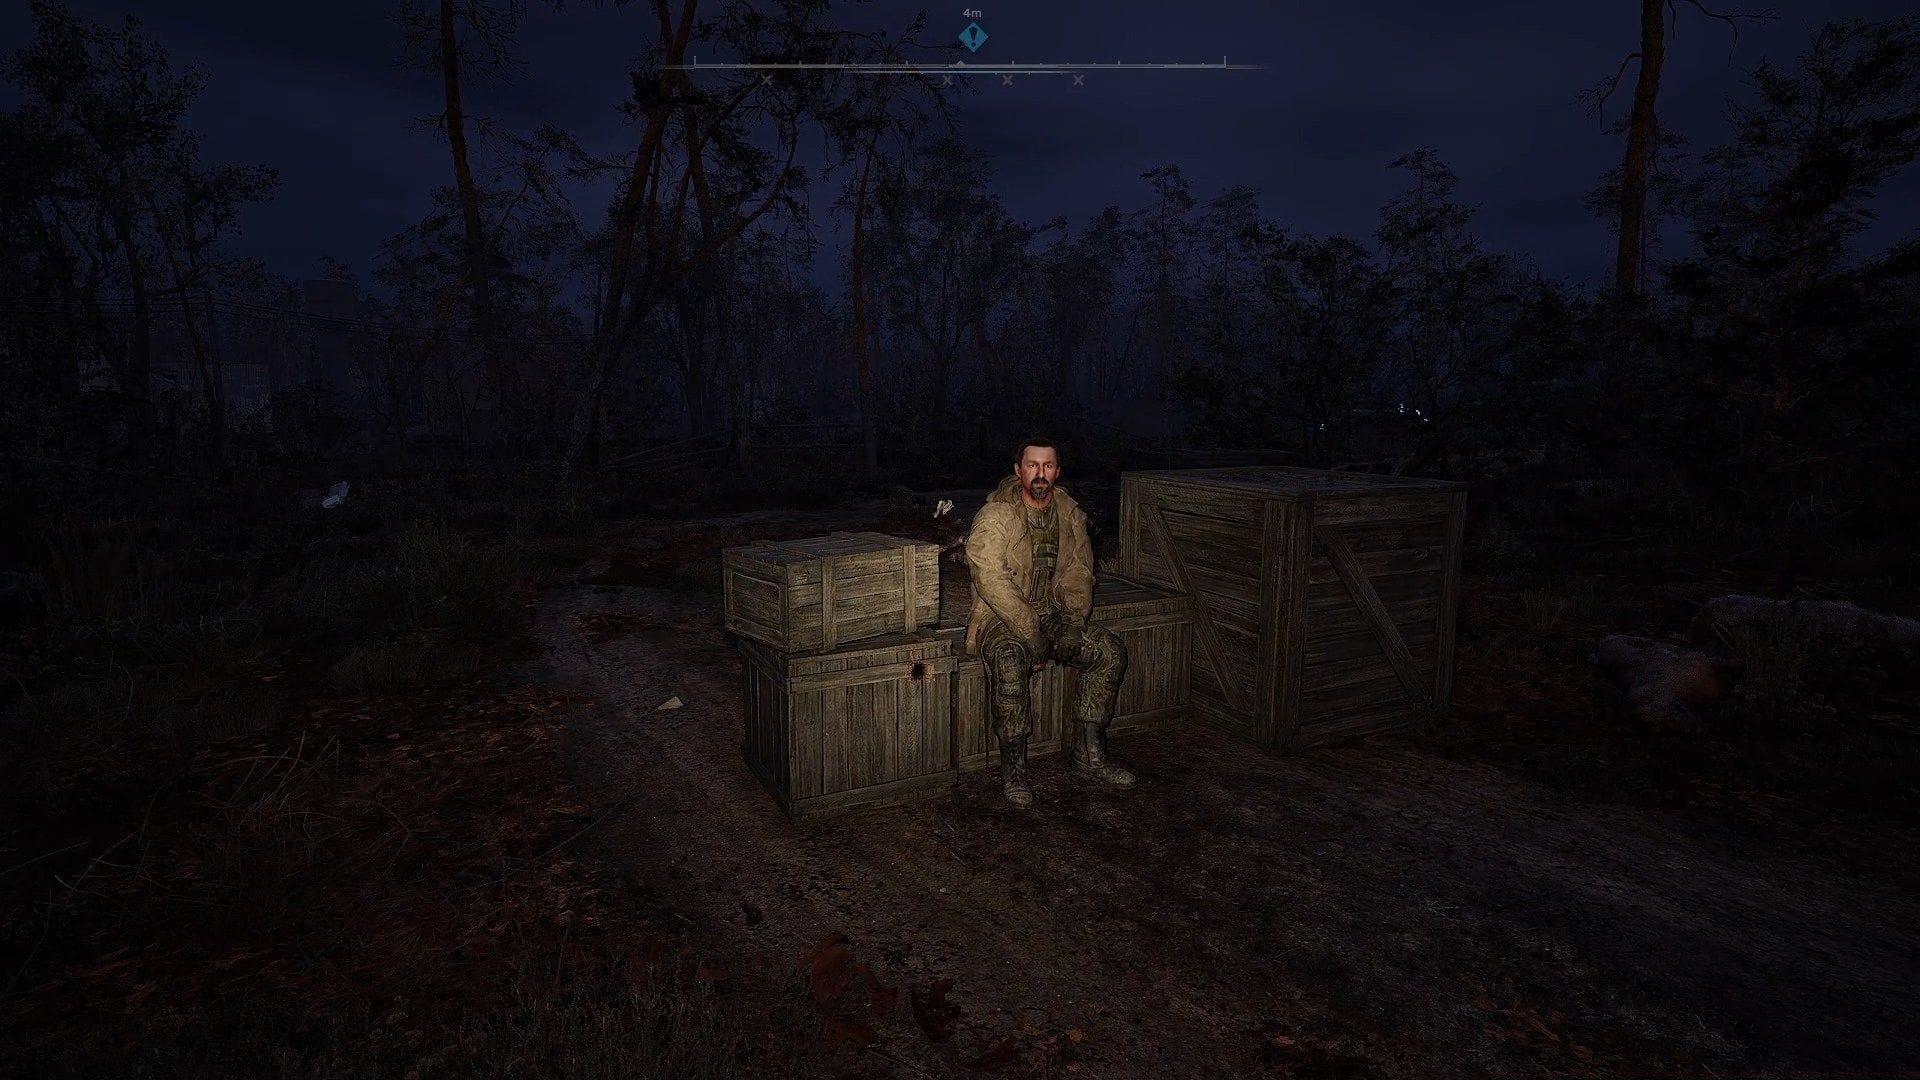
Approach the designated area where the Scoutmaster will radio for communication. Engage him directly using the accusatory option “Did you rat me out to Skull” to trigger the evidence collection sequence. Follow his path to the hidden cache location while maintaining situational awareness for potential ambushes.
Once at the stash location, thoroughly search the blue container to obtain the Scoutmaster’s Old PDA and protective suit equipment. The PDA contains critical audio logs that reveal the Scoutmaster’s actual allegiances. Listen completely to the recorded exchange between the Scoutmaster and Skull to verify his non-traitor status.
Common Mistake: Players often rush through the dialogue options and miss the contextual clues about faction relationships. The conversation reveals important backstory about camp politics that becomes relevant in later missions. Take time to absorb the narrative details.
After clearing the Scoutmaster’s name, interrogate him about potential alternatives using “If you’re not the rat, who is?” This directs your investigation toward other camp members. Before departing, secure the Cossacks Vodka from the immediate area if not already in your inventory, as it’s essential for subsequent interrogation tactics.
Interrogating Medulin for Information
Return to Kazkovyi’s central camp and locate Medulin near the communal areas. Initiate conversation and employ strategic intoxication using these specific dialogue sequences:
Advanced Tactics: While alternative dialogue branches don’t affect mission completion, selecting the precise sequence above maximizes information yield and reduces required interaction time. Experienced players can complete this interrogation in under two minutes with proper dialogue optimization.
The inebriated Medulin will disclose the northeast camp location containing Rascal’s concealed warehouse. This intelligence provides the critical breakthrough needed to advance your investigation beyond initial suspicions.
Also read: All status conditions and their cures in Stalker 2
Rascal’s Stash Infiltration
Navigate to the northeastern sector of Kazkovyi’s camp and identify the structure housing Rascal’s hidden stash. Approach from the eastern flank and ascend using the exterior ladder system. Exercise extreme caution when traversing the rooftop, as environmental hazards and anomalies pose significant navigation challenges.
Carefully maneuver to the opposite roof corner while evading the active anomaly zone. Execute a precision jump onto the damaged window framework, then access the building interior via the balcony entrance. This route bypasses conventional security measures.
Inside, immediately turn right and demolish obstructing crates. Critical Preparation: Equip grenades before proceeding, as mutated rodents will swarm aggressively upon detection. When attacked, deploy explosives at your footing and rapidly retreat toward the balcony opening. This containment strategy minimizes health depletion while effectively neutralizing the threat.
After eliminating the biological hazards, advance through the corridor and enter the left-side chamber to discover Rascal’s secured stash container. Access requires solving the security mechanism using acquired passcodes.
Upon successful entry, retrieve the door key and Rascal’s intelligence notes from the blue storage chest. Secondary items include weapon upgrades and ammunition reserves that enhance combat capabilities for upcoming engagements.
Confronting the Real Traitor
With evidence collected, return to the primary camp area and confront Rascal directly. Use these accusatory dialogue options to advance the narrative:
Your investigation now points toward Banzai as the actual betrayer. However, his workshop remains secured behind locked primary access points. Navigate to the indicated position and scale the compromised wall structure. Execute sprinting jumps across structural gaps to achieve rooftop elevation.
Locate the small white rooftop entryway and unlock it using Tim Pulse’s access key recovered from his corpse during previous operations. Descend through this alternative route to infiltrate Banzai’s operational center.
Location Note: The rooftop key originates from a structure within Kazkovyi’s camp where hostiles were neutralized during the Once Upon a Time at Kazkovyi assignment. Consult detailed walkthroughs for precise key positioning if previously missed.
Inside the workshop, immediately disable Banzai’s operational equipment to prevent communications with external hostile elements. During the confrontation, employ these strategic dialogue selections:
Following this exchange, the Scoutmaster will establish radio contact. Select either “We need Medulin” or “You’ve got Banzai to thank” to progress the mission narrative toward resolution.
Mission Completion and Progression
After confronting Banzai, prepare for immediate hostile engagement. Enemy reinforcements will assault the camp position within moments. Employ long-range ballistic weapons to efficiently neutralize approaching threats from defensive positions.
Combat Strategy: Establish elevated firing positions with clear sightlines to approaching routes. Prioritize enemy snipers and grenadiers first, as they pose the greatest threat to your defensive setup. Use cover effectively during reloading sequences to minimize damage intake.
Successfully repelling the assault completes The Rat Catcher mission objectives. Approach the Scoutmaster inside the nearby structure to initiate the concluding expansion mission, White Noise, continuing your journey through the Stories Untold narrative arc.
Reward Analysis: Completion unlocks advanced equipment blueprints, faction reputation increases, and unique narrative options affecting end-game content. The intelligence gathered during this investigation provides strategic advantages in subsequent faction interactions.
Check out more Stalker 2 gameplay guides below:
No reproduction without permission:SeeYouSoon Game Club » Stalker 2 Stories Untold walkthrough: How to complete The Rat Catcher mission Complete walkthrough with advanced strategies for Stalker 2's Rat Catcher mission and traitor investigation