Master Schedule 1’s graffiti system to dominate cartel wars with strategic territory control tactics
Understanding Schedule 1’s Graffiti System
The revolutionary v0.4.0 update for Schedule 1 has transformed cartel warfare with its innovative graffiti mechanics. Beyond just rival cartels and weapon additions, the graffiti system introduces strategic territory control that directly impacts your criminal empire’s influence. Each spray-painted artwork gradually erodes rival cartel dominance in targeted regions, creating a visual representation of your expanding power base across the urban landscape.
This territorial warfare mechanic operates on a gradual influence decay system – the more graffiti you place in a region, the faster you’ll diminish competing cartel control. Understanding this dynamic is crucial for maximizing your territorial gains while minimizing resource expenditure and police encounters.
Graffiti Location Strategies by Region
Mastering each district’s unique layout and challenge profile is essential for efficient territory domination. Here’s your tactical breakdown:
Northtown – The Efficiency Zone: With eight strategically clustered graffiti spots in the northernmost map section, this area offers rapid territory acquisition. The proximity of locations allows completion within 2-3 minutes using optimal routing. Perfect for quick influence boosts early in your cartel expansion campaign.
Westville – Stealth Operations Required: Nine locations scattered throughout open areas make this region particularly hazardous. Police visibility is significantly higher here, making nighttime operations essential. Plan your route to minimize exposure time and consider using building cover when moving between spots.
Downtown – High-Value Priority Target: Boasting ten easily accessible graffiti locations, Downtown should be your primary focus for rapid territory expansion. The concentrated, straightforward layout enables quick completion while maximizing influence gains. Start your graffiti campaign here to establish early dominance.
The Docks – Strategic Positioning: Seven locations split between immediate Dock Warehouse proximity and northern Downtown-adjacent areas. The clustered four spots near the warehouse can be hit quickly, while the remaining three require careful navigation through transitional zones between districts.
Suburbia – Low Priority Final Target: Only three graffiti spots exist in this remote area, but their isolation makes them perfect for cleanup operations. The open landscape provides easy spotting but requires vehicle transportation due to distance from core territories. Execute these after securing more valuable regions.
Uptown – Complex Navigation Challenge: Nine locations hidden within dense building clusters and narrow pathways demand careful route planning. While points are relatively close, the architectural complexity requires memorization of optimal paths through alleyways and building interiors for efficient completion.
Advanced Graffiti Execution Tactics
Successful graffiti operations require both preparation and execution precision. Spray Paint cans available at Gas Stations for $10 each provide your primary tool for territorial marking. Always maintain a stock of 3-5 cans to avoid mid-operation supply issues that could compromise your territorial advances.
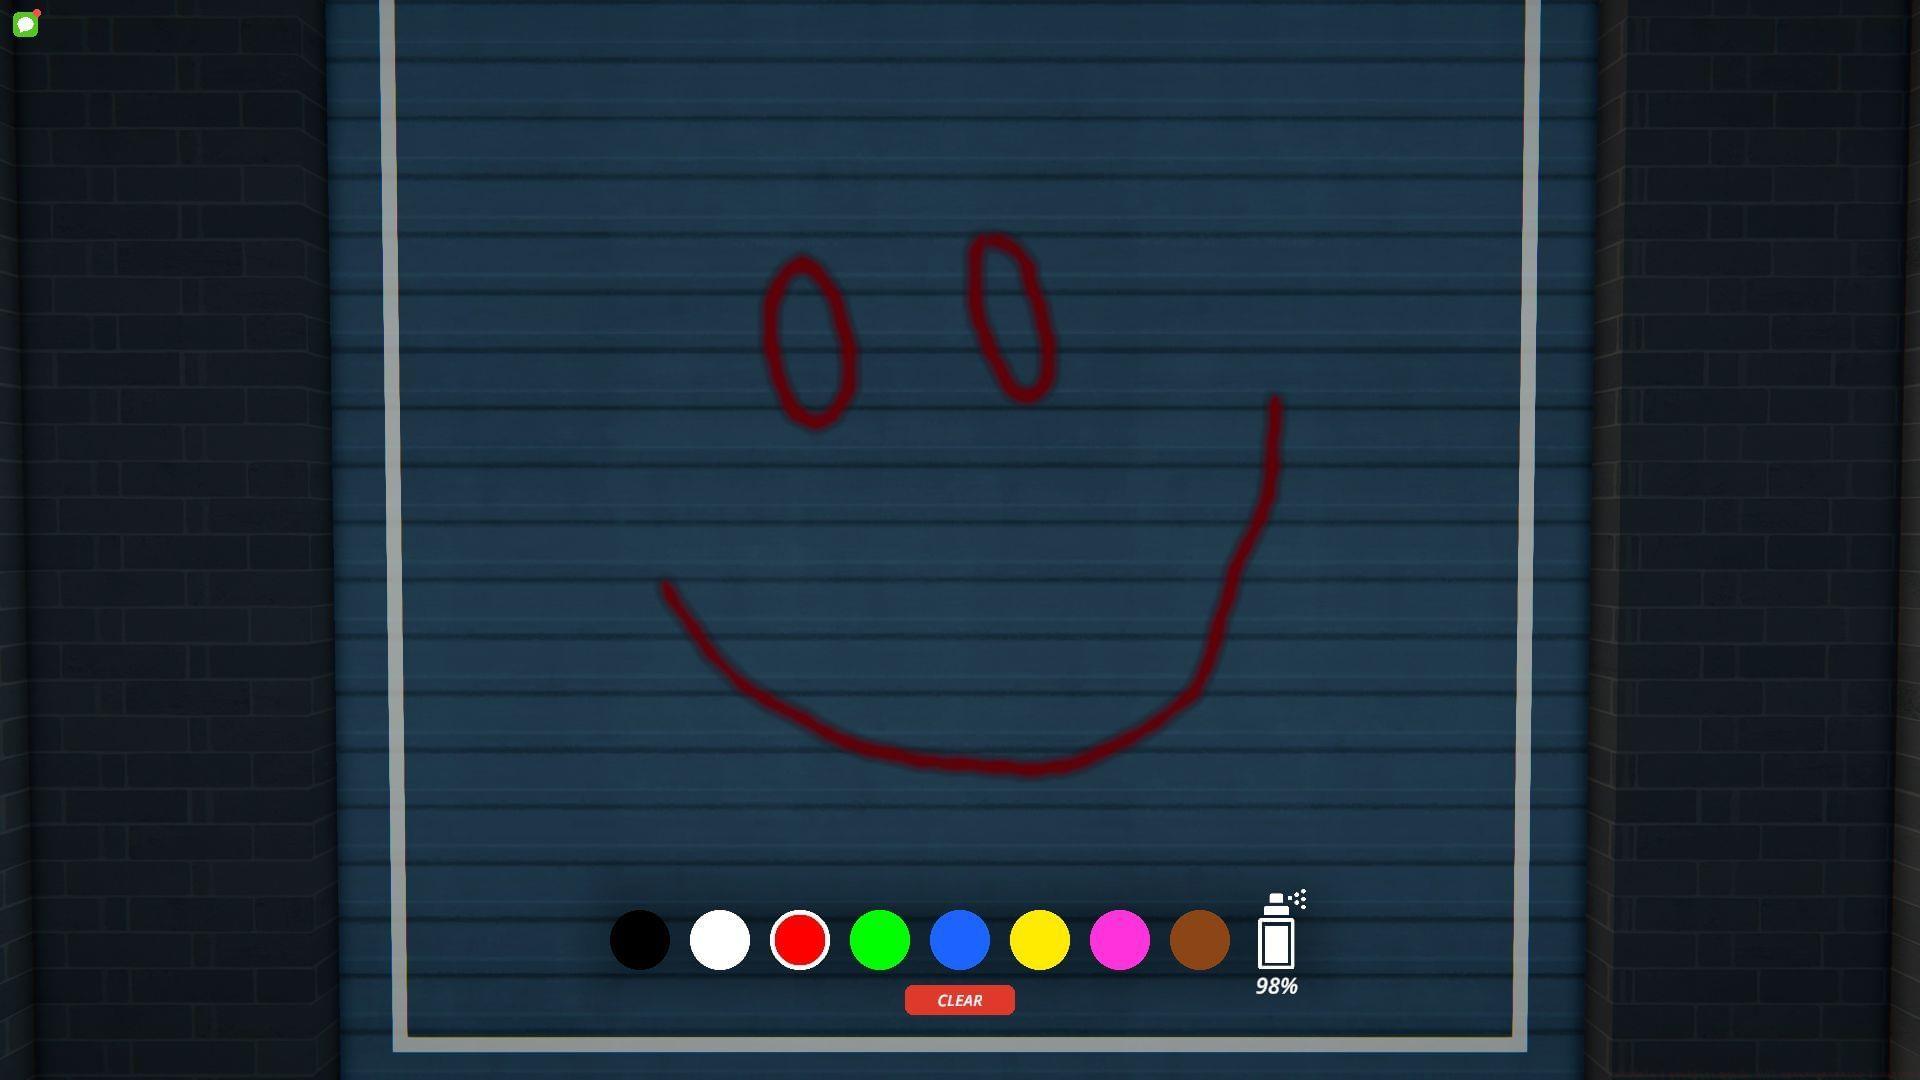
Identifying valid graffiti surfaces is straightforward – look for walls displaying white outline highlights accompanied by spray can icons. When positioned correctly, interaction prompts appear, launching the custom graffiti interface featuring multiple color options and freeform drawing capabilities.
Police intervention represents your primary operational risk. Officers can arrest you for vandalism if you spend excessive time spray-painting in highly visible locations. Advanced tactics include using lookout team members, timing operations during shift changes (typically occurring at 6 AM and 6 PM in-game), and selecting partially obscured walls that provide both visibility for territorial claims and some cover from patrols.
Pro Tip: The graffiti completion timer varies based on design complexity. Simple tags take approximately 3-4 seconds, while elaborate designs can require 8-10 seconds, significantly increasing arrest risk in exposed locations.
Pro-Level Territory Domination
Mastering Schedule 1’s graffiti system extends beyond simple location completion. Advanced players optimize their approach through strategic sequencing and risk management. Begin with Downtown’s high concentration of easy targets to establish rapid territorial foothold, then pivot to Northtown for quick additional gains.
Schedule Westville operations exclusively during nighttime hours to exploit reduced police visibility, and always approach Suburbia with vehicle transportation prepared for its remote positioning. For Uptown’s complex layout, consider creating a custom route map during initial reconnaissance missions to streamline subsequent operations.
The most common mistake new players make is attempting regions in geographical rather than strategic order. Prioritize based on location density and difficulty, not proximity. Additionally, always monitor your spray can inventory before extended operations – running out mid-campaign wastes valuable time and momentum.
Remember that consistent territory control through graffiti directly translates to reduced rival cartel capabilities in affected regions, making this mechanic crucial for long-term criminal empire dominance in Schedule 1’s evolving urban landscape.
No reproduction without permission:SeeYouSoon Game Club » Schedule 1 graffiti guide: All spray-painting locations Master Schedule 1's graffiti system to dominate cartel wars with strategic territory control tactics