A comprehensive guide to mastering all Upgrade-O-Rama challenges in Revenge of the Savage Planet with expert strategies and common pitfalls.
Understanding Upgrade-O-Rama: Your Path to Better Gear
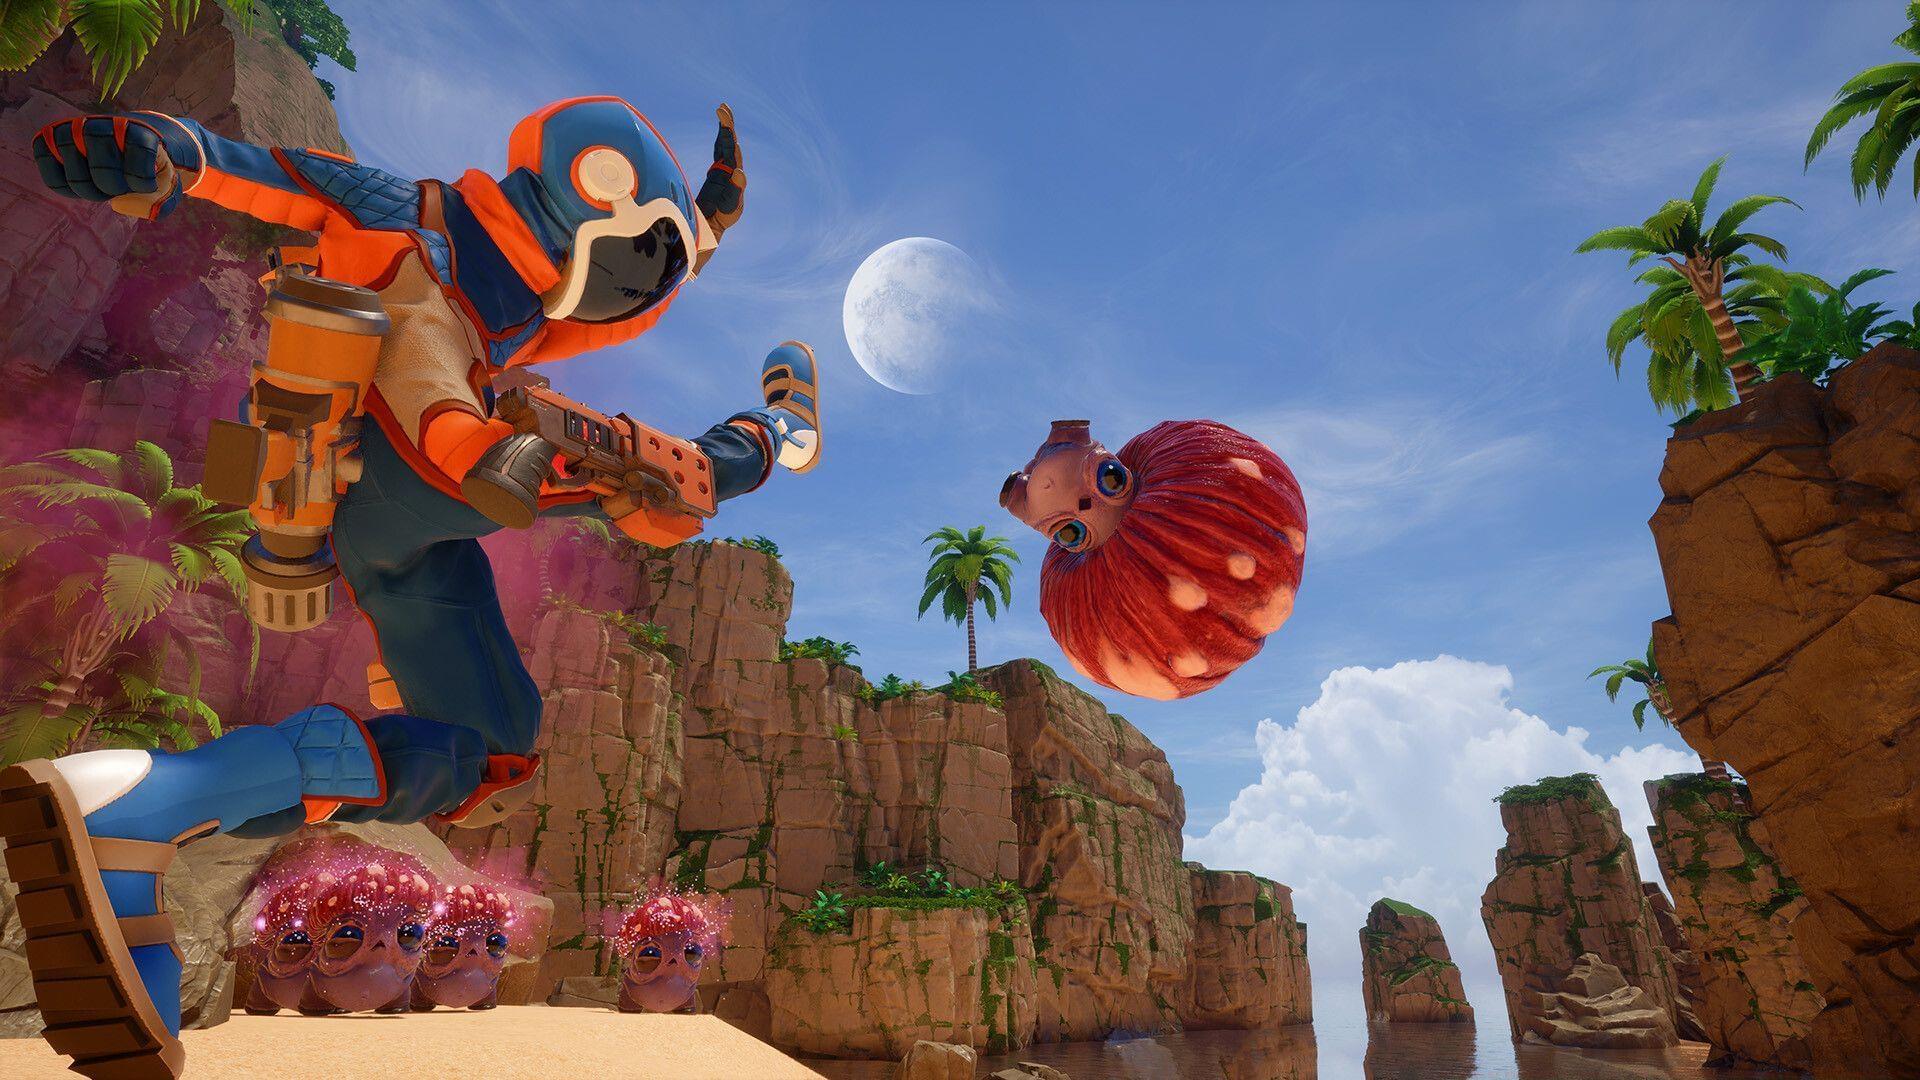
Upgrade-O-Rama in Revenge of the Savage Planet represents a specialized progression system distinct from standard combat quests. These creative assignments test your mastery of the game’s physics, environmental interactions, and weapon mechanics rather than raw firepower. Successfully completing each cluster of tasks elevates your Clearance ranking, which directly translates to accessing enhanced equipment schematics and superior crafting components. Think of it as proving your versatility to the galactic bureaucracy.
Pro Tip: Don’t approach these as mere checklists. Each challenge is designed to teach you a specific game mechanic that will be crucial for later story missions and optional content. Mastering the dive-bomb, for instance, teaches precision aerial control needed for certain platforming sections.
Stellaris Prime Challenges: Early Game Mastery
Navigate to PFyzzich Beach during daytime cycles when Slitherflies congregate near the shoreline. Target groups rather than individuals—your water gun has a slight area-of-effect splash. The stagger animation is subtle: watch for a brief wing flutter and altitude drop. Common Mistake: Players often waste time trying to hit solitary flies; wait for clusters of 3-4 for efficient completion.
Locate the towering fungal structures in Slarragon Forest’s northern section. The key isn’t just height—you must achieve a near-vertical descent. Press your dive button (Triangle/Y) when you’re approximately one character height above the water’s surface. Advanced Technique: Combine this with a forward sprint jump off the cliff for extra style points, though it doesn’t affect completion.
This challenge tests bait mechanics understanding. Target species that exhibit territorial behavior (indicated by red nameplates). Throw the bait directly between two creatures, not on one. The ideal scenario involves hitting a group leader to trigger pack aggression. Critical Note: If creatures are already engaged with you, they won’t turn on each other—break line of sight first.
Freeze mechanics require full charge until your reticle displays the ice crystal icon. Position yourself so the bounce shot trajectory passes through multiple frozen targets. Upgrade Dependency: As noted, the Bounce shot upgrade from the Habitat is mandatory. Optimization: Group enemies using bait before freezing them for multi-kill efficiency.
Vertical distance is measured from your feet to the enemy’s head. Use the giant mushroom caps as launch platforms. The targeting reticle turns red when you’re properly aligned. Pro Strategy: Weaken enemies first with ranged attacks so the stomp delivers the killing blow, as partial damage won’t count.
This is arguably the most technically demanding early challenge. Split Mitoslimes until you have at least 12-15 fragments (extra provide buffer). Power hose charging is indicated by a swelling visual effect. The chain reaction requires precise timing—wait until ALL fragments display the glowing “ready to burst” aura. Common Failure: Impatience causes premature detonation of partial groups.
The Gelatinous blob stabilizer upgrade alters blob physics, creating higher bounces. Target Brainards near PFyzzich Beach’s eastern cliffs for predictable flight paths. Timing Secret: Shoot during the apex of their bounce, not on the way up or down, for reliable registration.
Xephyr Desert Trials: Mid-Game Skill Tests
Find the long, gradual dunes in the central Sand Sea. The slide momentum is affected by slope angle—descending slopes maintain speed better. Hidden Mechanic: Tapping the slide button twice rapidly initiates a longer, faster slide than the standard single tap. The 40-meter trophy mentioned requires this advanced technique.
Bait placement is everything. Use the elevated rock platforms to drop bait into natural choke points where creature paths converge. The shock effect has a small delay—wait for the full group to gather before triggering. Common Error: Using shock too early scatters the remaining creatures.
Deflection requires pressing the counter button within 0.3 seconds of projectile impact. Each creature type has distinctive firing animations—study them. The Zenthian Rift recommendation is crucial because certain enemies there fire slower, more predictable projectiles. Registration Bug Workaround: If a deflection doesn’t register, ensure you’re facing the exact firing creature when countering.
Quicksand pools have distinct bubbling visual effects. Lure enemies using bait, then position yourself so your kick trajectory sends them toward the pool’s center. Advanced Tactic: Weaken enemies first so a single kick pushes them farther.
Vaperons have a hidden health threshold—they must be below 30% health for kicks to finish them. Use environmental damage or weak weapons to reduce health without killing. Critical Warning: Even accidental splash damage from your weapons invalidates the challenge.
The whip has a specific sweet spot—aim for the shell’s glowing weak point. Fully charged whip strikes deal double shell damage. Strategic Insight: Complete this challenge immediately after obtaining the whip, as later-game beetles have reinforced shells.
Advanced Zone Challenges: Late Game Expertise
Elemental enemies display obvious visual cues: frost aura versus magma glow. The damage multiplier is 3x when using opposite elements. Proficiency Test: This challenge verifies you’ve mastered the elemental weapon switching system needed for end-game bosses.
The Drone glider upgrade includes an altitude maintenance mechanic—holding the glide button reduces descent rate. Optimization: Complete this passively while traveling between other Quasadron IX objectives to avoid dedicated grinding.
Babutts patrol in predictable pairs. Green goo has limited range—position yourself equidistant between two targets. The “butt” hitbox is surprisingly generous; aim center-mass on their rear quadrant. Visual Confirmation: Successful coating creates a distinct floating animation.
Ferro goo application lasts only 8 seconds. Capture immediately after coating—the gadget animation time counts against the effect duration. Efficiency Method: Coat one Tatushkey, capture it, then immediately coat another without switching tools.
This is a weapon rotation test. Pre-place the Bombergranate as it has arming time, then immediately switch to Blight bomb. The charge shot should be pre-charged during your approach. Timer Insight: The 20-second clock starts from first damage, not first weapon use.
Pro Tips and Common Mistakes
Strategic Sequencing: Group challenges geographically to minimize travel time. Complete all Stellaris Prime tasks before moving to Xephyr, for example. Check your Habitat upgrade status before attempting dependent challenges—nothing wastes time like arriving unprepared.
Common Pitfalls: Many players fail the “Kick 3 Vaperons” challenge by using powered kicks (which count as weapons). The bait aggression challenge fails if creatures are too far apart—they need to be within visual range of each other. Projectile deflection often fails due to facing direction; your character model must be oriented toward the shooter.
Advanced Optimization: For efficiency, complete the glide challenge passively while traveling. Use the map’s fast travel points strategically when moving between challenge clusters. Some challenges (like Mitoslime bursting) are easier with co-op partner assistance, though the game doesn’t require it.
Bug Awareness: Several challenges have occasional registration issues. If a task doesn’t complete despite correct execution, exit to main menu and reload—this often resets challenge tracking. The projectile deflection challenge is particularly sensitive to network latency in online play.
That’s all on Upgrade-O-Rama Challenges in Revenge of the Savage Planet.
Check out: Does Revenge of the Savage Planet have co-op?
No reproduction without permission:SeeYouSoon Game Club » Revenge of the Savage Planet: All Upgrade-O-Rama Challenges and how to complete them A comprehensive guide to mastering all Upgrade-O-Rama challenges in Revenge of the Savage Planet with expert strategies and common pitfalls.