TL;DR
- Ashley’s solo segment occurs after Leon gets trapped, featuring unique puzzle mechanics and treasure hunting
- The Blue Lantern serves dual purposes: illumination and freezing Living Armor enemies in place
- Clock puzzle solutions vary by difficulty – 11:04 for Assisted/Standard, 7:00 for Hardcore/Professional
- Library exploration yields the Bunch of Keys for treasure access and future weapon unlocks
- Strategic enemy management and route optimization maximize treasure collection efficiency
Taking control of Ashley Graham marks a pivotal gameplay shift in Resident Evil 4’s Castle sequence. This exclusive segment activates after Leon’s imprisonment, transforming the typically vulnerable companion into an active protagonist with distinct mechanics. Understanding this section’s strategic value helps players maximize rewards while navigating environmental challenges.
The transition occurs immediately following completion of the Chimera Heads Statue puzzle. A cinematic sequence depicts Leon’s capture, forcing Ashley to flee independently. During this escape, she acquires the Blue Lantern – her primary tool for both navigation and defense. This artifact becomes central to progressing through the Castle’s hidden chambers.
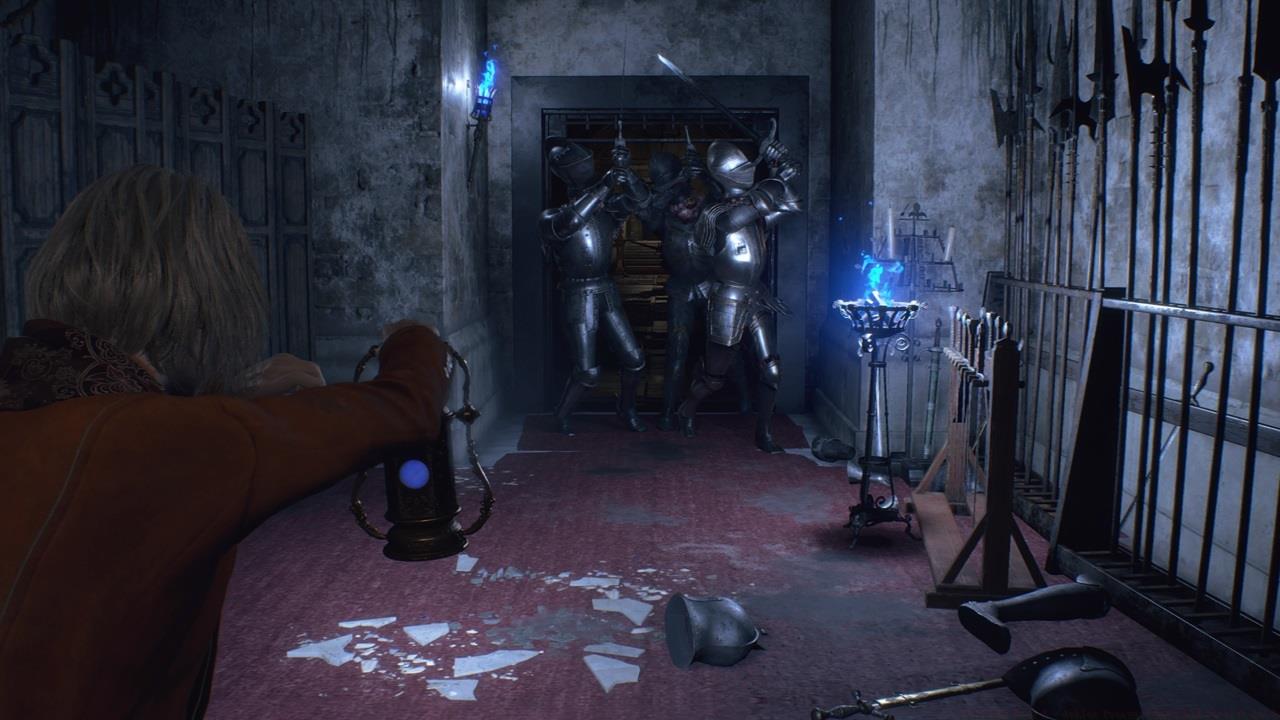
The Blue Lantern’s freezing effect provides crucial crowd control against armored opponents.
Strategic timing proves essential during Ashley’s solo mission. Players should prioritize exploration before advancing the main objective, as certain areas become inaccessible once Leon rejoins the party. The segment’s duration typically spans 15-25 minutes depending on difficulty and completionist goals.
The Blue Lantern represents Ashley’s sole defensive capability throughout this sequence. Beyond its obvious illumination function in darkened corridors, the device emits a specialized energy that immobilizes Living Armor entities. These cursed knights, while slow-moving, present significant threats in confined spaces where evasion proves challenging.
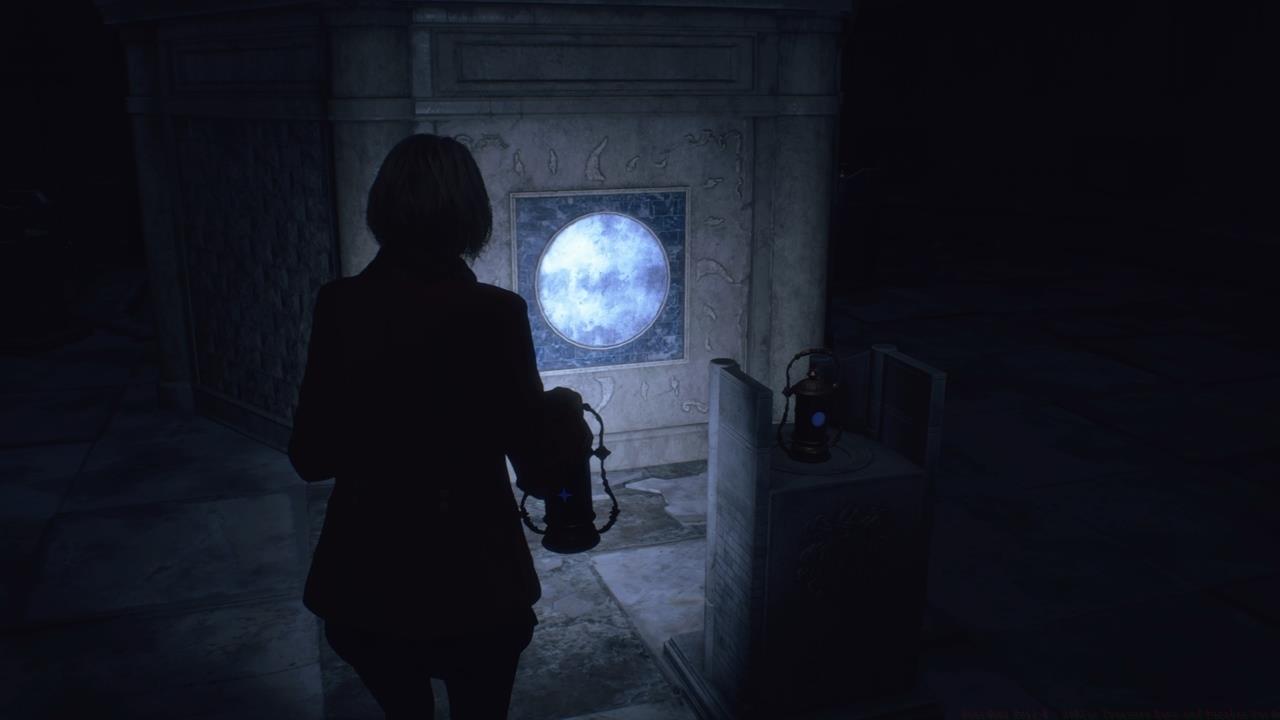
Advanced applications include environmental interaction – certain mechanisms respond exclusively to the lantern’s blue wavelength. Players should note that the freezing effect requires direct exposure and maintains limited duration, necessitating strategic positioning during encounters.
Symbol-matching becomes crucial for efficient treasure acquisition throughout the Castle.
Common mistakes include underestimating the lantern’s recharge time between uses and attempting to engage multiple enemies simultaneously. Optimal strategy involves isolating threats and utilizing the environment for cover while the device regenerates its freezing capability.
The Grandfather Clock puzzle serves as the segment’s primary environmental challenge. Located in the main hall, this antique timepiece requires precise hand alignment to unlock hidden passages. The solution demonstrates Resident Evil 4’s adaptive difficulty system through mode-specific requirements.
For Assisted and Standard difficulties, rotate the clock hands to display 11:04. This configuration reveals a concealed doorway leading toward the Mausoleum. However, progression down this path should be delayed until key items are secured elsewhere.


Clock puzzle interface and key acquisition demonstrate the segment’s interconnected design.
Hardcore and Professional modes demand alternative timing: precisely 7:00. This variation reflects the game’s commitment to rewarding player skill across difficulty tiers. Speedrunners should memorize both solutions to optimize completion times.
Following the clock puzzle, redirect toward the Library’s main chamber. The opposite wall features a pedestal designed specifically for the Blue Lantern. Placement activates hidden mechanisms, revealing previously concealed compartments and lowering a retractable staircase.
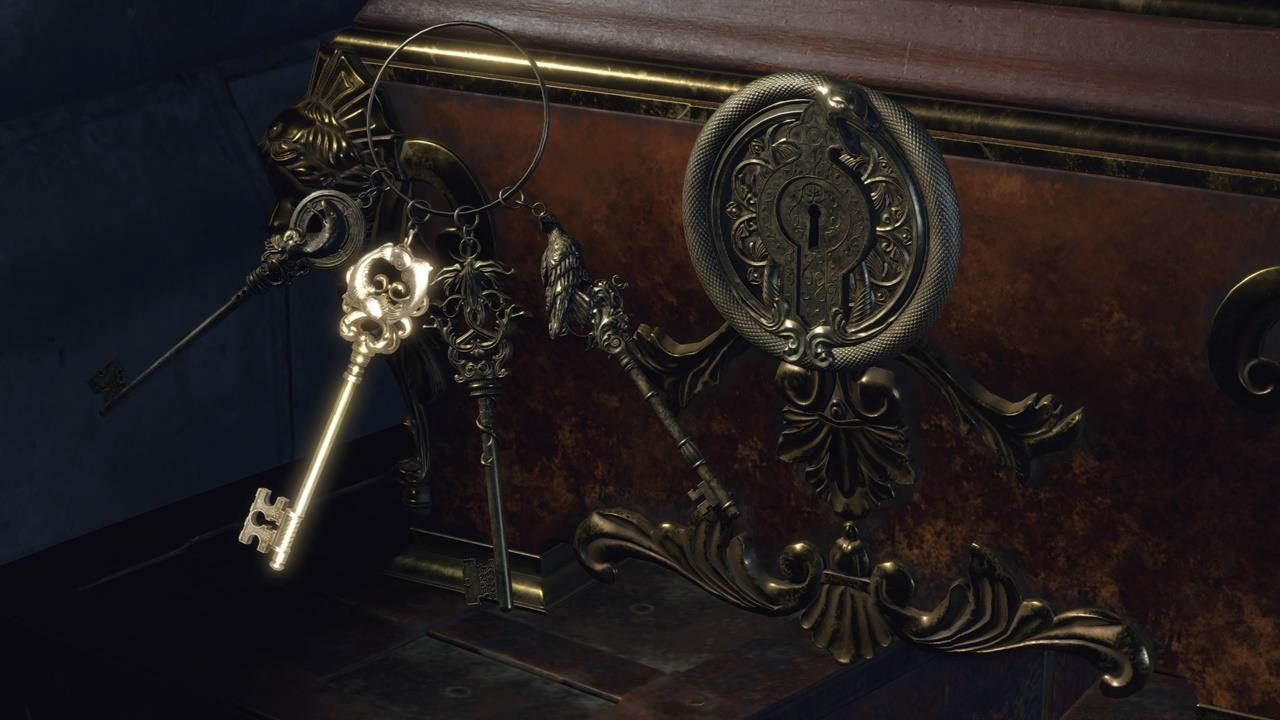
Ascend to the second-floor landing to locate the crucial Bunch of Keys. This item collection unlocks numerous treasure containers throughout the Castle wing, significantly impacting total acquisition value. Each key corresponds to specific symbol-marked locks.
The Library houses two Living Armor enemies that patrol the premises. Their sluggish movement patterns allow for easy circumvention, but the Blue Lantern provides insurance if navigation becomes complicated. Freezing duration lasts approximately 8-10 seconds, providing adequate window for repositioning.
Spatial awareness proves vital when navigating the Library’s multi-level layout while managing enemy threats.
Notably, Ashley encounters a square wall niche she cannot access – this reserved content becomes available later when controlling Leon, rewarding thorough exploration with the powerful CQBR Assault Rifle.
Efficient route planning separates novice from expert playthroughs. Begin with clock puzzle completion, then immediately proceed to Library key collection before investigating the Mausoleum passage. This sequence ensures maximum treasure accessibility while minimizing backtracking.
Symbol matching puzzles require careful observation but reward significant treasure yields.
Advanced players should prioritize the Bunch of Keys acquisition before addressing other objectives. This approach unlocks treasure containers during initial exploration rather than requiring return trips later.
Resource management extends beyond immediate combat needs. The Blue Lantern’s energy conservation becomes crucial during extended exploration sequences. Learning enemy patrol routes enables efficient navigation without unnecessary engagements.
For those pursuing completionist runs, consulting our Complete Guide provides additional strategic frameworks applicable across gameplay segments. Weapon enthusiasts should reference the Weapons Unlock guide for comprehensive armament strategies.
Action Checklist
- Complete Chimera Heads Statue to trigger Ashley solo sequence
- Acquire Blue Lantern and test freezing mechanics on Living Armor
- Solve Grandfather Clock puzzle according to difficulty mode
- Navigate to Library, place lantern on pedestal, and secure Bunch of Keys
- Systematically unlock treasure containers using symbol-matched keys
No reproduction without permission:SeeYouSoon Game Club » Resident Evil 4 – Ashley Treasure Keys And Puzzles Guide Master Ashley's Castle segment with expert strategies for puzzles, treasures, and enemy encounters