Master the redesigned Outback map in Rainbow Six Siege with strategic insights, practical tips, and new breach points explained.
Introduction: The Outback Evolution
Rainbow Six Siege’s Operation High Calibre has deployed a comprehensive overhaul of the Outback map, fundamentally altering its layout, bomb sites, and competitive viability.
This rework transforms the once cramped Australian motel into a more balanced and destructible battlefield. Originally introduced in Year 4’s Operation Burnt Horizon, Outback was often criticized for its tight corridors and limited entry points. Ubisoft’s redesign aims to cement its place in the competitive map pool.
The core philosophy behind the Outback facelift is to grant attackers more agency. Nearly every area has been touched, resulting in expanded rooms, new lines of sight, and—most importantly—additional ways to breach the building from the outside. This guide will break down the specific changes to each bomb site and explain how they affect both attack and defense strategies for players looking to gain an early advantage on the revamped terrain.
Detailed Bomb Site Analysis & Strategic Impact
Site 1: Laundry & Piano Room (formerly Dorms)
The shift of the bomb site from Dorms to Piano Room creates a more defensible anchor point for defenders. However, this advantage is counterbalanced by the new Terrace, which provides attackers with a powerful external platform accessed from Mezzanine. From here, attackers gain long-range sightlines directly into the site, making it difficult for defenders to hold the plant without significant utility use. A new, larger hallway behind Laundry and expanded Dorms area gives attackers additional flanking routes and approach options, reducing predictable funneling.
Site 2: Party Room & Office
While the core rooms remain similar, the surrounding hallways are redesigned. The Garage approach is now safer due to shelving that blocks defender sightlines. Crucially, a new breachable external wall in Office Supply (East side) creates a direct entry point, eliminating the need to vault through a barricade. This allows for faster, quieter pushes and enables operators like Sledge or Ash to open a new path for the team.
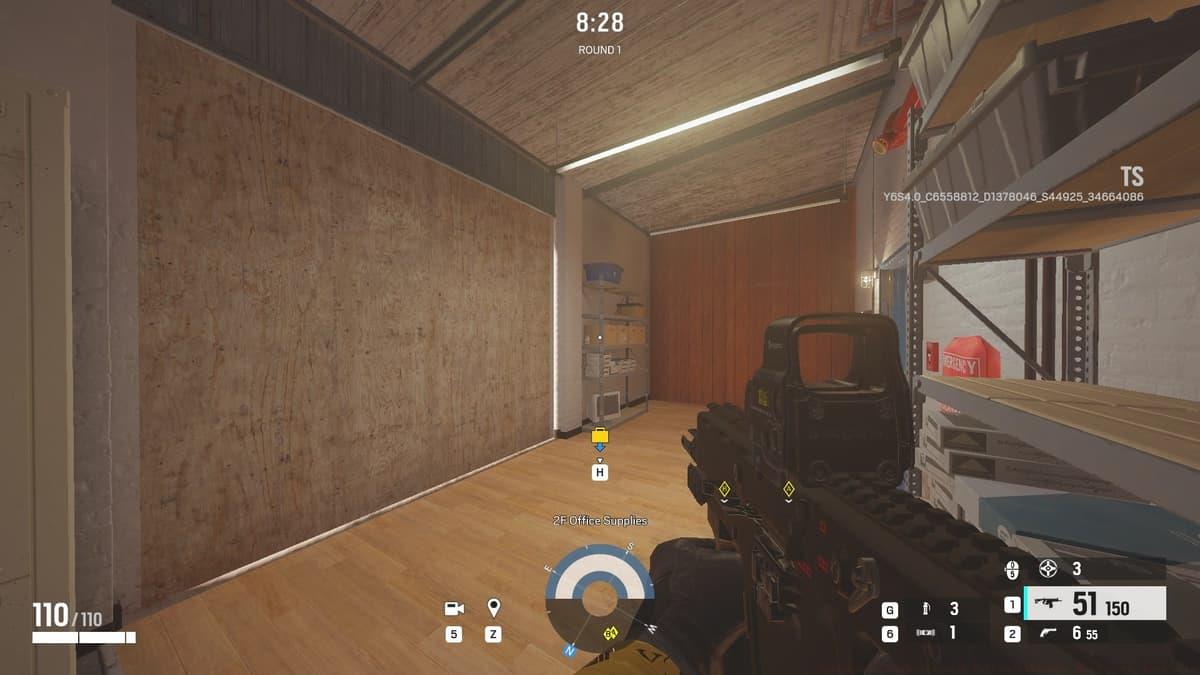 Ubisoft
This new breach point in Office Supply wall fundamentally changes how attackers pressure the Office site.
Site 3: Nature Room & Bushranger Room
Changes here are more subtle but impactful for site setup. The connecting bathroom is enlarged, and the kitchenette in Red Bedroom is reconfigured. The most significant addition is a full, destructible wall between the two sites, replacing the previous closet rotate. This gives defenders more flexibility in creating rotation holes but also opens up new vertical destruction opportunities for attackers from above or below.
Site 4: New Mechanic Shop (Replaces Compressor Room)
The chaotic lower area consolidates several small rooms (Convenience Store, Compressor Room, Gear Store, Beer Fridge) into two larger spaces. The new Mechanic Shop bomb site expands towards Kitchen and features multiple rotation points, including the main front door. Defenders must now watch more angles, while attackers can execute split pushes from Kitchen and the main entrance more effectively.
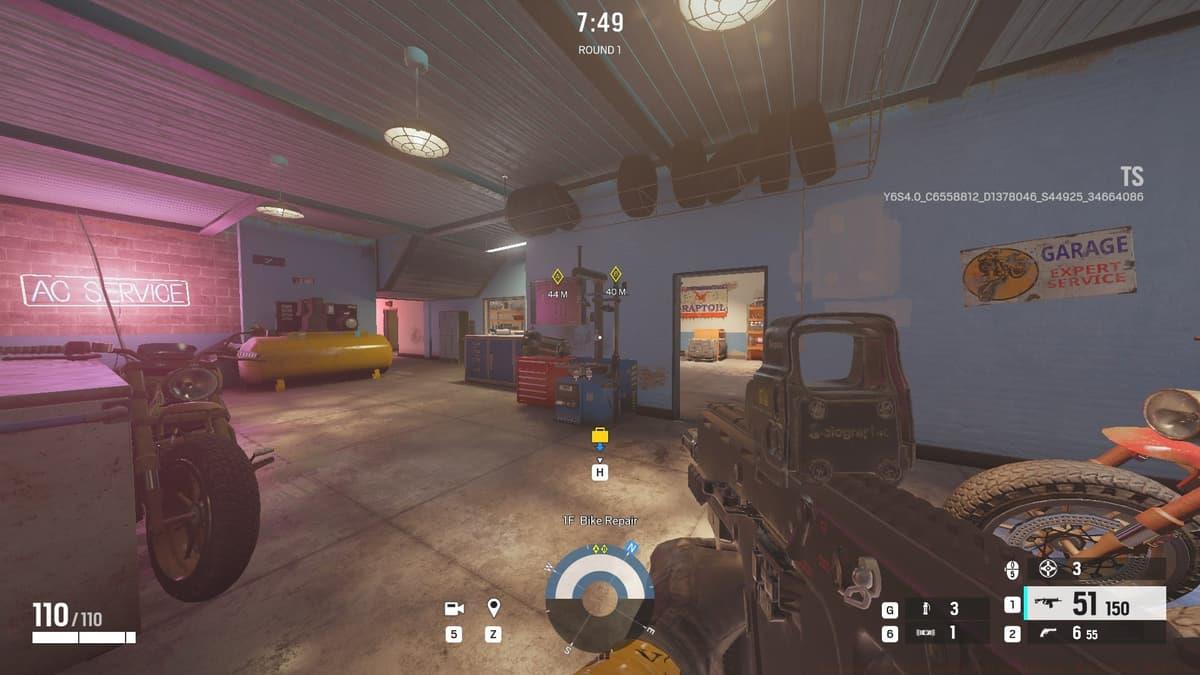 Ubisoft
The redesigned Mechanic Shop offers a more open, multi-angle combat space compared to the old Compressor Room.
Major Meta Shifts: Attack-Friendly Redesign
The original Outback was notorious for its lack of external destructibility, forcing attackers through few, easily held doors. The rework addresses this head-on by introducing multiple soft walls on external balconies and new breach points like the one in Office Supply. This gives soft and hard breach operators (Thermite, Ace, Hibana, Maverick) significantly more value, allowing teams to open unexpected sightlines and create alternative entry vectors that break static defenses.
Map flow is cleaned up substantially. The removal of the staircase between Restaurant and Piano Room creates space for the strategic Terrace. Furthermore, random clutter and debris have been cleared out, making movement and clearing corners smoother for both sides. This “decluttering” reduces cheap hiding spots and favors more deliberate, tactical play.
While the three attacker spawn locations are unchanged, the altered building exterior and new entry points mean spawn selection is now a strategic choice. Spawning on one side versus another can facilitate a faster execute on a specific site due to the new breachable walls. For example, spawning on the east side may give quicker access to the new Office Supply breach for a fast Office take.
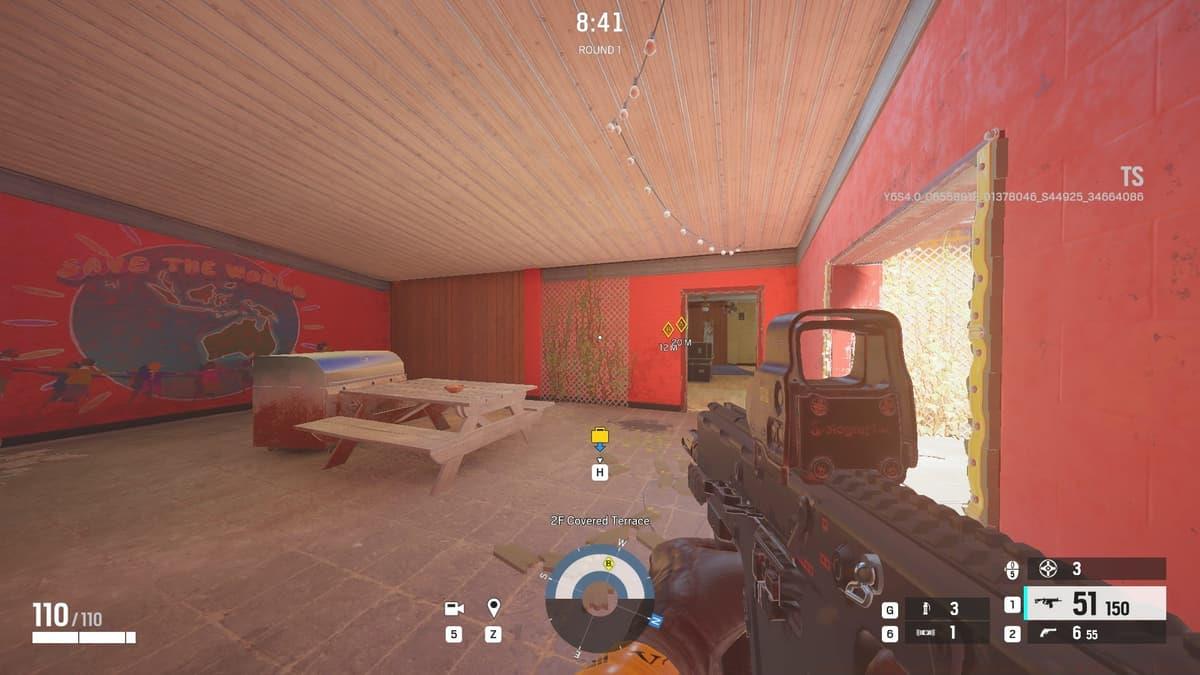 Ubisoft
The new Terrace area replaces old geometry, providing a powerful holding position for attackers.
Advanced Player Tips & Common Mistakes
Attacker Playbook
* Prioritize New Breaches: Use your hard breach charges on the new external walls (Office Supply, various balconies) to surprise defenders accustomed to old setups.
* Control the Terrace: Securing the new Mezzanine Terrace is crucial for executing on the Laundry/Piano site. Bring an operator with claymores or airjabs to cover the flank from Restaurant.
* Utilize Vertical Play: The expanded spaces and new destructible walls (like between Nature and Bushranger rooms) open up more vertical destruction from floor above. Bring Buck or Sledge.
Defender Counter-Strategies
* Reinforce New Externals: Your reinforcement priorities must change. The east Office Supply wall is now a mandatory reinforcement.
* Play Longer Angles: Defenders can now hold longer sightlines from Piano into Terrace or from expanded hallways. Consider ACOG sights on defense where you previously wouldn’t.
* Adjust Roam Patterns: With more entry points, roamers need to cover more ground. Use bulletproof cameras or proximity alarms on new breach lanes to gather intel.
Pitfalls to Avoid
* Mistake: Defending the old “Dorms” site setup. The room flow is different; anchors need to position for the Terrace angle.
* Mistake: Attackers wasting utility on old breach points. Focus on the new, more impactful soft walls.
* Mistake: Ignoring the new rotation holes defenders can make. Always drone the full wall between Nature and Bushranger rooms for unexpected rotates.
The Outback rework launches alongside Operator Thorn and significant balance updates for Finka, Valkyrie, and Mozzie in Operation High Calibre. Mastering these map changes will be key to adapting to the new seasonal meta.
No reproduction without permission:SeeYouSoon Game Club » Rainbow Six Outback rework full walkthrough: Map layout, bomb sites Master the redesigned Outback map in Rainbow Six Siege with strategic insights, practical tips, and new breach points explained.