Complete Battlefield 6 Night Raid mission walkthrough with stealth tactics, combat strategies, and expert tips
Mission Overview and Strategic Preparation
Night Raid represents the fourth operational sequence within the Battlefield 6 Campaign narrative. This mission transports players to the nocturnal urban landscape of Cairo, Egypt, where GSGT Dylan Murphy and the specialized Dagger 1-3 unit intensify their pursuit of Selim while gathering critical intelligence regarding Pax Armata’s strategic objectives. True to its designation, the operation unfolds entirely during nighttime conditions, necessitating prolonged utilization of night vision technology while conducting systematic sweeps through the metropolitan corridors.
Strategic preparation proves essential for mission success. Before initiating the operation, ensure your loadout includes suppressed weaponry for covert engagements and familiarize yourself with the night vision activation mechanics. The urban environment presents multiple vertical elements that can be exploited for tactical positioning.
Here we break down all primary and secondary mission parameters in sequential progression to maximize operational efficiency.
Initial Stealth Infiltration Phase
Following the introductory cinematic sequence, operational commencement places you within a restricted urban sector. At this juncture, adhere to your squad’s movement pattern toward the subterranean access point and activate your night vision apparatus by engaging the designated ‘X’ key binding.
Proceed to manipulate the appropriate control input to forcibly disengage the locking mechanism, gaining entry into the underground conduit network. Subsequently, maintain close proximity to Carter as he navigates the primary pathway through the sewer infrastructure. Maintain weapons silence throughout this segment, as hostile elements remain positioned directly overhead at surface level.
Weapons discipline becomes particularly critical when auditory detection of Pax Armata personnel communications occurs overhead. Upon their departure from the immediate vicinity, Carter will orchestrate the team’s emergence to the surface, initiating the subsequent mission objective.
The operational pattern persists during surface transit throughout this Battlefield 6 campaign sequence. Maintain formation with Carter while exercising fire discipline as the unit progresses through Cairo’s thoroughfares. Civilian and Pax Armata forces engage in confrontations throughout the streets, necessitating maintained low visibility profile. Assume crouched positioning when tactically advisable and continue advancement.
Occasional encounters with individual enemy combatants may occur during transit, but refrain from initiating engagement unless directly threatened. The paramount objective remains maintaining covert presence and remaining undetected while progressing toward the palace complex.
Stealth Execution Tip: Utilize environmental shadows and debris for concealment. Moving during patrol rotation gaps reduces detection risk significantly compared to direct confrontation.
After substantial distance coverage, Carter will execute a right directional change and designate a specific Pax Armata sentry for silent neutralization. The targeted soldier will be visible conducting patrol routines with clear objective marker designation. Deploy your bladed weapon and execute careful approach from behind. Engage ‘F’ or the appropriate designated control to perform takedown maneuver.
The Night Raid operational sequence within the Battlefield 6 campaign will promptly transition to the subsequent objective following this action.
Palace Complex Infiltration Strategies
Execute deliberate approach toward the subsequent objective marker. You’ll receive tactical alert regarding three or four additional combatants positioned ahead. Maintain position until Carter provides engagement authorization, then commence targeted elimination. Select individual targets systematically and employ suppressed rifle systems for rapid neutralization. Your squad members will coordinate to eliminate remaining hostile elements.
Combat Efficiency: Prioritize enemies with unsuppressed weapons first to minimize audio detection. Headshots with suppressed weapons prevent alert states more effectively than body shots.
The Battlefield 6 campaign objective reverts to metropolitan navigation following this engagement. Resume following Carter while maintaining low visibility protocol; abstain from offensive actions unless game directives specifically authorize engagement.
You’ll rapidly reach the thoroughfare directly opposing the palace structure. Avoid open positioning or careless observational behavior toward the palace architecture. Hostile forces may achieve visual identification under these circumstances. The game interface will provide notification if detection processes initiate. Al-Khatib identifies an access point to your unit, prompting subsequent movement. Follow Carter toward your next tactical objective.
Following brief progression, you’ll encounter an additional Pax combatant. Execute stealth approach and neutralize with bladed weapon quietly. Continue following Carter toward the Palace perimeter walls, accessing point of complex ingress.
The tactical unit will position scaling apparatus, ascend, and infiltrate the palace grounds. Maintain night vision systems activation. Despite slight illumination increase, continued night vision utilization remains advisable for optimal visibility maintenance. You’ll need to evade and engage hostile forces within low-light conditions.
Your subsequent objective following ingress involves power system disruption. Accompany Carter during covert infiltration of palace grounds. The unit must progress to the designated objective marker to execute power termination. Maintain reduced profile through crouched movement and avoid weapons discharge.
Carter will subsequently direct entry into the electrical control chamber and execute power termination. Follow the objective designation and engage ‘E’ or appropriate control input to initiate blackout conditions.
Your next Battlefield 6 Campaign objective involves ground level reconnaissance and necessary target elimination. Advance toward the objective marker and neutralize all encountered hostile elements. At this juncture, weapons employment becomes permissible when required and low profile maintenance becomes unnecessary.
Infiltrate the Palace’s ground level with your tactical unit and eliminate enemy combatants. Following complete hostile neutralization, conduct area reconnaissance and acquire all valuable resources, including ammunition, firearms, and explosive devices.
At the Northern structural terminus, you’ll identify an accessible doorway. Traverse this opening, execute left directional change, then subsequent left turn to encounter additional enemy forces. Significant explosive detonation will occur. Assume covered positioning and engage visible targets.
Resource Management: The palace ground floor contains multiple ammunition caches. Prioritize stocking up on explosives and armor-piercing rounds for upcoming heavy combat sequences.
Upper Level Confrontation and Objective Completion
Subsequently, you must ascend to the elevated level and eliminate remaining hostile elements to locate the intelligence source. Progress Southward through the accessible doorway to locate stairwell access. This will provide route to the upper level.
Additional enemy presence will be encountered here; execute rapid elimination and search for the informant. Progress Northward through two doorways. Second door unlocking will expose you to hostile forces; execute rapid neutralization. Clear the chamber, return exterior, and inspect adjacent chamber immediately left upon exterior emergence.
Finally, examine the Northern chamber following Carter’s directive. This room will demonstrate secured deadbolt mechanism. Carter will discharge weaponry to breach the locking mechanism, exposing you to multiple enemy combatants, return fire, and maintain survival during this Battlefield 6 Campaign engagement.
Regrettably, during this exchange, the unit also discharges projectile into Selim’s anatomy, and he demonstrates convulsive ground movement following combat cessation. Selim expires, and you are compelled to sever his digital extremity.
Critical Error Avoidance: During the Selim confrontation, maintain cover behind concrete pillars rather than wooden furniture. Enemy grenades can destroy temporary cover, leaving you exposed to crossfire.
Following digital severance procedure, you must egress the Palace complex and proceed to extraction. Engage Pax forces during egress progression.
Advance toward the Southern egress following Carter and the tactical unit. Descend and maintain progression with Carter and Lopez through the structure. Acquire any weaponry or ammunition deemed necessary during transit.
Follow the unit through the Southern exit into the palace grounds, where additional soldiers will initiate assault in the Battlefield 6 Campaign. You may then re-enter the structure and egress Eastern side to access the garden area and open terrain.
You must combat through enemy resistance and egress through the Northern rear gate.
Urban Escape and Final Extraction
Following palace grounds egress, you must navigate Cairo’s streets to complete mission parameters. These represent the concluding ten minutes of the Night Raid sequence within the Battlefield 6 Campaign.
Initially, hostile elements will not be visible within the streets. Al-Khatib communicates extraction location coordinates. Follow the objective designation and maintain Northern progression. During advancement, aerial reconnaissance will conduct ground scanning. Utilize cover and subsequently infiltrate a structure through left-positioned shutter. Follow Carter and progress Westward.
Al-Khatib’s support unit is en route for retrieval. Maintain Carter proximity until extraction vehicle notification. The transport vehicle will arrive from Southern direction upon street access.
The extraction transport undergoes assault at this Battlefield 6 Campaign juncture. Execute rapid Easterly movement and traverse the adjacent structure. Follow Carter and neutralize visible hostile elements.
Follow Carter and progress Northward, encountering additional enemies. Maintain Northern advancement and traverse dilapidated structure following Carter and the unit. Eliminate all visible hostile elements to enable progression.
Subsequently, execute Easterly movement and continue engagement. Seek cover from aerial assault and access the right-positioned structure progressing Southward.
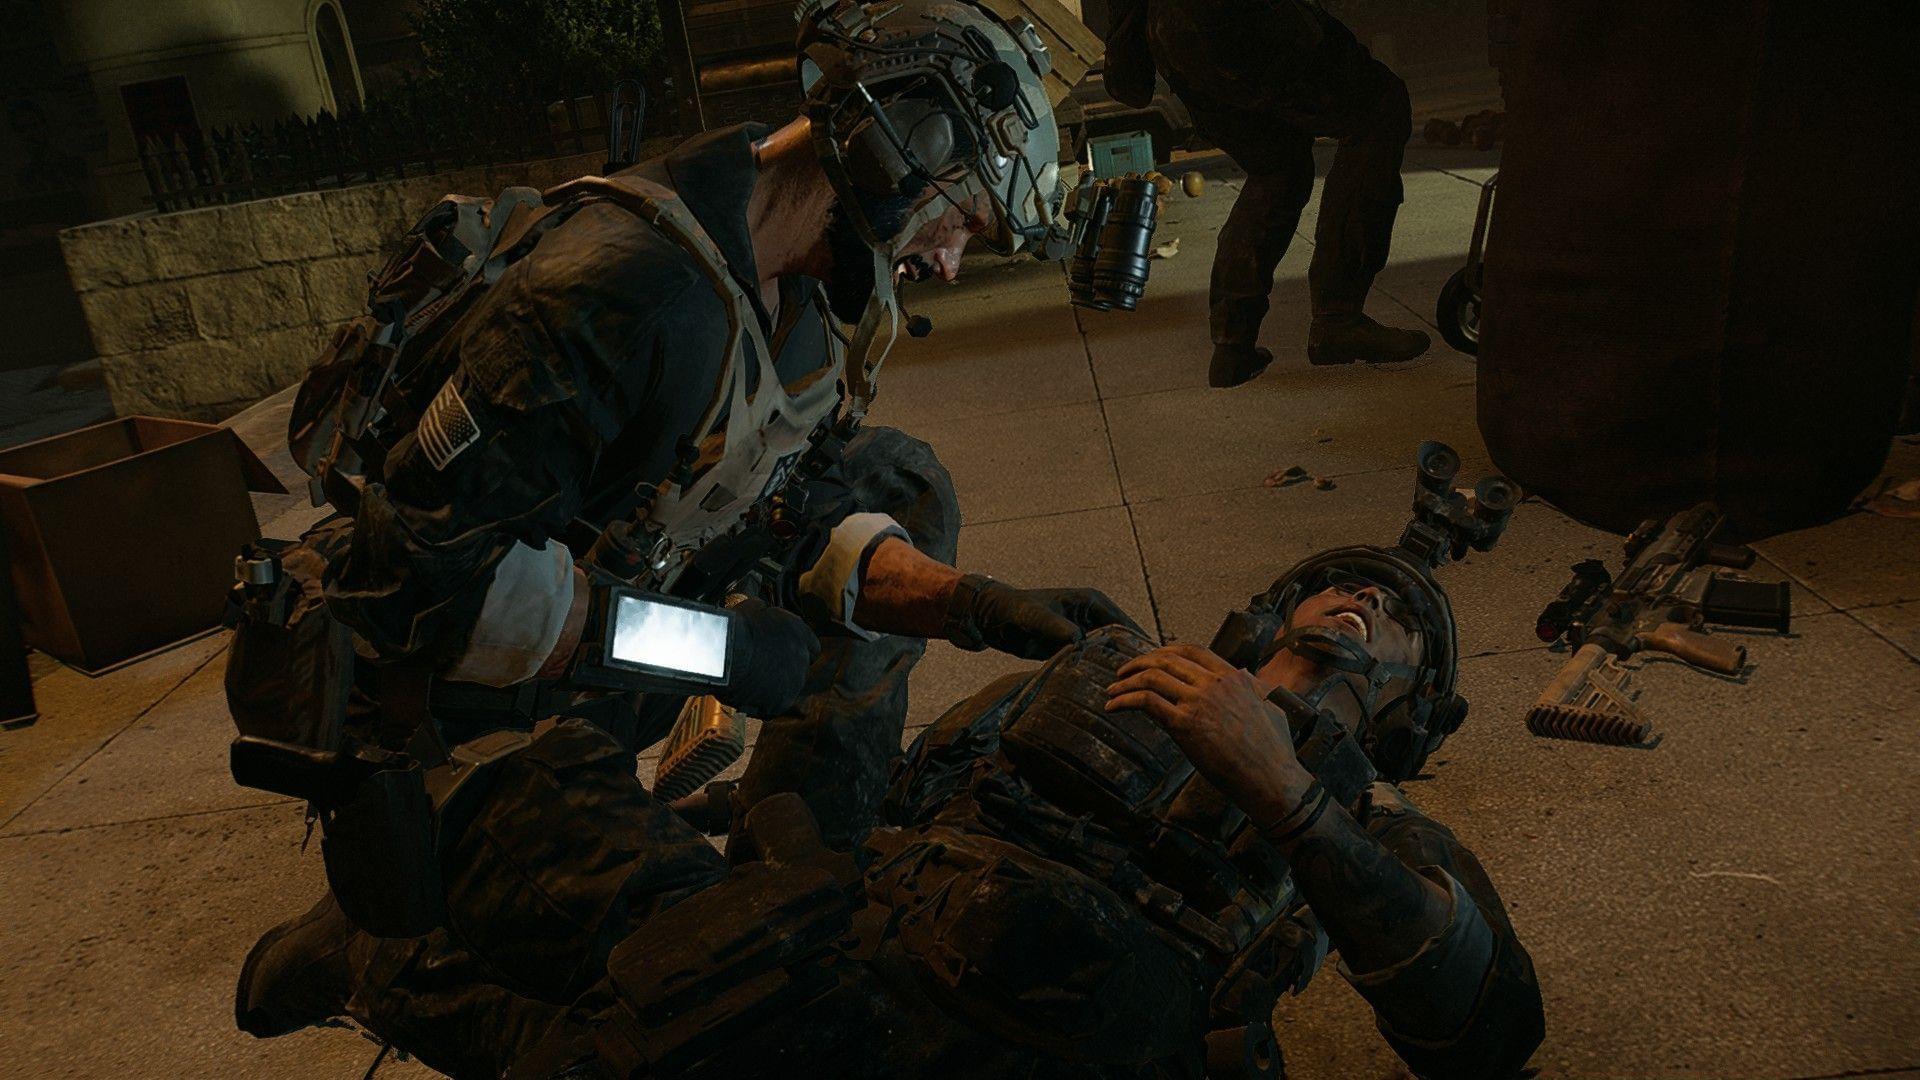
Then, simply accompany Carter to the extraction point. This returns you to Cairo’s primary thoroughfares. Cinematic sequence initiation will occur momentarily, featuring Lopez receiving ballistic injury. Meanwhile, Al-Khatib approaches for unit extraction.
Maintain covering fire for Lopez and Gecko during this Battlefield 6 Campaign segment. Protect allied forces during ambush circumstances from multiple directions. Aerial assault will also occur; assume covered positioning during this event, and continue engagement with plaza hostile elements.
Lopez will be relocated to a structure where the unit maintains covered positions. Here, following multiple hostile neutralizations in the vicinity, you’ll discover munitions cache. Acquire the RPG system to eliminate aerial threat.
Secure the weapon system, ascend to the secondary level balcony, and eliminate the hovering helicopter. Multiple engagement attempts will likely be necessary. Maintain covered positioning and await chopper hover initiation. This enables aim stabilization and successful engagement. Upon aerial target destruction, the Night Raid operation within the Battlefield 6 Campaign reaches conclusion.
Advanced Tactics: For the helicopter takedown, wait for the RPG to fully lock-on before firing. Moving to different balcony positions between shots prevents the helicopter from predicting your location.
This completes the operational walkthrough for Night Raid, the fourth campaign mission in Battlefield 6. Upon conclusion, the subsequent operation, No Sleep, commences immediately.
No reproduction without permission:SeeYouSoon Game Club » Night Raid mission walkthrough in Battlefield 6 Campaign (Mission 4) Complete Battlefield 6 Night Raid mission walkthrough with stealth tactics, combat strategies, and expert tips