TL;DR
- Newcastle excels at mid-range engagements using directional shield protection
- Prioritize knockdown shield upgrades for enhanced revive capabilities
- Coordinate with mobile legends for maximum defensive coverage and utility
- Master shield placement timing to counter aggressive push strategies
- Utilize weapon combinations that complement your defensive playstyle
This tactical guardian legend delivers an exceptional defensive toolkit that redefines team protection in Apex Legends combat scenarios.
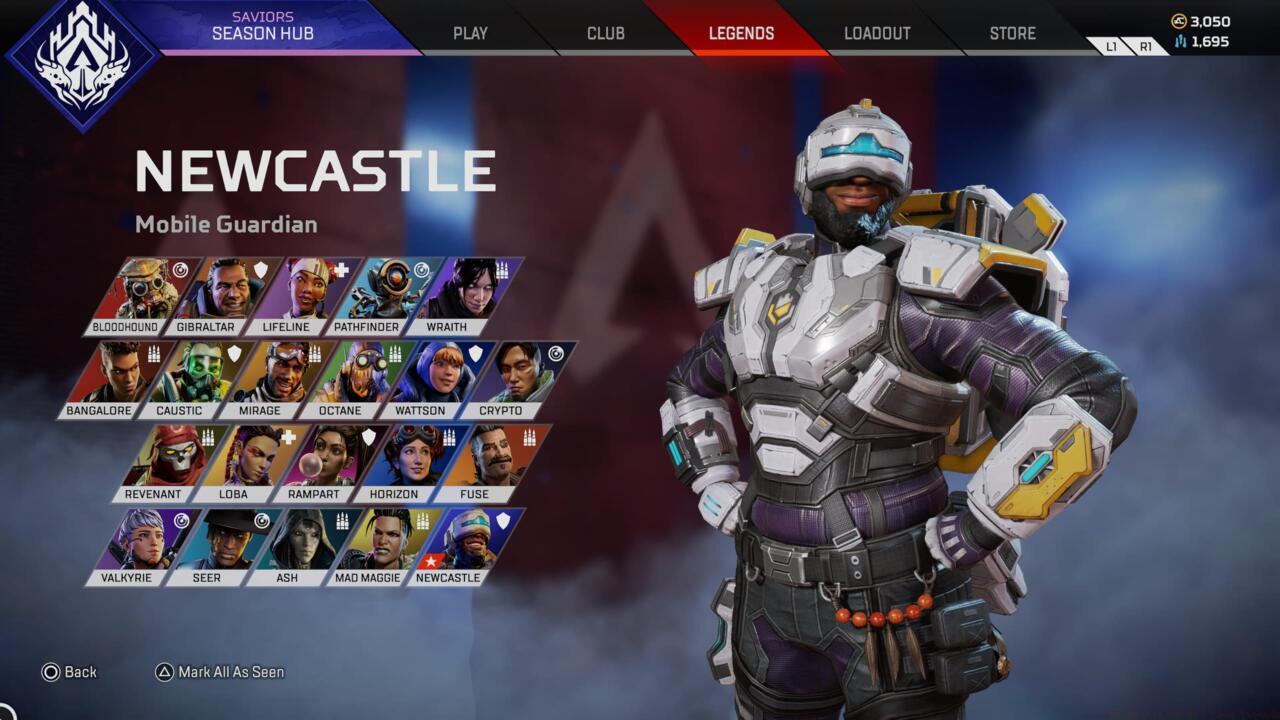
Newcastle
While Apex Legends maintains its reputation as a movement-centric battle royale experience, defensive strategies have gained significant traction in recent competitive seasons. Defensive specialists like Gibraltar and Rampart demonstrated that calculated protection often outperforms reckless aggression in high-stakes situations, prompting Respawn Entertainment to expand this playstyle archetype. Newcastle represents the pinnacle of defensive design, offering comprehensive shield protection that makes him an indispensable asset across diverse team compositions—when leveraged with strategic precision. This comprehensive guide reveals advanced techniques to maximize your effectiveness as Newcastle.
Newcastle’s ability kit focuses exclusively on defensive utility. Players seeking aggressive push options or enhanced mobility should consider alternative legends. However, his unparalleled protective capabilities frequently determine encounter outcomes when utilized at peak performance levels.
The Retrieve the Wounded passive ability enables Newcastle to drag incapacitated teammates while simultaneously reviving them. This maneuver deploys a protective energy barrier that shields both players from incoming fire during the rescue process.
His Mobile Shield tactical generates a substantial energy barrier that Newcastle can reposition and reorient dynamically to protect himself and allies from hostile fire. This versatile tool proves invaluable during tactical repositioning or when caught in exposed combat zones.
The Castle Wall ultimate ability propels Newcastle forward where he establishes an immense fortified barrier with tiered height sections. This design permits teammates to engage targets over lower segments while utilizing taller portions for comprehensive cover. Although sustained enemy fire can deteriorate individual wall segments, the structure demonstrates remarkable durability under pressure.
Transitioning from mobile legends to Newcastle requires significant playstyle adaptation. While maintaining movement remains essential, your primary objective shifts toward providing continuous tactical support for your squad. Maintain close proximity to teammates to enable rapid Mobile Shield deployment during critical moments or swift extraction of downed allies in proximity.
Although active participation in firefights remains necessary, maximizing Newcastle’s potential demands prioritizing teammate survival above personal achievements. In defensive play philosophy, the optimal offensive strategy frequently involves robust protection—keeping your squad operational and shielded ensures sustained combat effectiveness toward match victory.
Common Positioning Mistakes: Many Newcastle players underestimate the importance of elevation control and sightline management. Avoid positioning where your shields create predictable patterns that enemies can easily flank. Instead, utilize natural cover to supplement your abilities and create layered defensive positions.
Advanced Technique: Master the art of shield staggering—deploying Mobile Shield sections incrementally rather than simultaneously to extend defensive uptime and resource efficiency.
Given Newcastle’s directional protection specialization, mid-range engagements typically yield optimal results where you have adequate space to leverage shield capabilities. This makes assault rifles and light machine guns ideal primary weapons, allowing you to utilize Castle Wall cover while systematically depleting enemy health reserves without demanding frequent repositioning. However, maintaining a shotgun or submachine gun as secondary armament provides crucial close-quarters defense against hyper-aggressive opponents or when executing emergency teammate rescues.
Loadout Optimization: The R-301 or Flatline paired with a Peacekeeper or R-99 creates a versatile combination that covers all engagement distances effectively. For those mastering the weapons unlock systems in other games, similar principles apply regarding weapon synergy with character abilities.
Ammunition Management: Carry at least 300 rounds for your primary weapon since sustained suppressive fire forms a core component of Newcastle’s tactical approach.
Newcastle can retrieve downed teammates and pull them to safety during revival, with the protective shield generated during this process drawing power directly from his equipped knockdown shield. Consequently, Newcastle should receive priority for the highest-tier knockdown shields available to the squad. Fortunately, the shield regenerates automatically during inactive periods, ensuring consistent protection availability for squad emergencies.
Mobile Shield Durability: Contrary to some assumptions, the Mobile Shield possesses limited health and can be destroyed by concentrated enemy fire. Strategic deployment involves using it for brief protective intervals rather than sustained cover, repositioning frequently to prevent concentrated enemy fire from breaching it.
Castle Wall Mastery: Deploy your ultimate to create immediate defensive strongpoints during enemy pushes or to secure advantageous positioning during final ring contractions. The segmented design allows for tactical flexibility—use lower sections for offensive firing positions while reserving taller segments for comprehensive protection during healing or reviving procedures.
Pro Tip: Deploy Castle Wall at angles rather than straight lines to create multiple engagement angles while complicating enemy flanking maneuvers.
Newcastle demonstrates exceptional compatibility with nearly all legend types, though certain combinations yield particularly synergistic results. Mobility specialists like Octane or Horizon can capitalize on Newcastle’s protective capabilities to execute aggressive flanks, while defensive partners like Wattson or Caustic can create nearly impenetrable fortified positions.
Ideal Pairings: Legends with area denial or information gathering abilities complement Newcastle’s kit perfectly. For players exploring different class selection approaches across various games, Newcastle represents the pure defensive archetype that enables more specialized teammates to excel.
Counter Awareness: Remain vigilant against legends equipped with tactical positioning bypass capabilities. Aggressive assault legends can overwhelm your defenses if not properly managed with coordinated team fire and strategic shield placements.
Advanced Counter Strategy: When facing legends with vertical mobility, position your Castle Wall near structures to limit their aerial advantage. Coordinate with teammates to focus fire on enemies attempting to breach your defensive formations.
For comprehensive strategic insights applicable across multiple gaming titles, consult our complete guide to defensive playstyles and team composition optimization.
Action Checklist
- Practice Mobile Shield deployment angles in Firing Range for 15 minutes
- Master the Retrieve the Wounded technique with different knockdown shield tiers
- Coordinate Castle Wall placements with teammates’ abilities in 3 matches
- Experiment with weapon loadouts across 5 different engagement scenarios
- Analyze and adapt to three different counter-legends in live matches
No reproduction without permission:SeeYouSoon Game Club » Newcastle Guide – Apex Legends Master Newcastle's defensive toolkit with advanced strategies, optimal loadouts, and team synergy tactics for Apex Legends dominance