TL;DR
- Three campaign safes contain powerful weapons and equipment essential for tactical advantages
- El Sin Nombre safe requires stealth navigation and contains silenced shotgun and armor plates
- Alone mission safe demands crafting skills and careful timing before point of no return
- Strategic safe unlocking can significantly impact mission difficulty and completion time
- Proper preparation and route planning prevents missing safes permanently during playthrough
Mastering safe unlocking in Modern Warfare 2 provides critical tactical advantages throughout the campaign. These hidden caches contain specialized weaponry that can dramatically alter your combat effectiveness in key missions. Understanding their locations and acquisition strategies will enhance your overall gameplay experience and completion efficiency.
Throughout Call of Duty: Modern Warfare 2’s globe-trotting campaign alongside Captain Price and Task Force 141, you’ll encounter secured containers requiring specific safe codes. With exactly three safes in total scattered across different missions, successfully accessing them grants superior firearms that can change mission dynamics. This comprehensive guide details every safe’s position and optimal approach methods. Please be aware that location descriptions necessarily include minor spoilers.
Strategic safe hunting not only provides immediate firepower boosts but also contributes to overall mission success rates. Many players overlook these opportunities during their first playthrough, missing out on game-changing equipment that could simplify challenging combat scenarios.
Safe location in El Sin Nombre
Your initial safe opportunity emerges during mission #11: El Sin Nombre. This infiltration mission places you in an expansive mansion environment where tactical discretion proves crucial. The primary objective involves securing a keycard from Diego, but the open-ended level design permits thorough exploration if approached strategically.
Successfully navigating the mansion requires utilizing environmental distractions. Glass bottles scattered throughout the area on various tables and surfaces serve as perfect diversion tools against guards blocking restricted zones. Deploying these items strategically allows bypassing security without direct confrontation.
Pro Tip: While throwing knives offer alternative stealth elimination options, achieving the ‘Ghost’ trophy demands reaching the penthouse without triggering alarms or eliminating any personnel. This achievement requires meticulous planning and route selection.
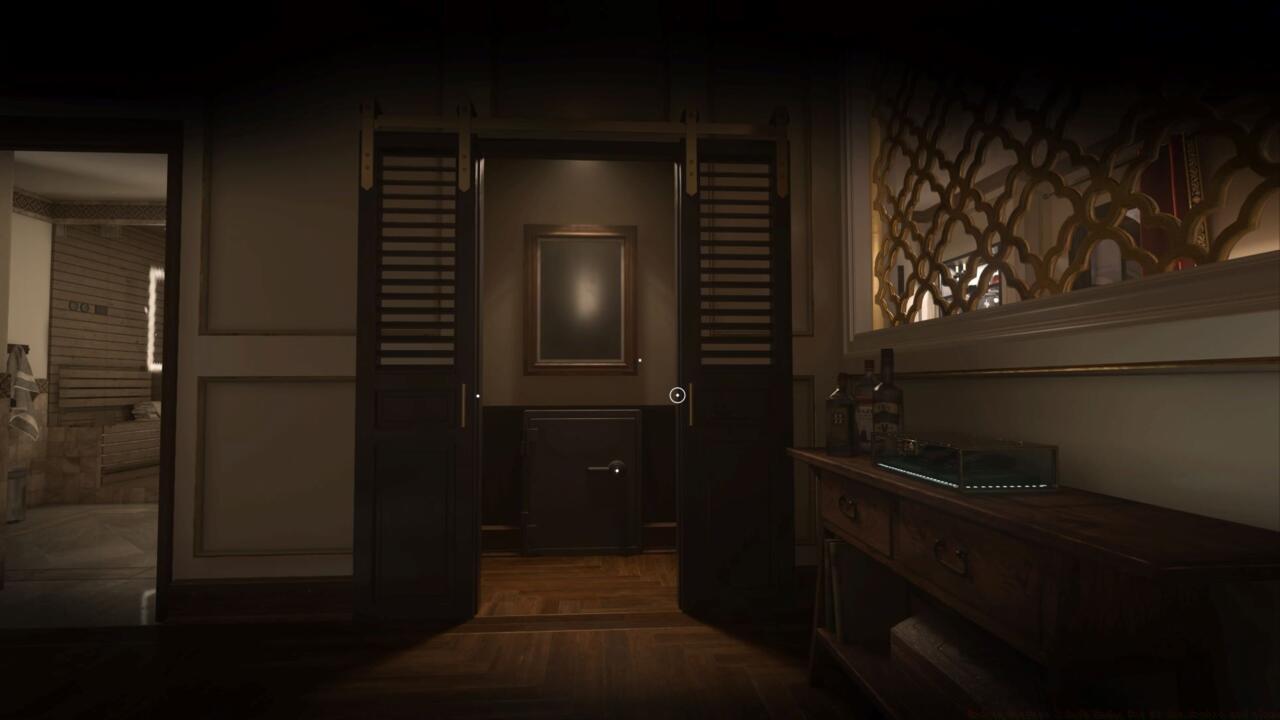
Follow your mission waypoint toward Diego’s quarters until reaching a critical balcony junction. The left path advances primary objectives, while the right corridor leads directly to Diego’s chamber. Choosing the right passage reveals a concealed closet housing the first secure container.
Successfully inputting the correct combination grants immediate access to protective armor plates alongside a suppressed Lockwood 300 shotgun. This weapon proves exceptionally valuable for subsequent stealth engagements with its integrated silencer and close-quarters stopping power.
Advanced players should note that the suppressed shotgun significantly reduces detection ranges during firefights. Combined with armor plates, this loadout transforms later combat scenarios, particularly in missions requiring discreet enemy elimination.
Safe location in Alone mission’s café
The secondary secure container appears during Mission #13, appropriately titled Alone. Controlling Sergeant Soap MacTavish, you face extreme survival circumstances with minimal starting equipment. The crafting system becomes essential for progression, making this safe’s contents particularly valuable for overcoming resource scarcity.
Progress through the mission until encountering a structure featuring a disarmed shotgun trap. Ascend to the upper level where a café environment unfolds. A descent point to lower areas becomes visible, but crucially avoid descending prematurely before locating the safe. This decision point represents an irreversible progression threshold.
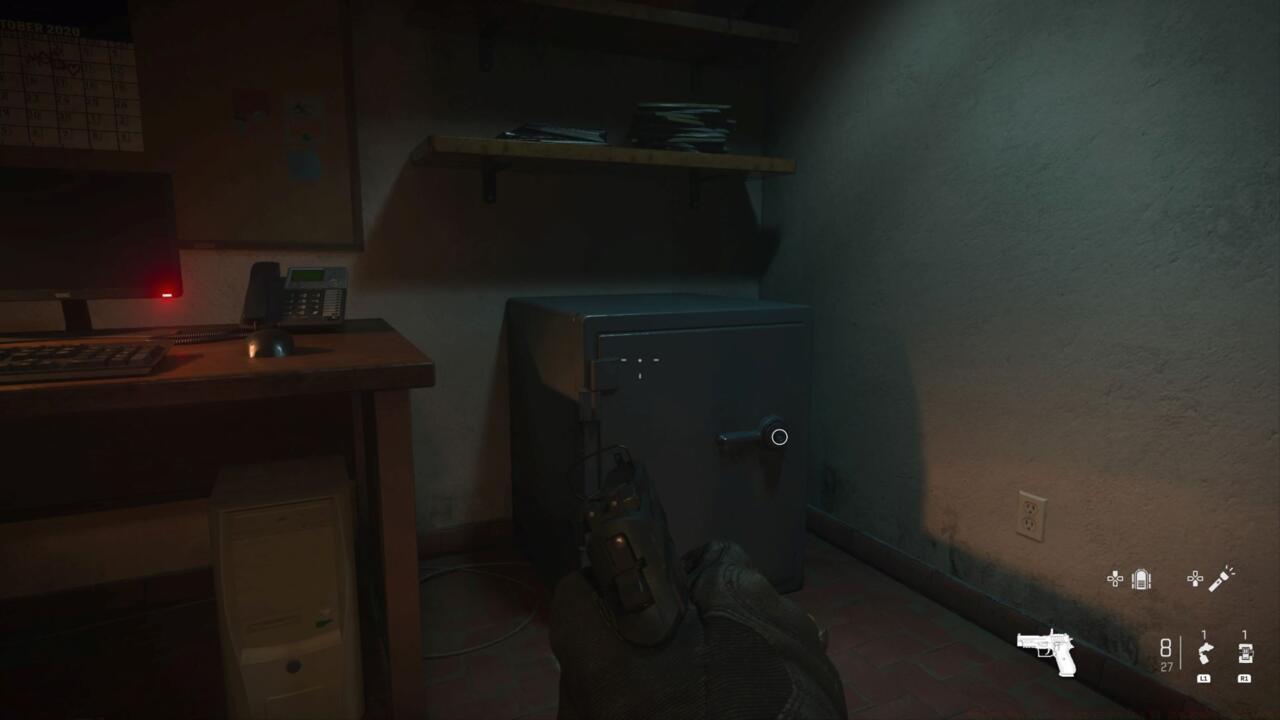
Instead of descending immediately, pivot left toward the café’s administrative office. The secured doorway demands a crafted pry tool for access. Once inside, the target safe rests adjacent to a work desk, containing equipment that dramatically improves survival odds in subsequent encounters.
Resource management becomes critical in this mission. Prioritize gathering crafting materials before attempting safe access, as the pry tool requires specific components. Efficient players can complete both safe unlocking and primary objectives within 15-20 minutes with proper route planning and material collection.
Safe location in Alone mission’s garage
Common mistakes include rushing through the café section without thorough exploration or lacking necessary crafting materials when reaching the office. Always ensure you have one scrap metal and one household chemicals before approaching this area to craft the essential pry tool immediately.
Beyond basic location knowledge, several advanced techniques maximize safe unlocking efficiency. Speedrunners should prioritize the El Sin Nombre safe for the silenced shotgun, which enables faster stealth segments throughout subsequent missions. The Alone mission safe, while valuable, may be skipped in pure speedrun attempts to conserve time.
Trophy and achievement hunters must remember that the El Sin Nombre safe can be acquired while still earning the ‘Ghost’ trophy, provided no alarms trigger and no kills occur during acquisition.
Weapon selection strategy should consider your playstyle. The Lockwood 300 excels in close-quarters scenarios but suffers at range. Plan your loadout accordingly based on anticipated engagement distances in upcoming missions.
For players struggling with the stealth requirements in El Sin Nombre, practicing the bottle-throwing mechanics in earlier missions builds essential skills. The distraction system has specific audio propagation ranges that skilled players can exploit for perfect stealth runs.
Understanding the game’s checkpoint system helps minimize frustration. Both safes are located before major checkpoint triggers, allowing reloads if mistakes occur during approach attempts.
Action Checklist
- Collect 2-3 glass bottles in El Sin Nombre before approaching restricted areas
- Navigate to Diego’s room via right balcony path, open closet for first safe
- Craft pry tool before reaching café office in Alone mission
- Secure silenced Lockwood 300 and armor plates from El Sin Nombre safe
- Avoid descending in café area until safe is accessed in Alone mission
No reproduction without permission:SeeYouSoon Game Club » Modern Warfare 2 Safe Codes For El Sin Nombre And Alone Complete guide to finding and unlocking all three Modern Warfare 2 campaign safes with expert strategies