TL;DR
- Stoneville contains 26 Whimstars divided between southern and northern regions
- Southern area features 7 collectibles accessible from Stoneville Entrance
- Northern zone requires advanced climbing and gliding abilities to navigate
- Multiple minigame types require different collection approaches
- Strategic route planning saves significant time during completion
GameSpot may receive revenue from affiliate and advertising partnerships for sharing this content and from purchases through links.
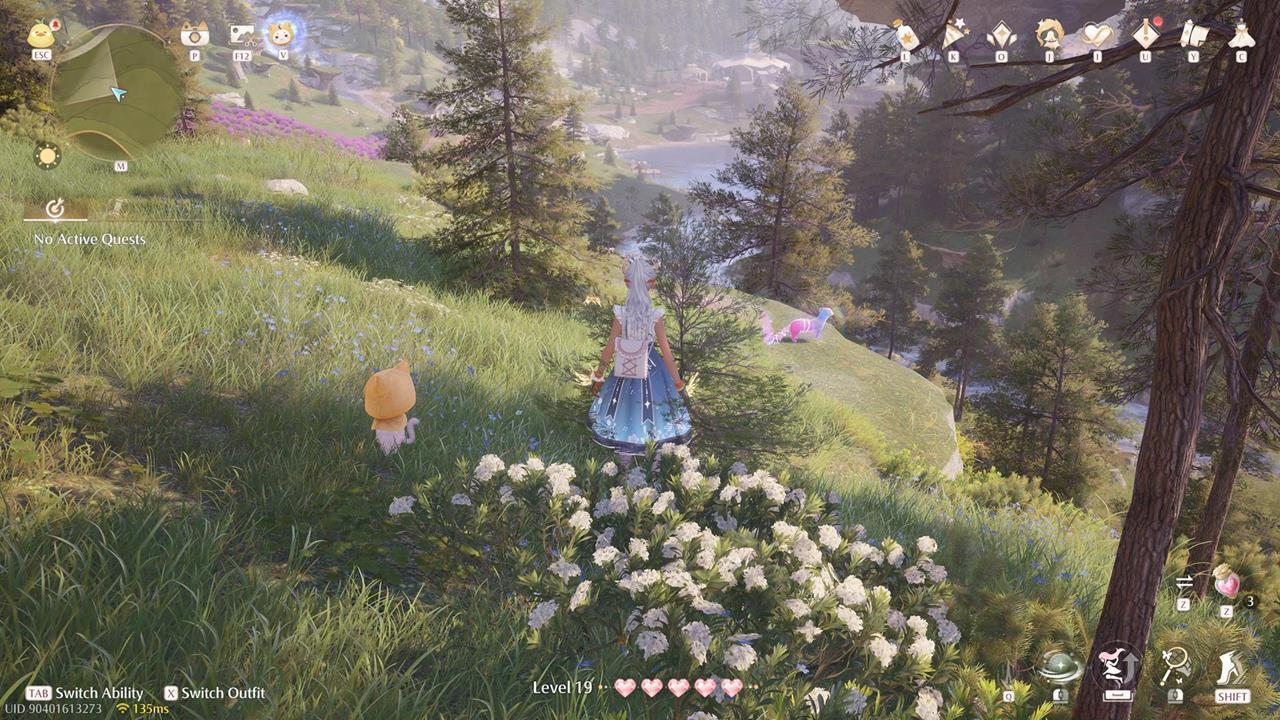
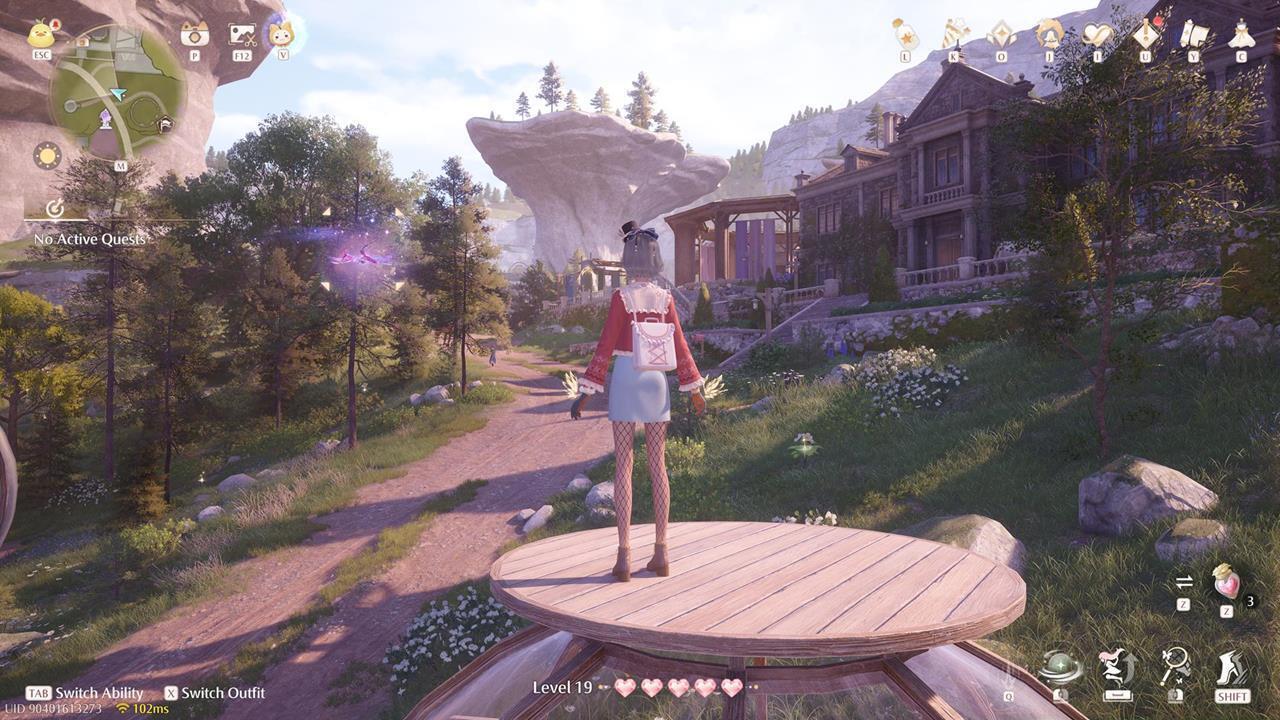
Infinity Nikki offers expansive regions filled with discovery opportunities, and Stoneville presents unique challenges for collectors. This mountainous zone demands careful navigation to uncover all its hidden treasures. Our comprehensive guide details every Stoneville Whimstar location with enhanced strategies for efficient completion.
Stoneville hosts exactly 26 Whimstars throughout its rugged landscape. While this count falls short of areas like Wishing Woods or Abandoned District, the verticality of Stoneville creates substantial collection complexity. You’ll encounter multiple elevation changes requiring precise platforming and aerial maneuvers to secure all rewards.
We’ve structured this Infinity Nikki Stoneville Whimstars guide for optimal navigation flow. First, we cover the southern sector accessible before crossing to Village Fork beacon. Second, we explore the Dye Workshop territory and northern rock formations, providing tactical approaches for each cluster.
Before beginning your collection journey, ensure you’ve upgraded your climbing stamina and gliding capabilities. Stoneville’s topography heavily relies on vertical movement, making these enhancements crucial for reaching elevated Whimstars. Consider completing relevant character progression milestones to maximize mobility options.

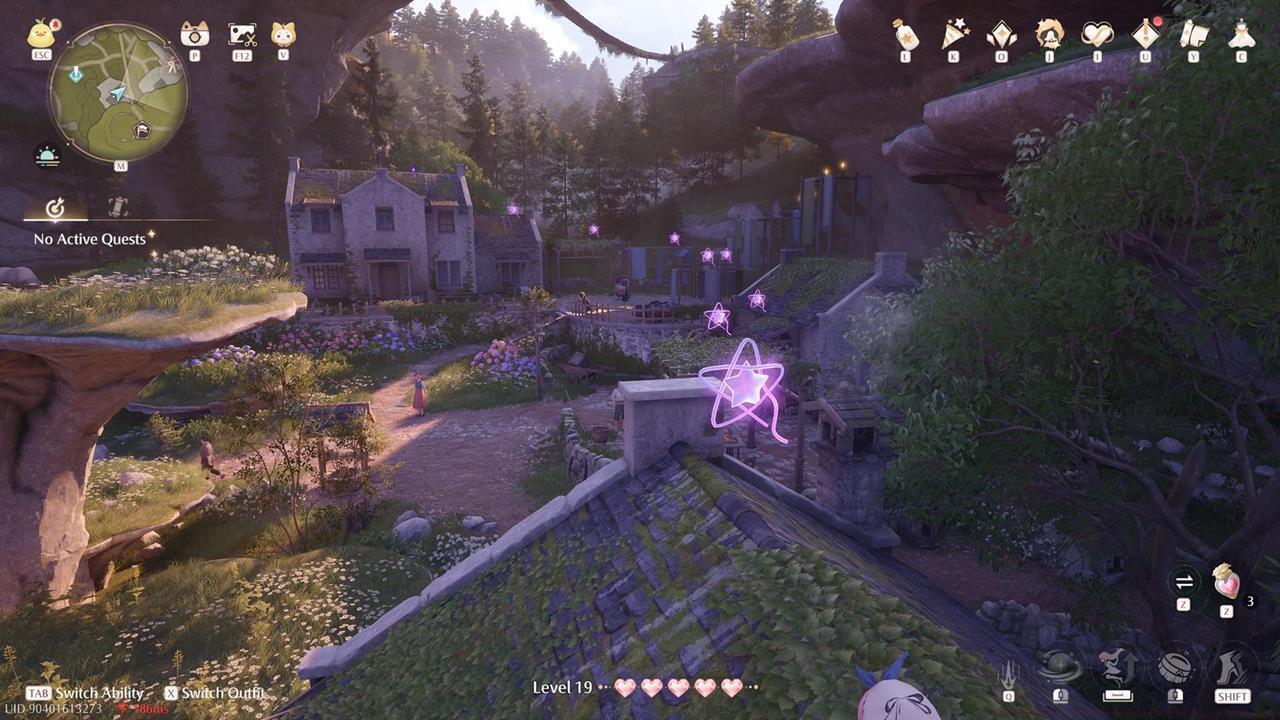
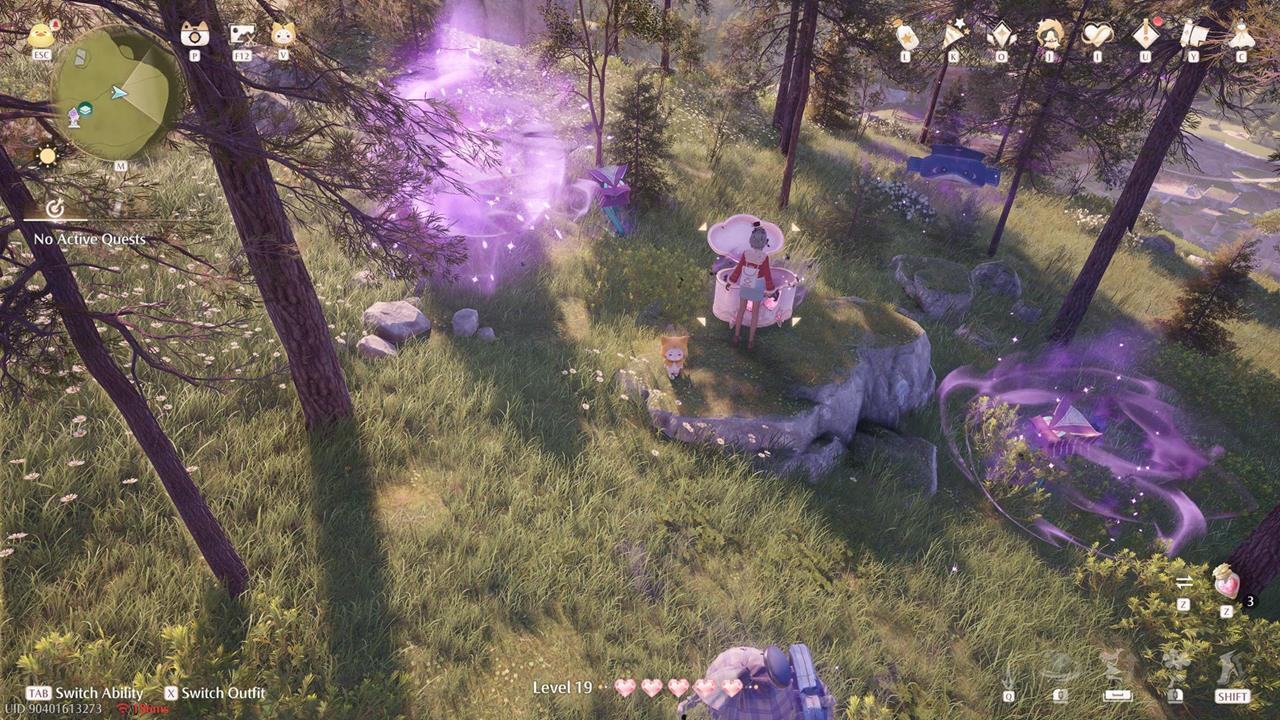
The visual reference above displays Stoneville’s southern Whimstar distribution. These seven collectibles establish the foundation for your regional completion.
Whimstar #1: Depart from Stoneville Entrance fast travel point, maintaining leftward progression along the pathway. Watch for elevated terrain where a Whimink perches, indicating proximity to your first target.
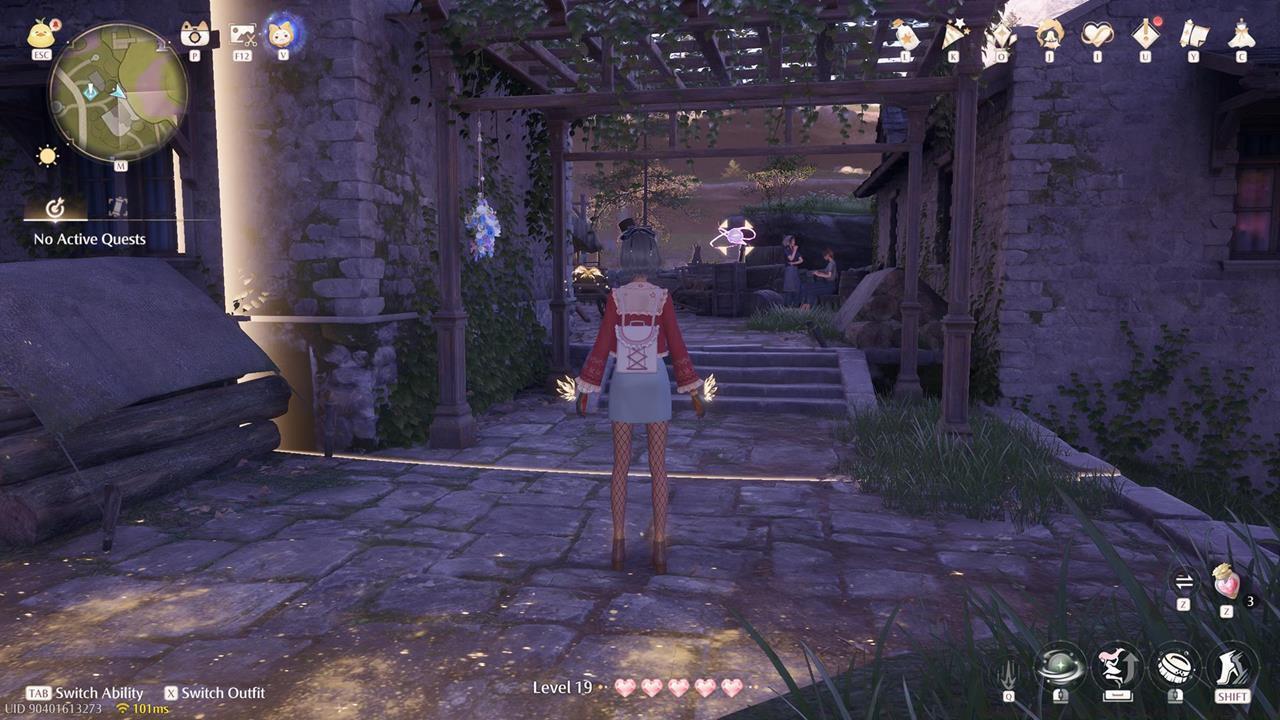
Whimstar #2: Progress toward the village market square bridge while scanning surroundings diligently. This Whimstar initiates a timed collection trial requiring rapid gathering of scattered items.
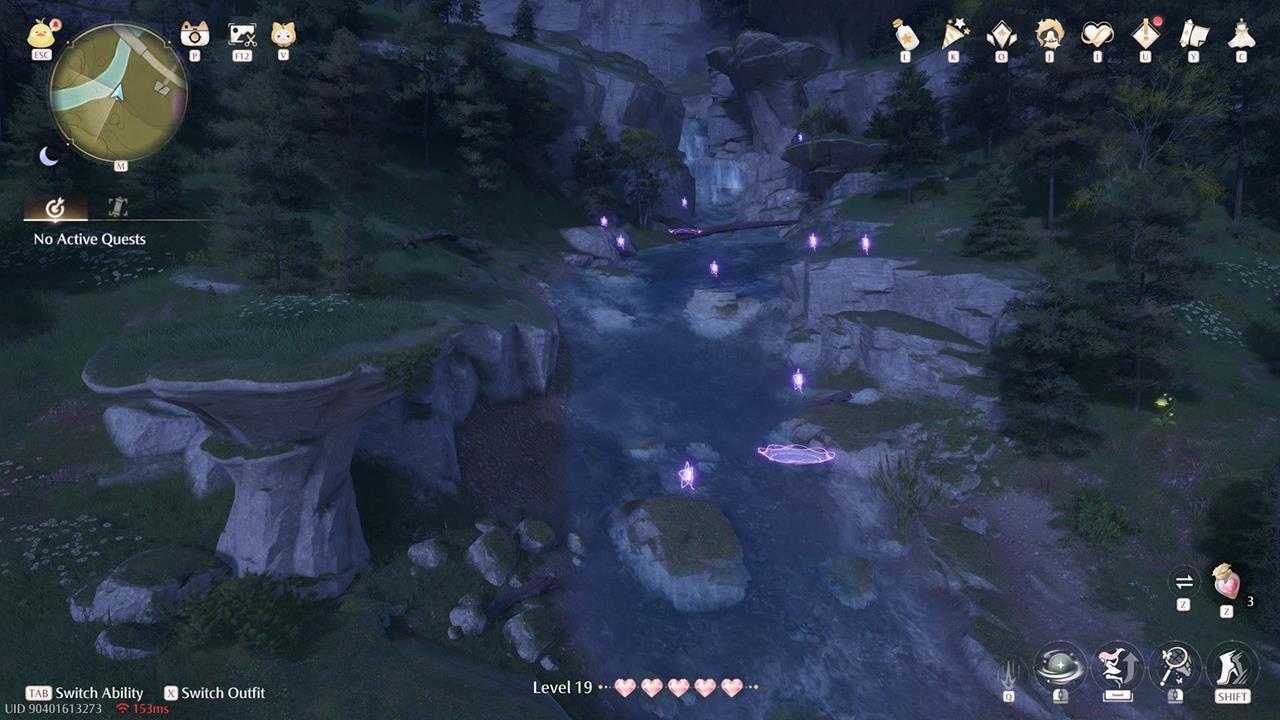
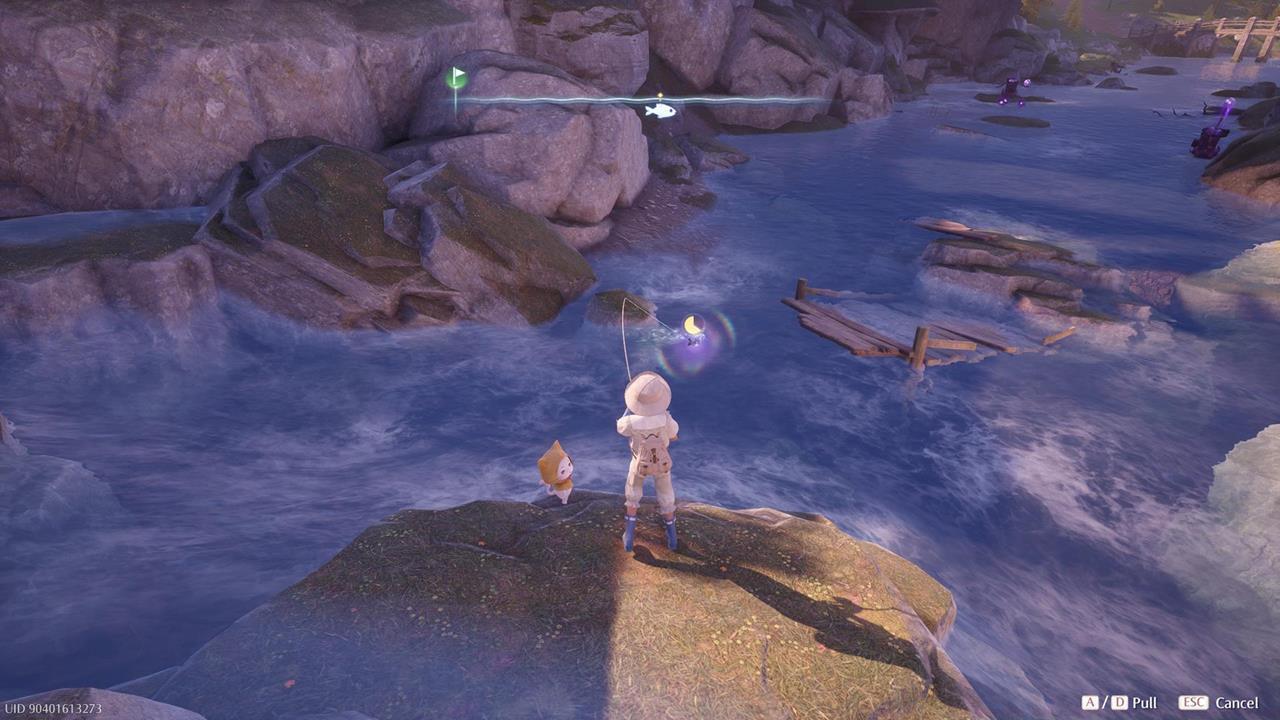
Bonus Opportunity: While approaching the bridge, notice aquatic activity indicating a Whimfin presence. This optional catch provides additional rewards beyond the primary Whimstar objectives.
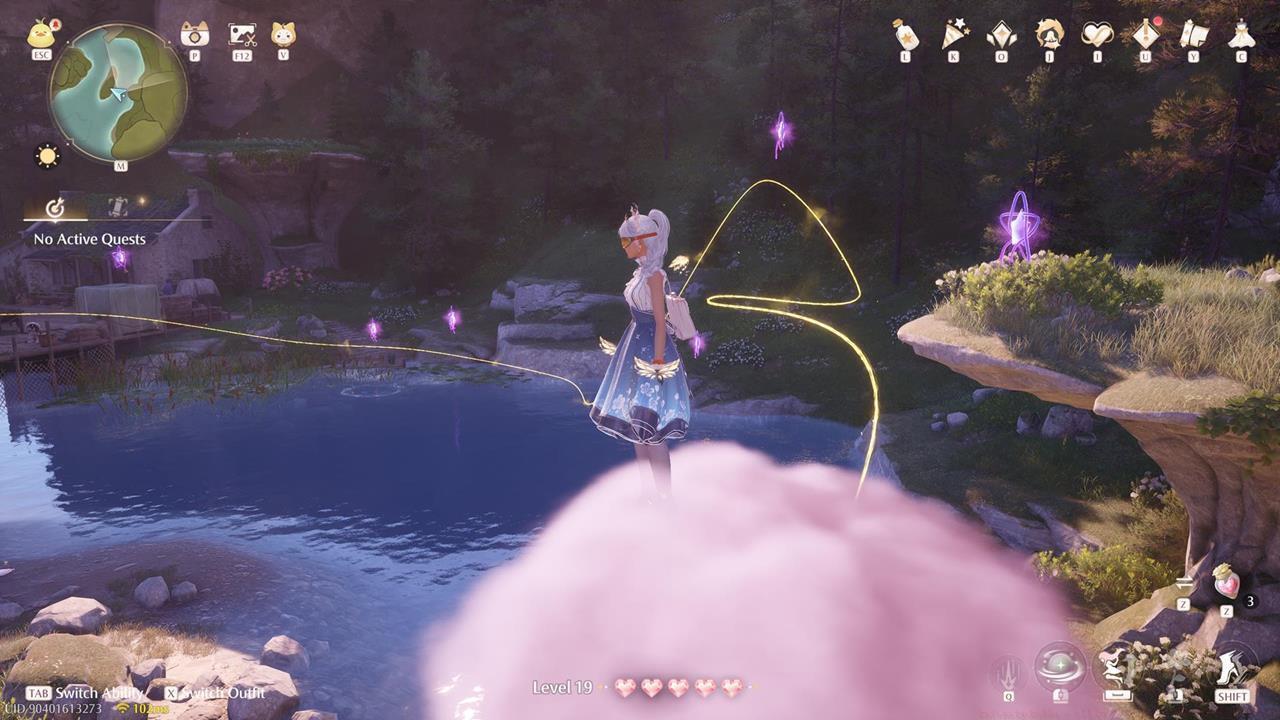
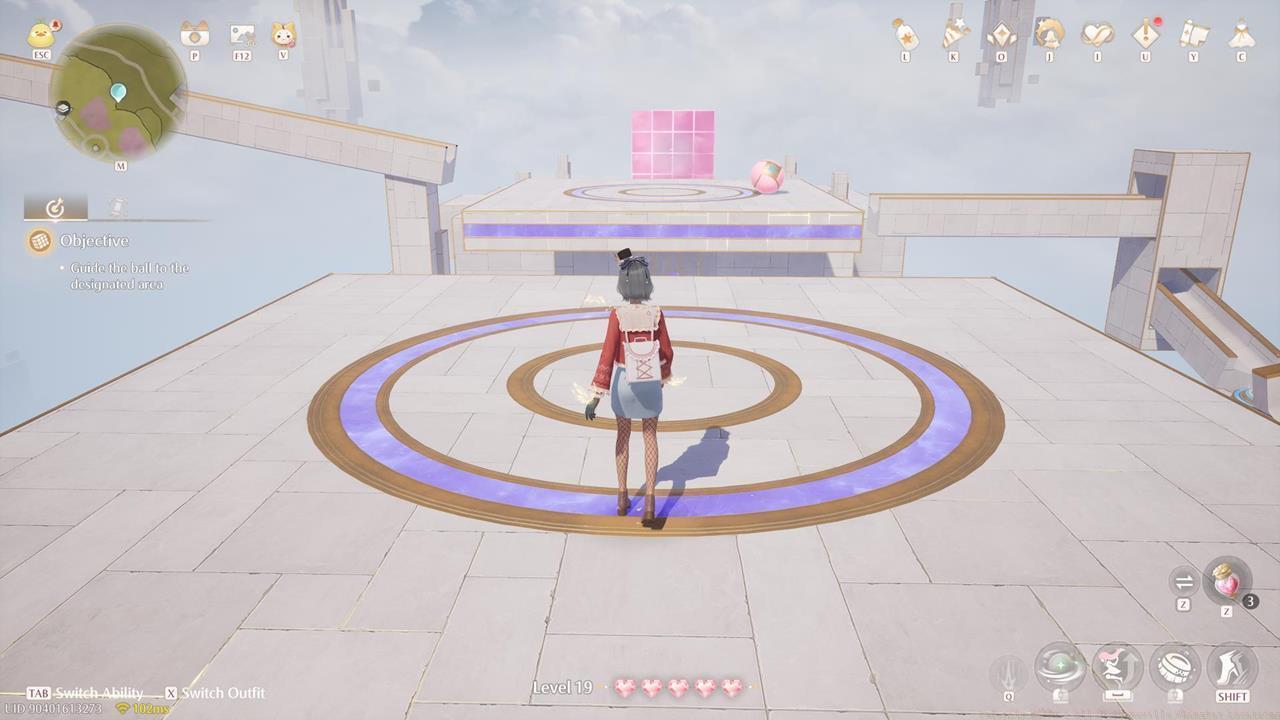
Whimstar #3: Investigate the central lake island for a distinctive Whimstar silhouette. Activating this marker launches an on-rails collection sequence demanding precise movement coordination.
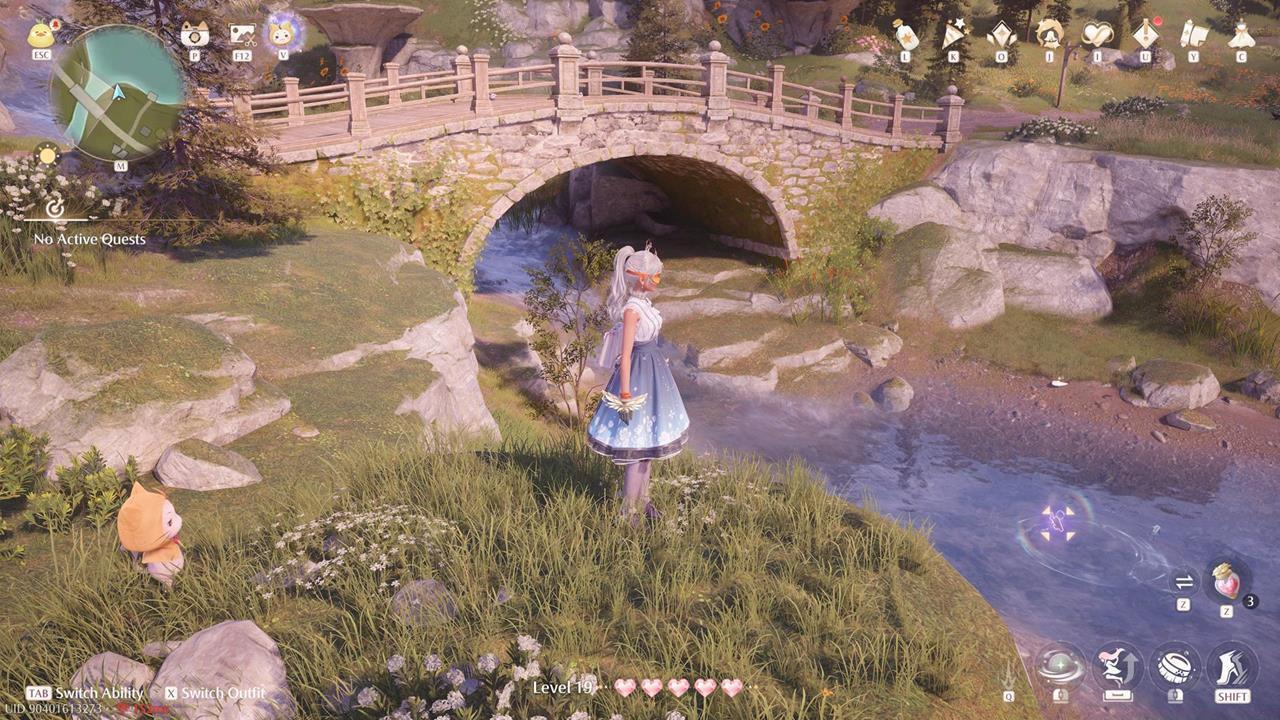
Whimstar #4: Locate the tallest structure adjacent to the market square. Scale available platforms and ledges systematically to reach the summit where this elevated Whimstar awaits collection.
Whimstar #5: Explore the western cliffside overlooking the main settlement. This positioning requires careful approach from higher ground followed by controlled descent to the collection point.
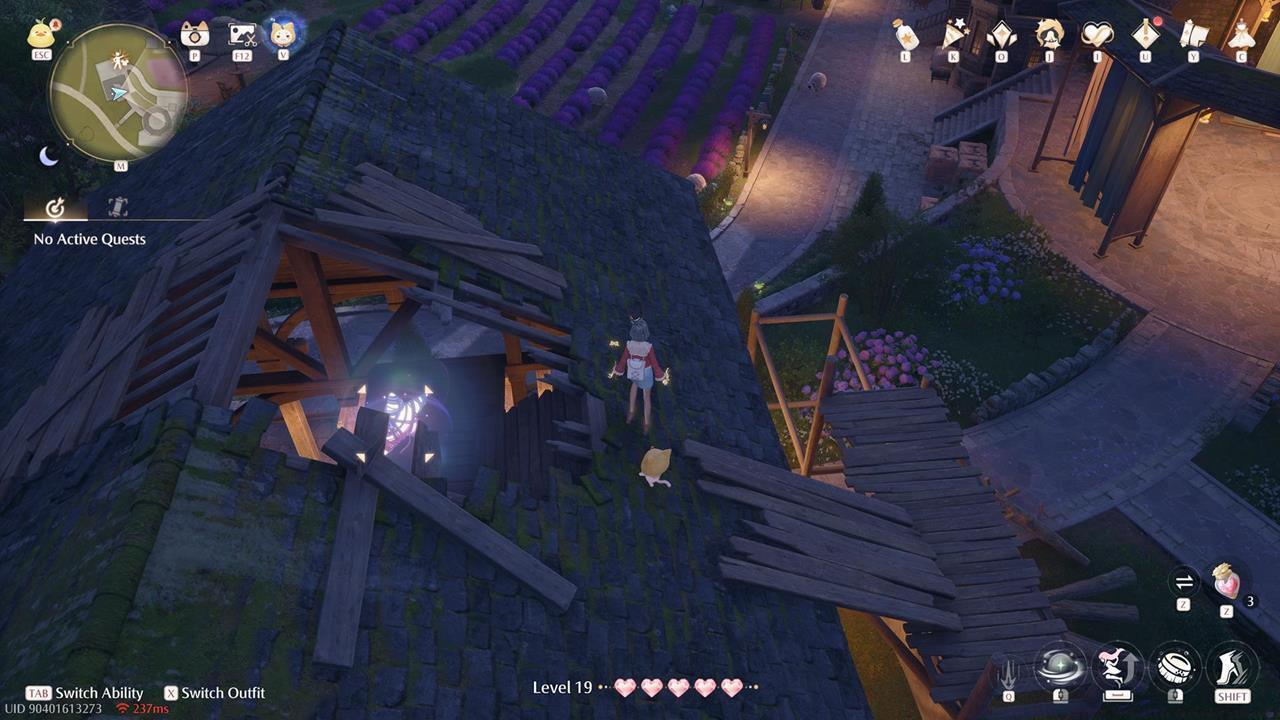
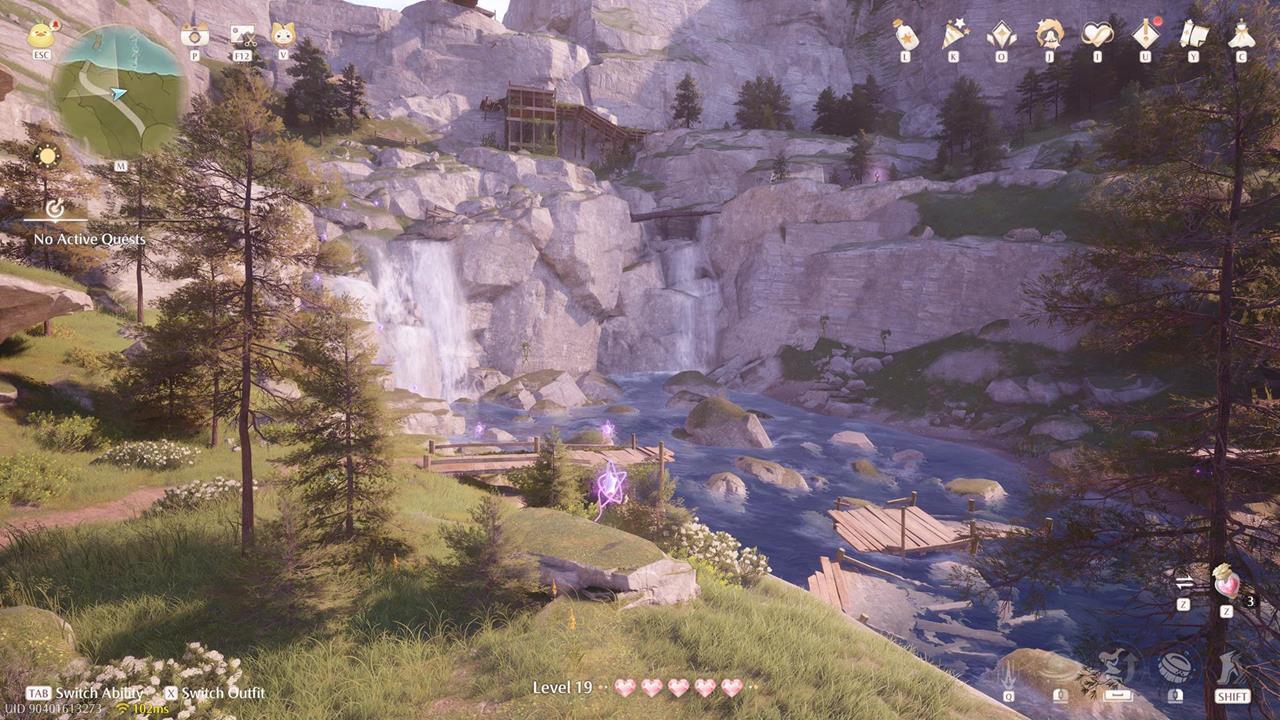
Whimstar #6: Navigate to the hidden alcove beneath the primary waterfall. The sound of rushing water helps guide your approach to this acoustically concealed location.
Whimstar #7: Ascend the spiral rock formation northeast of the central plaza. This requires multiple climbing segments with strategic stamina management between resting points.
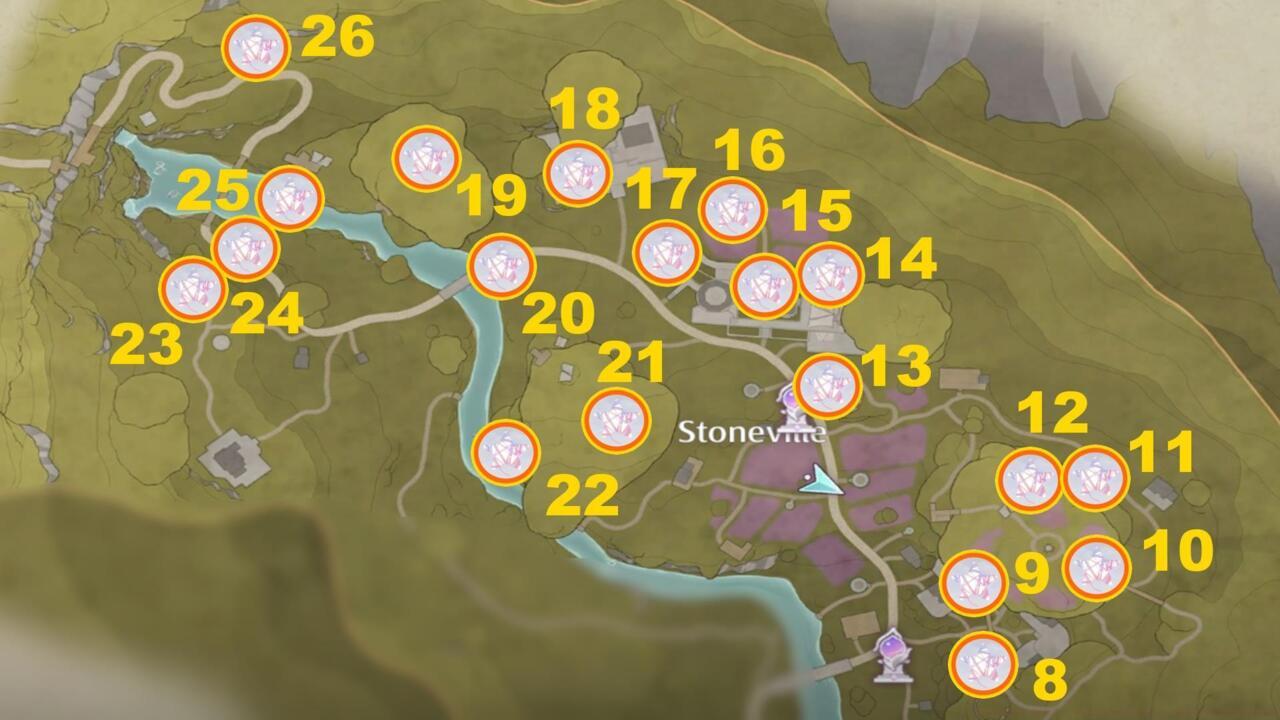
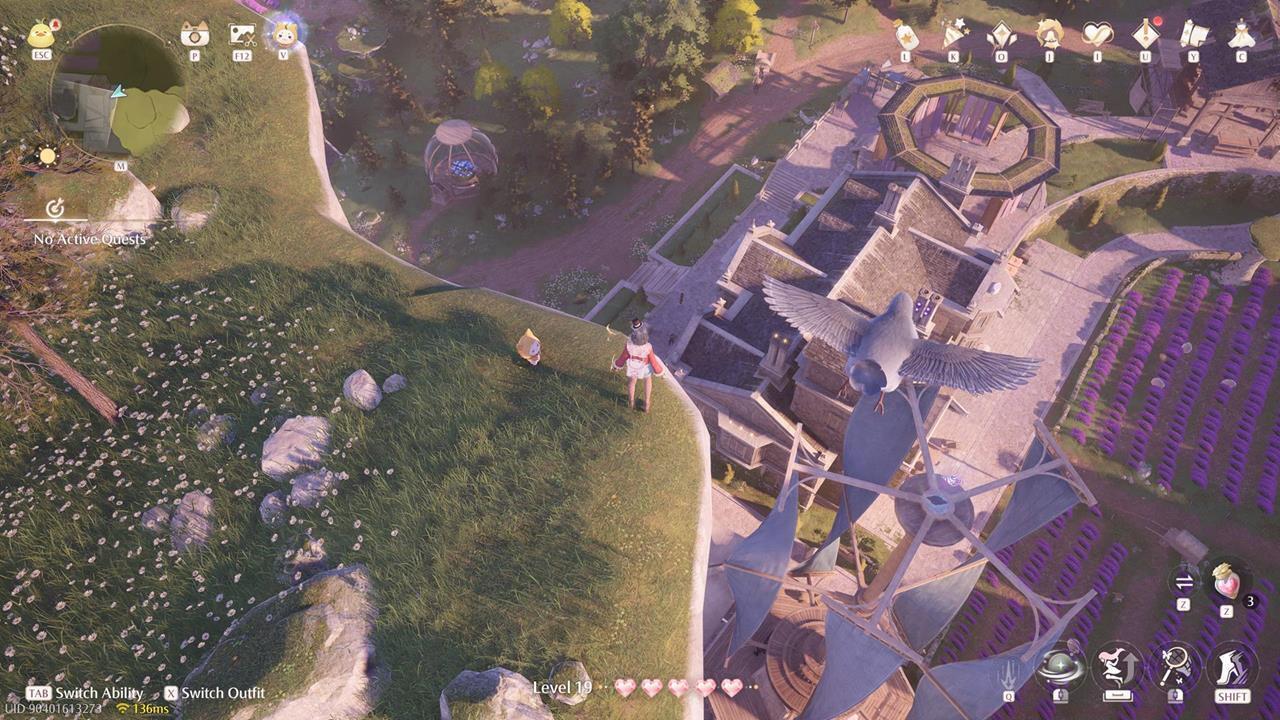
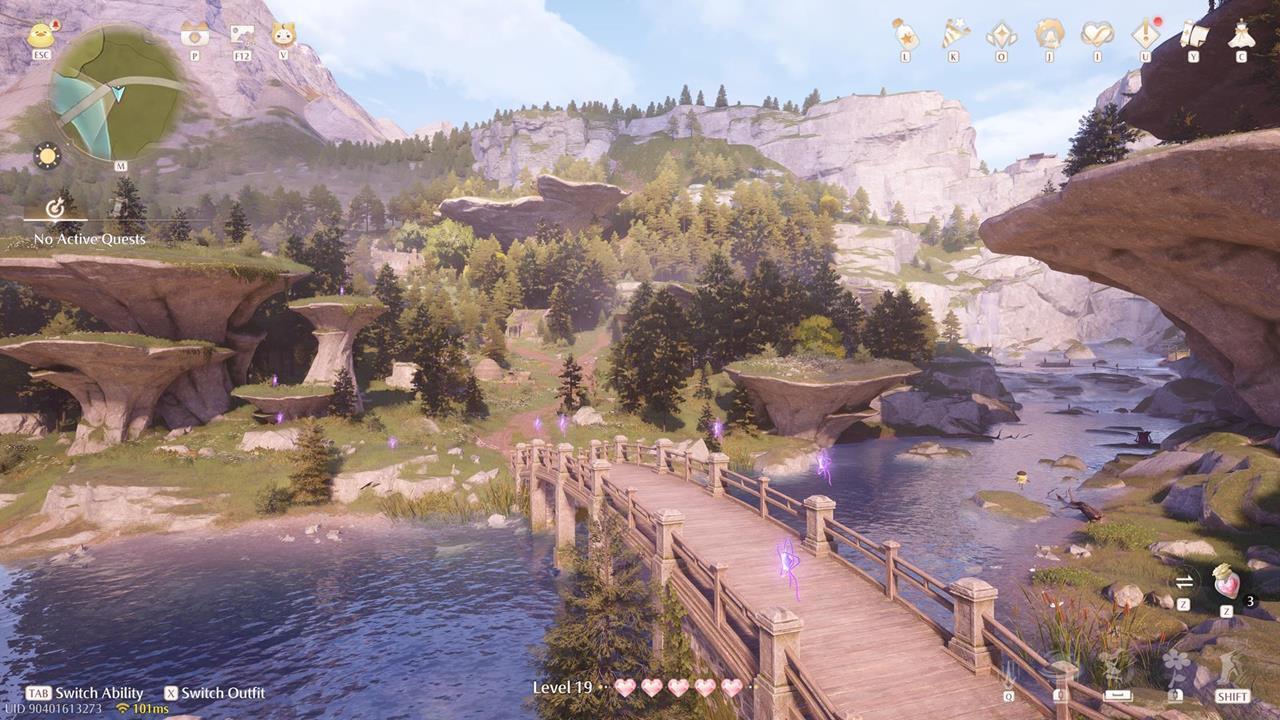
Crossing the bridge to Village Fork unlocks access to Stoneville’s northern sector, containing the majority of Whimstars. This region demands mastery of aerial traversal and complex route planning.
Whimstar #8: Immediately after bridge crossing, scan the eastern rock pillars. This requires gliding from adjacent high points with careful altitude control during approach.
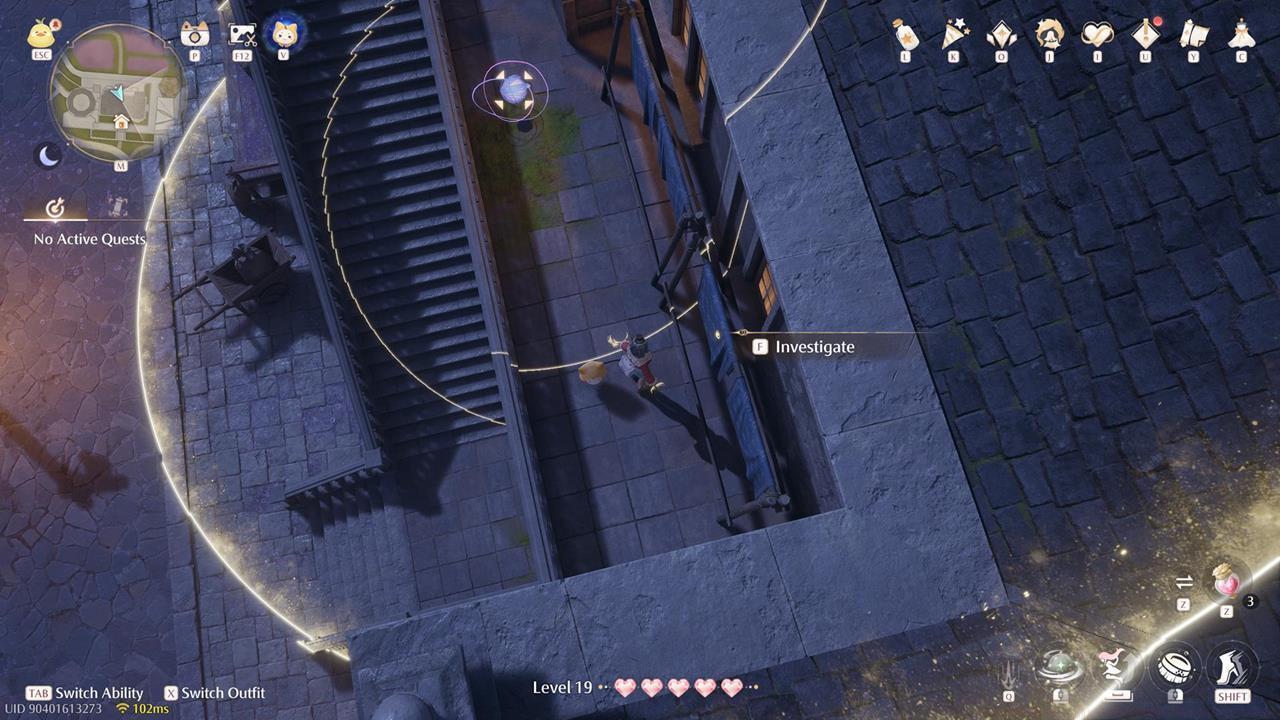
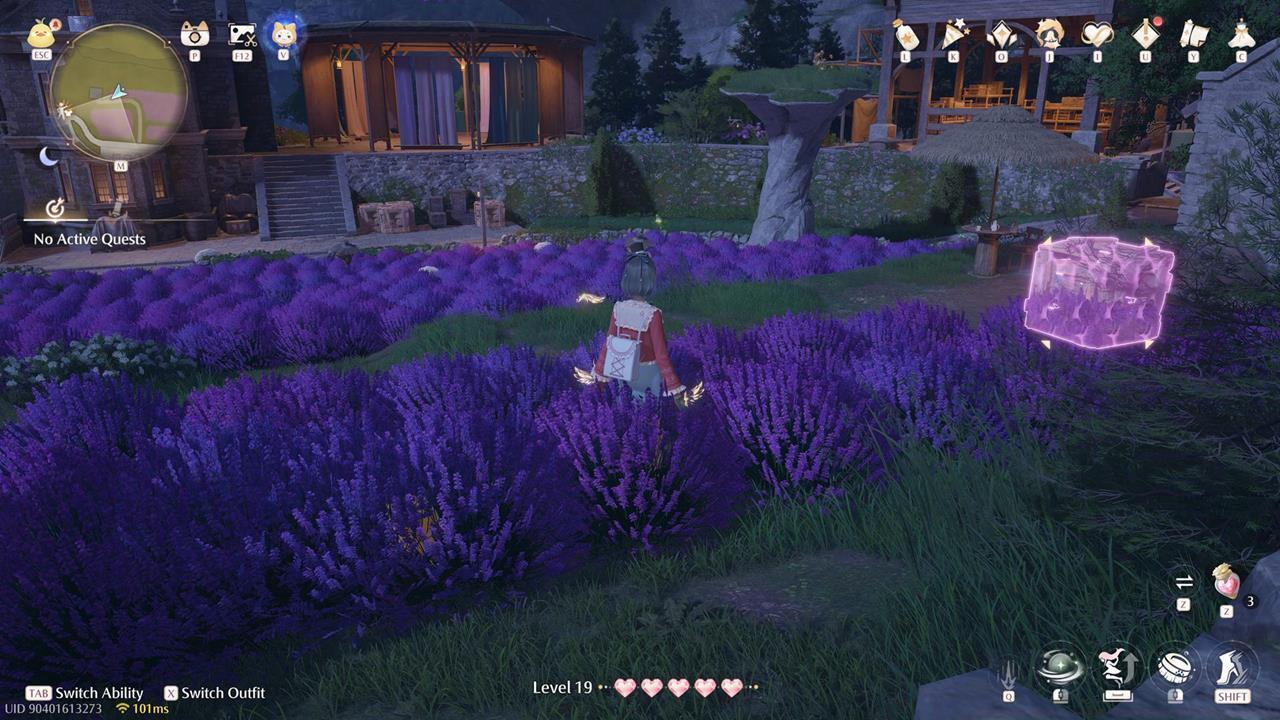
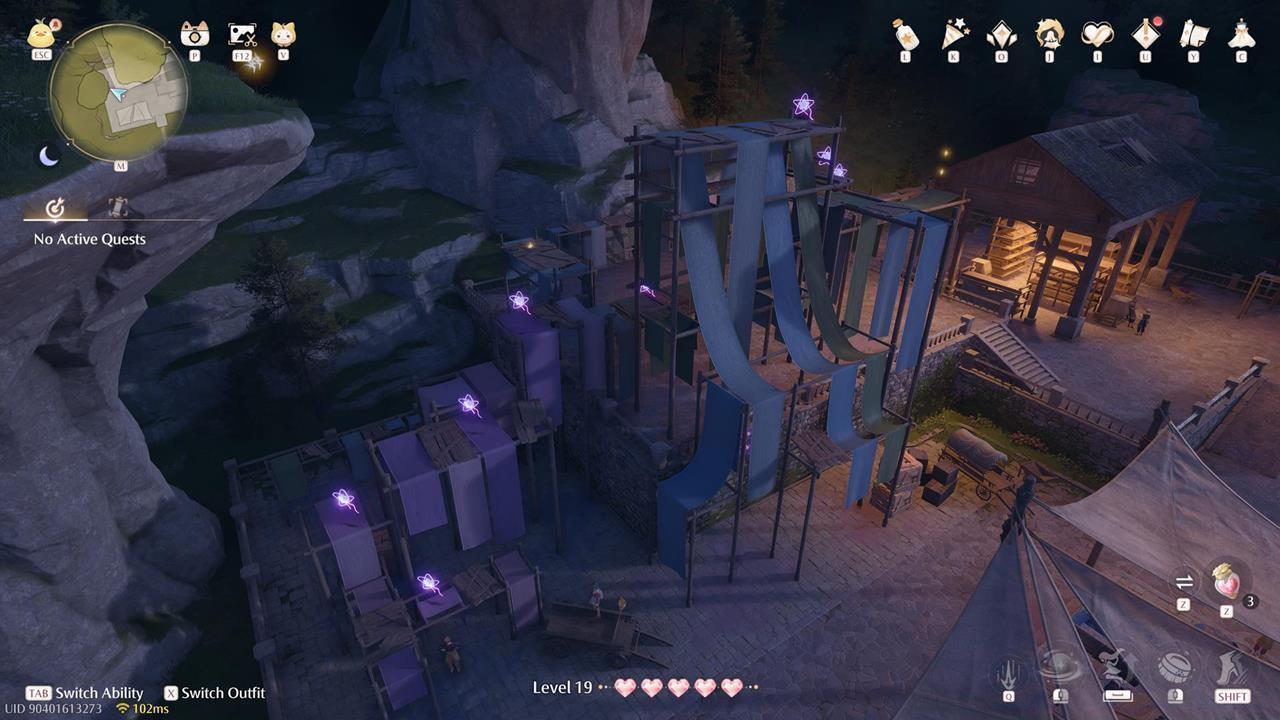
Whimstar #9: Proceed to Dye Workshop perimeter walls. The collectible rests atop the western barrier, accessible via coordinated climbing and jumping sequences.
Whimstar #10: Investigate the Workshop’s interior courtyard. This location becomes accessible after completing specific story progression milestones related to the game’s main narrative.

Whimstar #11: Scale the northernmost rock spire requiring maximum climbing stamina. Consider using temporary stamina-boosting items if available.
Whimstar #12: Locate the concealed cave entrance behind the eastern waterfall. This dark environment benefits from brightness adjustment for optimal visibility.
Whimstar #13: Navigate the narrow canyon passages west of Dye Workshop. These tight spaces require precise movement and occasional backtracking.
Whimstar #14: Ascend the layered plateaus using interconnected glide paths. This multi-stage approach maximizes efficiency across elevation changes.
Whimstar #15: Investigate the ancient ruins fragment near the northern boundary. This archaeological site conceals the Whimstar within its structural remains.
Whimstar #16: Locate the suspended rock platform accessible only via specific wind currents. Timing your glide initiation is crucial for successful landing.
Whimstar #17: Scale the interior of the hollowed mountain formation. This multi-level interior space contains several intermediate platforms for stamina recovery.
Whimstar #18: Navigate to the geothermal vents area, using steam updrafts for elevated access. This thermal assistance reduces stamina consumption during ascent.
Whimstar #19: Locate the balanced rock formation northwest of primary settlements. This delicate structure requires careful footing during approach and collection.
Whimstar #20: Investigate the submerged temple ruins during low water periods. This time-sensitive accessibility demands monitoring of environmental cycles.
Whimstar #21: Access the crystal cavern through the eastern mountain passage. The reflective surfaces within can occasionally obscure visual cues, so proceed methodically.
Whimstar #22: Scale the exterior of the abandoned watchtower using deteriorated structural elements as handholds. This hazardous ascent requires careful inspection of each surface before applying weight.
Whimstar #23: Navigate the narrow rock bridges connecting central peaks. These precarious crossings demand balanced movement and occasional aerial corrections.
Whimstar #24: Locate the hidden grotto behind the seasonal waterfall. This location only becomes accessible during specific weather conditions, so patience may be required.
Whimstar #25: Investigate the summit of the isolated mesa northeast of Dye Workshop. This requires the longest continuous glide in the region with precise landing execution.
Whimstar #26: The final collectible rests within the heart of the stone labyrinth. This complex navigation challenge benefits from progressive equipment upgrades that enhance movement capabilities.
Mastering Stoneville’s Whimstar collection requires understanding both mechanical execution and strategic planning. These professional techniques will streamline your completion process.
Movement Optimization: Combine climbing with strategic gliding to conserve stamina across multiple elevations. Use intermediate platforms as stepping stones rather than attempting direct ascents whenever possible.
Common Mistakes: Many players underestimate the stamina requirements for northern sector climbs. Always maintain at least 25% reserve stamina for unexpected maneuvers or environmental hazards.
Time Estimates: Efficient collectors can complete southern Whimstars in approximately 15-20 minutes, while northern collections typically require 45-60 minutes depending on skill level.
Route Planning: Group Whimstars by geographic proximity rather than numerical order. This approach minimizes backtracking and reduces overall completion time by 30-40%.
Troubleshooting: If a Whimstar appears inaccessible, check for alternative approaches using environmental features. Many locations have multiple access points that may be easier depending on your current abilities.
Advanced Techniques: Utilize wind currents and thermal updrafts to reach elevated positions with minimal stamina expenditure. These natural assists are crucial for efficient northern sector navigation.
Completion Rewards: Successfully collecting all 26 Stoneville Whimstars unlocks exclusive cosmetic items and progression bonuses that enhance your overall gaming experience throughout Infinity Nikki’s world.
Action Checklist
- Upgrade climbing stamina and gliding abilities before starting
- Collect all 7 southern Whimstars starting from Stoneville Entrance
- Cross bridge to Village Fork and systematically clear northern sector
- Utilize environmental assists like wind currents for stamina conservation
- Verify completion by checking inventory and claim exclusive rewards
No reproduction without permission:SeeYouSoon Game Club » Infinity Nikki – All 26 Stoneville Whimstar Locations Complete guide to locating all 26 Stoneville Whimstars in Infinity Nikki with expert navigation tips