TL;DR
- The Three-Eyed Gate requires precise mirror alignment across multiple chambers to activate glyph patterns
- Start with the main chamber’s top-right glyph, then coordinate between right and left side rooms
- Collect the Brass Mirror from the left chamber to complete the three-mirror configuration
- Avoid rushing the sequence – proper order prevents resetting the puzzle mechanics
- Complete all three mirror alignments simultaneously to unlock the main gate
GameSpot may receive revenue from affiliate and advertising partnerships for sharing this content and from purchases through links.
Venturing into the subterranean depths of Gizeh in Indiana Jones and the Great Circle reveals an ancient archaeological site concealing one of the game’s most intricate cerebral tests. This elaborate light-based conundrum demands strategic thinking and spatial awareness to decipher the ancient mechanisms protecting the chamber’s secrets. Our comprehensive walkthrough delivers the essential techniques for conquering the Three-Eyed Gate obstacle.
The Three-Eyed Gate conundrum in Indiana Jones and the Great Circle constitutes a pivotal story mission within the Gizeh narrative arc. Occurring during the chapter’s climax, this challenge emerges directly following your successful navigation of the Chamber of Resonance puzzle inside the Great Pyramid’s interior. The puzzle serves as the final barrier before accessing the area’s most significant archaeological discoveries.
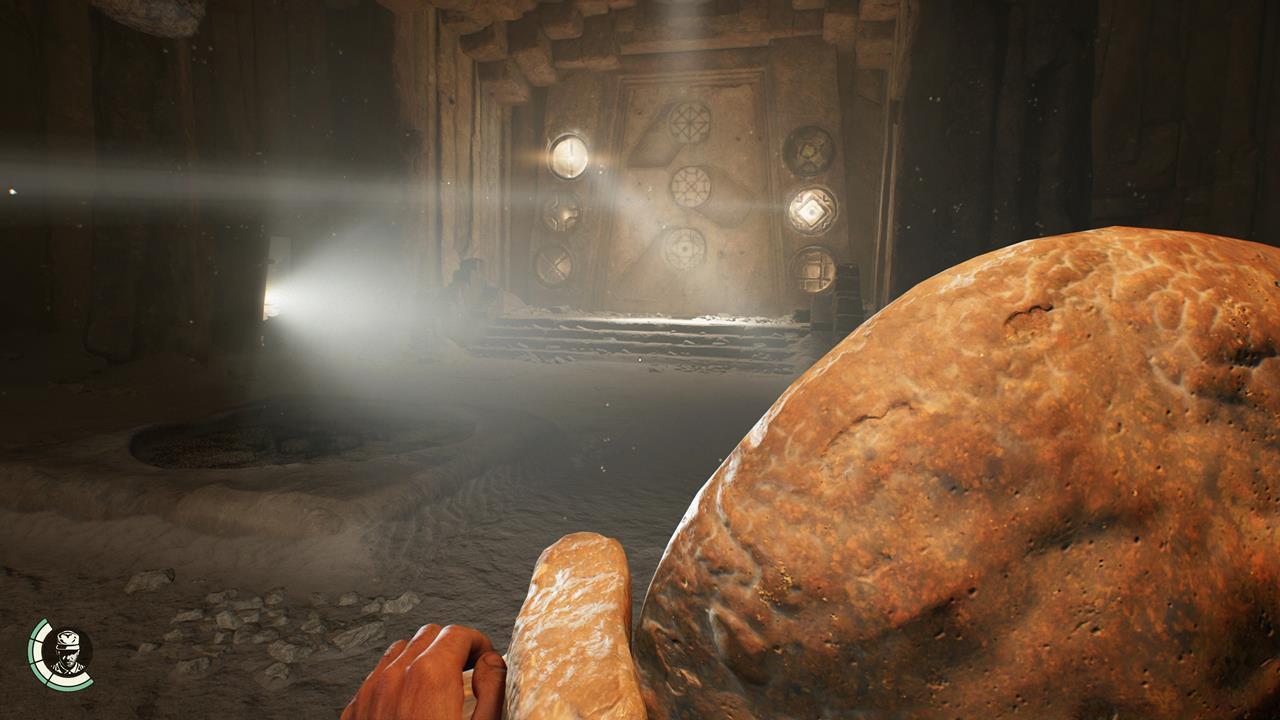
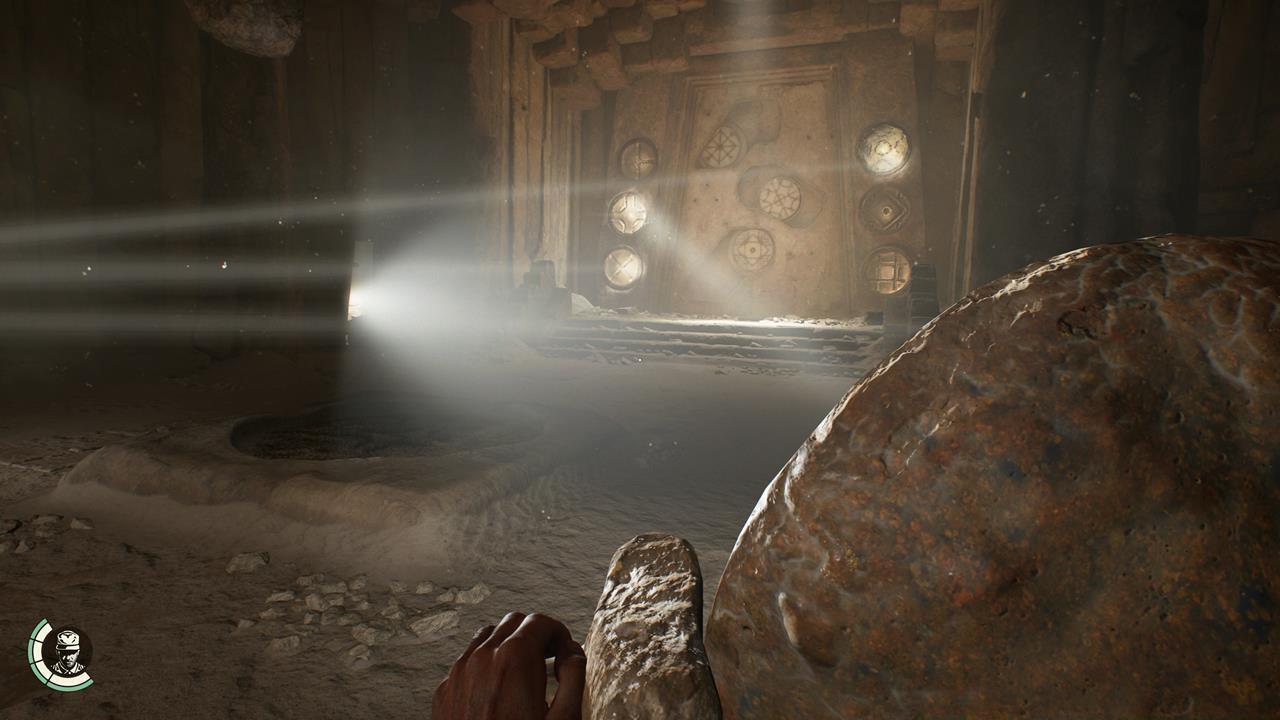
Your primary objective involves unlocking both the central portal and adjacent entryways by strategically manipulating light beams across specially designed pedestals. These luminous projections must precisely strike particular symbolic carvings positioned on the doorframes, represented as intricate exterior and interior motifs on the principal barrier.
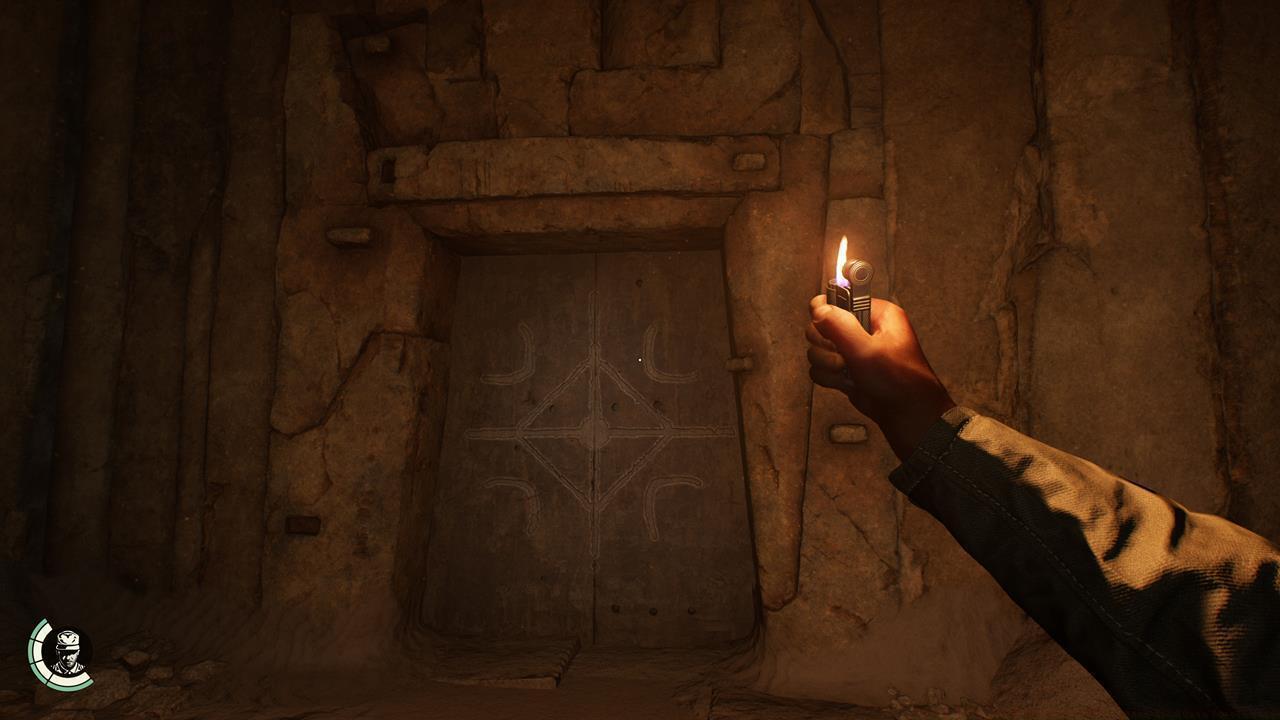
Before attempting to breach the main barrier, thorough exploration of the peripheral chambers proves essential. Here’s your initial situational analysis:
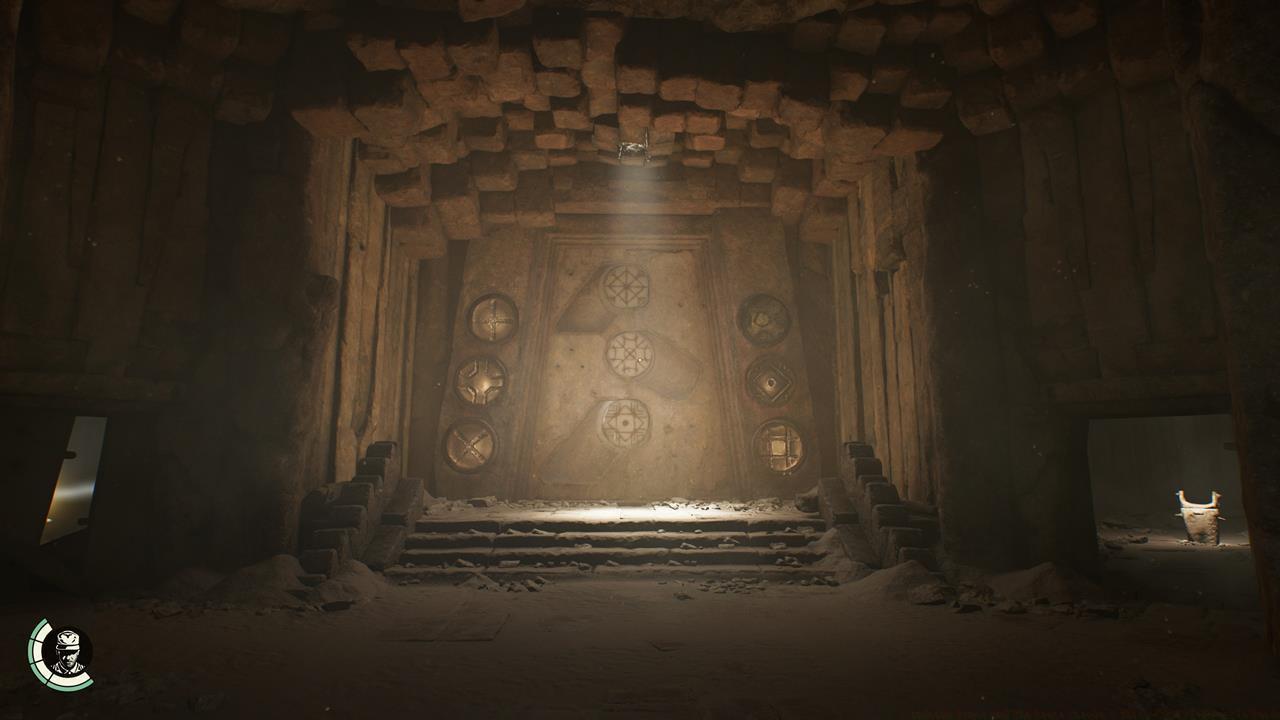
Begin with the central chamber’s reflective apparatus, directing its beam toward the upper-right symbol. This initial activation establishes the foundational light path necessary for subsequent steps.
Pro Tip: Maintain visual contact with all active glyphs during alignment – if any illuminated symbol extinguishes, you’ve disrupted the sequence and must restart that phase. The puzzle demands all three mirrors maintain their correct positions concurrently, not sequentially.
For optimal efficiency, complete the right chamber alignment first, then immediately proceed to the left chamber mirror retrieval. This workflow minimizes backtracking and reduces the risk of accidental mirror misalignment during transitions between areas.
Avoid These Critical Errors: Many players mistakenly believe they can solve each mirror section independently, but the mechanism requires synchronized activation. Another frequent mistake involves rushing the Brass Mirror placement without first establishing the foundational light paths from the other two mirrors.
Time Management: Allocate approximately 8-12 minutes for your initial attempt. Experienced puzzle solvers can typically complete the sequence in 5-7 minutes once they understand the spatial relationships between chambers.
Advanced Technique: Position Indiana to maintain sightlines between chambers when adjusting mirrors. This allows you to immediately detect if a previously activated glyph deactivates during your adjustments.
The puzzle’s design incorporates ancient Egyptian architectural principles where light represents divine knowledge. Successfully aligning all three beams simultaneously demonstrates mastery over the chamber’s mystical properties, rewarding you with access to significant story progression and valuable artifacts.
For comprehensive gaming strategies beyond puzzle solutions, consult our Complete Guide to master complex game mechanics across different titles.
Action Checklist
- Activate main chamber mirror targeting top-right glyph
- Navigate to right chamber and align mirror with exterior connection
- Return to main chamber, activate top-left and middle-right glyphs
- Retrieve Brass Mirror from left chamber and place on empty pedestal
- Coordinate all three mirrors for simultaneous activation
No reproduction without permission:SeeYouSoon Game Club » Indiana Jones And The Great Circle – Three-Eyed Gate Puzzle Guide Master the Three-Eyed Gate puzzle with expert strategies, common pitfalls, and step-by-step solutions