Master Kevin’s chaotic unlock process with strategic farming, item management, and time-saving reset tactics
Understanding Kevin’s Unique Mechanics
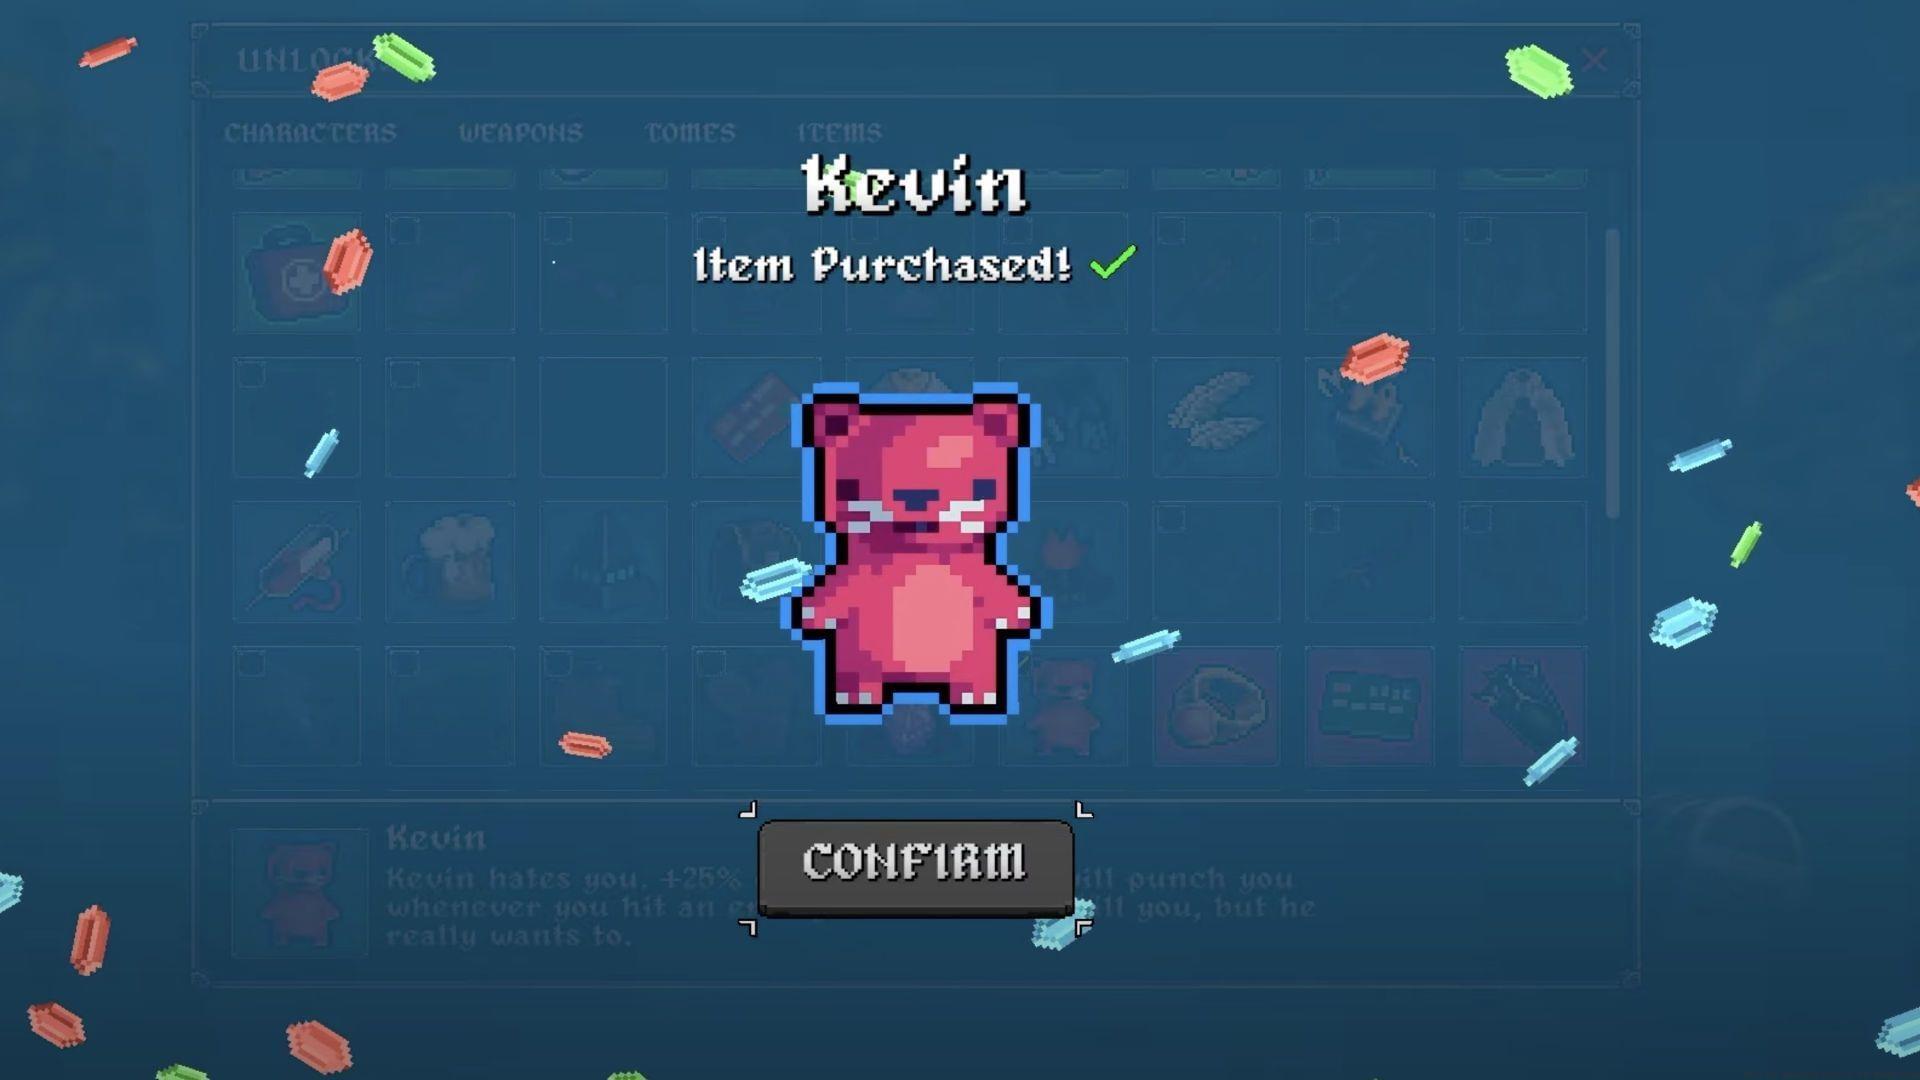
Kevin represents one of Megabonk’s most unconventional unlockable characters, offering gameplay that defies conventional hero design principles. Unlike typical characters that provide straightforward stat improvements or passive bonuses, Kevin introduces controlled chaos through his signature mechanic: every successful attack against enemies carries a 25% probability of triggering self-inflicted damage. This unique design philosophy creates a high-risk, high-reward playstyle that keeps each encounter unpredictable and engaging.
The strategic brilliance of Kevin’s design lies in the calculated risk management. While the self-damage mechanic appears punishing at first glance, it’s carefully balanced to prevent actual character death from these reflexive punches. This safety net allows players to embrace the chaotic nature without fearing complete run failure, making Kevin an excellent choice for experienced players seeking additional challenge layers beyond standard gameplay.
Essential Pre-Run Preparation
Successful Kevin acquisition begins with understanding Megabonk’s item distribution system. The game employs a weighted random selection process from your available item pool, meaning that every enabled item dilutes your chances of obtaining specific targets like the Leeching Crystal. Before attempting any serious farming runs, conduct a thorough inventory audit and disable all non-essential items through the game’s customization menu. This fundamental preparation step can increase your Leeching Crystal appearance rate by up to 300% depending on how many items you initially had unlocked.
Control configuration represents another critical preparation element. Navigate to your control settings and assign Quick Reset to an easily accessible key – preferably something like F5 or a shoulder button if using a controller. Given that you’ll likely perform dozens of resets during the farming process, this quality-of-life improvement significantly reduces frustration and time investment. Professional speedrunners often recommend binding reset to a single keypress rather than menu navigation for maximum efficiency.
For optimal farming conditions, select the Forest (Tier 1) environment combined with the Turbo Mode Challenge modifier. This specific combination provides the shortest possible run durations while maintaining access to all essential game mechanics. The Forest biome’s compact layout minimizes travel time between key locations, while Turbo Mode’s accelerated gameplay ensures you can quickly assess run viability without committing to lengthy sessions.
Advanced Farming Strategy
Initiate each run with immediate environmental assessment. Your starting position critically impacts farming efficiency – if you don’t begin within proximity to either Moai Stones or Shady Dealers, execute an immediate reset without hesitation. These interactive elements serve as primary sources for rare item acquisition, and distant spawning dramatically increases time investment without improving success probability. Advanced players recommend memorizing common spawn locations to accelerate this assessment phase.
Once secured in a favorable starting position, prioritize Luck stat accumulation through targeted gameplay actions. The Luck attribute directly influences both item quality and rarity probabilities, making it your most valuable stat for this specific unlock objective. When your Luck reaches the 30-40% threshold and you’ve accumulated approximately 200 gold, transition to aggressive chest opening behavior. Each chest interaction represents an independent probability event for Leeching Crystal acquisition, so quantity directly correlates with success likelihood.
Maintain constant awareness of Shady Dealer locations and Moai Stone positions throughout your farming route. These special interactables should always take priority over standard enemy encounters or routine chests, as they offer significantly enhanced probabilities for rare item acquisition. Experienced players develop optimized pathing routes that efficiently connect these high-value locations while minimizing backtracking and time waste.
Item Pool Manipulation Tactics
Implement strategic item banishment to mathematically improve your acquisition chances. Whenever you encounter a blue-rarity item that isn’t the Leeching Crystal, immediately utilize the banishment function to permanently remove it from your current run’s item pool. This systematic purification reduces future disappointment probability and gradually increases relative Leeching Crystal appearance rates. The compounding effect of multiple banishments can transform nearly impossible odds into manageable probabilities over extended farming sessions.
Understanding probability manipulation represents the difference between casual attempts and professional farming. Each banished item not only removes that specific item from future drops but also increases the relative percentage chance for all remaining items. This means that after banishing just 5-7 blue items, your Leeching Crystal probability might increase from 2% to 5% or higher depending on your initial pool size. This mathematical advantage makes banishment one of your most powerful tools for targeted farming.
Read more: Beginner tips and tricks in Megabonk
When to Reset and Final Execution
Develop disciplined reset triggers to maximize time efficiency. If your run deteriorates to the final three-minute mark without Leeching Crystal acquisition, or if chest prices escalate beyond 1,500 gold, abort immediately and restart. Continuing beyond these thresholds represents diminishing returns where the time investment exceeds the probability reward. Professional farmers establish clear abort criteria before starting to prevent sunk cost fallacy from wasting additional time.
The unlock condition requires acquiring three separate Leeching Crystals within a single game session. This triple acquisition represents the final challenge gatekeeping Kevin’s chaotic gameplay style. Upon successfully obtaining the third crystal, the game immediately grants access to Kevin, whose unique passive ability introduces the 25% self-punch mechanic that defines his unpredictable combat style. This self-damage cannot reduce your health to zero, but it consistently applies pressure during intense encounters.
Also read: List of achievements in Megabonk
Read more articles related to Megabonk here:
No reproduction without permission:SeeYouSoon Game Club » How to unlock Kevin in Megabonk Master Kevin's chaotic unlock process with strategic farming, item management, and time-saving reset tactics