TL;DR
- Locate the bridge connecting Great Hall and Library for puzzle access
- Require Incendio spell from Professor Hecat’s Assignment 1 completion
- Match torch symbols to rotating circle numbers I-IV for correct sequence
- Activate all torches then return to center for hidden chamber reveal
- Avoid common timing errors and ensure proper spell casting distance
Games and Esports Articles
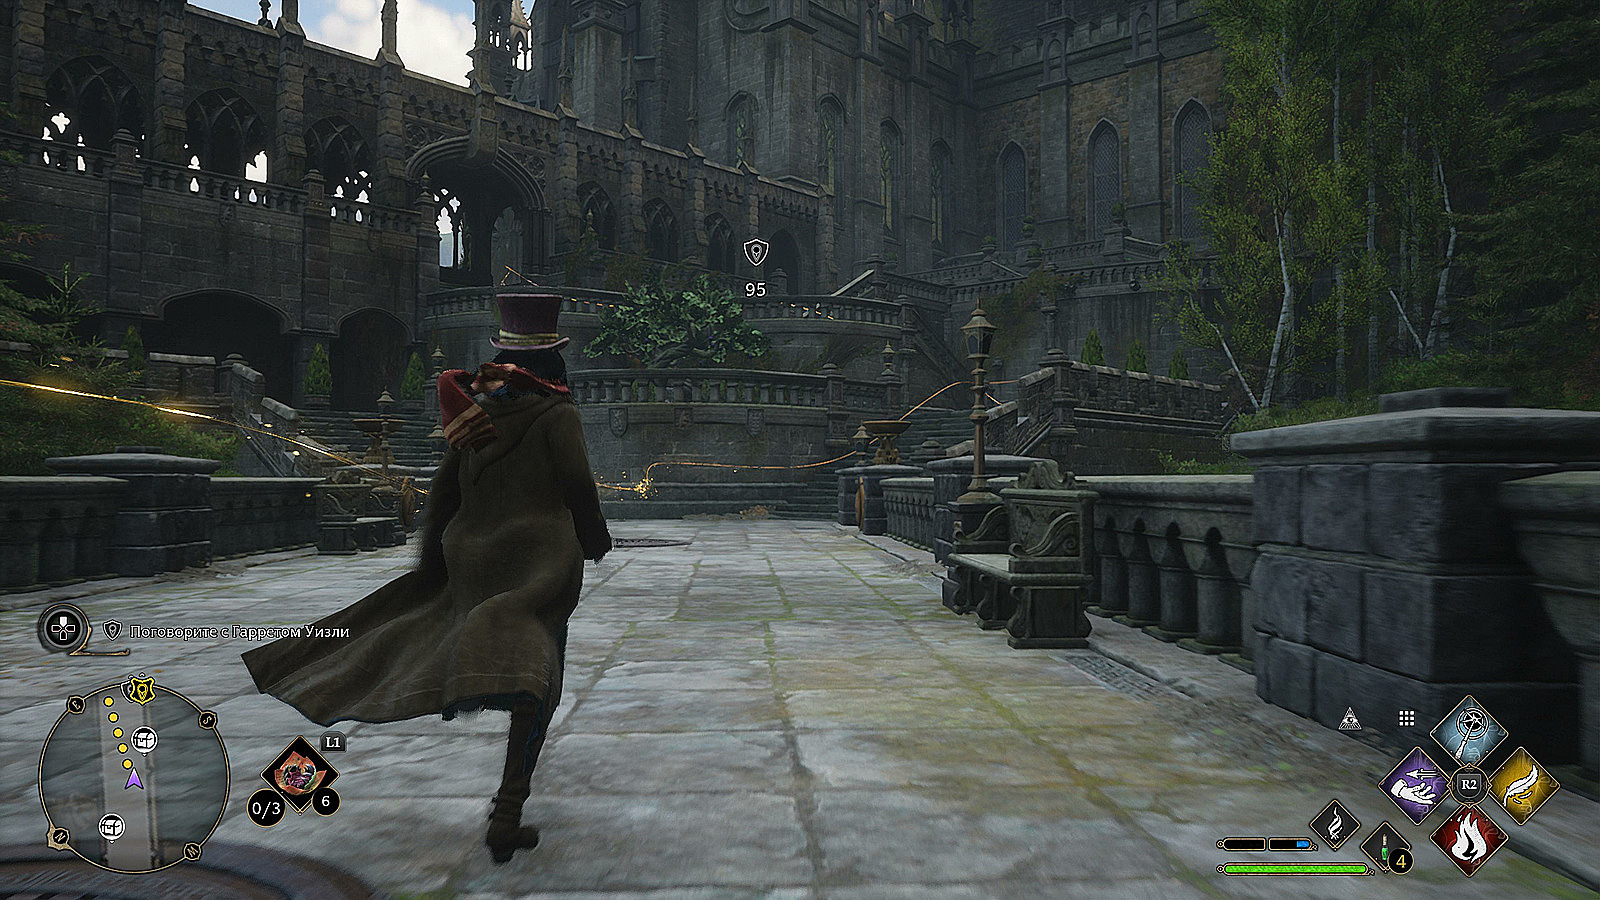
Hogwarts Legacy presents numerous captivating magical challenges throughout its expansive world. Among these hidden tests of wizardry lies a particularly clever puzzle positioned on the architectural marvel bridging the Great Hall and Library Annex. This specific conundrum becomes accessible once players have successfully mastered the fire-conjuring Incendio charm. You’ll acquire this essential spell by progressing through Professor Hecat’s initial assignment series, typically available during early game progression.
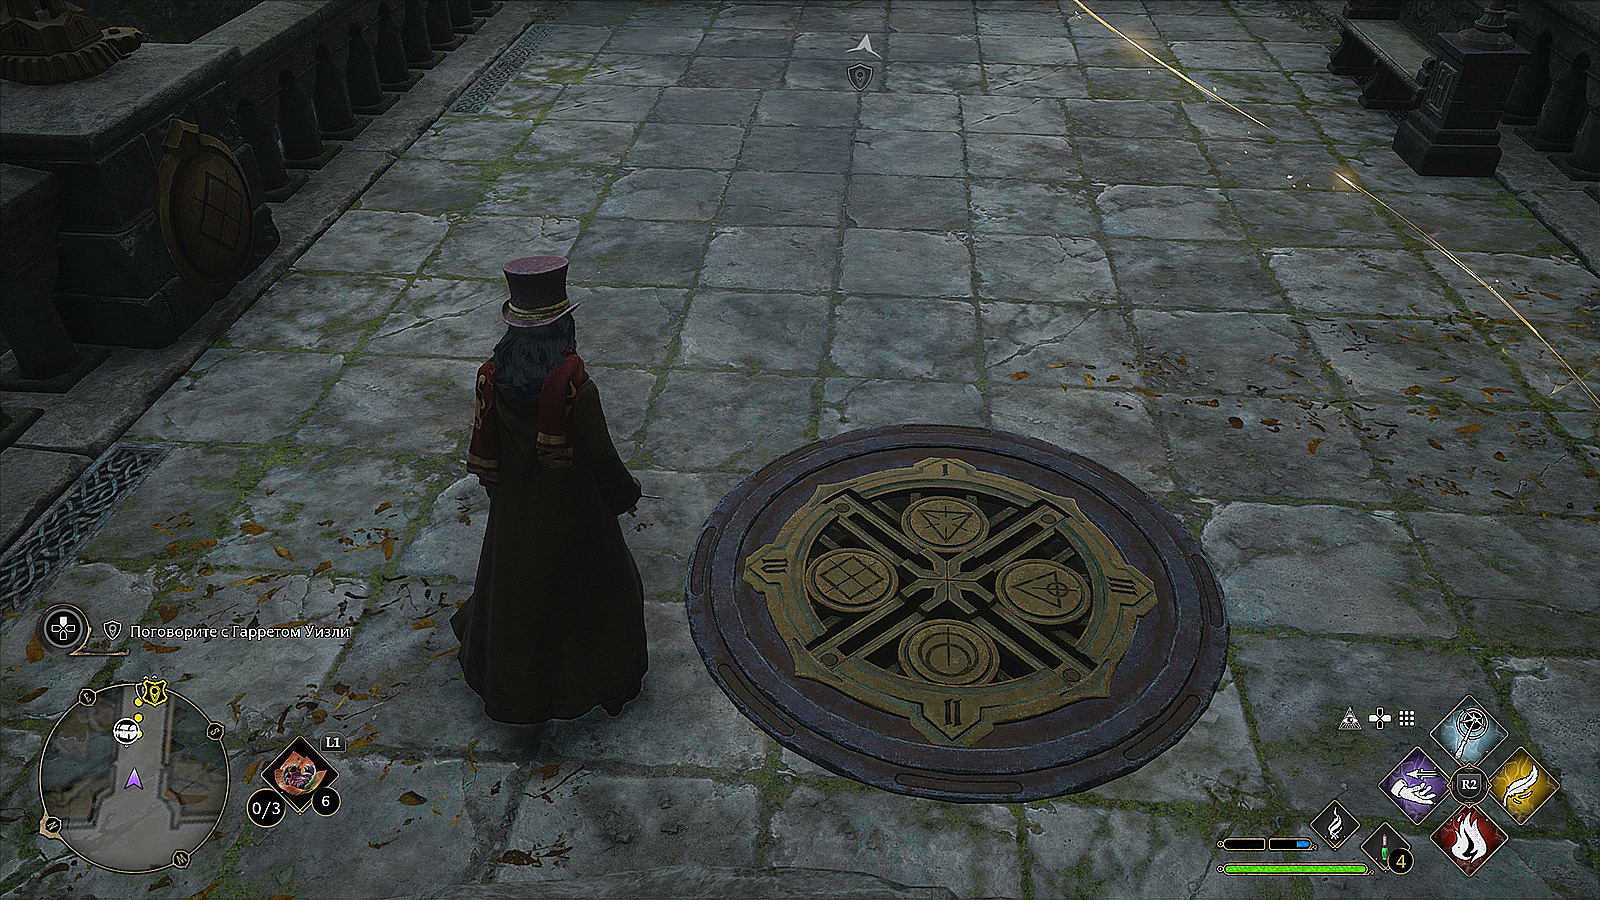
The bridge features dual sets of enchanted torches flanking both sides that demand magical ignition. Each flame-bearing sconce displays unique alchemical symbols that directly correspond to the mystical emblems adorning the central rotating mechanism. This circular device prominently showcases Roman numerals ranging from I through IV, providing the crucial decryption key for solving the magical riddle. Reference the included visual guide for precise symbol identification.
Begin your puzzle resolution by thoroughly examining the central rotating disk. Carefully note the sequence of symbols paired with their corresponding Roman numerals (I, II, III, IV). This numbered pattern dictates the precise activation order for the surrounding magical torches. Methodically approach each torch station, comparing its emblem against the central reference guide.
Execute the Incendio spell at optimal casting distance—approximately 3-5 meters from each torch. Ensure your character faces the sconce directly while maintaining clear line of sight. The flame will ignite with distinctive magical energy when successfully activated.
After illuminating all designated torches in their proper numerical sequence, return to the bridge’s central platform. A previously concealed section will magically retract, unveiling a descending staircase to a subterranean chamber. Your well-earned rewards await discovery in this hidden vault, typically containing rare magical artifacts or valuable crafting materials.
Seasoned witches and wizards can optimize their approach by starting with the highest numbered torch (IV) and working backward. This counter-intuitive method often proves more efficient for spatial navigation. Maintain awareness of your surroundings, as the bridge area occasionally hosts patrolling prefects who may interrupt your puzzle-solving efforts.
Avoid the frequent error of miscounting torch sequences—double-check each symbol against the central reference before activation. Many players mistakenly rush the ignition process, failing to verify the Roman numeral correlations. Another common pitfall involves standing too close to torches, which can prevent proper spell recognition.
For maximum efficiency, complete this puzzle during evening hours when foot traffic diminishes. The entire process typically requires 3-5 minutes for experienced players, while newcomers should allocate 7-10 minutes for thorough completion. Remember that failed attempts reset after approximately 30 seconds, allowing for multiple tries without penalty.
Action Checklist
- Acquire Incendio spell through Professor Hecat’s Assignment 1
- Locate bridge between Great Hall and Library Annex
- Study central rotating circle symbols and Roman numerals I-IV
- Ignite torches in correct numerical sequence using Incendio
- Return to center platform to access hidden chamber and collect rewards
No reproduction without permission:SeeYouSoon Game Club » How to solve bridge puzzle in Hogwarts Legacy. How to get the chest from Hogwarts bridge Master the Hogwarts Legacy bridge puzzle with Incendio spell and unlock hidden treasure chest rewards