TL;DR
- Tier 3 requires multi-island expansion and complex production chains beyond single-island capabilities
- Focus on balanced resource fulfillment across food, services, fashion, and household item categories
- Early exploration and clay infrastructure are critical for Latium map success
- Optimize production placement to avoid urban debuffs while maximizing efficiency
- Strategic resource prioritization saves time and resources during tier progression
Mastering residential advancement in Anno 117: Pax Romana requires understanding the systematic progression mechanics that govern citizen satisfaction and urban development.
Unlocking initial residential structures follows straightforward placement rules, but advancing to higher tiers demands strategic resource management. The transition from basic housing to sophisticated dwellings represents one of the game’s core economic challenges that separates novice planners from master architects.
Initial tier establishment begins with simple placement—just position one residential building to activate tier 1. Progressing to tier 2 necessitates upgrading existing tier 1 residences, establishing the pattern for all subsequent advancements. This upgrade-based system ensures your city develops organically rather than through rapid, unsustainable expansion.
Category-based need fulfillment forms the foundation of residential progression. Rather than providing every listed good or service, you must satisfy complete categories. For tier 1 residences, this means delivering adequate food supplies, accessible public services, and basic fashion items. Monitoring progress through building inspection provides real-time feedback on your fulfillment efficiency.
The tier 2 advancement exemplifies this category approach—providing sardines, tunics, and marketplace access sufficiently meets requirements without exhausting your early-game resources. Strategic planners often reference comprehensive city layout guides during this phase to optimize their settlement patterns for future expansion.
Ascending to residential tier 3 introduces transformative complexity that fundamentally alters your settlement strategy. This progression milestone represents the game’s first major economic inflection point where single-island self-sufficiency becomes impossible.
The tier 3 requirement spectrum expands significantly to include food diversity, comprehensive services, fashion variety, and—most challenging—household items. This category expansion necessitates establishing sophisticated production chains that typically require resources unavailable on your starting island, forcing strategic maritime expansion.
Multi-island colonization becomes mandatory at this stage, as household item production demands specific fertilities and resources scattered across the archipelago. Successful players initiate exploration early, identifying secondary settlement locations while still developing their primary urban center. This parallel development approach prevents progression bottlenecks later.
Production chain entanglement intensifies dramatically during tier 3 preparation. The simple, linear production lines of early game give way to interconnected manufacturing processes requiring careful coordination and logistics planning. Efficient route optimization between islands becomes as crucial as production facility placement.
Strategic prioritization determines tier 3 success. While all category requirements must eventually be met, the order of implementation significantly impacts development speed and resource efficiency. Experienced players often tackle the most complex production chains first to resolve potential bottlenecks before they impede progress.
The Latium map presents distinctive challenges for tier 3 advancement, demanding specialized strategies that leverage the region’s unique resource distribution and fertility patterns.
Early maritime exploration proves absolutely critical on Latium. Deploying scout vessels immediately after establishing basic infrastructure allows you to identify essential island fertilities for household item production before resource shortages stall your progress. This proactive approach can save hours of gameplay time compared to reactive exploration.
Infrastructure preparation should run parallel to exploration. Establishing clay pits, charcoal burners, and tilers before discovering specific resource needs ensures immediate construction capability when new production opportunities arise. Tile requirements for workplace construction make this preliminary infrastructure investment essential.
Food diversification follows a strategic progression path. Begin with sufficient fishing huts to guarantee sardine supply, then advance to garum production as your primary protein source. The garum production chain—comprising salt ponds, scomber’s shacks, and processing facilities—operates efficiently with minimal resource input, making it superior to bread production for early tier 3 advancement.
Public service selection involves strategic trade-offs between economic and happiness benefits. Markets generate superior revenue, while taverns boost citizen satisfaction. The grammaticus represents the optimal educational choice, offering lower maintenance than sanctuaries while providing knowledge points for early technology research—a crucial advantage for players pursuing our advanced strategic guides.
Fashion optimization requires careful resource balancing. Pileus hats typically outperform tunics due to rapid sheep production and superior happiness bonuses. For footwear and hygiene, soap production delivers exceptional health benefits that justify its complex production chain. Proper facility placement proves critical—position pig farms, renderers, and charcoal burners outside urban boundaries to avoid efficiency debuffs.
Lavender field integration deserves special attention. Establish two large plantations beyond city limits supplemented by five to six smaller decorative plantings throughout residential areas. This configuration maximizes happiness bonuses while maintaining production efficiency, a technique detailed in our comprehensive optimization guides.
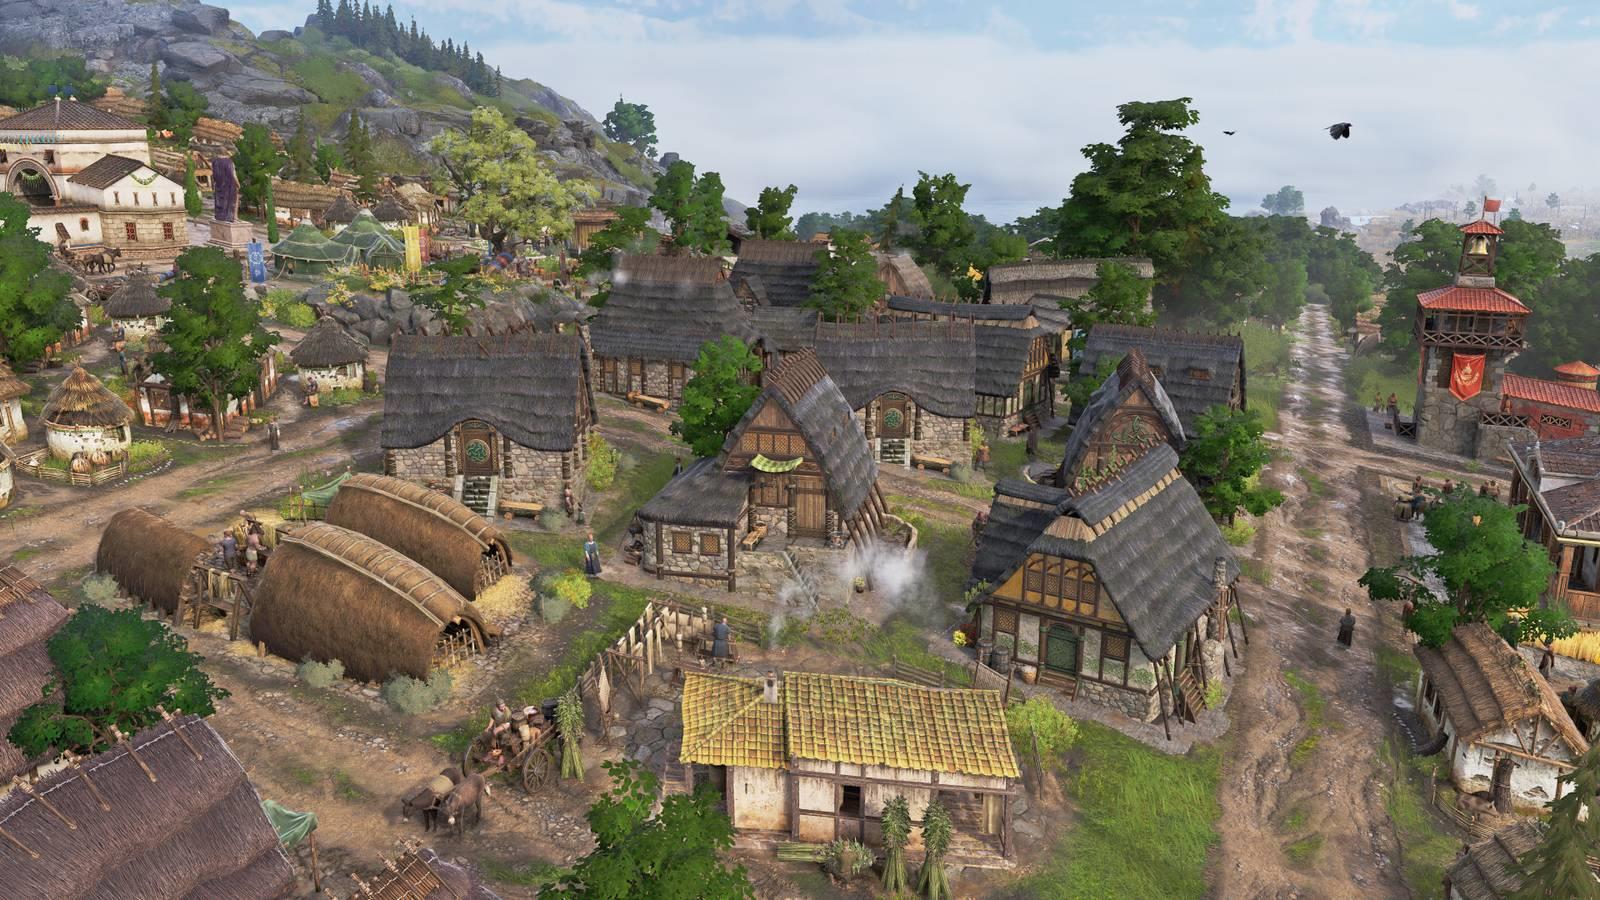
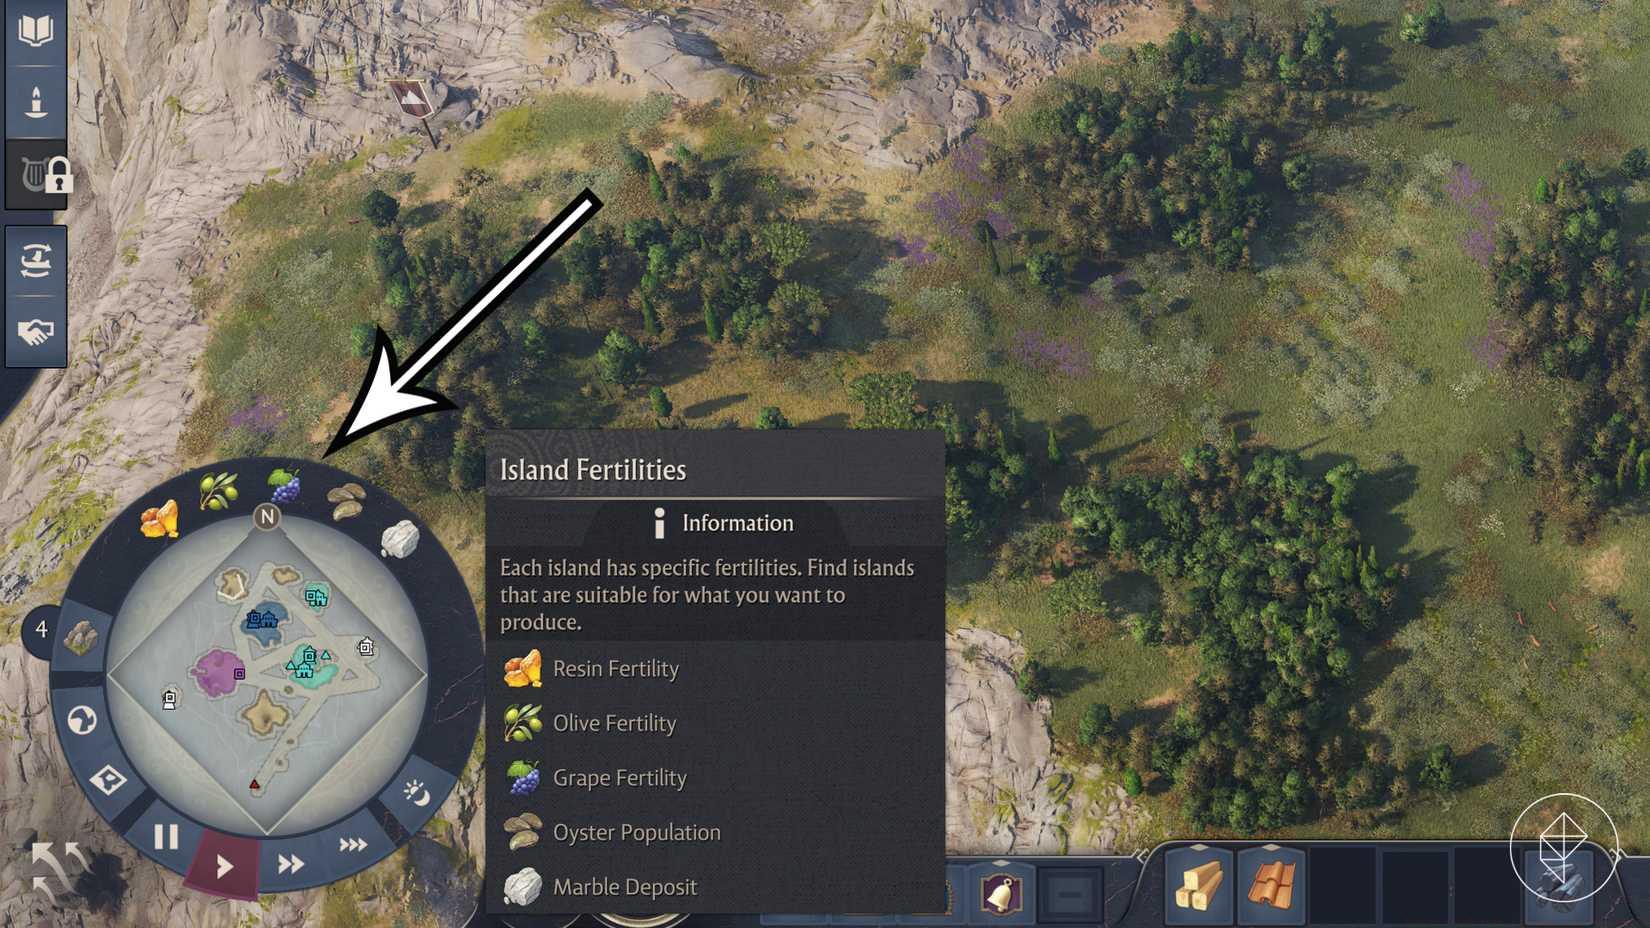
Image: Ubisoft via Polygon
Beyond basic requirement fulfillment, elite players employ sophisticated economic techniques that optimize resource flow and accelerate progression through intelligent system manipulation.
Production efficiency optimization begins with understanding input-output ratios and transportation logistics. The garum production chain exemplifies ideal early-game efficiency—starting with one salt pond, one scomber’s shack, and one processing facility, then scaling to three processors without additional resource requirements. This scalable design prevents overinvestment while maintaining output flexibility.
Common progression pitfalls include inadequate infrastructure preparation, delayed exploration, and poor production chain sequencing. Novice players frequently underestimate tile requirements, leaving them unable to construct essential buildings when resources become available. Others postpone maritime exploration until tier 3 requirements become urgent, creating unnecessary progression delays.
Advanced resource balancing involves strategic substitution where possible. While soap production offers superior health benefits, sandals require simpler production chains that might better suit your current resource availability. Similarly, market versus tavern selection should reflect your immediate economic priorities rather than following rigid formulas.
Scaling techniques differentiate successful long-term strategies from short-term solutions. The transition from tier 3 to higher levels requires production systems designed for expansion rather than mere requirement fulfillment. Implementing modular production layouts with clear expansion pathways ensures smooth progression to advanced residential tiers.
Technology research integration through grammaticus establishments provides compounding benefits beyond immediate tier progression. Early knowledge accumulation unlocks advanced production techniques and efficiency improvements detailed in our specialized upgrade guides, creating positive feedback loops that accelerate all aspects of urban development.
Strategic debuff avoidance remains crucial throughout tier 3 development. Proper production facility placement outside urban centers prevents happiness and efficiency penalties, while careful road network design minimizes transportation delays. These spatial considerations often prove as important as resource management in determining progression speed.
Action Checklist
- Deploy scout ships immediately after establishing tier 2 to identify resource islands
- Establish clay, charcoal, and tile infrastructure before resource discovery
- Implement garum production chain (salt pond → scomber’s shack → processor)
- Build grammaticus for knowledge generation and research capabilities
- Establish pileus hat production with strategic lavender field placement
- Optimize facility placement to avoid urban debuffs while maximizing efficiency
No reproduction without permission:SeeYouSoon Game Club » How to reach tier 3 in Anno 117: Pax Romana Master Anno 117 residential tier progression with strategic expansion and optimized production chains