Complete guide to acquiring the Yurei-Walker Hood with stealth strategies and character optimization tips
Introduction to Yurei-Walker Hood
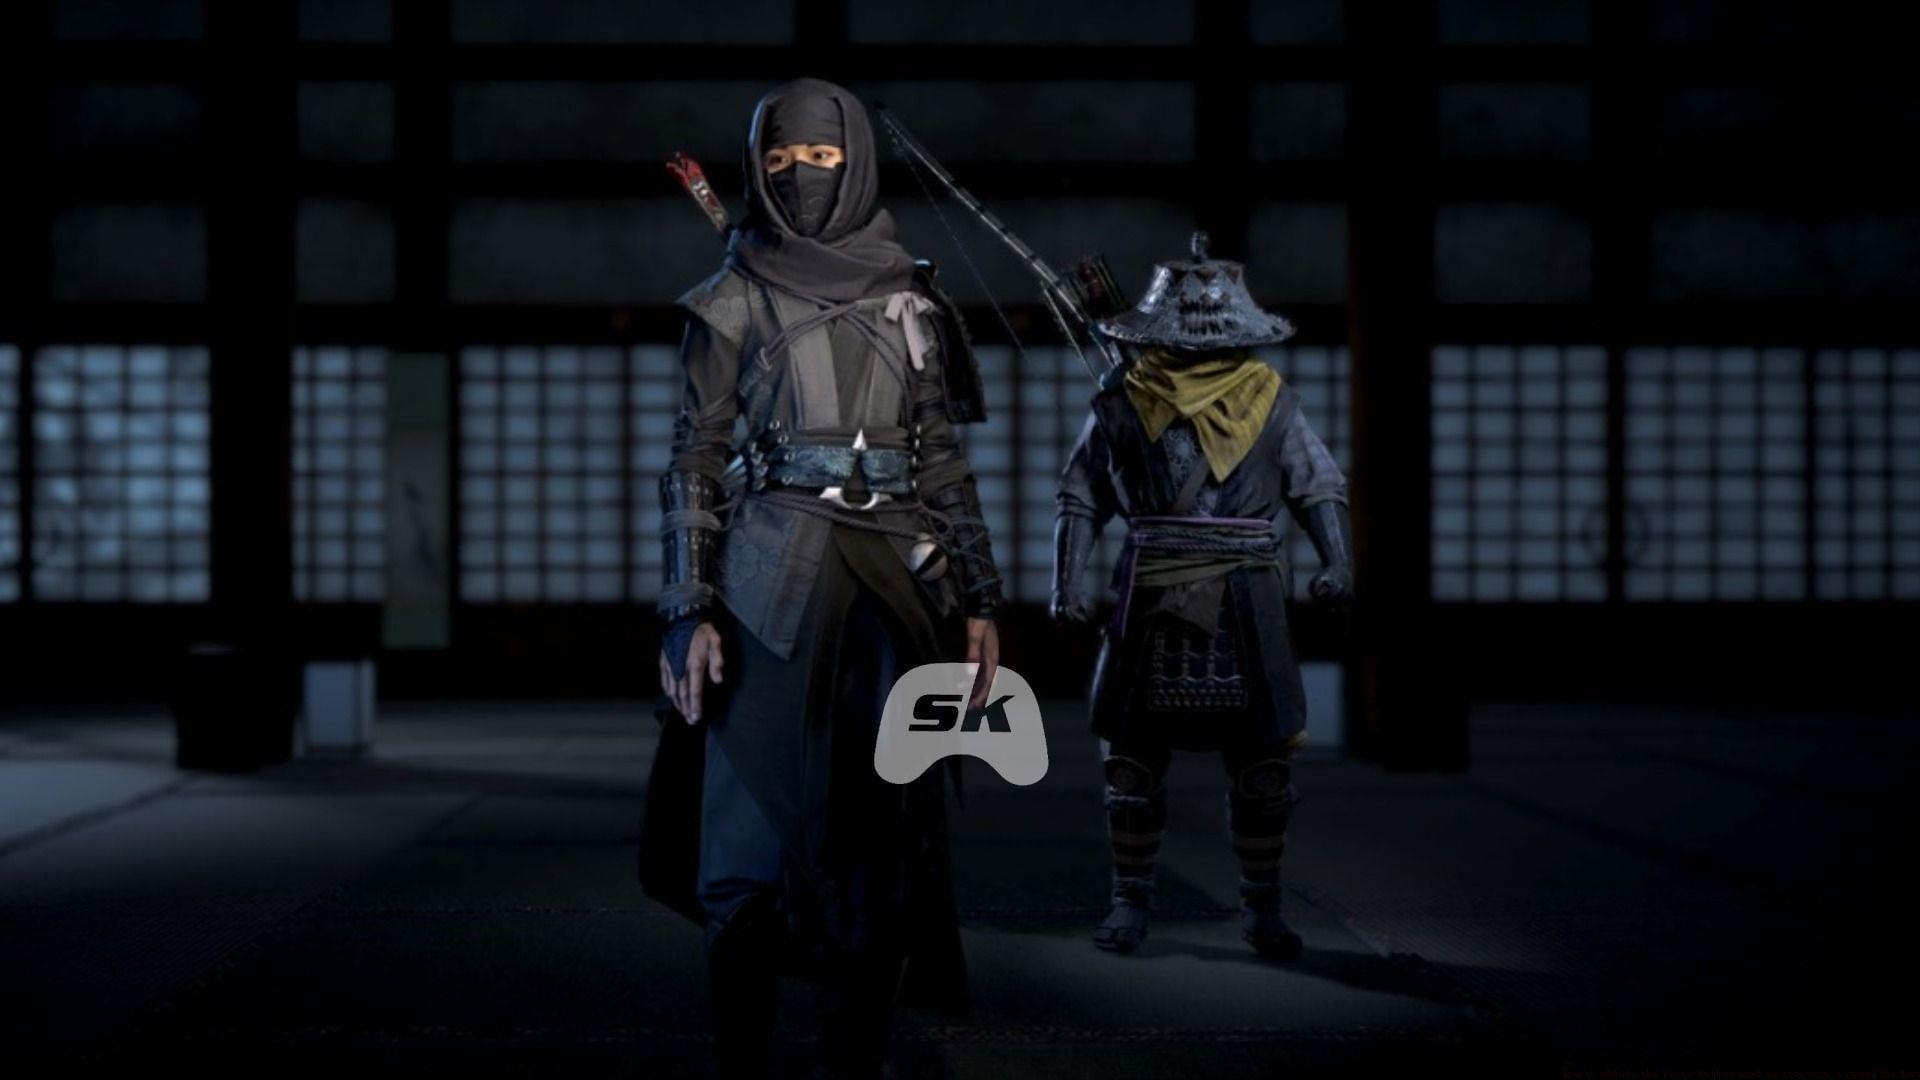
The Yurei-Walker Hood represents one of the most sought-after legendary armor pieces within Assassin’s Creed Shadows, specifically designed for Naoe’s stealth-oriented gameplay. This exceptional headgear shines in feudal Japan’s expansive open world, offering tactical advantages that cater to players who prefer silent elimination methods over direct confrontation.
What makes this hood particularly valuable is its specialized perk that significantly amplifies your offensive capabilities when executing enemies from shadowy positions. This mechanic encourages strategic positioning and timing, rewarding players who master the art of remaining undetected while systematically dismantling enemy forces.
For optimal performance with this gear, consider pairing it with other shadow-enhancing equipment and abilities that complement its core functionality. The hood serves as a cornerstone for builds focused on rapid target elimination without alerting entire garrisons, making it indispensable for completionists and stealth enthusiasts alike.
Castle Infiltration Strategy
Successfully navigating the castle compound requires meticulous planning and adaptive tactics. Before initiating your assault, thoroughly scout the perimeter to identify patrol patterns, potential hiding spots, and emergency escape routes. I recommend approaching during nighttime when visibility is reduced, naturally complementing the Yurei-Walker Hood’s shadow-based mechanics.
Professional Insight: The castle infiltration presents distinct scenarios where character specialization becomes crucial. Yasuke’s brute strength and combat proficiency prove invaluable for confronting grouped enemies or breaking through fortified positions, while Naoe’s agility and stealth capabilities excel in situations demanding silent takedowns and rapid navigation through restricted areas.
Common mistakes include rushing through the elimination process without proper reconnaissance or failing to utilize the environment to your advantage. Many players underestimate the importance of using foliage, architectural structures, and shadowy corners to remain concealed while systematically thinning enemy ranks. Remember that alerted guards will coordinate searches and strengthen patrols, significantly increasing the mission’s difficulty.
Advanced players should consider manipulating enemy movements by creating distractions or using thrown objects to isolate targets. This technique allows for controlled engagements where you maintain the tactical advantage, ensuring each elimination occurs on your terms rather than reacting to enemy movements.
Daisho Locations Guide
The five Daisho targets maintain specific positions throughout the castle grounds, each presenting unique challenges and opportunities for strategic elimination. Understanding their patrol routes and sightlines is essential for planning your approach without triggering widespread alarms.
- First Daisho — Eastern Castle Gate: This initial target patrols the main entrance area with clear sightlines across the courtyard. Approach from the eastern wall using the architectural overhangs for cover, timing your movement between guard rotations.
- Second Daisho — Red Wooden Bridge: Positioned near water features that provide auditory cover for your movements. Use the sound of flowing water to mask any accidental noise generated during your approach and elimination.
- Third Daisho — Overlooking the Water: This isolated target offers the cleanest elimination opportunity. Their position on an overlook platform creates natural separation from reinforcements, allowing for methodical takedowns.
- Fourth Daisho — Northern Large House: The most challenging target due to proximity to other guards and limited concealment options. Consider using Naoe’s grappling hook to access the rooftop for an aerial assassination approach.
- Fifth Daisho — Courtyard Watch: Constantly moving through high-traffic areas requiring precise timing. Wait for their patrol route to bring them near decorative gardens or structural blind spots before engaging.
Elimination order matters significantly—prioritize targets that could discover bodies or have overlapping patrol routes with other guards. I recommend addressing the third and first Daisho initially to create safer movement corridors through the compound.
Chest Acquisition Process
After successfully neutralizing all five Daisho targets, your next objective involves retrieving the key necessary to access the legendary chest. Navigate to the western tower of the keep—this structure typically features distinctive architectural elements that help distinguish it from surrounding buildings.
The key rests in a predictable location within the western tower, though occasional patrols may require brief waiting periods or distraction techniques to access it safely. Once acquired, proceed to the rooftop where the Legendary Chest awaits, containing the coveted Yurei-Walker Hood alongside other valuable rewards that complement stealth gameplay.
Rooftop access may require parkour skills or specific navigation routes depending on the castle’s layout. Look for climbable surfaces, grapple points, or interconnected rooftops that provide safer alternatives to ground-level approaches where remaining guards maintain vigilance after the Daisho eliminations.
Gear Stats and Optimization
The Yurei-Walker Hood delivers substantial statistical advantages that dramatically enhance assassination efficiency and combat sustainability. Understanding how these bonuses interact with your existing build is crucial for maximizing their potential.
- Critical Chance: +2.7% – This percentage increase significantly improves your likelihood of landing devastating critical strikes during combat engagements following successful assassinations.
- Adrenaline Gain: +13.4% – Accelerates your ability to build adrenaline for executing special abilities and combat maneuvers, creating more frequent opportunities for game-changing attacks.
- +2 Health Segments removed on assassinations in the shadows – This unique perk guarantees that shadow-based eliminations deplete additional health segments beyond standard damage calculations, effectively instant-killing tougher enemies who would normally survive a single assassination attempt.
- One Engraving slot (use the Hideout’s Blacksmith to engrave a perk of your choice) – This customization option allows for specialized build tailoring. Recommended engravings include shadow damage amplification, stealth duration extensions, or assassination-related cooldown reductions.
For advanced optimization, pair the Yurei-Walker Hood with gear that enhances critical damage, reduces detection speed, or improves movement in shadowy environments. This creates synergistic effects that transform Naoe into an unparalleled shadow assassin capable of controlling engagements through strategic positioning and timing.
No reproduction without permission:SeeYouSoon Game Club » How to obtain the Yurei-Walker Hood in Assassin’s Creed Shadows Complete guide to acquiring the Yurei-Walker Hood with stealth strategies and character optimization tips